Keep the Heat In – How to Insulate a Greenhouse to Keep Your Plants Toasty All Winter
These simple greenhouse insulation tips will stop heat loss, reduce your energy bills, and keep your plants safe and warm all winter long.

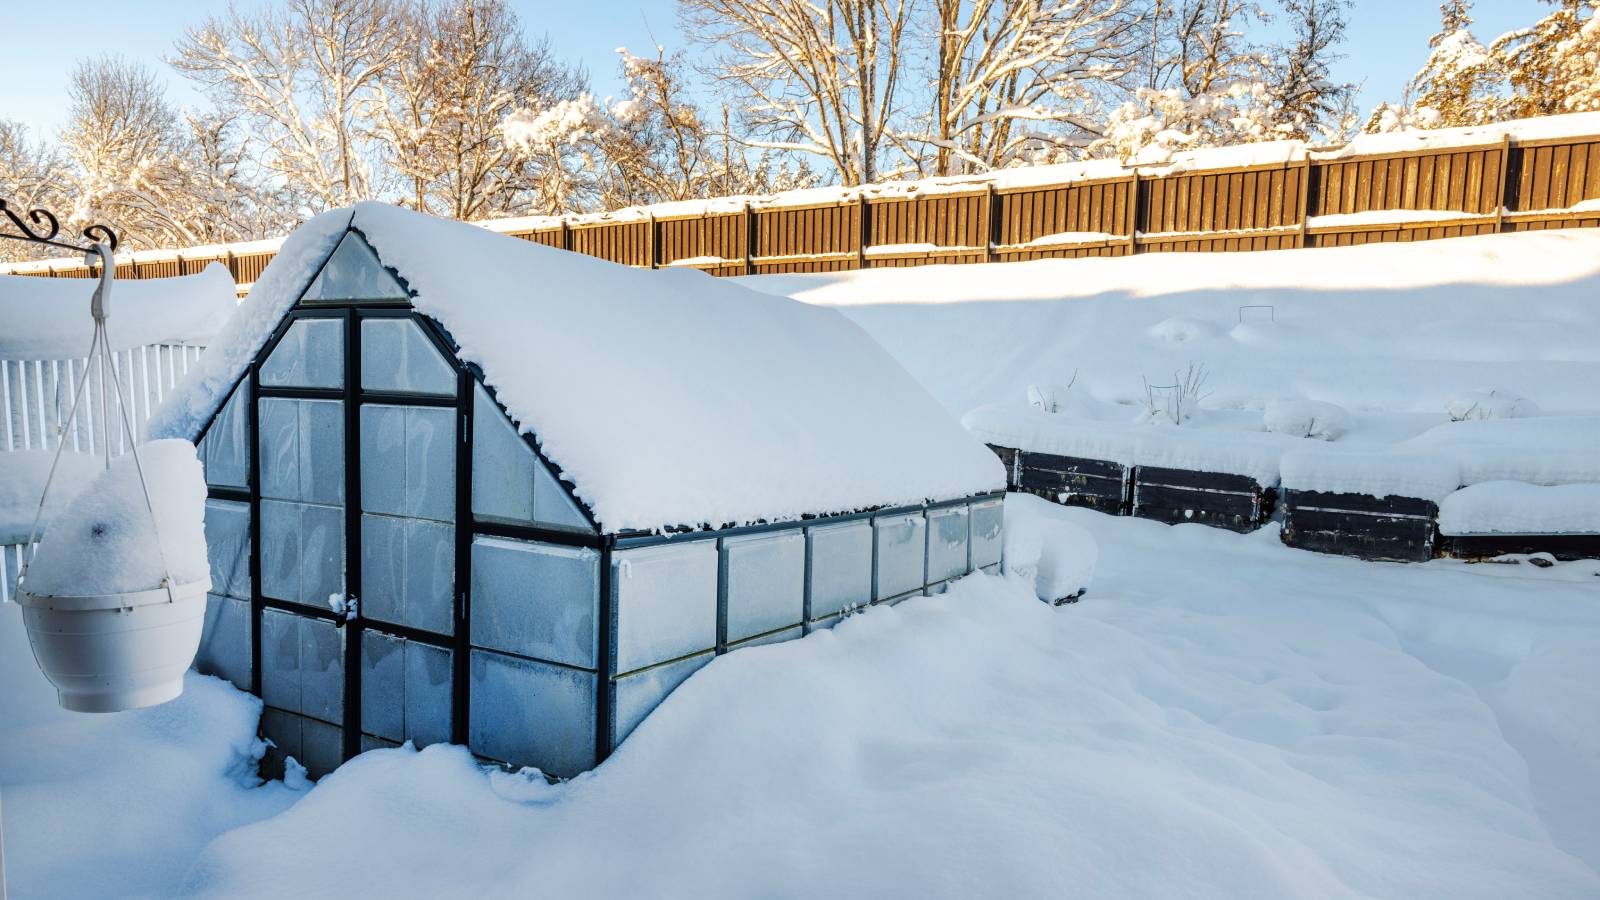
As temperatures dip, your greenhouse starts losing warmth fast. Grab some supplies, seal those gaps, toss in thermal mass like water jugs, and your plants can hunker down cozy. This saves on heating bills too, stretching that growing season without the extra hassle.
Figuring out how to insulate a greenhouse kicks off with spotting weak spots where cold sneaks in. Drafts around doors and thin glazing that let heat slip away – these are things you need to tackle before frost bites hard. Knowing some basics will keep your setup snug. Did you know that bubble wrap clings easily to frames, trapping pockets of air like a quilt over windows?
One huge part of successful greenhouse gardening is insulating a greenhouse for winter, which turns that glass box into a reliable haven. Questions float around, like how to insulate a greenhouse properly. Just focus on materials that hold heat without blocking light too much. A few tweaks now mean healthier starts come spring.
Why It Matters
Cold snaps hit and plants shiver, but insulation keeps roots from freezing and leaves from wilting. Without it, heaters run overtime and costs start to spike. Bubble wrap or thermal screens can cut losses by half sometimes, ensuring that warm air stays put instead of vanishing into night. Even small setups can feel the pinch, with electric bills jumping 20–30% without proper seals.
Beyond cash, it's also about steady growth. Fluctuating temps stress seedlings and slow blooms. One overlooked draft can turn a thriving spot sour fast. Meanwhile, solid insulation mimics nature's buffer, like earth around roots outdoors. Your veggies push through winter stronger, no yellow edges or stunted stems.
Understanding Greenhouse Heat Loss
Heat slips out through thin walls – this is conduction, which pulls warmth into cold glass or plastic. Air leaks around vents add convection, swirling hot air away like smoke up a chimney. Radiation sneaks through clear panels at night, chilling everything inside. Clear evenings are actually worse than cloudy ones, with temps sometimes dropping 10–15 F (5–8 C).
Infiltration hits hardest in windy spots, where gaps suck in icy drafts. Foundations without barriers lose ground heat too, soil turning frosty below. Seal it all and your space holds steady, with no wild swings that zap plant vigor. Take a look around to spot the culprits. Feel for breezes on windy days, like a chill hand brushing skin. Mark them with tape for quick fixes later, turning inspection into a simple habit.
Sign up for the Gardening Know How newsletter today and receive a free copy of our e-book "How to Grow Delicious Tomatoes".
Greenhouse Insulation Materials
Bubble wrap clings to glazing, and those air pockets trap heat like a jacket. Polyethylene film layers up similarly, and it's cheap and quick to roll out.
Thermal screens pull across at dusk, reflecting warmth back in – it feels soft under fingers, rolls up easy by day. Some come with reflective foil, bouncing light back during short days. Layer them for extra thickness in harsh climates, but test for light reduction first.
Replace single pane glass with polycarbonate panels, which are thicker and hold heata better. Foam boards fit foundations, rigid and cuttable with a knife. Weather stripping seals edges, with a sticky backing that grabs tight. Insulating paint can coat frames, bouncing heat around. You can grab bubble wrap like this from Amazon for starters, or foam boards like this.
Shading compounds work in the summer, but skip them for winter's low light. Clear polycarb options let in 80–90% sun, balancing warmth and growth. You can mix materials for custom fits, like foam at base and bubble wrap above.
Key Areas to Insulate
Walls and glazing take the brunt – bubble wrap sheets can be pinned up, overlapping like shingles. Cut around frames and tape edges to block drafts. The roof needs lighter materials, such as thermal curtains sliding on wires overhead. They sag a bit when wet, but dry fast. Layer them double for extra cold zones, like northern exposures. Secure them with clips to avoid sagging over time, keeping coverage even.
The foundation and floor soak cold from ground – foam boards should be buried around the base, 2 feet (60 cm) deep. Gravel or mats inside add an additional buffer, which means less crunching underfoot on chill days. Doors and vents get weather stripping, with rubber seals pressing snug. A door sweep like this from Amazon stops under-edge leaks. Check hinges too – they loosen over time, widening gaps. Replace worn seals yearly for best results.
More Heat Retention Strategies
Thermal mass soaks daytime sun – water barrels painted black hold warmth, releasing slow overnight. Bricks or stones stacked along walls are heavy to lug but worth the effort. They feel warm to touch by morning, steadying the temperature in the air. Position them near plants for targeted heat, like radiators in a room. Fill barrels halfway to avoid spills, absorbing sun without overflow risk.
Seal air leaks with caulk. Automatic vent controls close at dusk, with motors whirring quietly. Group plants for microclimates, so humidity pools around leaves. Mulch floors to lock in ground warmth, adding another layer against the freeze. Straw or wood chips work, smelling fresh while insulating below.
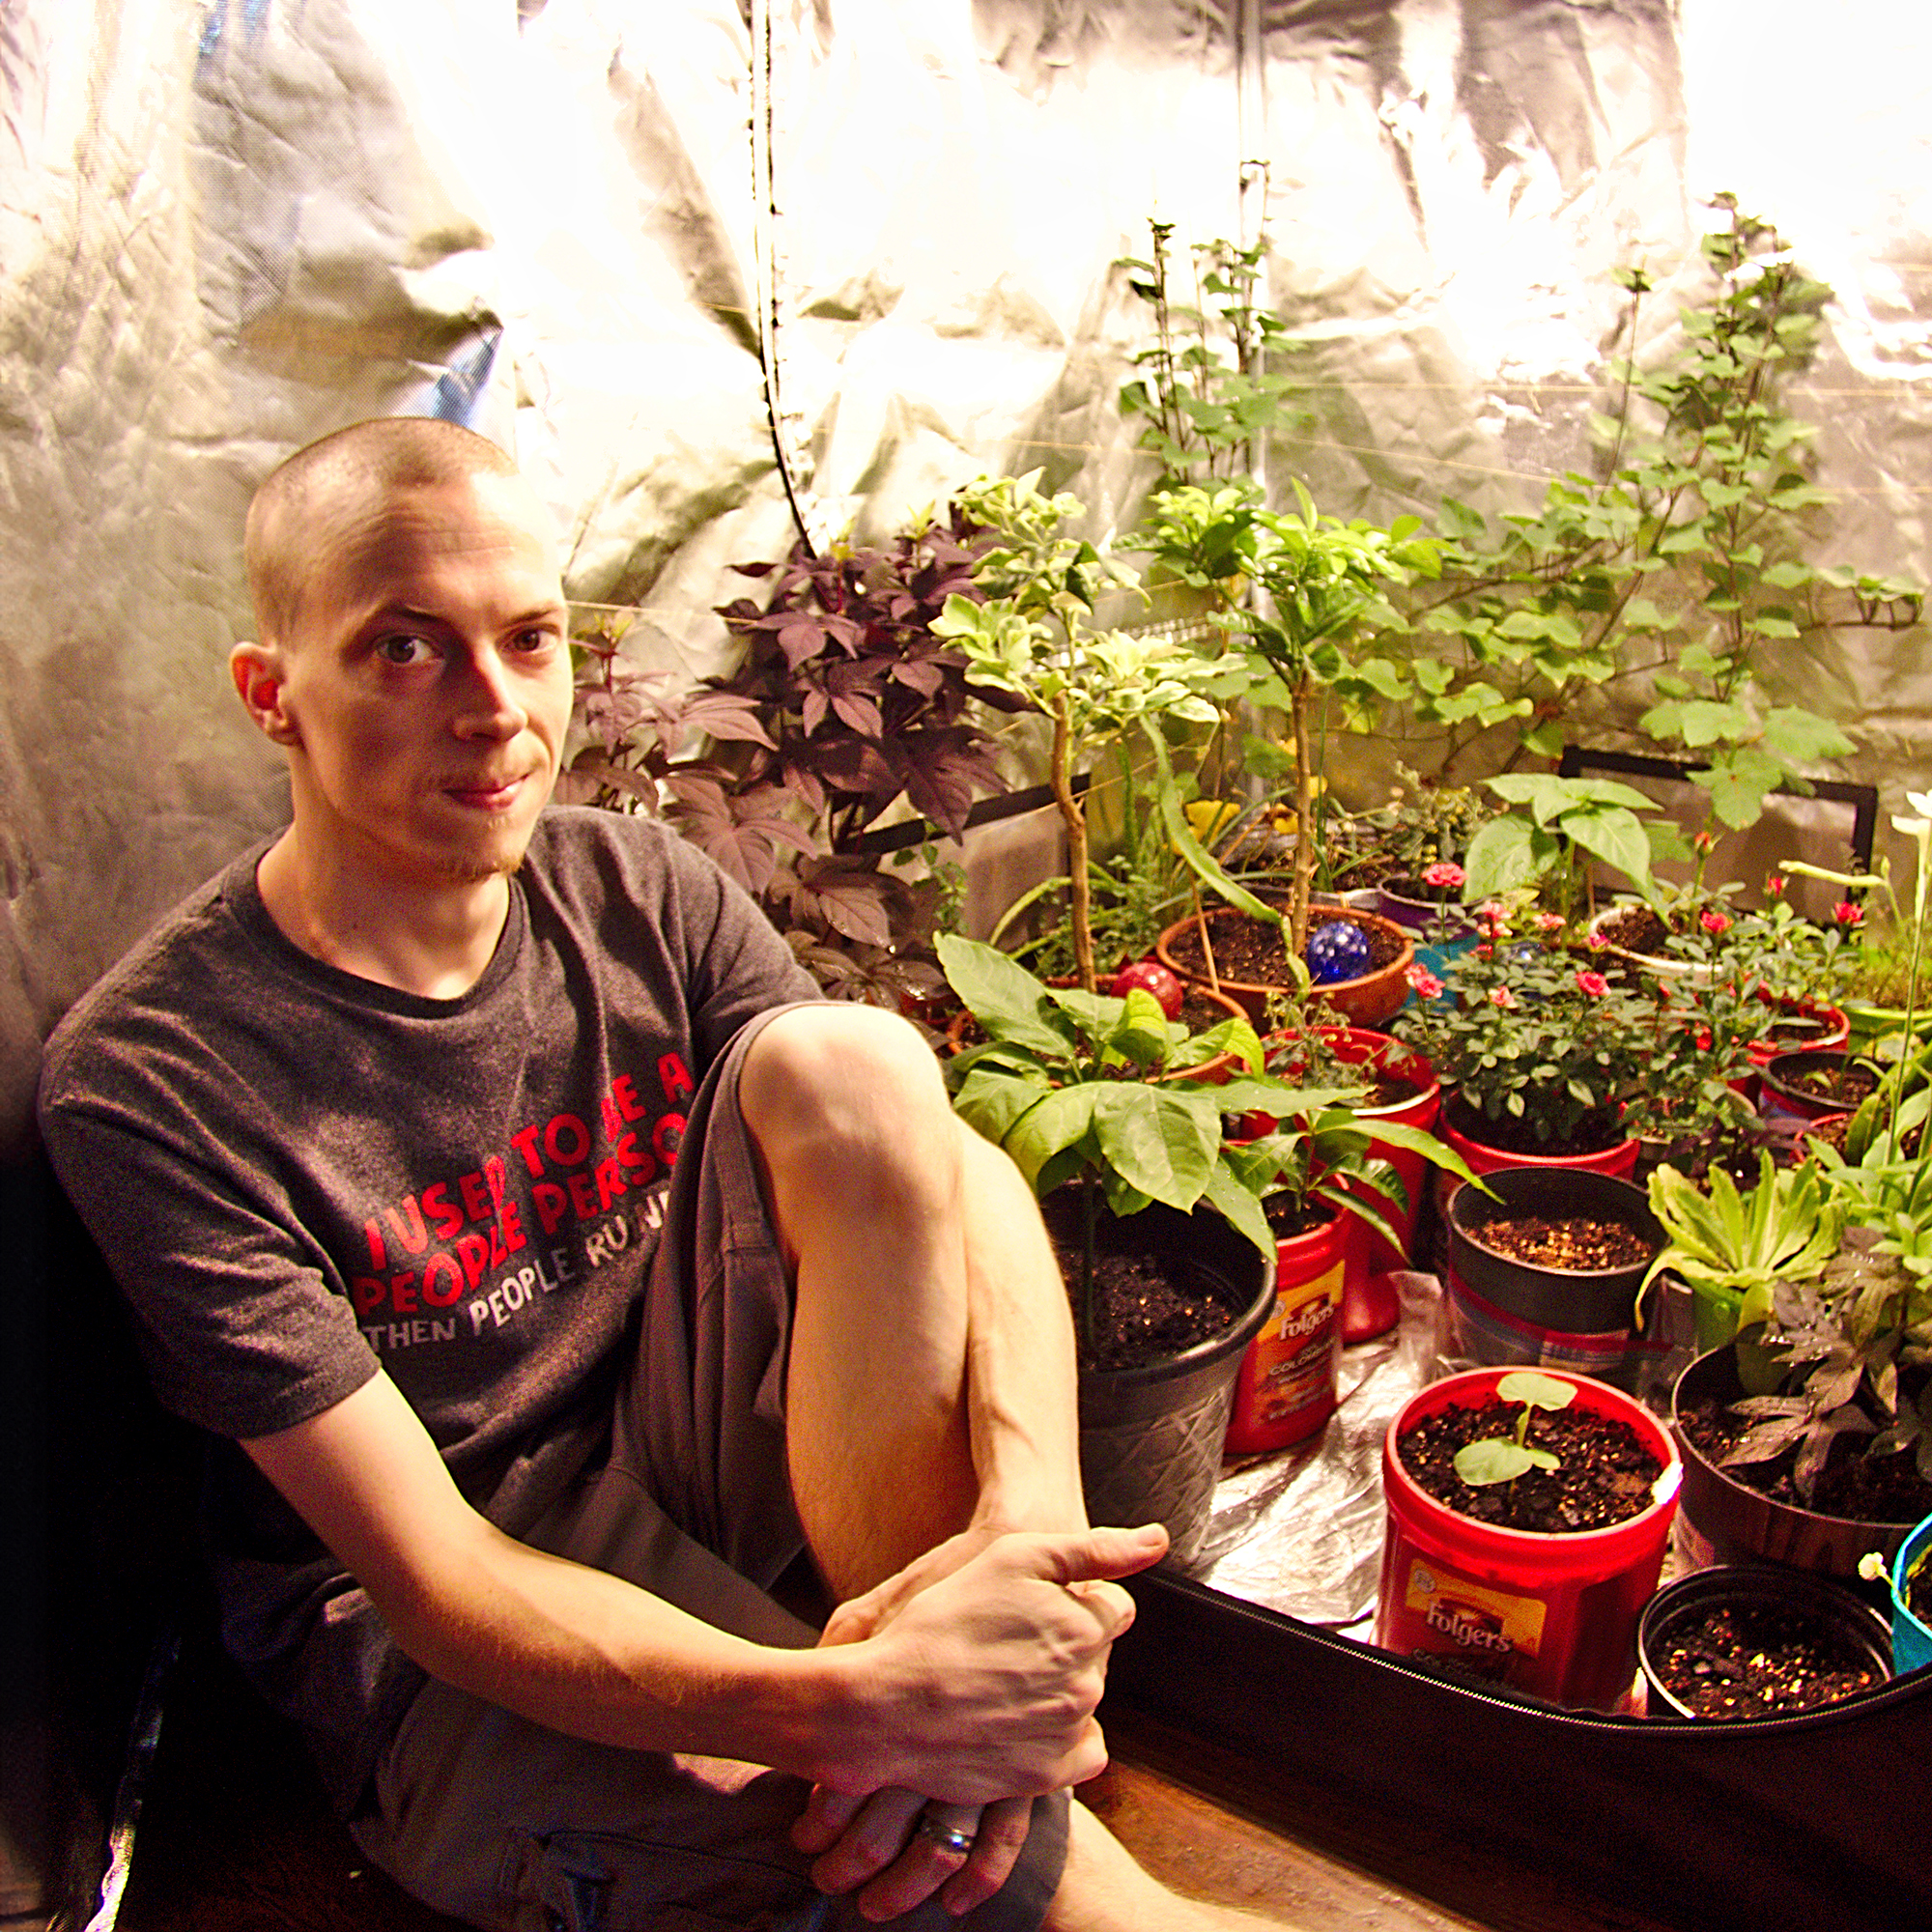
Tyler’s passion began with indoor gardening and deepened as he studied plant-fungi interactions in controlled settings. With a microbiology background focused on fungi, he’s spent over a decade solving tough and intricate gardening problems. After spinal injuries and brain surgery, Tyler’s approach to gardening changed. It became less about the hobby and more about recovery and adapting to physical limits. His growing success shows that disability doesn’t have to stop you from your goals.