Sign up for the Gardening Know How newsletter today and receive a free copy of our e-book "How to Grow Delicious Tomatoes".
You are now subscribed
Your newsletter sign-up was successful
If you’re looking for a super fun yet educational project for the little ones, creating a 2-liter bottle greenhouse fits the bill. Heck, making a soda bottle greenhouse is fun for adults too! Read on to see how to make a pop bottle greenhouse.
How to Make a Pop Bottle Greenhouse
Pop bottle greenhouse instruction couldn’t be simpler. These micro greenhouses can be made with one or two soda bottles with the labels removed. All you need to begin is:
- One or two empty 2-liter soda bottles (or water bottles) that have been thoroughly washed and dried
- A craft knife or sharp scissors
- Potting soil
- Seeds
- A plate to put the soda bottle greenhouse on to catch any drips.
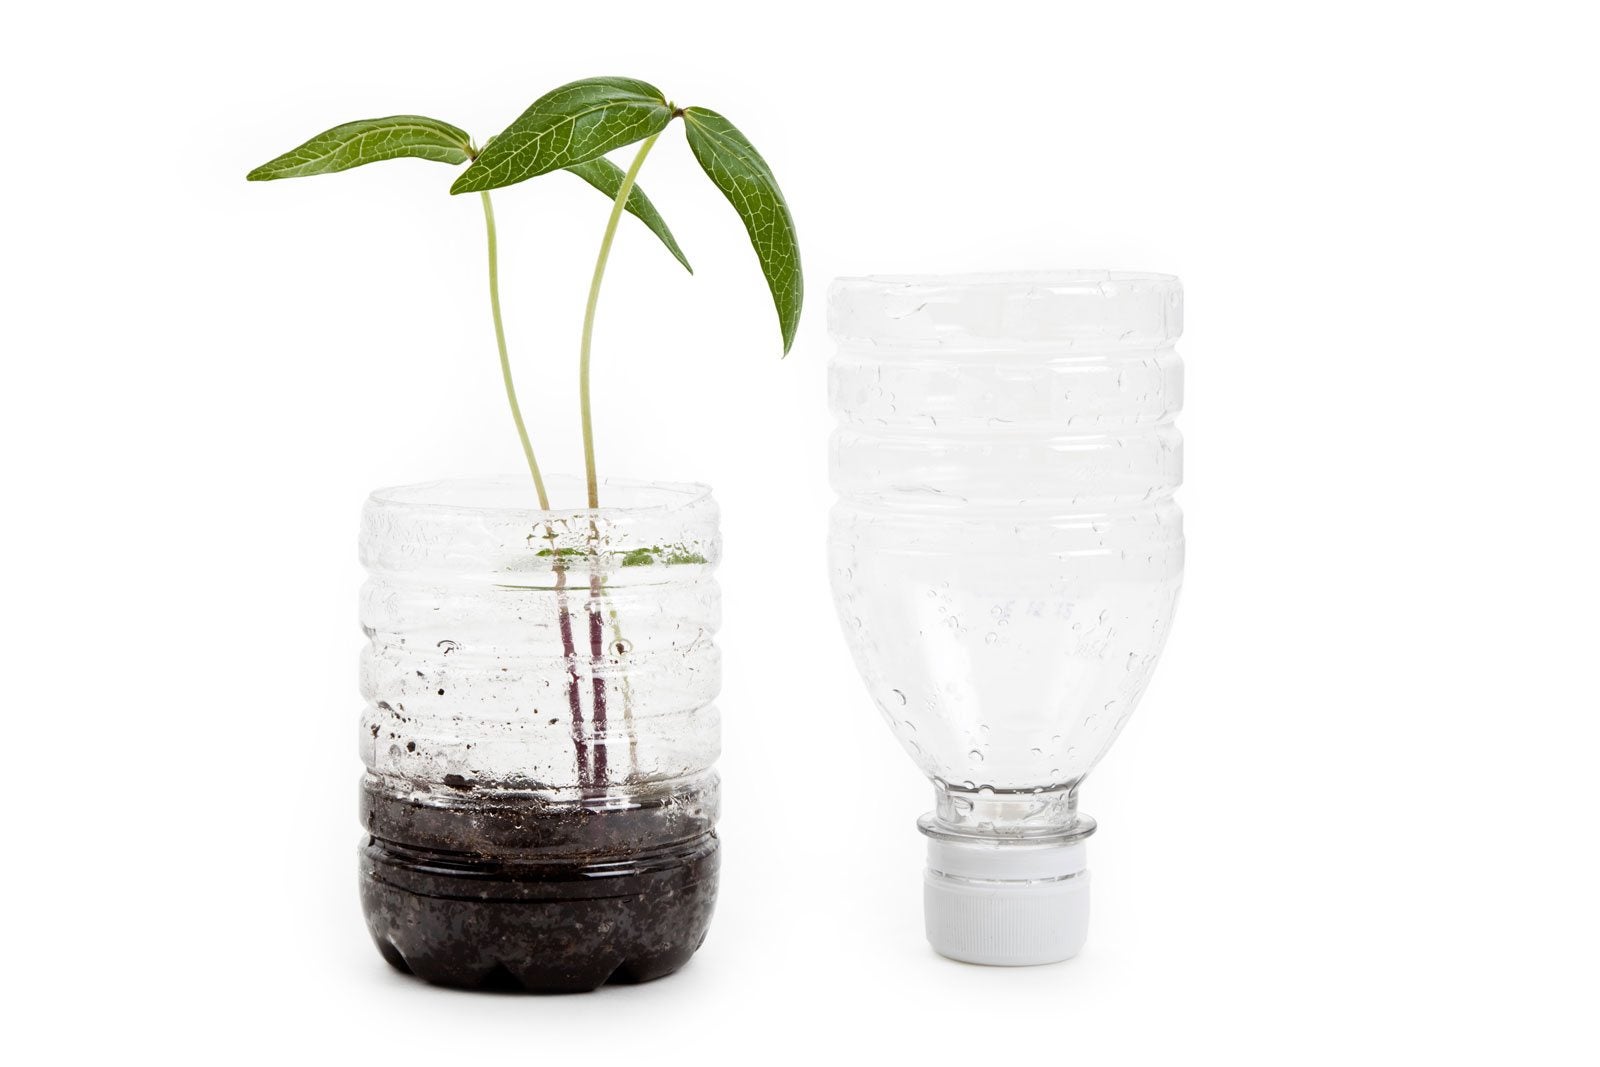
Seeds can be veggie, fruit or flower. You can even plant “free” seeds from your own kitchen pantry. Dried beans and peas can be used, as well as tomato or citrus seeds. These seeds may be hybrid varieties, however, so they may not turn into a replica of the parent but they’re still fun to grow. The first step to pop bottle greenhouse instruction is cutting the bottle. Of course, this should be done by a grown-up if your kids are little. If using one bottle, cut the bottle in half so the bottom piece is deep enough to hold the soil and plants. Poke a few holes in the bottom of the bottle for drainage. The top half of the bottle will be the top of the micro greenhouse with the cap on. You can also use two bottles with one bottle cut 4” high to create the bottom and base and the 2nd bottle cut 9” high for the lid or top of the greenhouse. Again, poke a few holes in the base piece. Now you’re ready to finish creating your 2-liter soda bottle greenhouse. Simply have your child fill the container with soil and plant the seeds. Water the seeds in lightly and replace the lid atop the soda bottle greenhouse. Put your new mini greenhouse on a plate and put it in a sunny spot. The lid will retain moisture and heat so the seeds will sprout quickly. Depending on the type of seed, they should sprout within 2-5 days. Keep the seedlings moist until it is time to plant them in the garden. Once you transplant the seedlings, reuse the bottle greenhouse to start some more. This project teaches kids how their food is grown and allows them to watch all the stages a plant goes through before it finally becomes food on their plates. It is also a lesson in re-purposing or recycling, another lesson good for planet Earth.
Sign up for the Gardening Know How newsletter today and receive a free copy of our e-book "How to Grow Delicious Tomatoes".

Amy Grant has been gardening for 30 years and writing for 15. A professional chef and caterer, Amy's area of expertise is culinary gardening.
