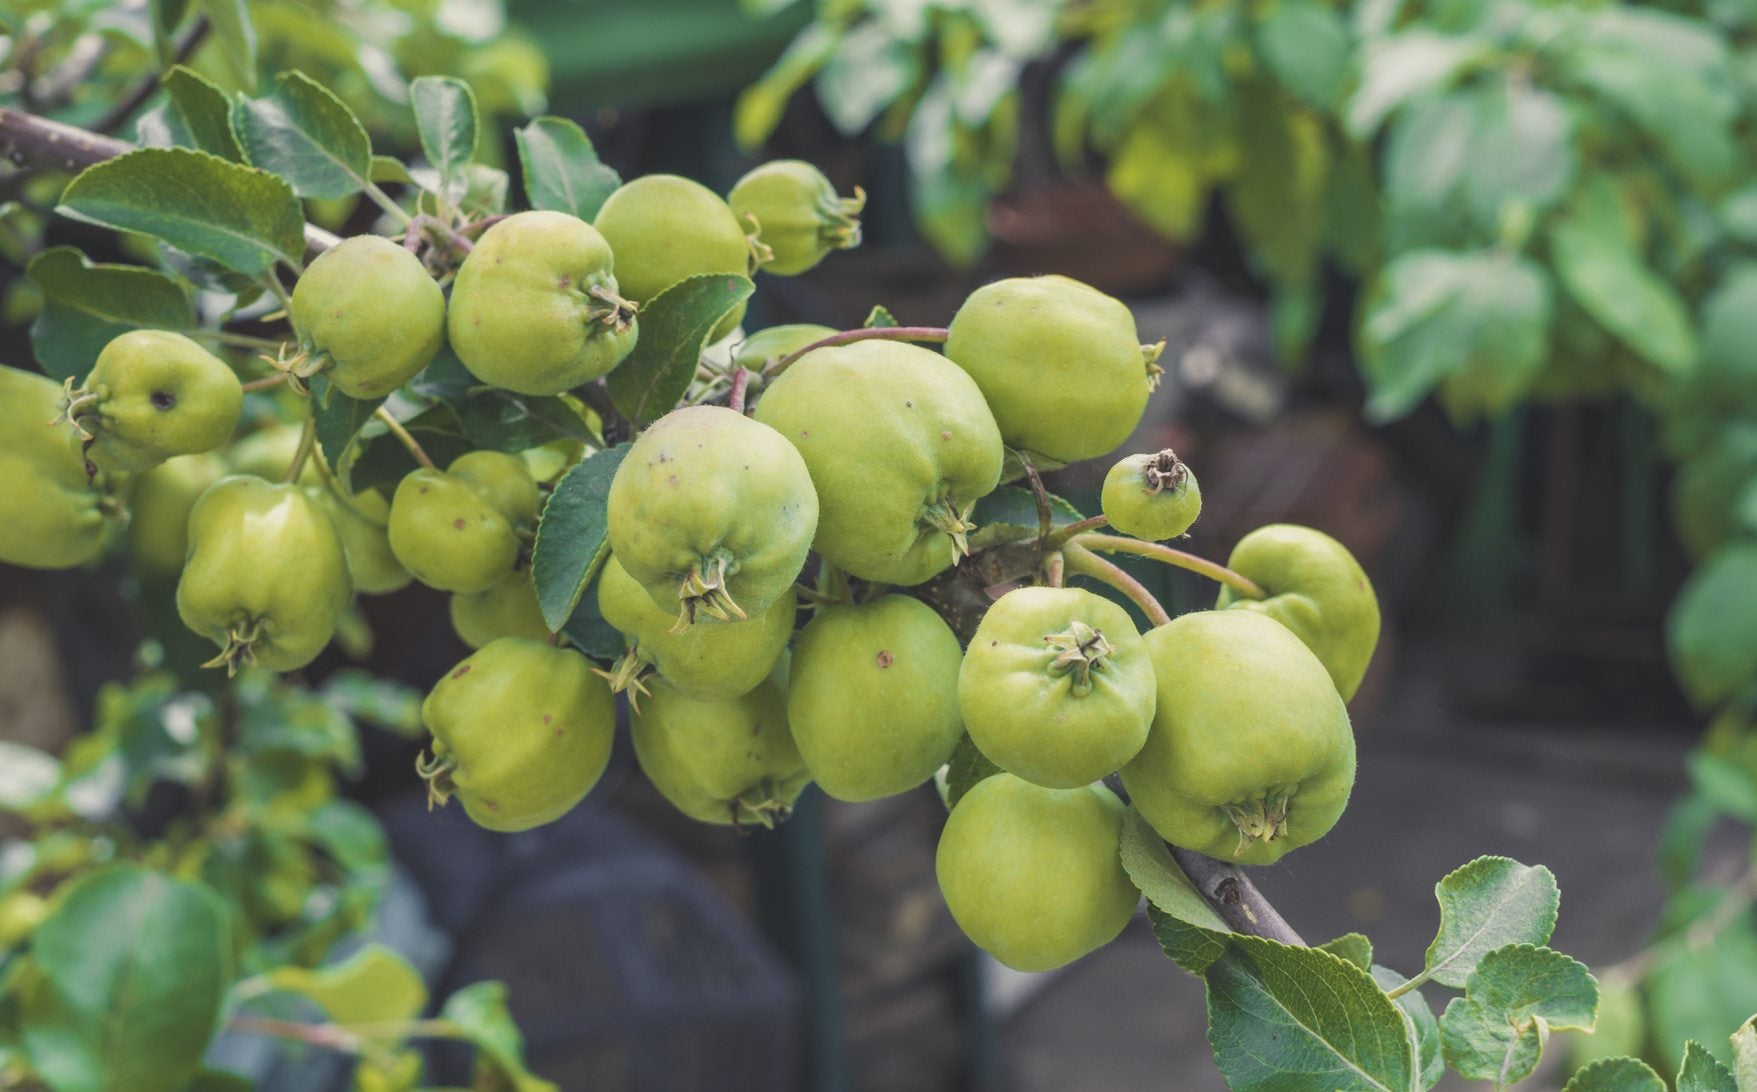
Many apple trees thin themselves naturally to some extent, so it should be no great surprise to see some aborted fruit. Often, however, the tree still holds onto a surplus of fruit which results in small, sometimes misshapen apples. To get the largest, healthiest fruit from an apple tree, you occasionally need to give Mother Nature a hand and thin apple trees. Read on to find out how to thin apple fruit.
Reasons to Thin Apple Trees
Apple crops vary from year to year. In years of plenty, thinning out apples allows the remaining apples to grow larger and healthier. Apple tree thinning removes some of the small apples from the cluster, enabling the tree to expend its energy on the fewer remaining apples. Thinning also gives you an opportunity to inspect the tree to see if there are any diseased or broken limbs or any early signs of insect infestation that can then be effectively treated. Apple tree thinning also reduces the weight of the apple crop on the branches of the tree. This prevents potential breakage of the limbs.
Apple Thinning Guide
The selection, timing, and method for thinning out apples is critical to the end result-- the production of shapely, flavorful, and large fruit. The following apple thinning guide will instruct you on how to thin apple fruit.
How to Thin Apples
Thinning an apple tree can take place throughout the summer but, ideally, you should thin in the late spring. The tree will naturally thin itself, called the “June drop.” This doesn’t always occur in June, however. It depends on your region and the cultivar, but it does happen a few weeks after the fruit sets. It is a good time to re-inspect the tree to see if any manual thinning needs to occur. Prior to thinning the apples, take a good look at the tree to see how bountiful it is bearing this year. Fruit is borne in clusters of two to six small fruit. A large crop means that you did not thin enough the prior year. This means you should be a bit more aggressive when thinning this year. To remove the fruit from the tree, you can pluck by hand or use sterilized, sharp pruning shears or scissors. To sterilize the shears, simply wipe them down with rubbing alcohol. This will prevent any pathogens that may be on the pruners from contaminating the apple tree. Be careful not to damage the spur when you are thinning, which may decrease the successive year’s crop. If you are hand plucking, grasp the small fruit between your fingers and pull backwards so the stem snaps cleanly off. Of the two to six small fruit, thin to one large, healthy apple. First, remove those that are malformed, diseased, or insect damaged. Next, remove those apples that are smaller than the rest of the cluster. Finally, you may have to make a tough choice but it’s all for the good in the end. You may have to remove some apples that seem to be perfectly healthy, a noble sacrifice for the end goal of big, plump, juicy, and crispy fruit. Out of the two to six apples in a cluster, you want to narrow it down to one big, healthy fruit with about 6 to 8 inches (15-20 cm.) between the other apples left on the tree. This single large, healthy fruit is called the “King’s fruit.” If you have two similar looking fruit left on the cluster and just can’t decide which one to thin, remove the one which has less sun exposure. That is, the one on the underside of the leaves. Keep the apple that has the best exposure to light and air. Be methodical when thinning the apple. Begin with one branch at a time and systematically go from limb to limb. This may be a bit time consuming, but it isn’t difficult and the bonus at apple harvest time makes it all worthwhile.
Alternative to Manual Thinning
If all that monkeying around in an apple tree isn’t your cup of tea, there is an alternative to hand thinning. A foliar application of the insecticide Sevin will accomplish the same goal. This product is helpful if the tree is very large or you have a home orchard. The down side is that you do not get to hand pick which apples are being discarded, too many or too few apples may be removed, and/or the possibility of increasing the mite population is possible. If you decide to use Sevin, read the instructions carefully prior to handling. Mix Sevin in the amount of 2 to 4 tablespoons (30-60 ml.) per gallon of water and apply foliarly, enough to really wet the leaves. Apply 10 to 14 days post bloom. Wait another seven days and reassess. The number of remaining fruit may be sufficient or down to a few that can be hand removed or a second application of Sevin can be applied.
Sign up for the Gardening Know How newsletter today and receive a free copy of our e-book "How to Grow Delicious Tomatoes".

Amy Grant has been gardening for 30 years and writing for 15. A professional chef and caterer, Amy's area of expertise is culinary gardening.
