DIY Macramé Hanging Planter: How To Make A Macramé Hanger
Finding room for multiple houseplants can be challenging. One alternative is hanging plants from the ceiling, but you don't need to purchase specially-made planters to do the job. You can make a simple macramé plant holder in less than an hour using materials you might already have around the house.
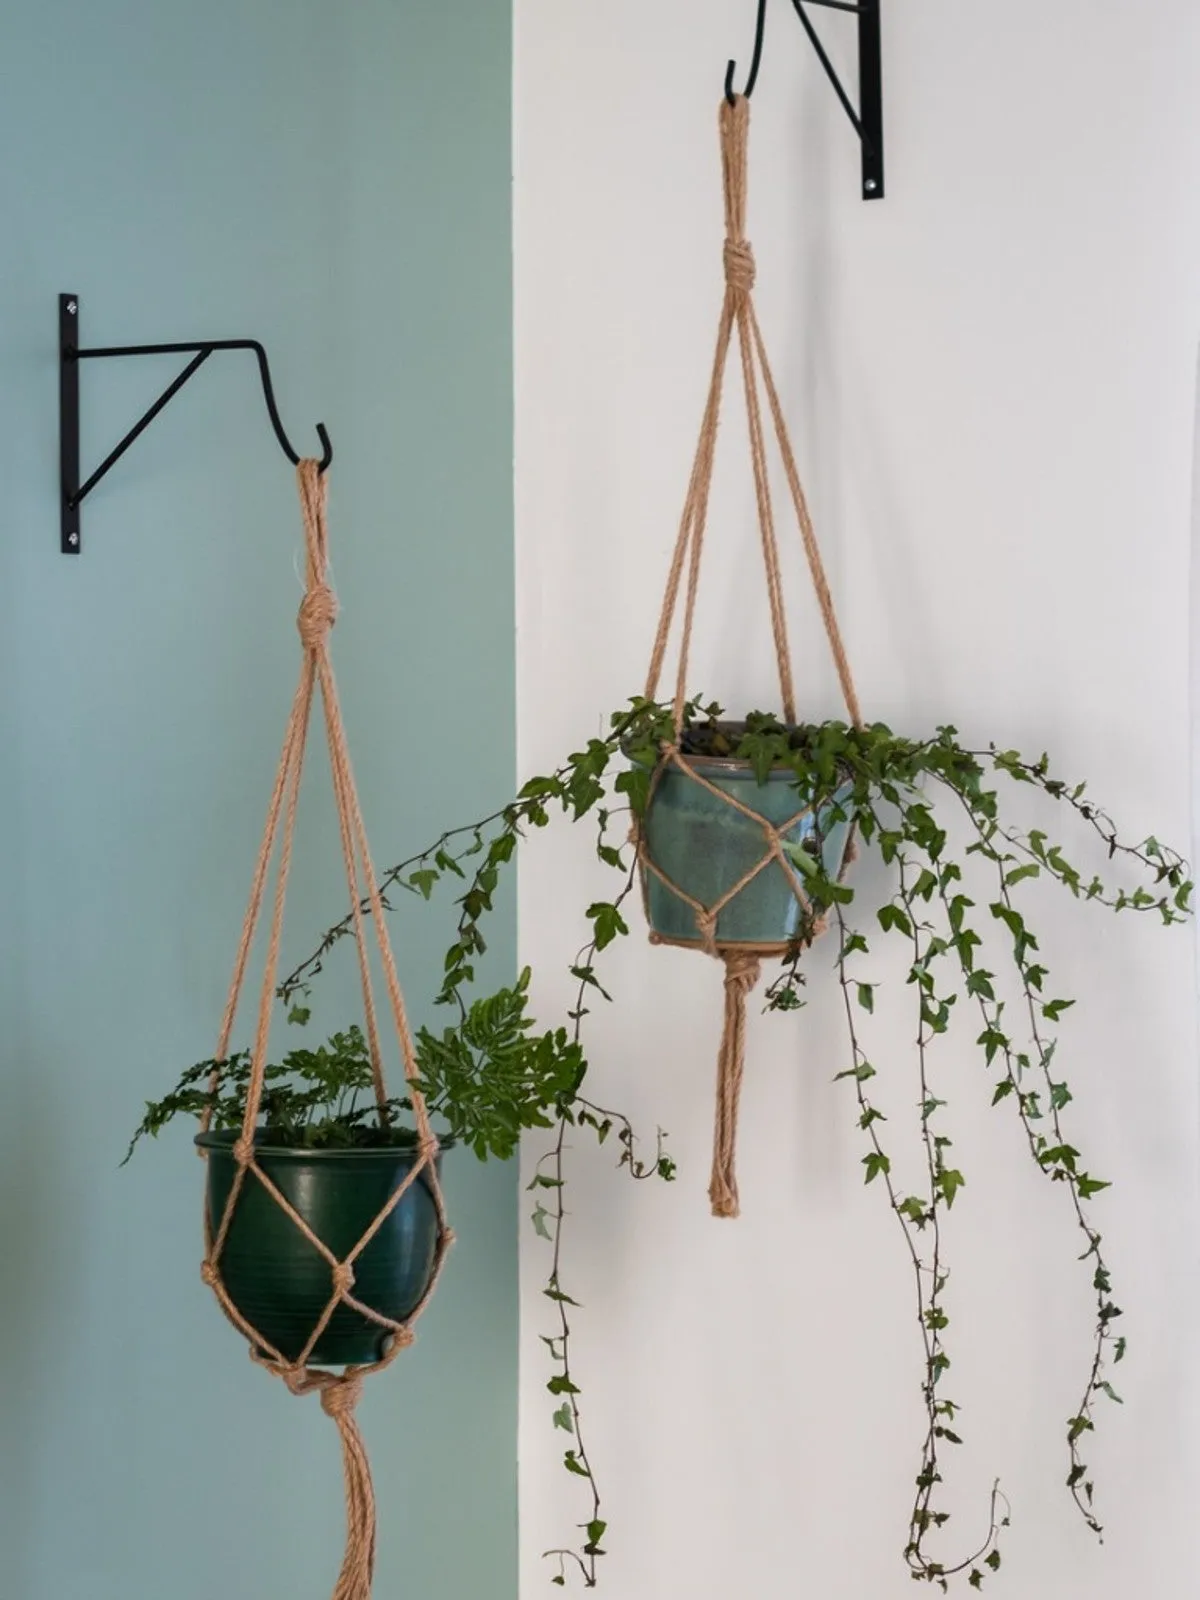
How to Make a Macramé Planter
Here are the materials you will need to make an easy macramé plant hanger:
- Heavy-duty cord – For a 6 to 8 inch (15-20 cm.) pot, you will need four 8 foot (2 m.) strands of heavy-duty cord. Choose a color of macramé yarn that accents your home décor or go for the rustic look and use heavy-duty jute.
- 1 inch (2.5 cm.) metal macramé hoop or heavy-duty carabiner clip (optional)
- Decorative beads (optional)
- Planters – Choose an attractive or decorative 6 to 8 inch (15-20 cm.) planter made from plastic, terra cotta, ceramic, metal, or fiberglass (if you select a planter without drainage holes, you can nest a slightly smaller planter with holes inside the larger one – this will prevent dirt and water from falling onto the floor).
Step one – Tying the knot for hanging the simple macramé plant holder. Fold the four pieces of cord in half making sure the ends are fairly even. Insert the folded section of the cord through the macramé hoop to form a loop. Thread the loose ends of the cord through the loop. Pull the loose ends of the cord tight to make a knot around the macramé hoop.

Alternative method: If you choose not to use a macramé hoop, fold the cord in half and tie a knot to form a 2 inch (5 cm.) loop for hanging the macramé plant hanger. If desired, a carabiner clip can be attached to this loop to make hanging the planter easier.
Step two – Tying the knots to hold the planter. Next, separate the cords into pairs (if desired, decorative beads can be strung onto each pair of cords before continuing). For each pair of cords, measure 2 feet (61 cm.) from the hoop. Then tie a knot in each pair. Form new pairs by taking one cord from each original pair and partnering it with one cord from the adjacent knot. Measure down 6 inches (15 cm.) and tie knots in the new pairs.
Step three – Finishing the simple macramé plant holder. Gather all the macramé cords and tie a knot approximately 3 inches (8 cm.) below the last row of knots. Trim the ends of the cords so they are even. If desired, the cords below the last knot can be untwisted and gently brushed to make it fluffy.
Additional Macramé Planter Designs
Once you've mastered the basic technique for creating this simple macramé plant holder, you can experiment with additional macramé planter designs:
- Use traditional macramé knots to create flat or twisted cords.
- Weave in an array of beads to add bling to your macramé plant hanger.
- Select two or more colors of cord to add eye appeal.
- Cut your cords longer and make a double or triple macramé plant holder. Simply add a new area to hold a planter every 2 feet (61 cm.).
- Make multiple macramé planters and hang several plants at different heights in front of a large window.
