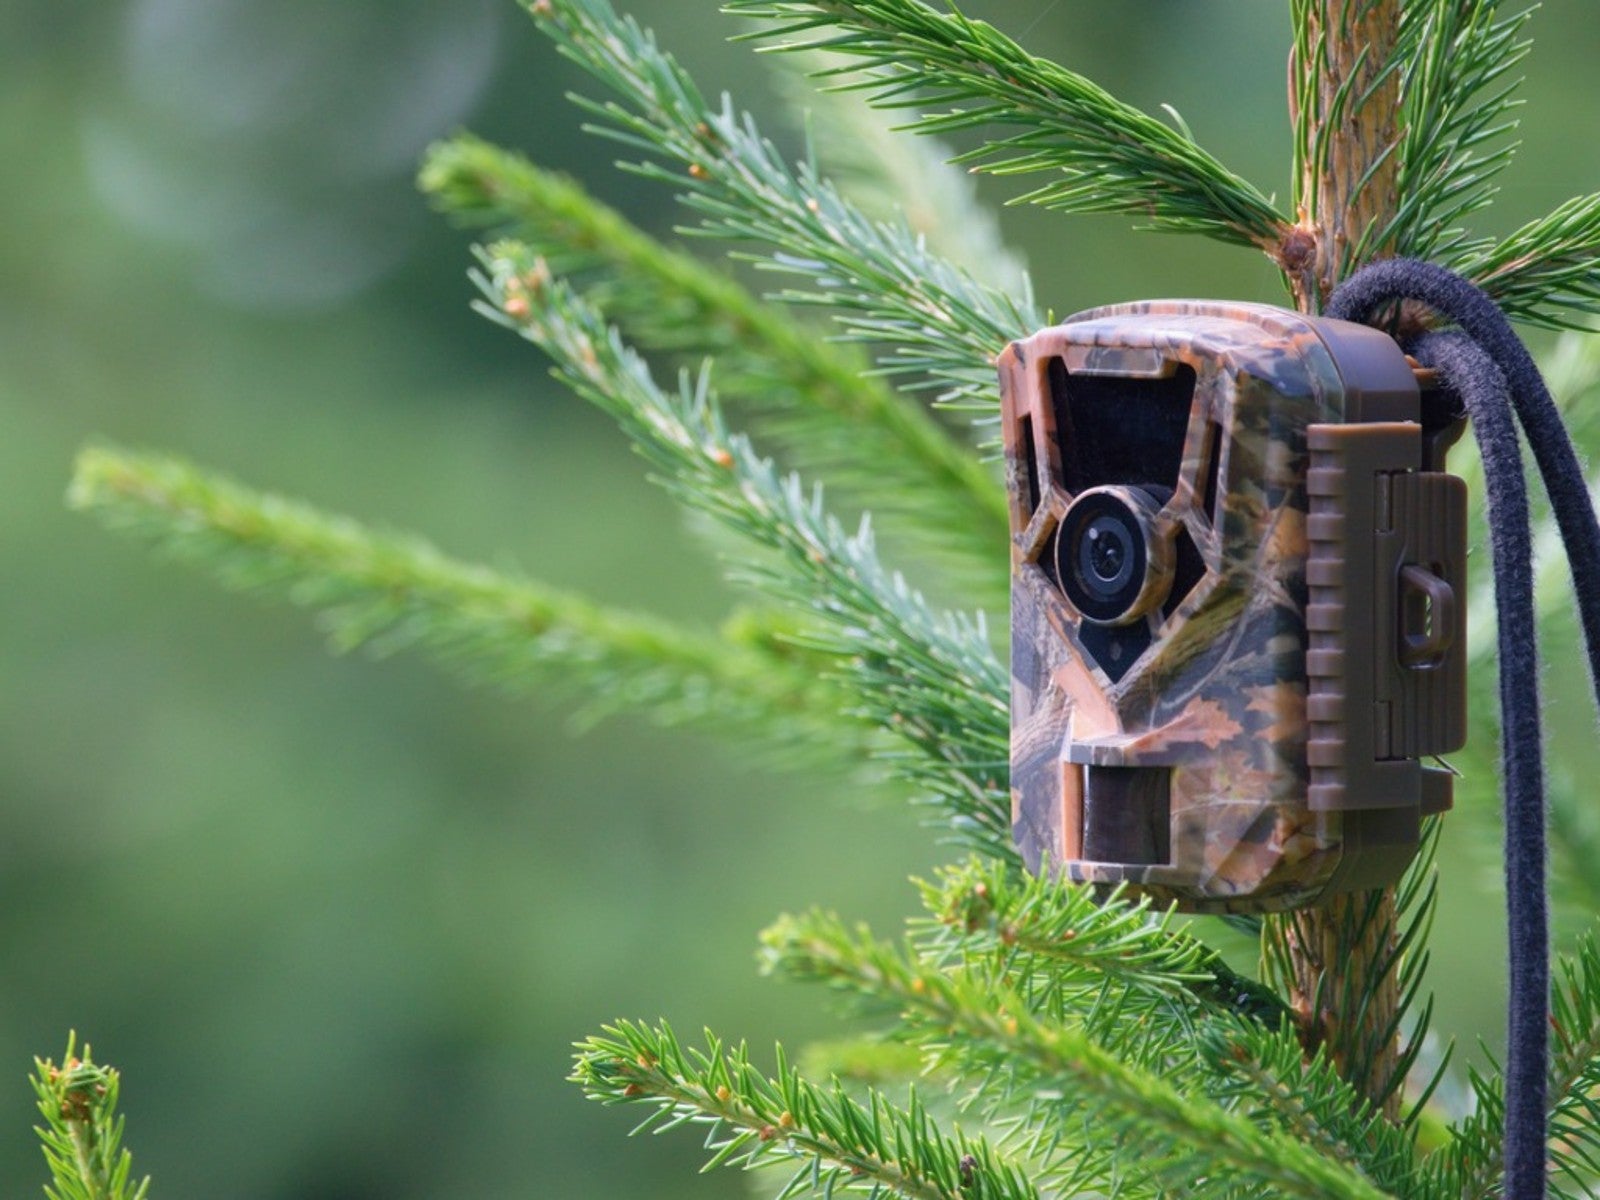
Choosing And Using An Outdoor Wildlife Camera


A wildlife camera for backyard settings is a fun way to see what goes on in your yard. Capture daytime activity and nocturnal animals. You can find out who’s been nibbling on your veggies or just find out more about your local wildlife. Buying and setting up trail cameras is easy and affordable.
How Do Trail Cameras Work?
A trail camera, also known as a wildlife camera, is a remote camera you can set up outside to take pictures and video. The idea is that you can capture images that would be impossible to get otherwise because your presence would keep animals away.
The camera doesn’t run or take pictures constantly. It is triggered by motion. The devices store the images and videos so you can view them later. Trail cameras were originally used for wildlife research, but the cost has come down significantly, giving more people access.
Choosing a Camera
Not all wildlife cameras are the same. Your choices vary by price and features. Choose the features you want and balance that against a price you can afford. Available features include:
- A wildlife camera with night vision is a must because many animals are more active at night.
- It should also have an infrared flash, which allows you to get pictures in the dark without startling the wildlife.
- A memory card allows you to store more images and videos.
- Video capability is not available on all cameras.
- A screen on the camera allows you to view captures instantly, without connecting to another device.
- Detection range is how far the camera can see movement.
- The trigger speed is how quickly it takes a picture after detecting movement.
- Recovery speed is the time the camera needs to recover before the next image.
Setting up a Backyard Wildlife Camera
You’ll need to read your camera’s instructions to figure out how to get started and how to change settings and start recording. Once you’re familiar with how to operate it, you need to find the perfect location.
The location depends on your purpose. For instance, if you need to find out which animal is visiting your bird feeder during the night, it should face that area. If you are just interested in viewing your backyard wildlife, try areas animals are likely to visit: a stream or pond, along a game trail, or near a den or nest.
You don’t necessarily need a trail camera mount, but it can help provide stability. Most cameras come with a strap that you can use to secure it to a post, tree, or other stationary object.
Sign up for the Gardening Know How newsletter today and receive a free copy of our e-book "How to Grow Delicious Tomatoes".
For daytime images, set your camera up facing north or south. An east-west orientation will cause glare. Place the camera at a height that makes sense for what you hope to capture, higher for larger animals like deer and lower for smaller ground animals.
Before leaving the camera out, test the positioning. Make sure the images are of the location you want to view and that there are no obstructions. Finding animals on your trail camera might take some trial and error, so be patient, try new spots, and have fun with it.

Mary Ellen Ellis has been gardening for over 20 years. With degrees in Chemistry and Biology, Mary Ellen's specialties are flowers, native plants, and herbs.