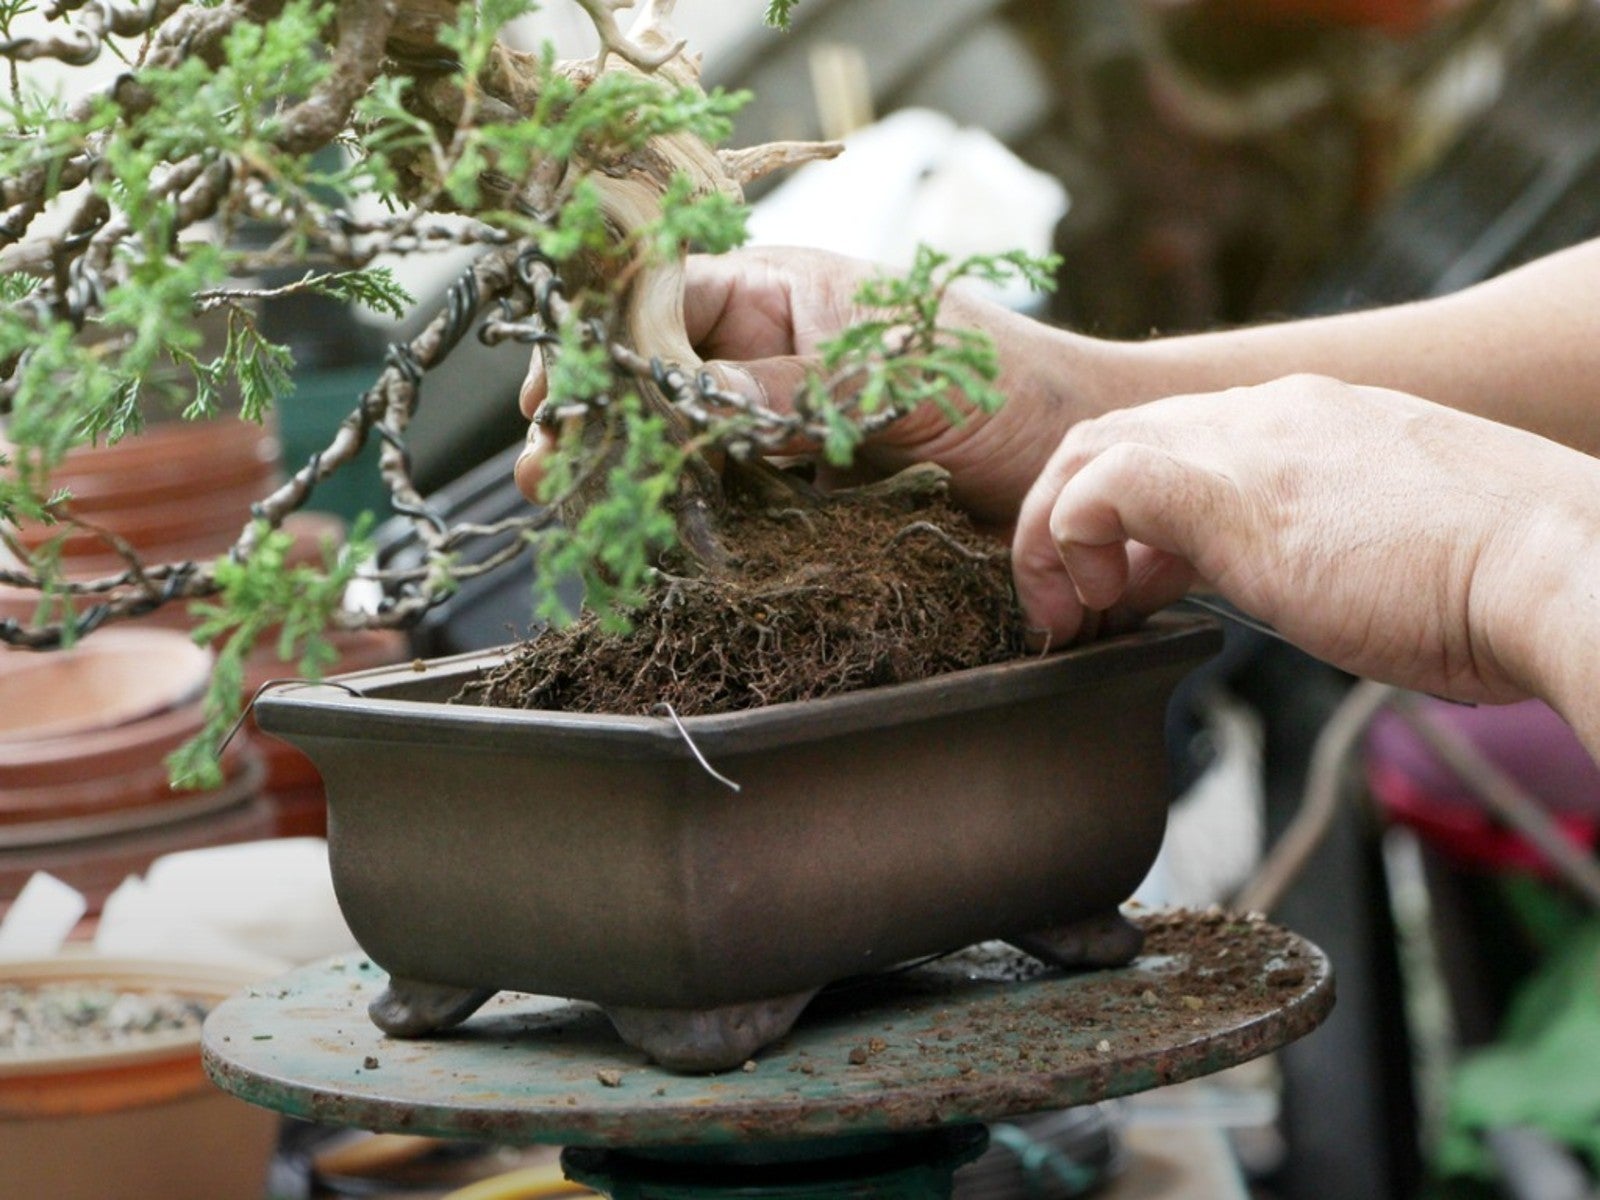
Tips For Repotting Bonsai Trees


Bonsai trees are small, much smaller than the same tree would grow in the ground. This makes some gardeners think that bonsai do not need repotting. This is not true, and failure to repot a bonsai tree when it becomes pot-bound can easily result in its demise.
If you are wondering when and how to repot bonsai, read on. We’ll give you all the information you need to accomplish the potting chore quickly and safely.
When to Repot a Bonsai?
Bonsai, like other potted plants, need to be repotted when they become root bound. This means when the roots grow too large for the container and start to impact drainage. One way to figure this out is to keep a close eye on how quickly water drains through the pot. When drainage seems to be taking longer, consider repotting.
The ideal season for transplanting most deciduous bonsai is spring, after the tree breaks dormancy but before it leafs out. During the winter, the tree stores up energy in its roots, but in spring it begins to move back up into the branches. Dormant leaf and flower buds swell at this point, signaling the end of dormancy. Conifers, however, should be transplanted in winter, before dormancy ends.
How to Transplant a Bonsai Tree
The steps for transplanting a bonsai tree are very similar to the steps for transplanting any container plant. These include:
- selecting a new container, if needed
- getting appropriate bonsai soil
- removing the root ball of the plant to be moved from its current container
- trimming the roots
- replanting the bonsai in the new pot
Special Bonsai Container Considerations
Before transplanting a bonsai, you need an understanding of different levels of bonsai containers. All bonsai plants start out their bonsai lives in training pots, large-diameter containers with good drainage and a depth of about 10 inches (25 cm.). These training pots help young trees to transition from a deep container or garden bed to the shallow bonsai pot.
The young trees stay in training containers until their root system and foliage develop. They can then be moved to traditional bonsai pots. First, all of the bonsai foliage work must be completed. This includes the pruning, wiring and pinching work to shape the tree’s branches and canopy.
Sign up for the Gardening Know How newsletter today and receive a free copy of our e-book "How to Grow Delicious Tomatoes".
A tree in a bonsai container is root pruned, then returned to the same container. The only time a container needs changing is when the tree has just grown out of the starter pot.
Removing the Root Ball
Removing the root ball of a potted plant can be easy or it can be tricky. Don’t get discouraged if it’s hard, since the more difficult it is to remove the root ball, the more the bonsai needs repotting. Generally, the smaller the pot, the more frequently the plant requires repotting.
Removing the root ball from its pot might just be a matter of turning the pot upside-down and easing the root ball out. However, if the roots are tight, using gardening tools is necessary. The idea is to avoid breaking any roots as they are extracted.
Trim the Roots
Once the bonsai root ball is exposed, it is time to groom the roots. Comb and untangle them, trimming out those that are wiry or stiff or wider than a pencil, to encourage more feeder roots. You should remove about one inch of roots and attached soil from the sides and bottom of the root ball.
Spread the remaining roots out in the container. Add bonsai soil or bonsai soilless mix, then water the plant thoroughly. Place the newly potted plant in a dry location, protected from sun and wind. Water the soil or soilless mix if it feels dry.

Teo Spengler is a master gardener and a docent at the San Francisco Botanical Garden, where she hosts public tours. She has studied horticulture and written about nature, trees, plants, and gardening for more than two decades, following a career as an attorney and legal writer. Her extended family includes some 30 houseplants and hundreds of outdoor plants, including 250 trees, which are her main passion. Spengler currently splits her life between San Francisco and the French Basque Country, though she was raised in Alaska, giving her experience of gardening in a range of climates.