Staking An Amaryllis: Types Of Amaryllis Support Stakes


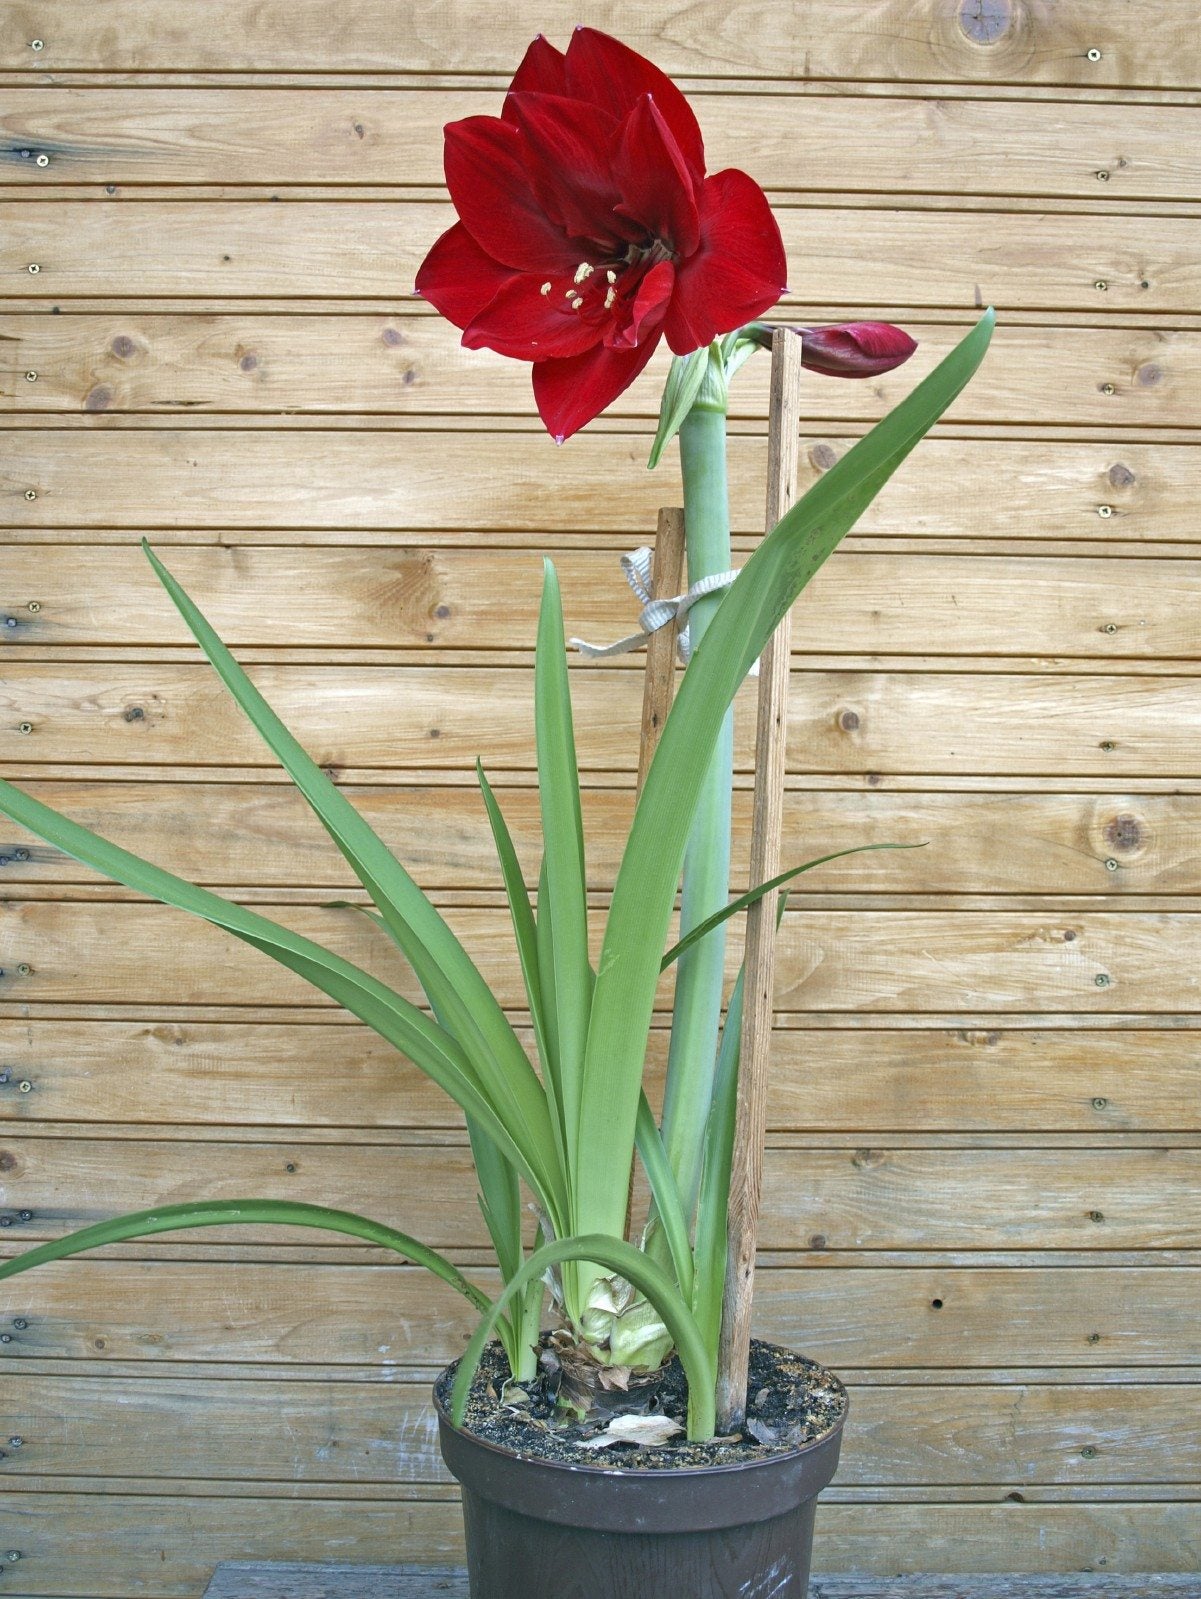
Gardeners love amaryllis (Hippeastrum sp.) for their simple, elegant blossoms and their fuss-free cultural requirements. The tall amaryllis stalks grow from bulbs, and each stalk bears four huge blooms that are excellent cut flowers. If your blooming plant gets top-heavy, you might need to learn about staking an amaryllis. Read on for information about amaryllis care when your plant requires a little extra support.
Staking an Amaryllis
You’ll have to start staking an amaryllis when the stems threaten to topple under the weight of the flowers. This is especially likely if you are growing a cultivar that offers large, double blossoms, like ‘Double Dragon.’ The idea behind staking amaryllis plants is to provide them with amaryllis support stakes that are stronger and sturdier than the stems themselves. On the other hand, you don’t want to use anything so big that the amaryllis plant support detracts from the beauty of the long-legged flower.
Ideal Support for Amaryllis
The support for amaryllis plants must include two parts. Your amaryllis plant support stake must have both the stake that is inserted into the ground beside the stem and also something attaching the stem to the stake. Ideal amaryllis support stakes are about the thickness of a wire clothes hanger. You can buy them in commerce, but it is cheaper to make your own.
Making Amaryllis Support Stakes
In order to create a stake for supporting an amaryllis, you need one wire clothes hanger, plus wire clippers and a pair of needle-nose pliers. Be sure to choose a sturdy hanger, not a flimsy one. Clip off the top section (the hanger section) from the clothes hanger. Straighten out the wire using the needle-nose pliers. Now create a rectangle at one end of the wire. This will attach the plant stems to the stake. The rectangle should end up 1.5 inches (4 cm.) wide by 6 inches (15 cm.) long. Use the needle-nose pliers to make 90-degree bends in the wire. Make the first bend at 2.5 inches (6 cm.) instead of 1.5 inches (4 cm.), to allow sufficient wire for a clasp. Make the second 90-degree bend 6 inches (15 cm.) later, the third should be 1.5 inches (4 cm.) after that. Bend back the first inch (2.5 cm.) of the 2.5 inch (6 cm.) segment in a U-shape. Then bend the entire rectangle so it is perpendicular to the length of the wire with the open side facing up. Insert the bottom end of the stake into the “leaf edge” side of the bulb. Push it in close to the bulb nose and keep pushing until it touches the bottom of the pot. Open the “latch” of the rectangle, gather flower stems into it, then close it again.
Sign up for the Gardening Know How newsletter today and receive a free copy of our e-book "How to Grow Delicious Tomatoes".

Teo Spengler is a master gardener and a docent at the San Francisco Botanical Garden, where she hosts public tours. She has studied horticulture and written about nature, trees, plants, and gardening for more than two decades, following a career as an attorney and legal writer. Her extended family includes some 30 houseplants and hundreds of outdoor plants, including 250 trees, which are her main passion. Spengler currently splits her life between San Francisco and the French Basque Country, though she was raised in Alaska, giving her experience of gardening in a range of climates.