Do You Really Have to Dig Up Bulbs for Winter? 3 Easy Ways to Overwinter Them
Is the messy, traditional dig-and-store method worth the effort, or can you get away with one of these easy alternatives?

Liz Baessler
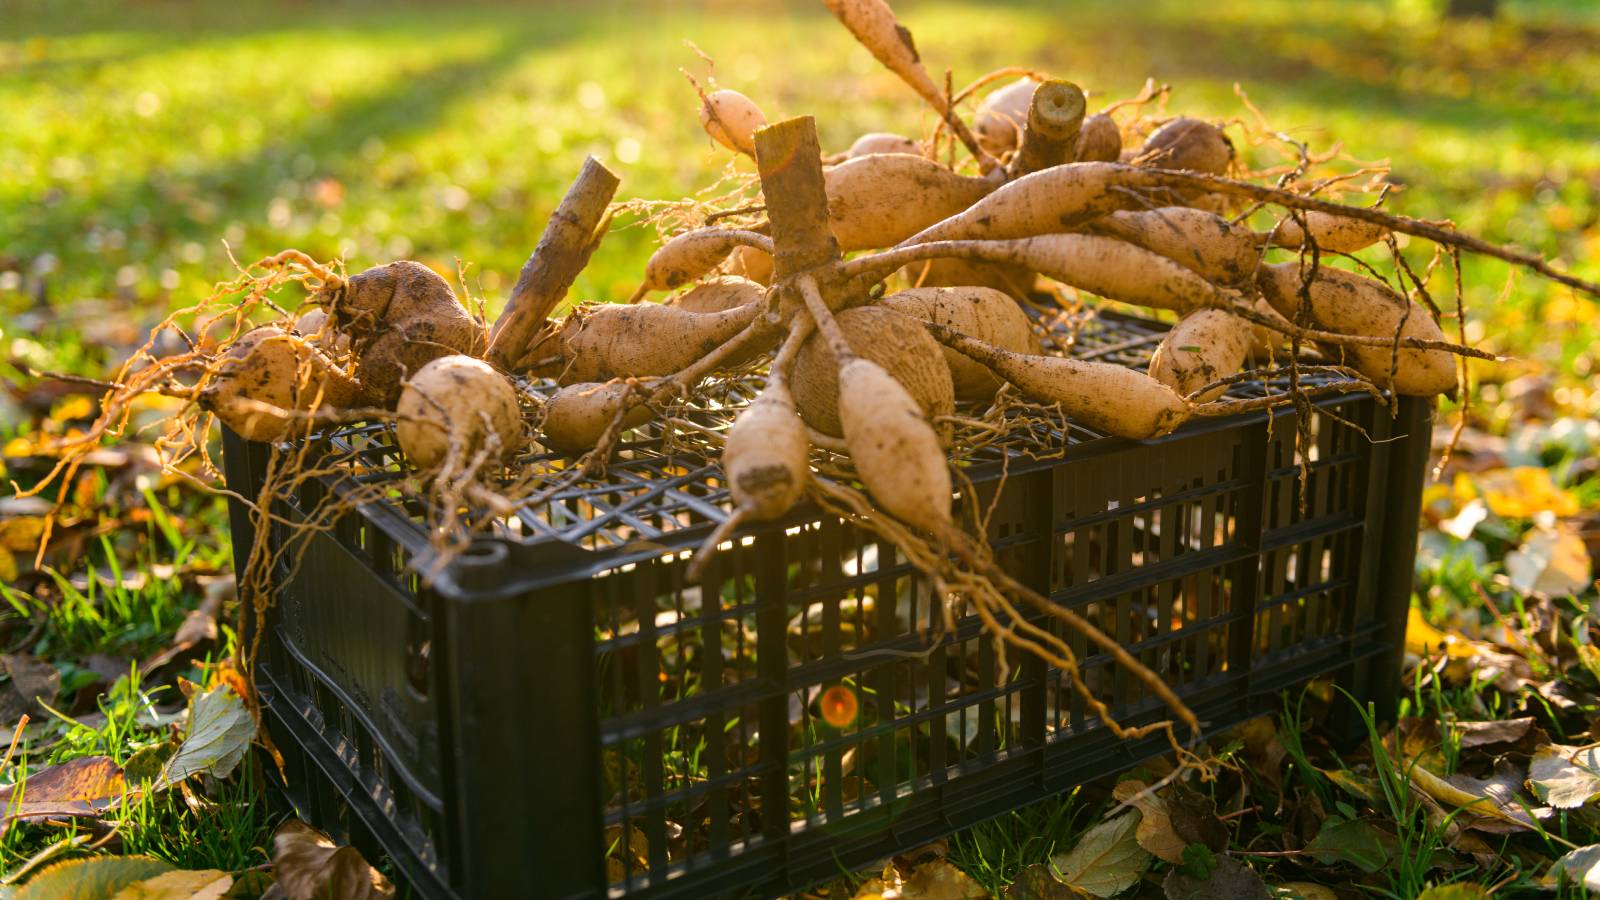
Frost nips the air and your dahlias droop. The common understanding is that you need to dig up your tender bulbs before the ground freezes. Clean them off, let them dry a spell, then pack them away in a cool spot. Come spring, they burst back with even more flowers. It’s worth the fuss for that extra color punch.
...Or is it? Does the thought of digging in the cold fall soil make you shiver? Does planting bulbs all over again in spring set your teeth on edge? Do you really have to go through all that fuss just to keep your favorites? The answer is: not always.
1. Ground Insulation
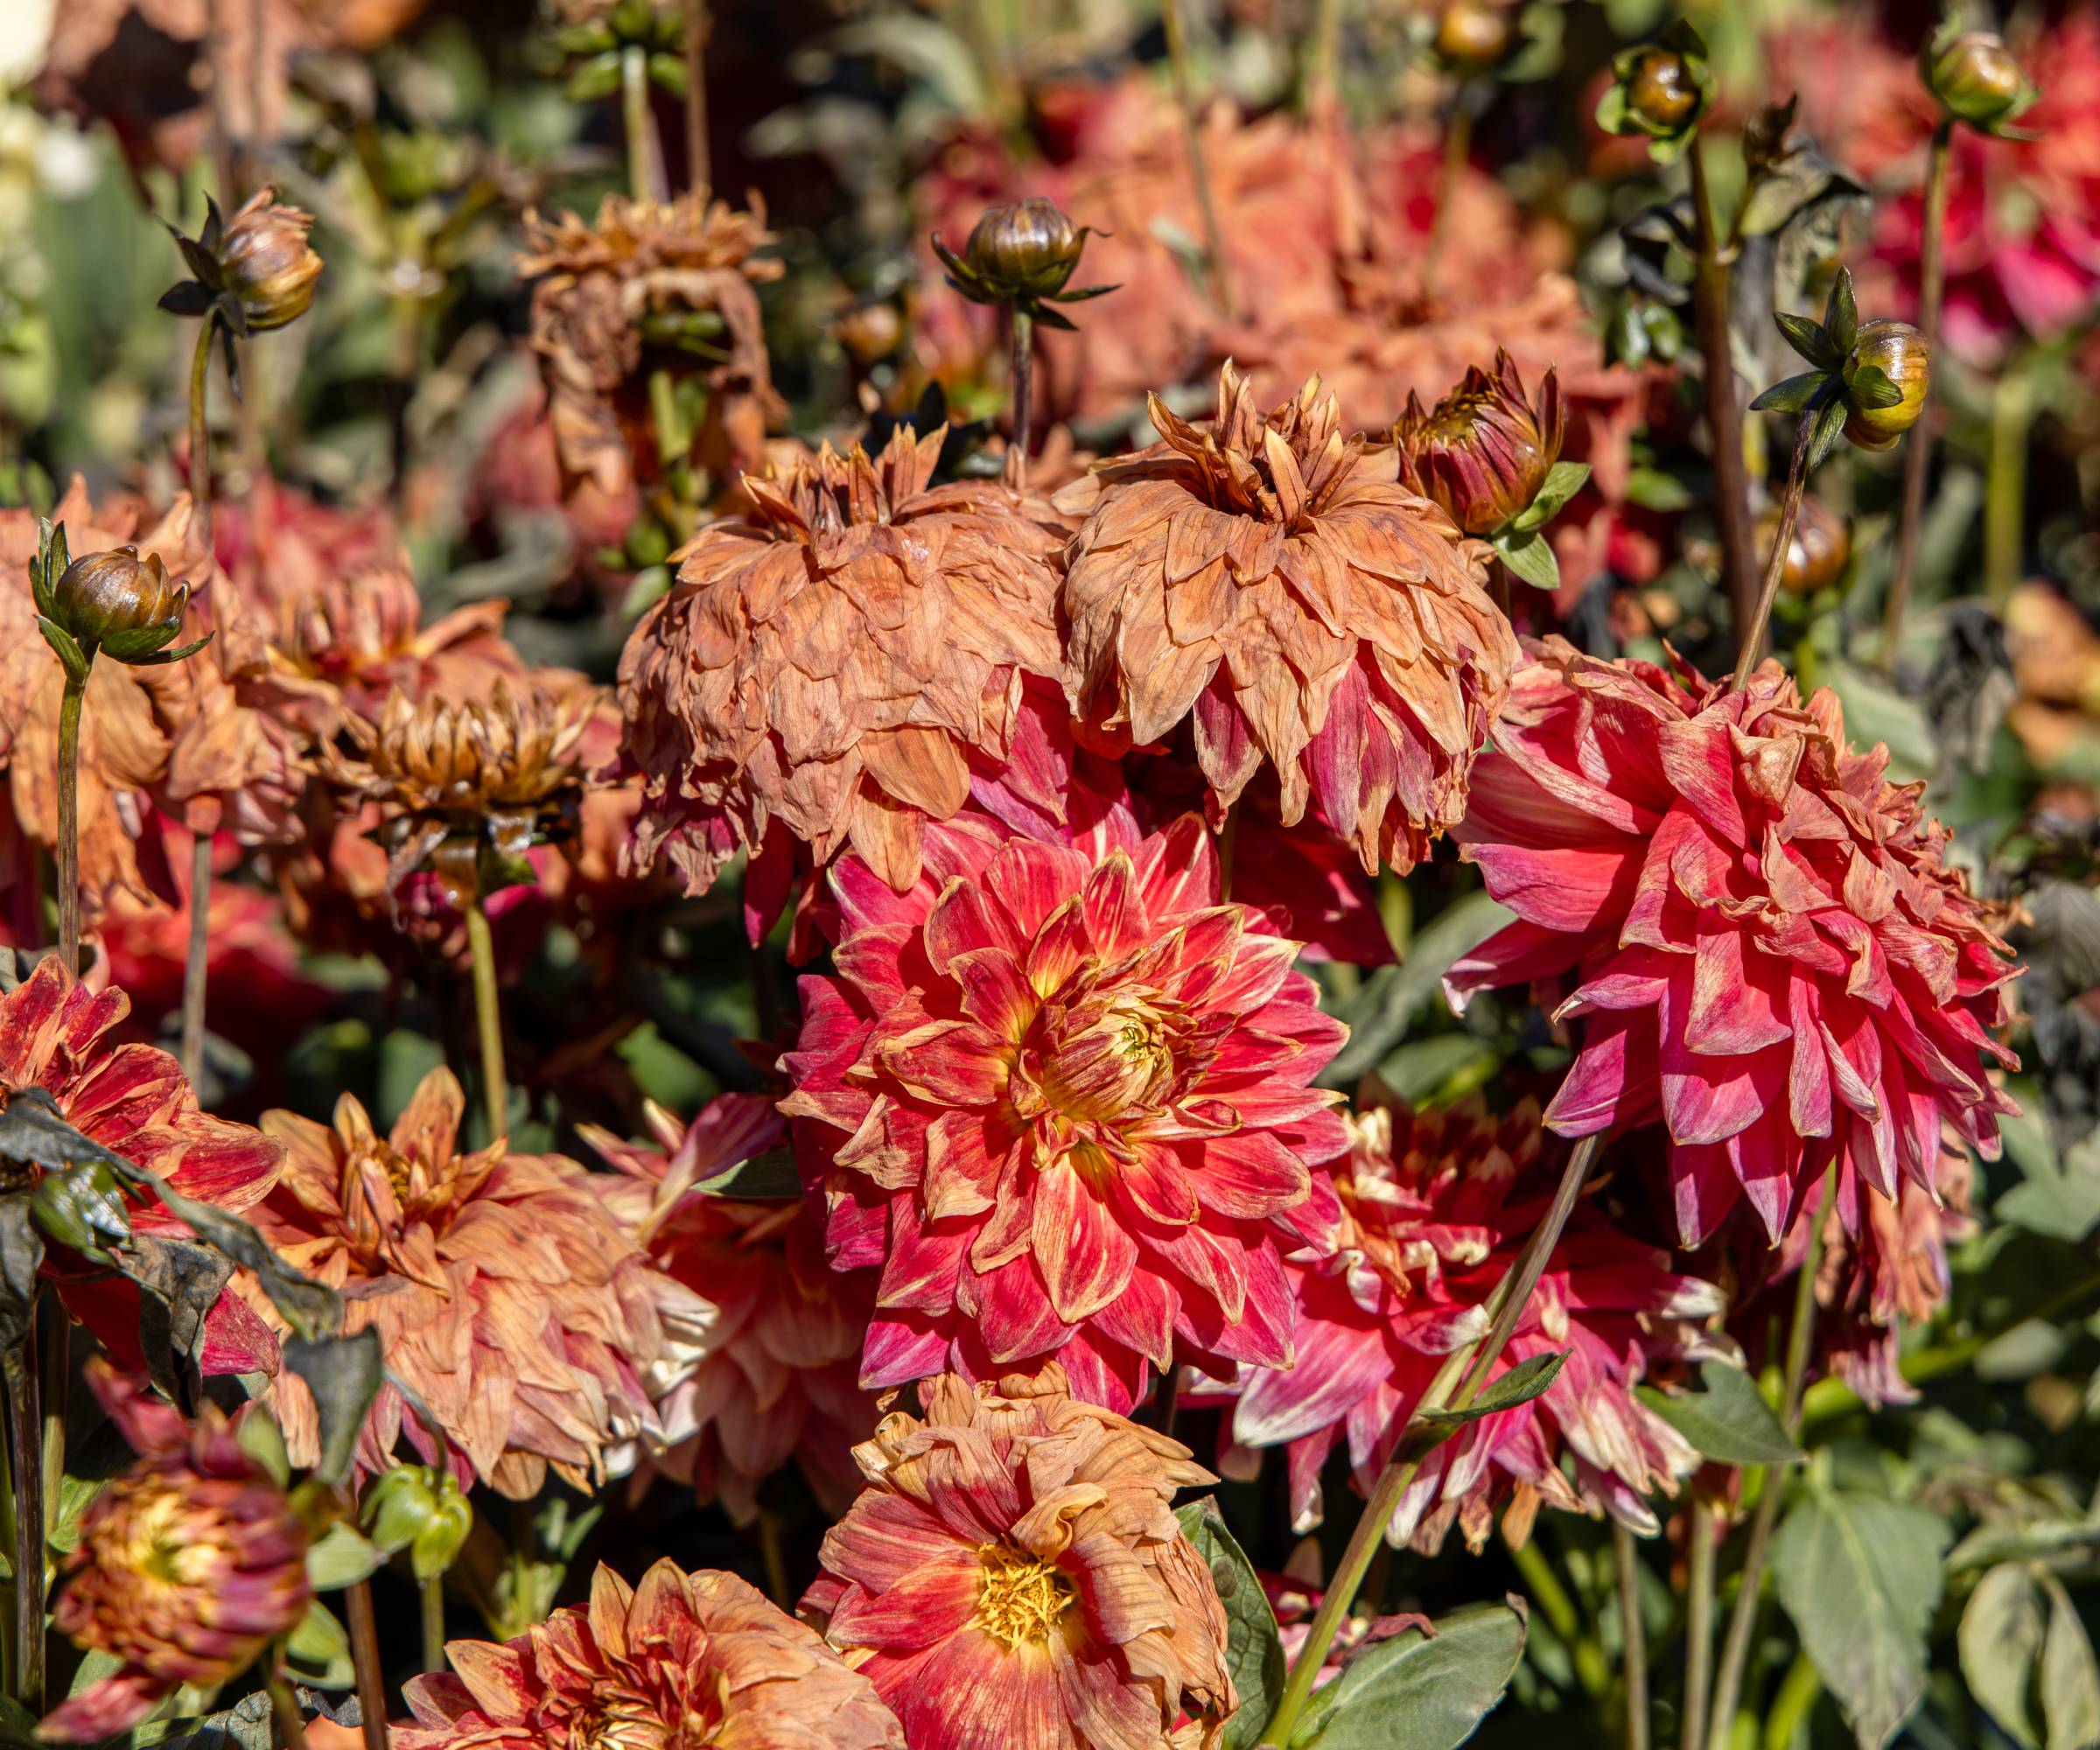
This is also known as the "can't I just leave them?" method. Or, in some cases, the "I forgot about my bulbs and they came back anyway!" method.
In certain zones just barely skirting the frost line, you can often get away with leaving your bulbs right where they are. This works best for cannas and certain hardy varieties of gladiolus, especially if you're in USDA zone 7 or higher and only experience brief, light freezes.
- Wait for the first frost – this will kill the foliage and signal to the bulb that it's time to go dormant.
- Trim the dead foliage back to about 6 inches (15 cm) above the ground.
- Wait until the ground just starts to freeze, then apply a very thick layer (8-12 inches or 20-30 cm) of straw, shredded bark, or wood chips. This should keep the soil temperature more stable.
- Leave your bulbs alone until spring, then pull back the mulch and see what comes up.
While this is the easiest method, it's far from the most reliable. If you get a deep, prolonged freeze, your bulbs aren't likely to make it, so you shouldn't count on this for your prized specimens. But if you tend to have mild winters, or if your bulbs are in a warmer microclimate, it's worth a try.
2. The Pot-and-Forget Method
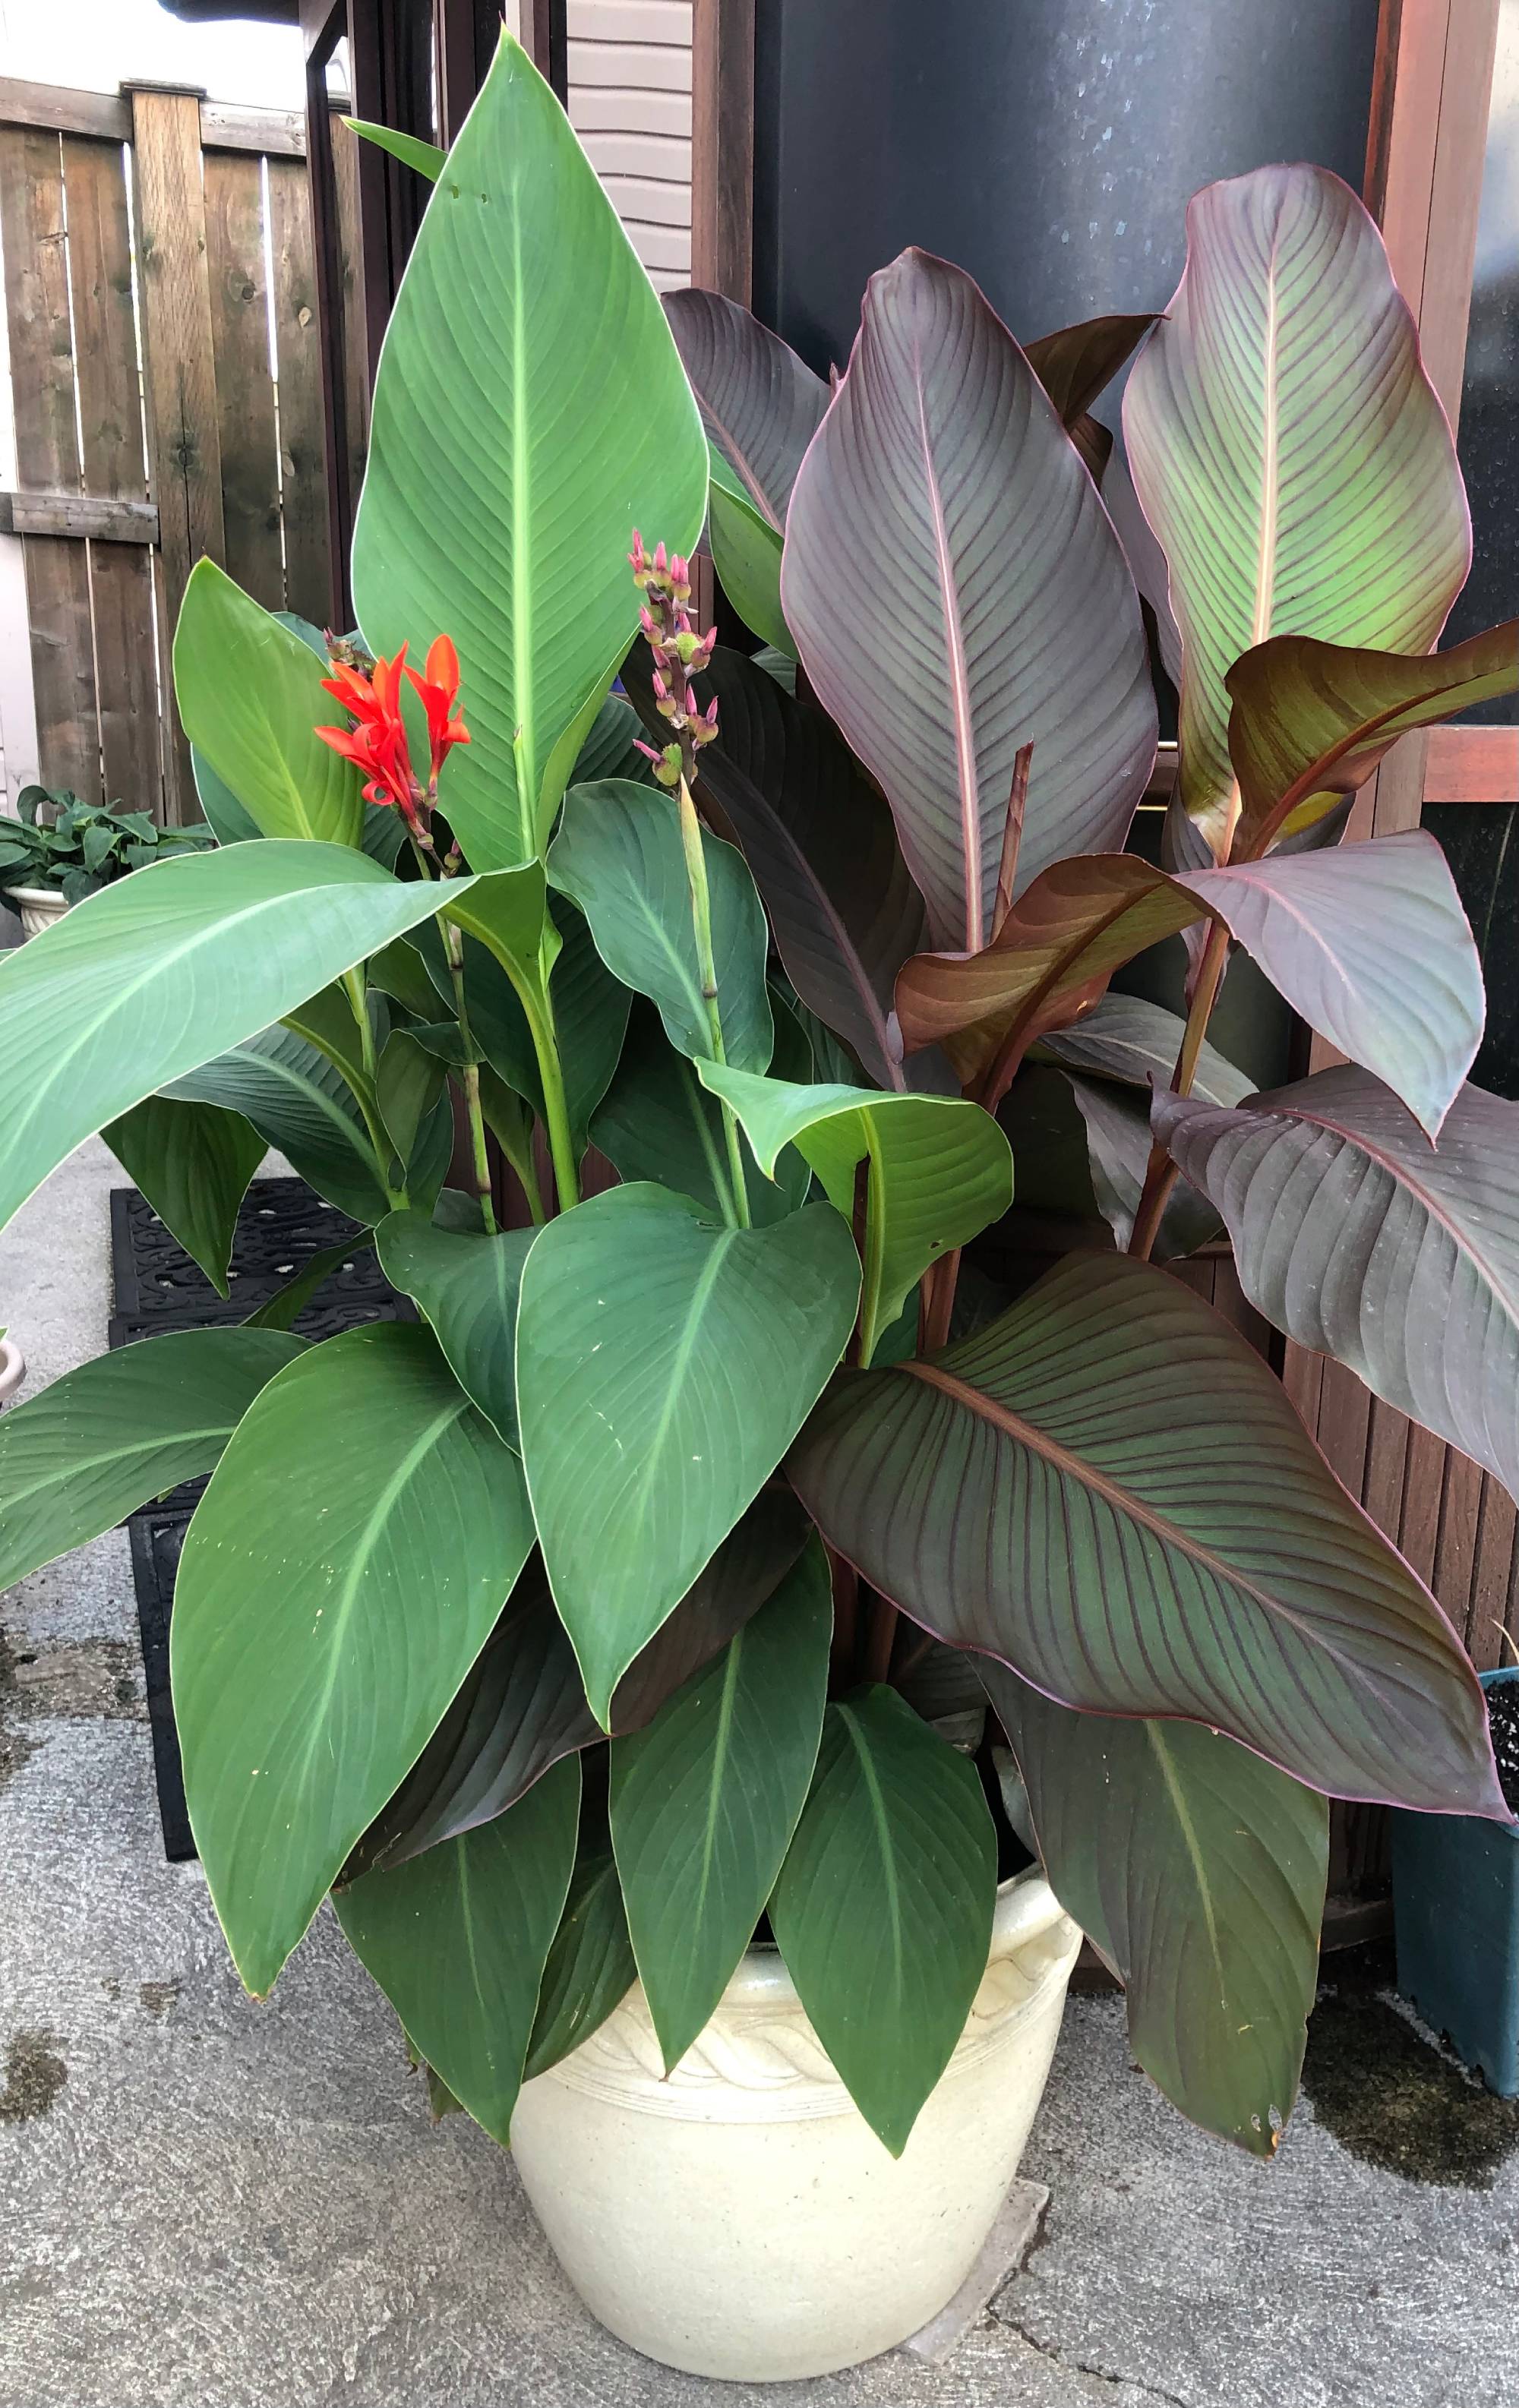
If your bulb is already planted in a container, why dig it at all? Just bring the soil with it! This method eliminates the mess of shaking off dirt and the risk of damaging the bulbs with a fork. It works best for plants that need a slightly warmer dormancy (like begonias, caladiums, or smaller dahlias), or those with roots that are easily disturbed.
- After the first frost, let the foliage die back naturally.
- Trim the dead foliage, leaving 1-2 inches (2.5-5 cm) above the soil line.
- Stop watering – this encourages the bulb to go fully dormant and keeps the soil from getting heavy and waterlogged.
- Move the entire pot – soil and all – into a cool, dark garage or basement. The ideal temperature is 40-50 F (4-10 C). Keep it far from heating vents and spots that fall below freezing.
- Leave it alone! Resist the urge to water your bulbs – they're happy as they are.
- In late winter, move the pot into a slightly warmer, brighter area, and start regularly watering. New growth should start to appear.
- After the last frost of the spring, move your pot back outside.
Think of this method as a half-measure. While you're storing your bulbs indoors, you get to skip the whole ordeal of digging, curing, and replanting. The only drawback is that your plants have to live in containers, which increases the need for watering and can inhibit growth. It's up to you which is more of a hassle.
Sign up for the Gardening Know How newsletter today and receive a free copy of our e-book "How to Grow Delicious Tomatoes".
3. The Lift-and-Store Method: The Best Bloom Guarantee
This is the traditional, most foolproof method. While it's more involved, it’s the guaranteed way to save specific, prize-winning varieties and gives you the chance to divide and multiply the ones you love. Some heirlooms aren’t in stores anymore. Winter storage for tender bulbs lets you lock in that unique shade or shape. Bulbs toughen up too, resisting bugs better next round.
How to Lift and Store Bulbs
1. Digging and Curing
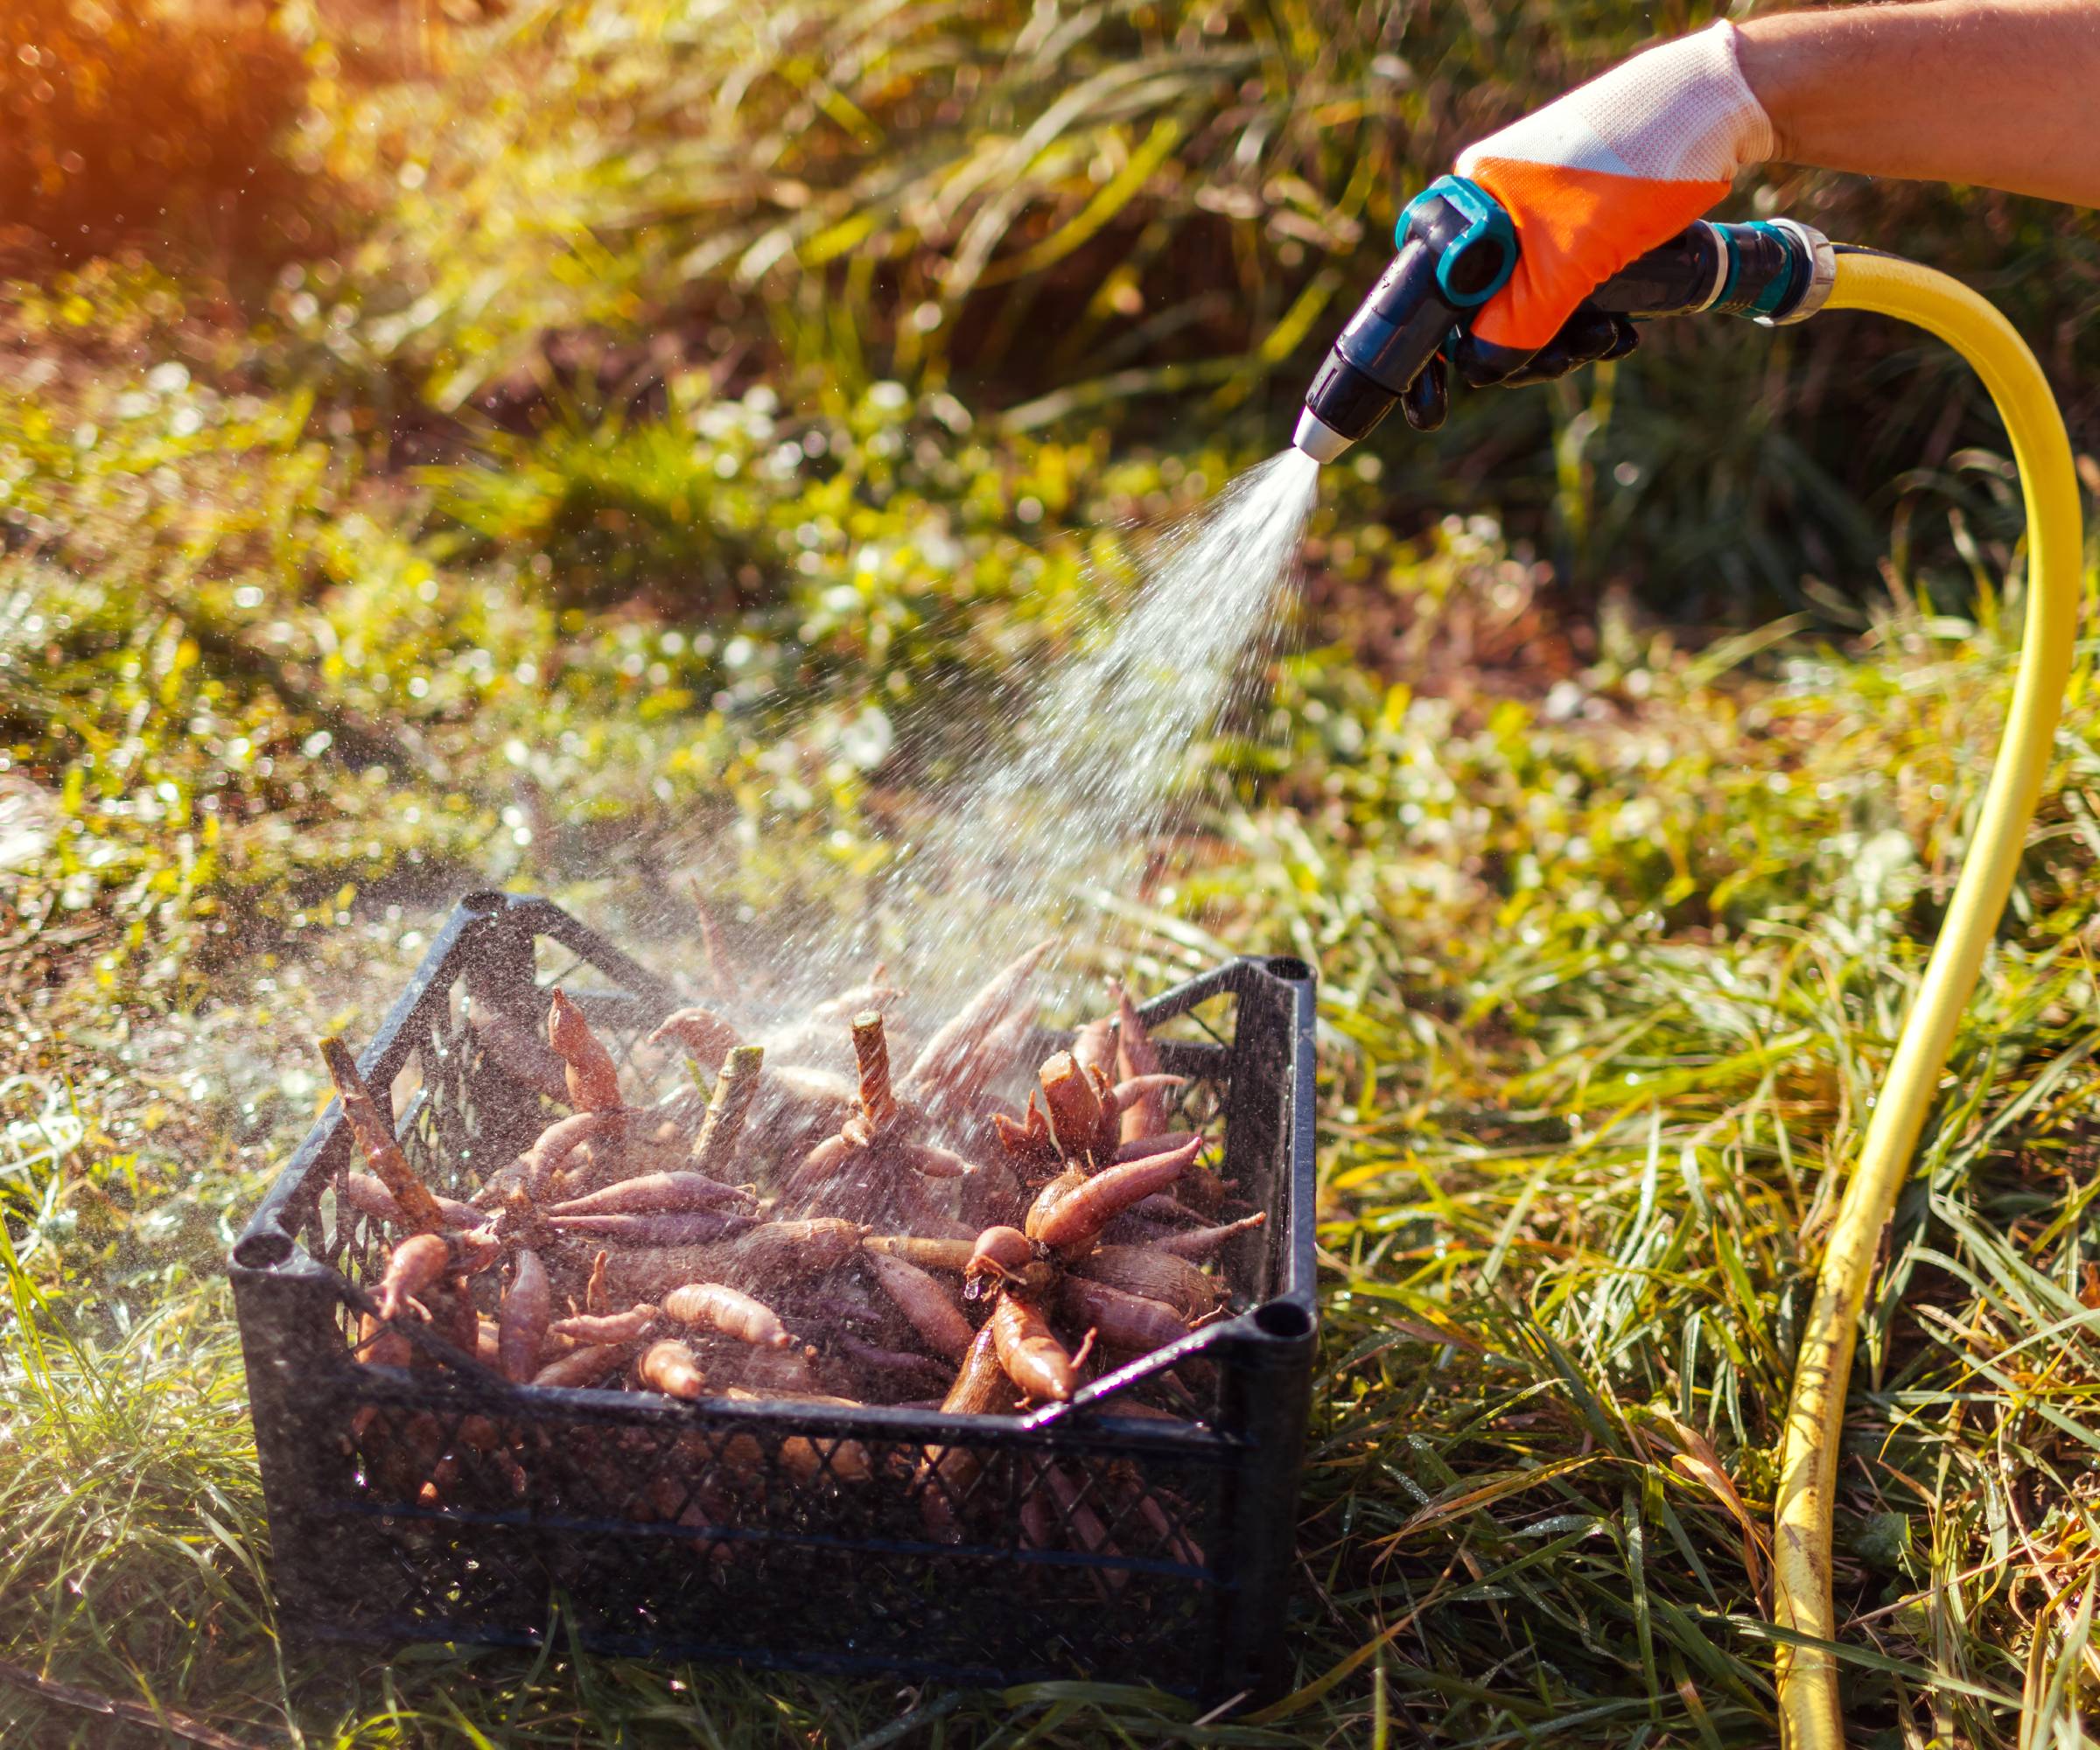
Use a garden fork like this one from Amazon to slide through the soil and under the bulb. Wiggle it loose, and pull up the entire clump. If the soil is really caked on, you can hose the bulbs off. Avoid soaking them too much, though, because excess water invites rot later on.
To cure the bulbs, spread them single layer on racks or screens in a warm, airy spot, around 70-80 F (21-27 C). Cannas will dry out in 1-3 days, while gladiolus bulbs may take up to three weeks. Once the bulbs feel papery and light, they're ready to move on.
2. Trimming and Inspection
Cut away almost all the foliage. You should leave 2-4 inches (5-10 cm) on dahlias, but you can go shorter on others. Inspect each bulb closely under good light; tiny cuts or bruises can worsen in storage. Look close for damage. Healthy bulbs should feel firm. If a bulb has soft spots you can cut them out or just toss the bulb. Dust with fungicide powder like this from Amazon if you spot issues.
Sort your bulbs by type, since storage needs vary slightly. Label varieties clearly to avoid mix-ups in the spring.
3. Long-Term Storage Requirements
You can place your bulbs in a bin like this one from Amazon, though a cardboard box or crate works as well. Apply 2-3 inches (5-7.5 cm) of vermiculite between layers to keep moisture steady. Make sure there are air holes to keep moisture from building up.
Store your bulbs in a cool garage or basement. Most bulbs are happy in temperatures between 40 and 50 F (4-10 C). Glads like it chillier, around 35 F (2 C). Begonias prefer the warmer end, near 50 F (10 C) to avoid chilling injury.
Check on the bulbs once a month. If they feel shriveled, mist them lightly – just a spritz to plump them back. Rot shows as squishy blackness – these bulbs need to be pulled and discarded immediately, to keep the rot from spreading.
When temperatures rise again, plant them back outside.
Tyler’s passion began with indoor gardening and deepened as he studied plant-fungi interactions in controlled settings. With a microbiology background focused on fungi, he’s spent over a decade solving tough and intricate gardening problems. After spinal injuries and brain surgery, Tyler’s approach to gardening changed. It became less about the hobby and more about recovery and adapting to physical limits. His growing success shows that disability doesn’t have to stop you from your goals.
- Liz BaesslerSenior Editor