How to Plant Bulbs Like a Pro – for Brilliant Blooms in Every Season
Fill your garden with a succession of colorful blooms with our complete guide to planting spring, summer, and fall-flowering bulbs.

- Types of Bulbs
- Choosing the Best Bulbs
- Planning Your Display
- Buying Quality Bulbs
- When to Plant
- How to Plant Bulbs – Step by Step
- Soil Prep
- Fertilizing
- Planting Depth and Spacing
- Planting Bulbs in Containers
- Naturalizing Bulbs in Lawns
- Bulb Aftercare
- Lifting and Storing
- Forcing Bulbs Indoors
- Pest Proofing
- FAQs
Bulbs always seem a bit like magic. Each dry, papery capsule holds a whole plant and everything it needs to bloom. With a little planning, these enchanting flowers can fill your garden with color from snowmelt to first frost. When planting bulbs, timing and depth matter most, but the right techniques and care will help you get the best results – and that starts with knowing what type of bulb you’re working with.
There are bulbs for every season. Fall-planted tulips and daffodils light up spring; tender summer bloomers like gladiolus and canna follow; a few outliers even flower in fall. Whether you’re massing bulbs in borders for big impact or layering them in a patio pot, the fundamentals stay the same: pick firm bulbs, prep soil, plant at the right depth, fertilize, and water well. But if you only remember one key piece of information, then the golden rule for planting depth – two to three times the bulb’s height – will take you a long way.
If you’re sowing bulbs for the first time, this guide walks you through everything step by step. And if you’re already confident with the basics, you’ll find expert-level techniques on how to plant bulbs with improved flower quality and extend bloom times.
Types of Bulbs
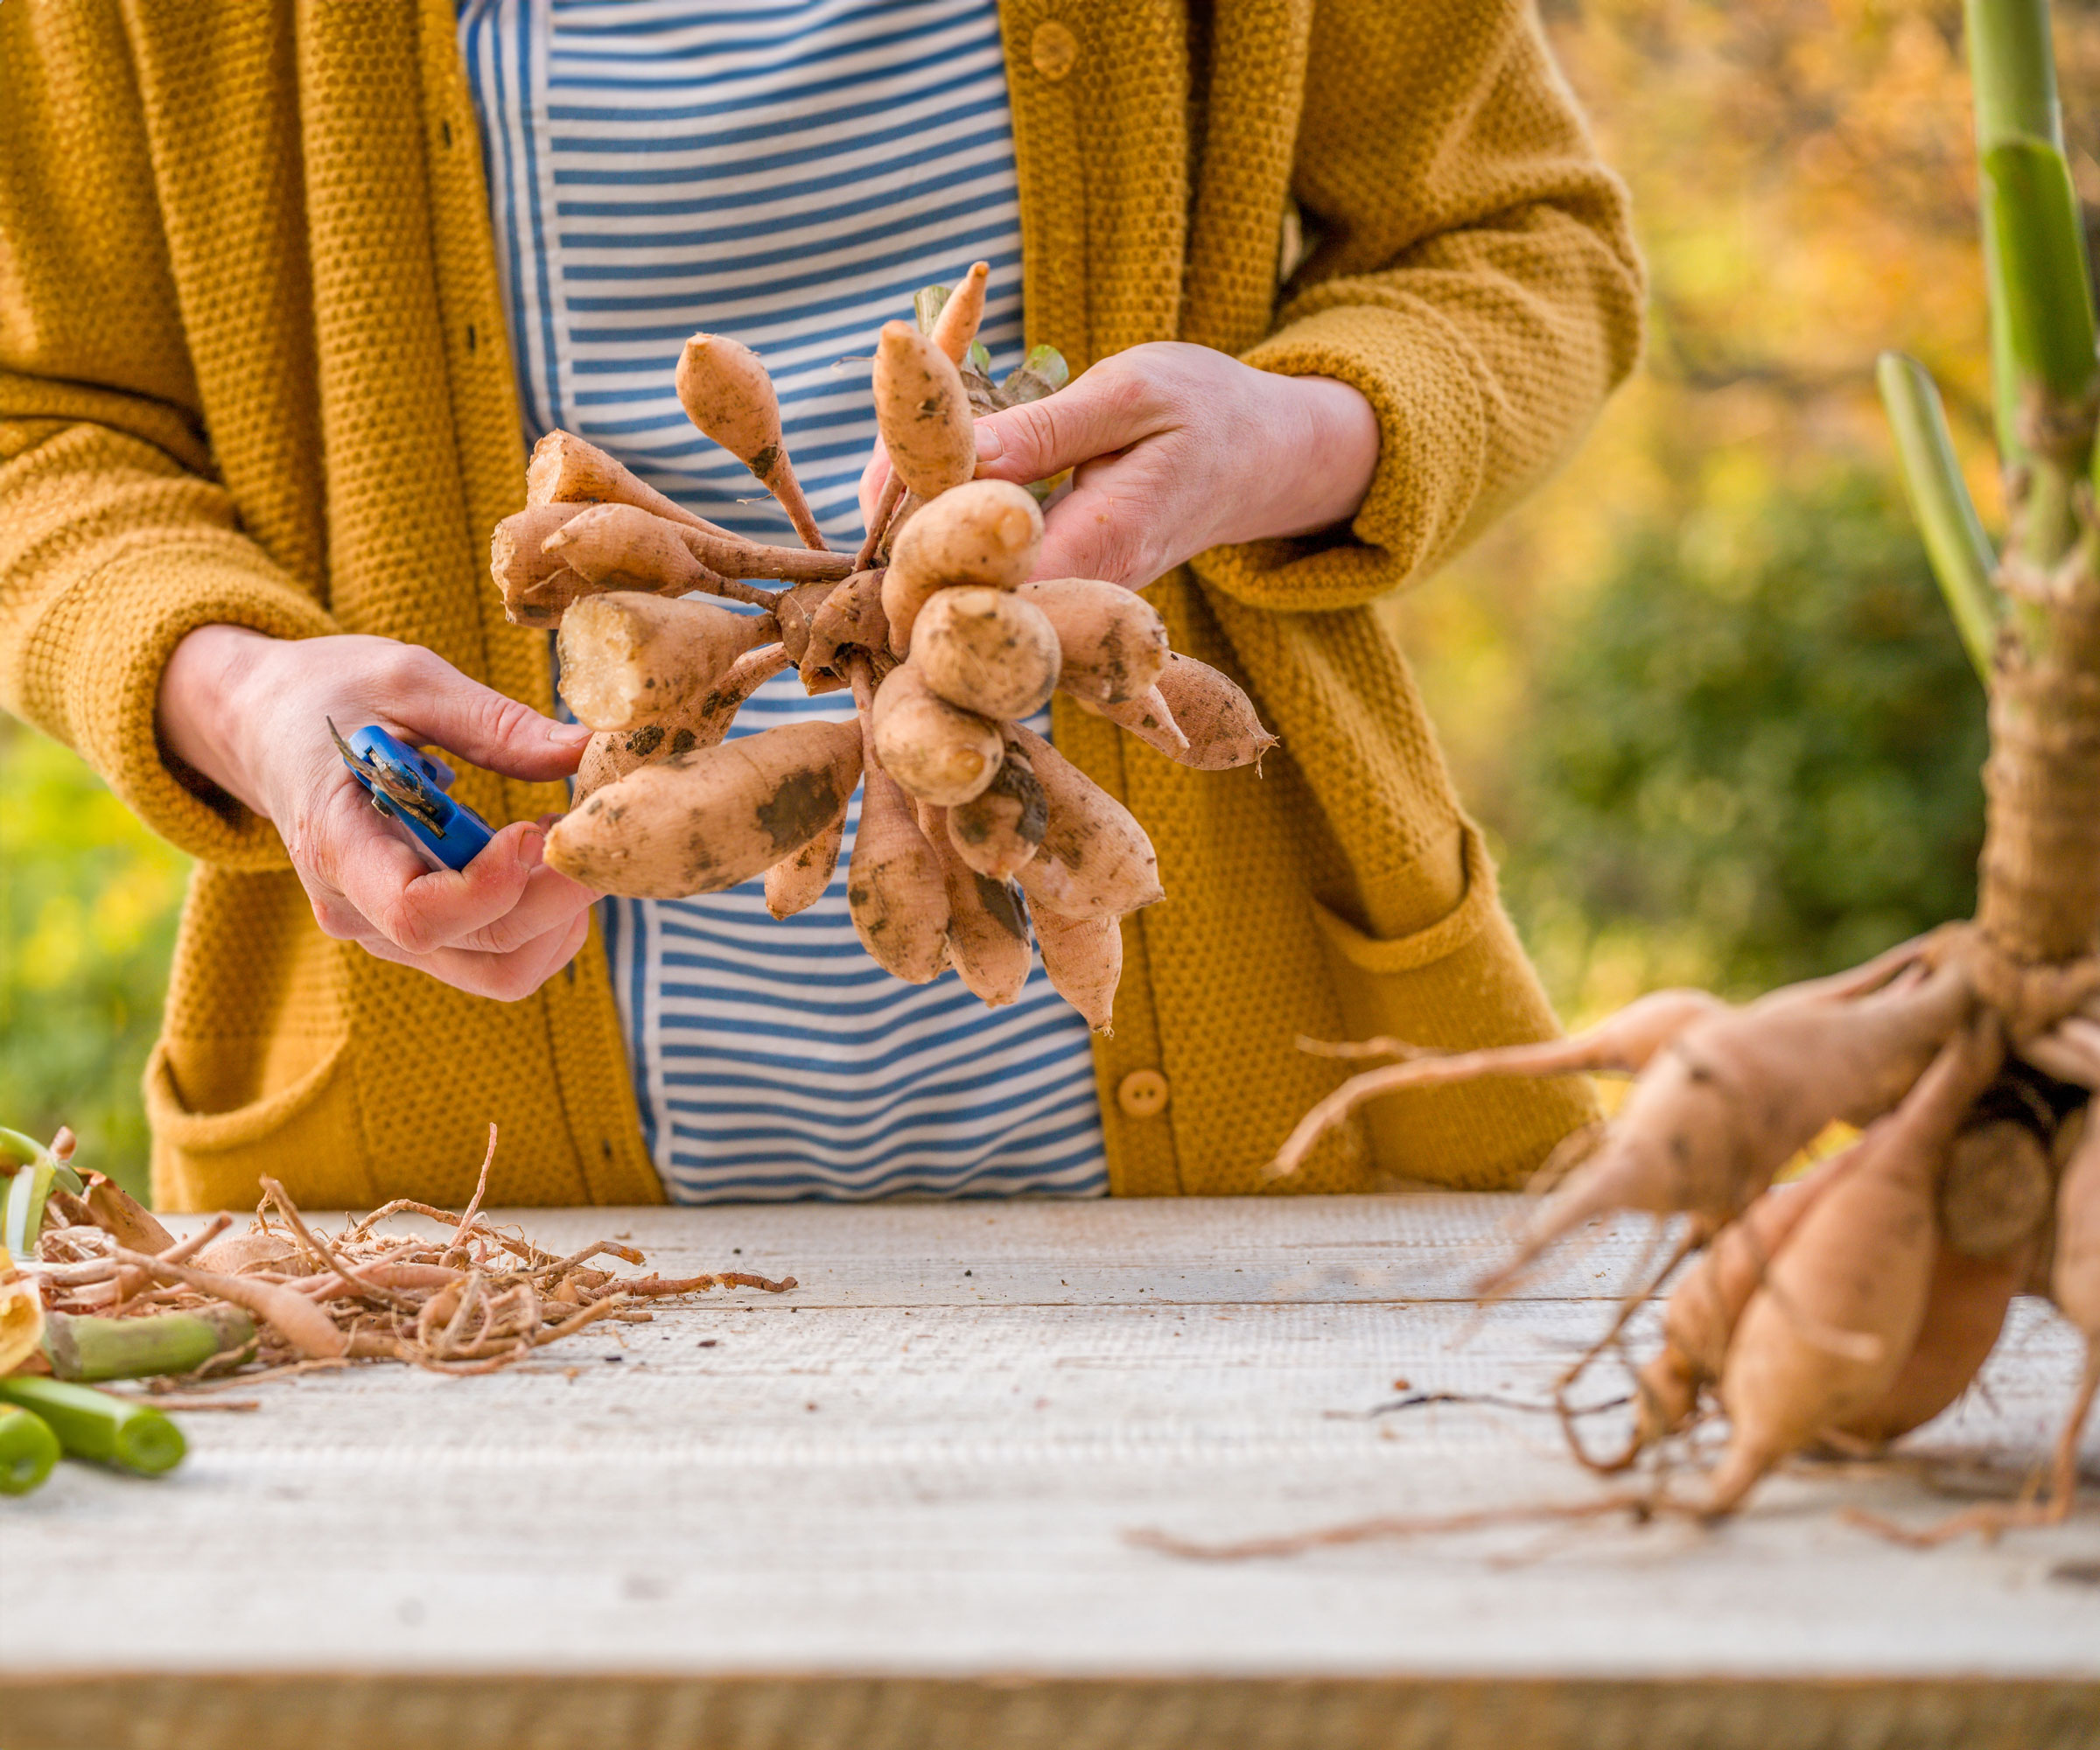
In gardening, the term bulb can refer to several underground storage organs: true bulbs, such as tulips, daffodils, and hyacinths; corms, including gladioli and crocus; tubers, like dahlias and tuberous begonias; and rhizomes, such as bearded iris and canna lilies. Knowing which types of bulbs you are working with matters for planting depth, winter care, and storage – as well as impacting bloom times.
Spring-flowering bulbs are the classic fall-planted varieties. They take root in cool soil in fall and lie dormant through winter, before bursting forth between late winter and late spring. In most climates, spring bulbs should be planted in the fall once the temperatures begin to dip. The bulbs need a period of chill to set flowers, but should be planted before the ground freezes over. Popular spring-flowering bulbs include:
Summer-flowering bulbs are tender, heat-loving flowers. If you love big pots on a patio, these are your candy shop. They go into the ground in the spring, usually after the last frost. Many are not hardy in cold zones and will need lifting and storage in the fall; lilies are a partial exception, with lots of hardy types that overwinter in the ground. Popular summer-flowering bulbs include:
- Dahlias
- Gladioli
- Lilies (Asiatic and Oriental)
- Calla lilies
- Canna lilies
- Tuberous begonias
Fall-flowering bulbs add late-season sparkle to the garden. Plant these varieties in late summer, and you often get flowers the same year – instant gratification when borders are starting to fade:
Sign up for the Gardening Know How newsletter today and receive a free copy of our e-book "How to Grow Delicious Tomatoes".
- Autumn crocus (Crocus speciosus)
- Colchicum (often called “fall crocus,” though it isn’t a crocus)
- Sternbergia daffodils
- Nerine
- Hardy cyclamen
Together, these three groups make it possible to plan a garden that flowers almost year-round.
Choosing the Best Bulbs For Your Garden
Choose bulbs compatible with your USDA hardiness zone and plant them in accordance with local freeze dates. Spring bulbs need cold to bloom; in warm-winter areas, choose naturally low-chill types (paperwhites, some narcissus) or buy pre-chilled tulips and refrigerate others for 10 to 12 weeks before planting.
Light is key when choosing bulb varieties. Many spring bulbs thrive in full sun after nearby trees leaf out. Woodland favorites like snowdrops, scilla, and hardy cyclamen handle dappled shade nicely. If your beds are bright and open, tulips, alliums, and bearded iris will love it; for shadier corners, look to “woodland” bulbs and plant in generous clumps.
If you want bulbs to return and spread, choose reliable naturalizers such as daffodils, species tulips, crocus, and grape hyacinth, then read up on naturalizing flower bulbs so you mow and feed at the right times. Many showy hybrid tulips are best treated as annuals in warm or wet climates – stunning the first year, then replanted for peak impact.
Planning Your Bulb Display
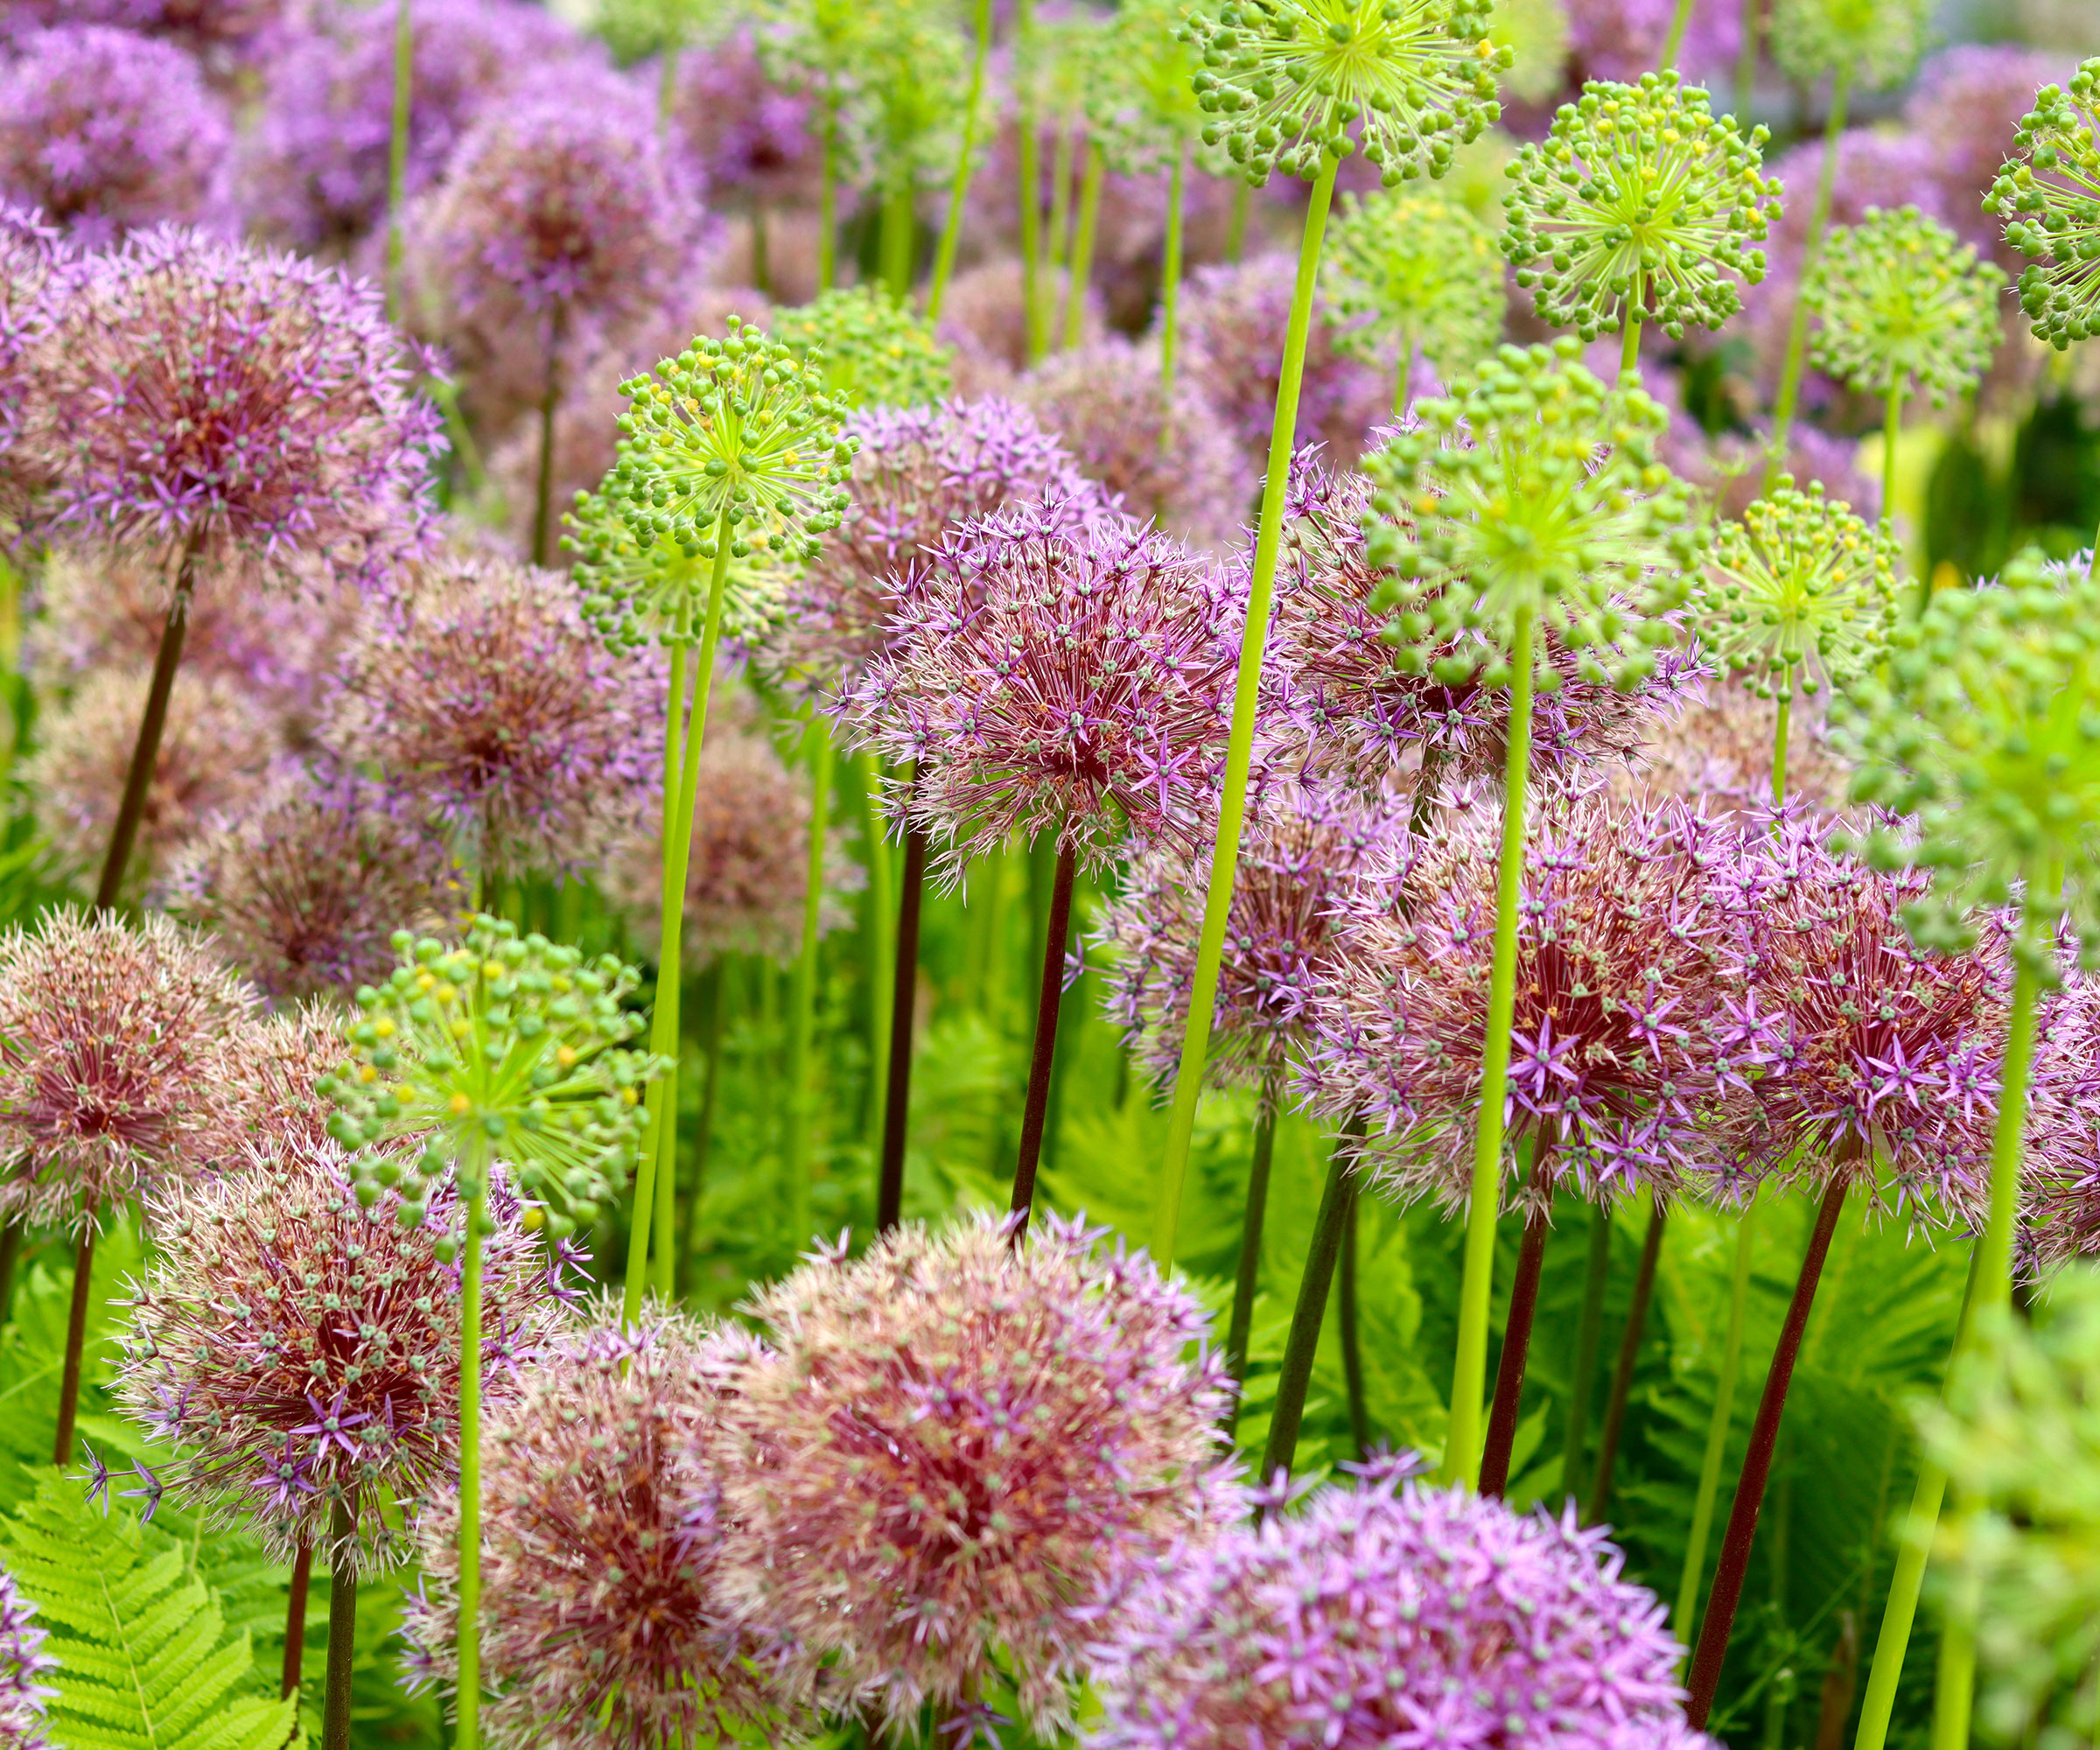
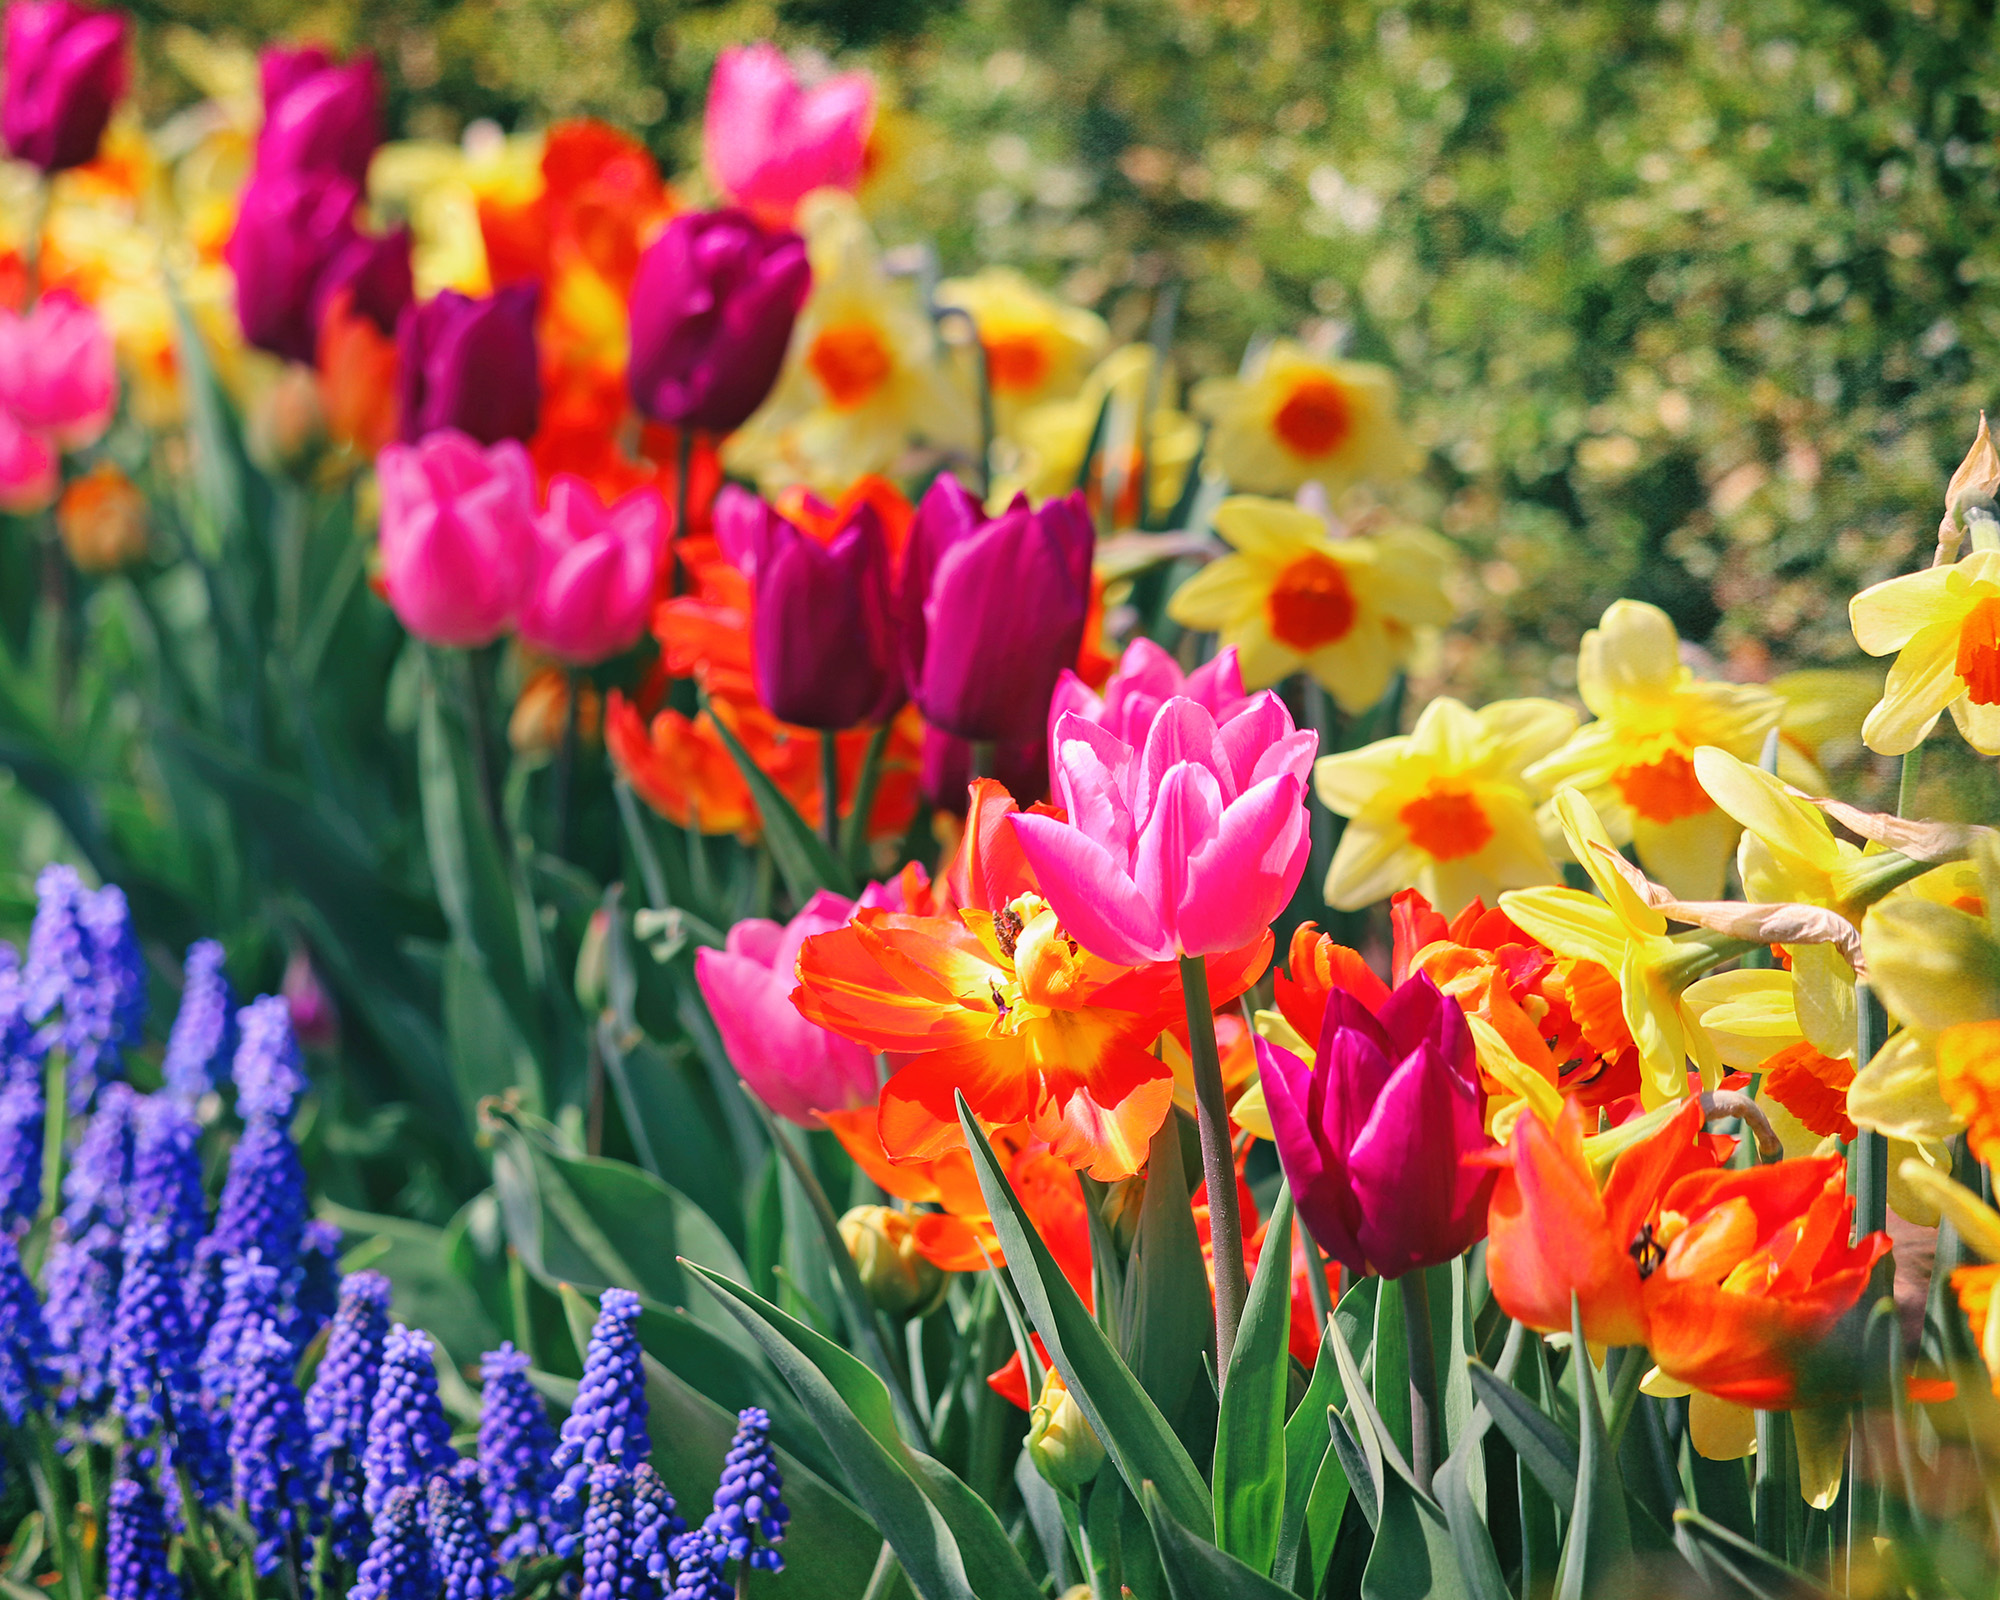
For a border that never looks empty, try succession planting with bulbs – overlapping early, mid, and late varieties so you get more than a one-week wonder. Try pairing early crocus with midseason tulips and late alliums in the same bed for a rolling wave of color without replanting the space three times.
When planning your bulb garden, start by sketching what already blooms in your beds and fill the gaps. If your perennials peak in late June, tuck in early bulbs for spring interest, then let their fading foliage be hidden by the perennials as they rise.
If planting bulbs in containers, then short, stout varieties shine in pots – think miniature narcissus, Triumph or Greigii tulips, crocus, hyacinths, and compact alliums. Layer them for a long-running display using the bulb lasagna method in a roomy container with drainage.
A pro gardener tip is to plant bulbs in odd-numbered groups (3, 5, or 7) for a natural look – even numbers often appear too formal.
Buying Quality Bulbs
If you want the best flowers, look for the biggest, fattest tubers and bulbs. When you can, buy in person from trusted local suppliers so you can choose large, firm, weighty bulbs. Skip anything soft, mold-speckled, or nicked; a few types, such as anemone or ranunculus, naturally feel a bit papery or shriveled, but they shouldn’t be lightweight or hollow. If you’re ordering bulbs online, stick with trustworthy bulb suppliers and open boxes promptly to inspect.
Until planting time, keep bulbs in a cool, airy place and away from fruit to prevent sprouting.
When to Plant Bulbs
Spring-flowering bulbs: Plant in fall when nights cool and soil temperature drops toward the 50 to 55°F (10 to 13°C) range so bulbs can root before winter. In much of the US, that’s roughly September to November.
Tender summer-flowering bulbs: Plant in spring after your last frost date, once the soil has warmed. In cold zones, these bulbs won’t survive winter outdoors, so plan to lift and store them. Check your first frost date so you’re not racing freezing nights.
Fall-flowering bulbs: Plant in late summer to early autumn; many bloom the first year, which is always a thrill.
How late is too late?: You can plant until the ground is frozen. Frost mainly harms growth above ground; bulbs below ground are fine. If you can still drive a shovel into the soil, you can still plant. But, for best performance, aim to plant a few weeks before freeze-up so roots establish.
How to Plant Bulbs – Step by Step
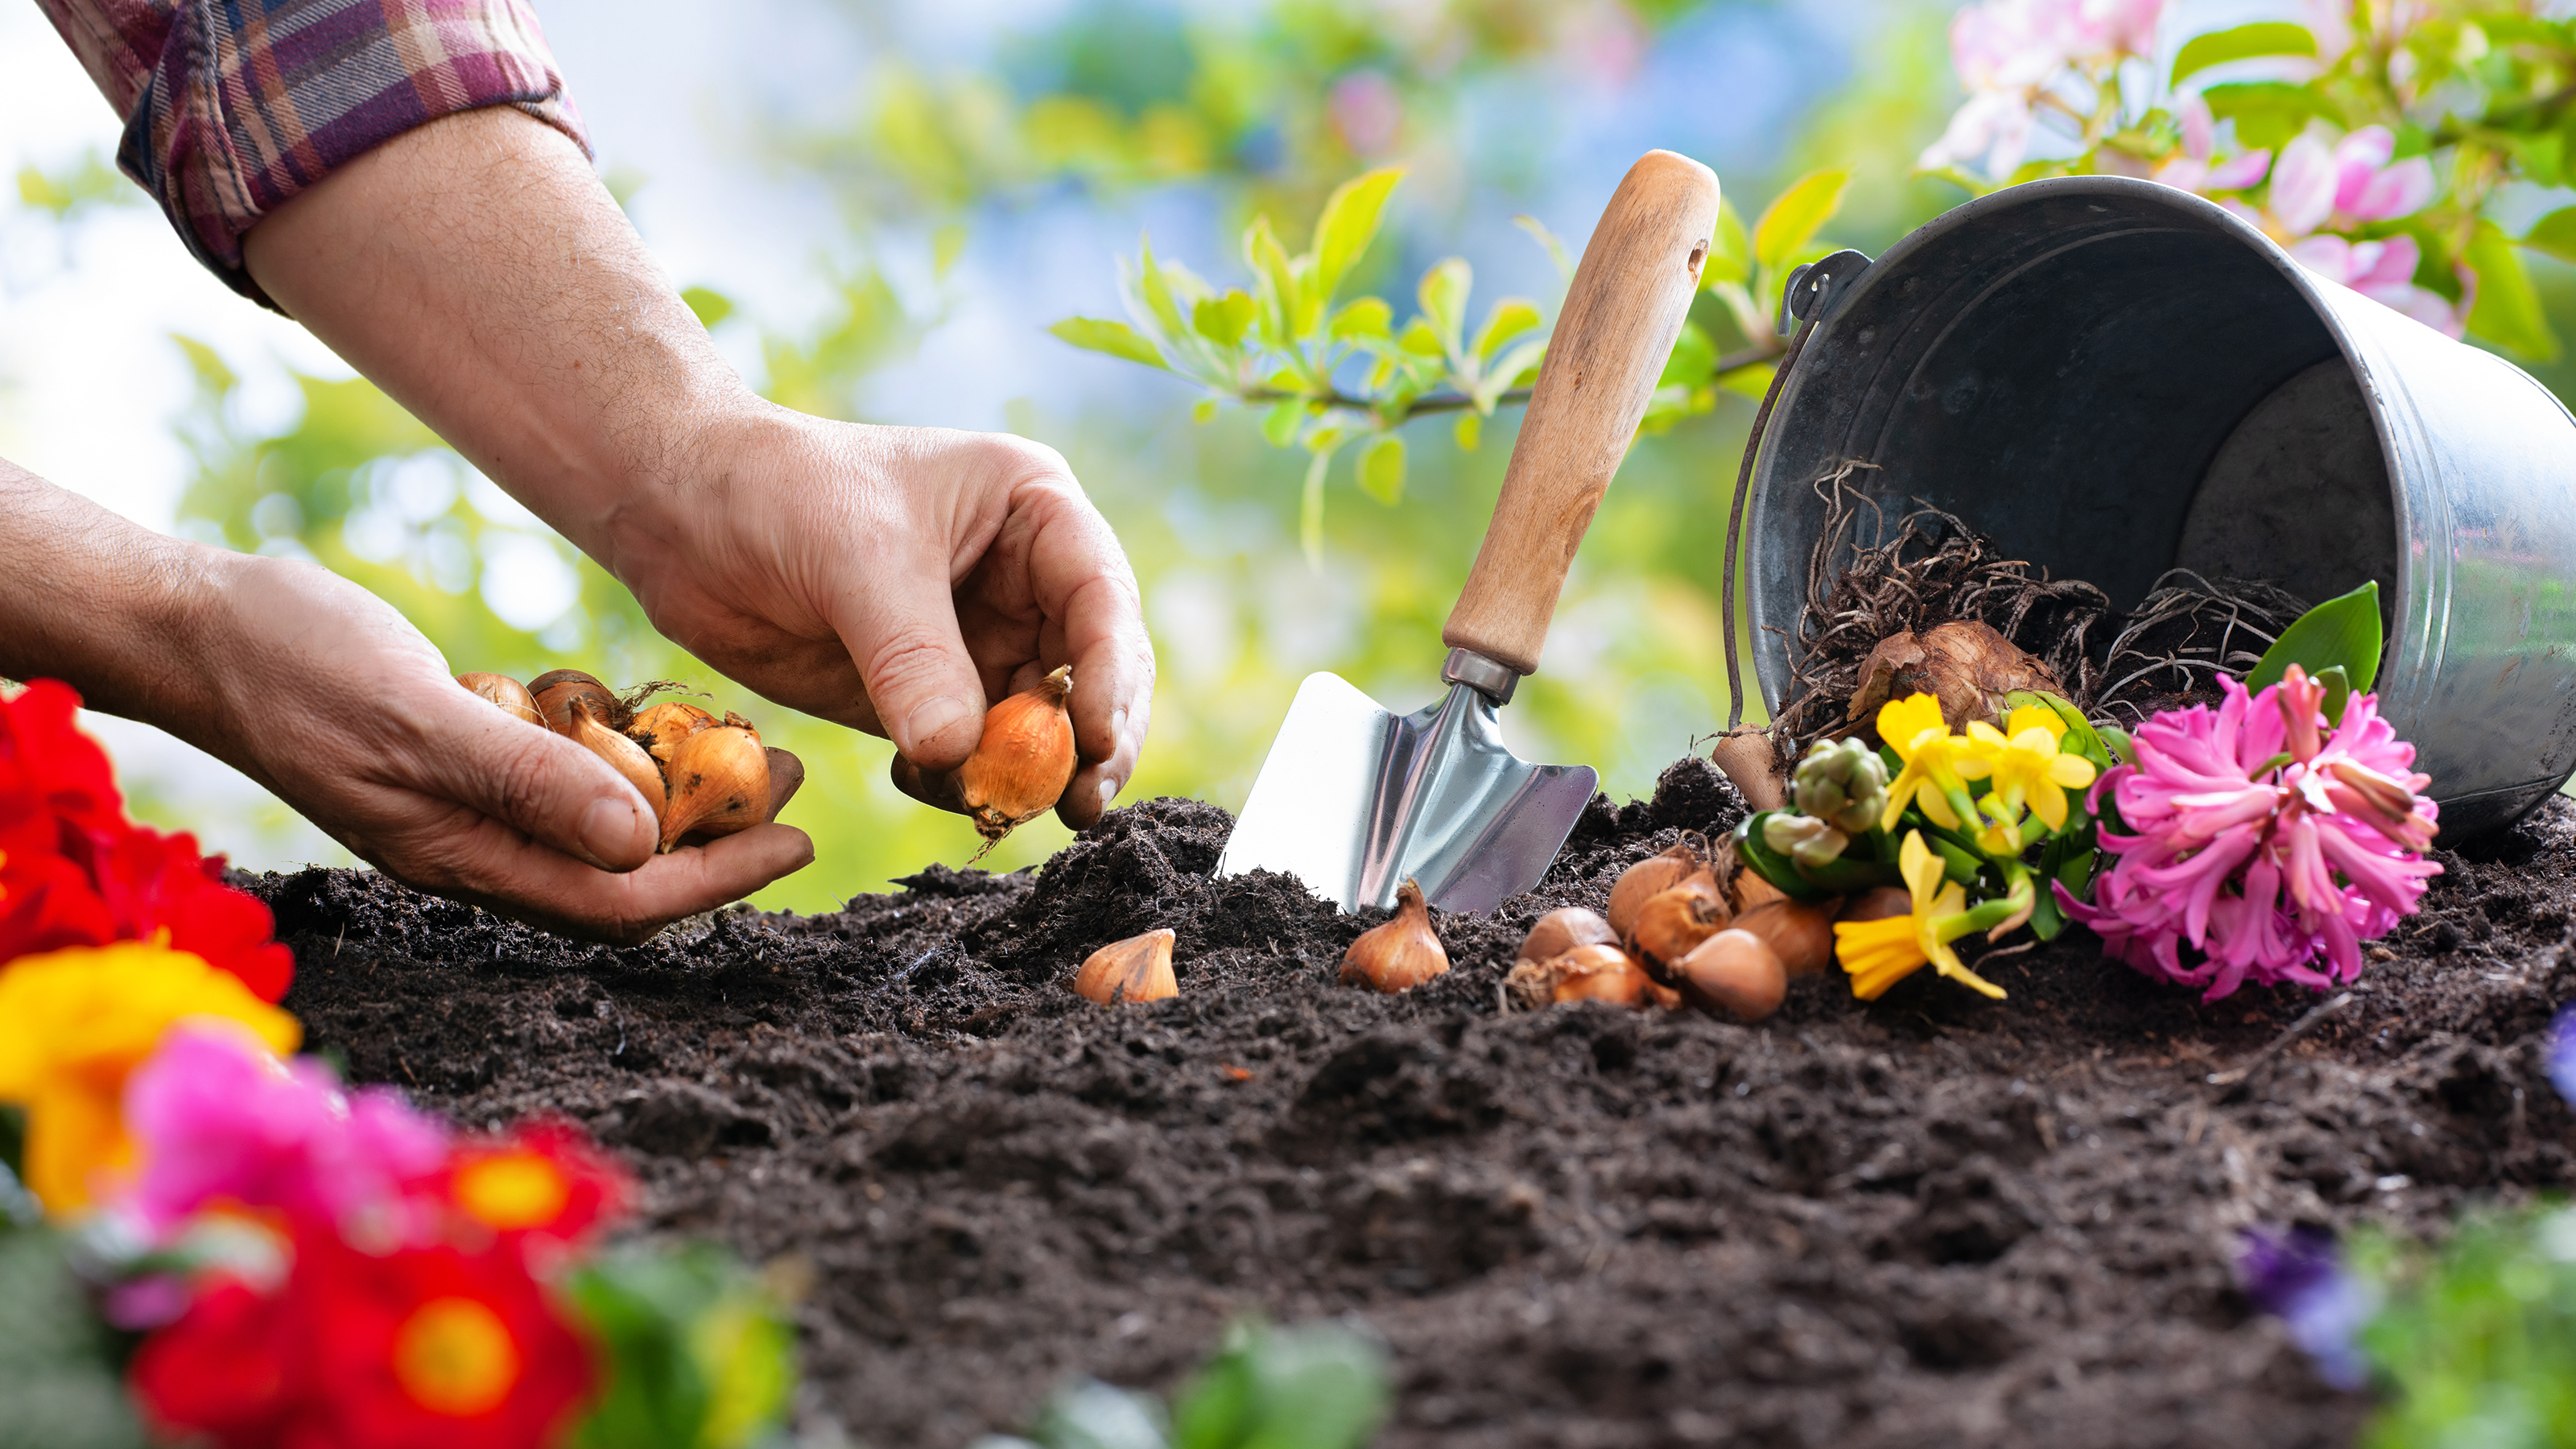
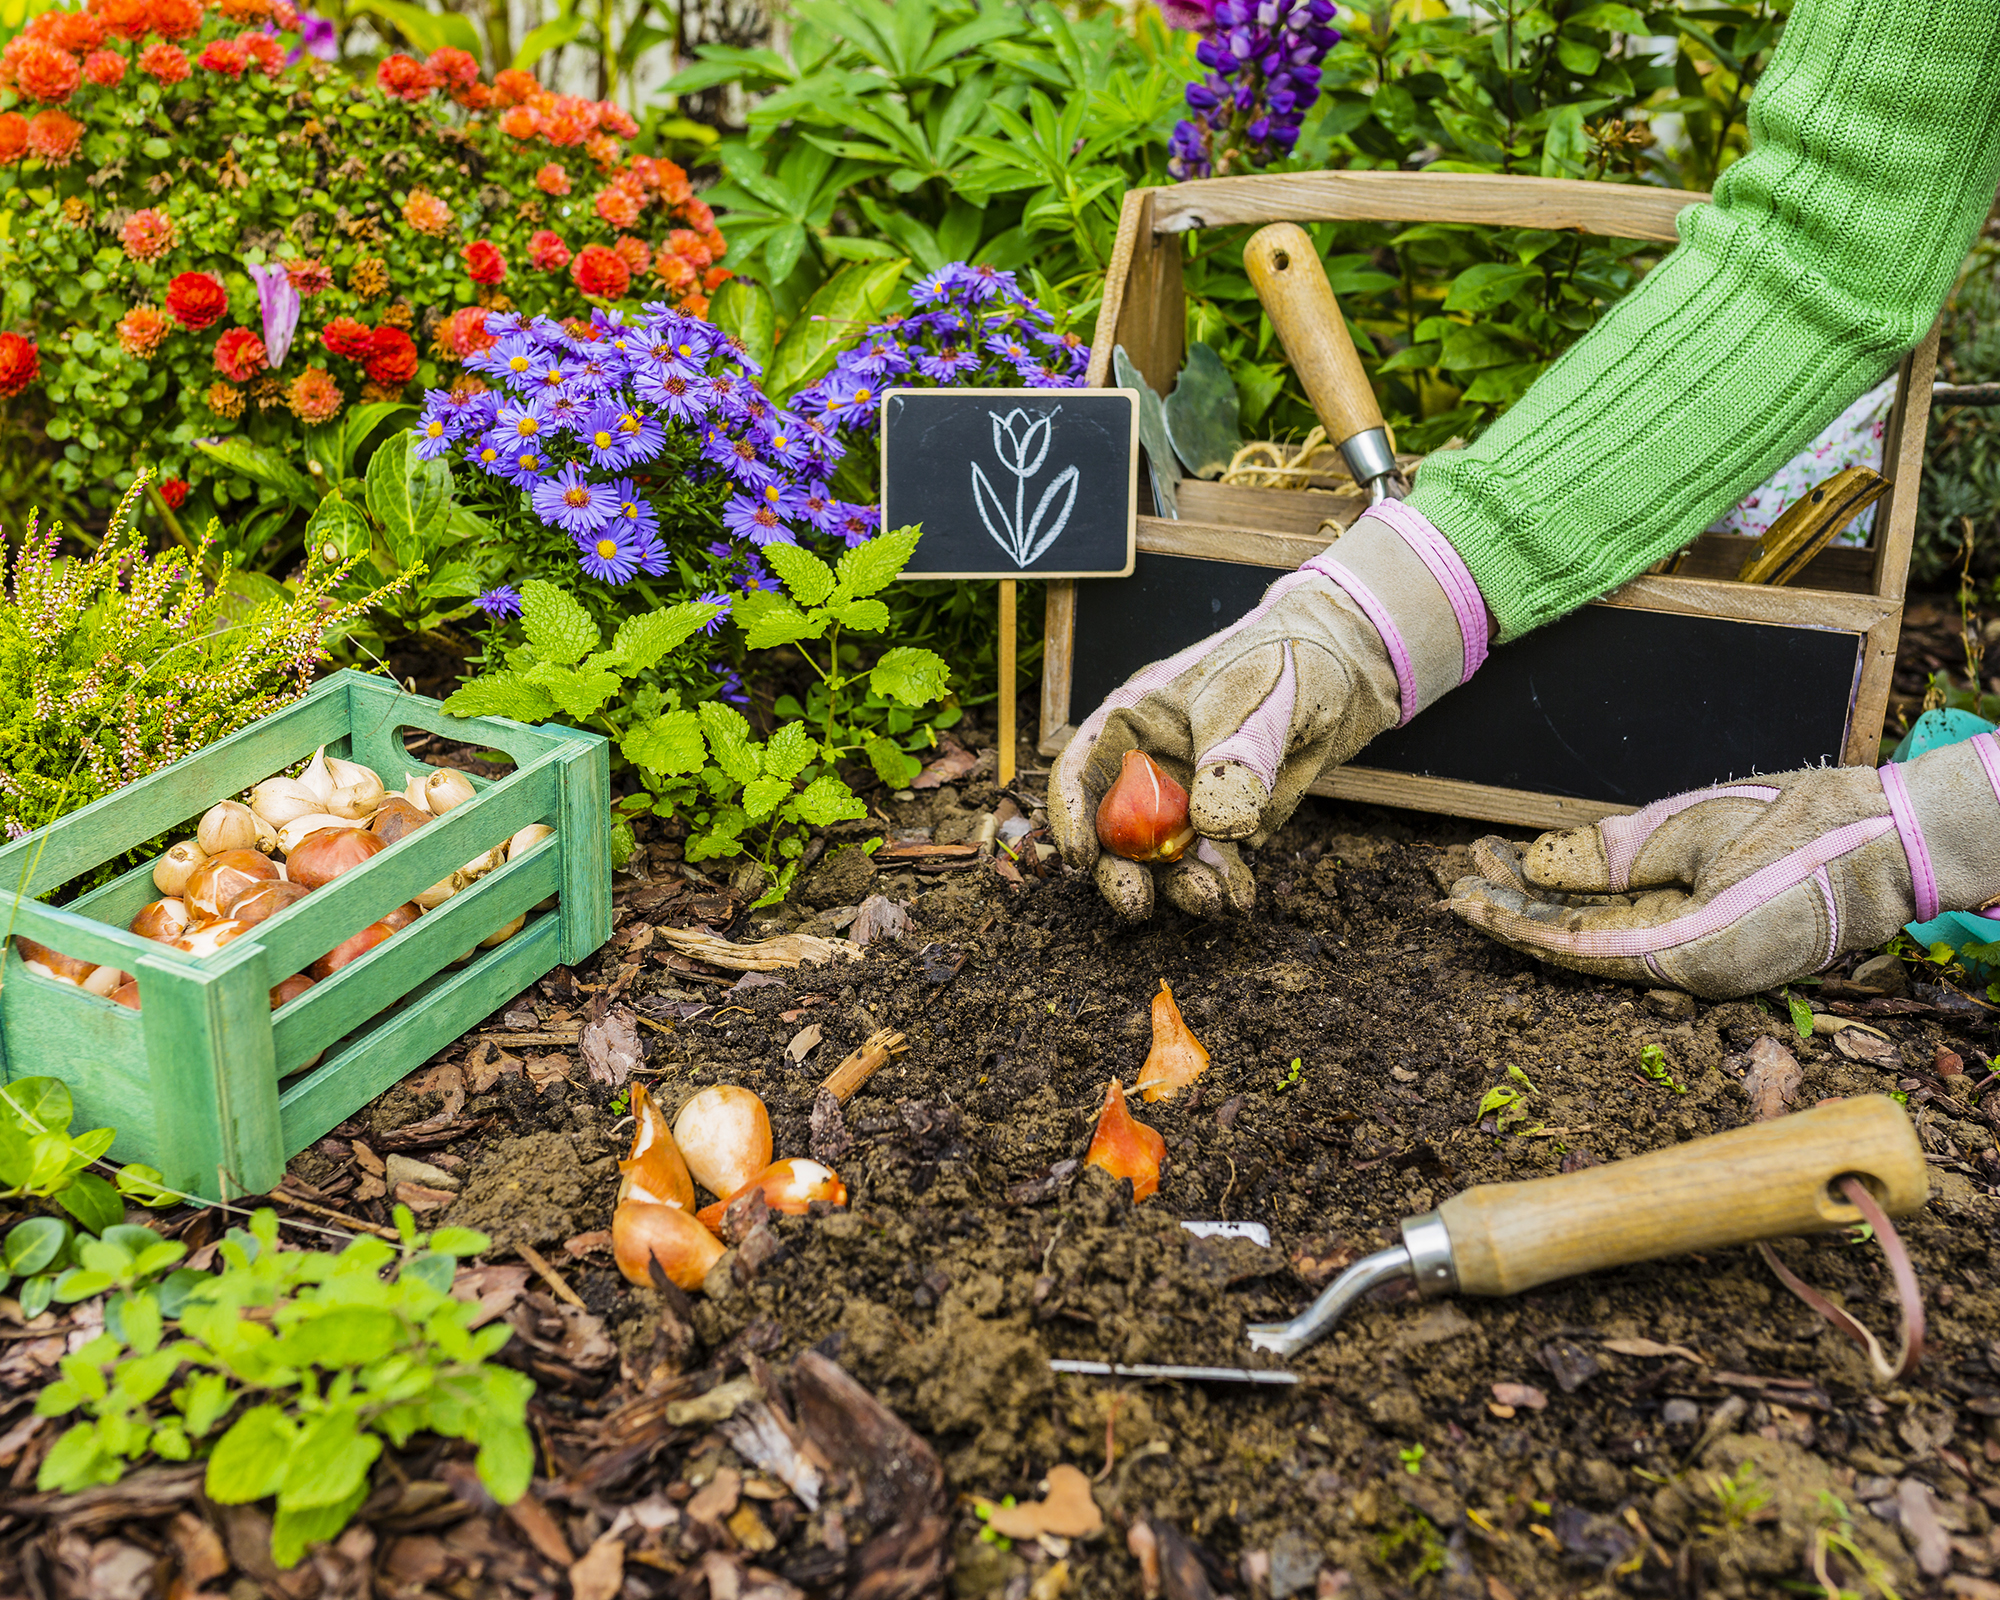
Before planting bulbs, it’s important to choose the right spot where they will thrive. With the exception of shade-tolerant varieties, bulb flowers love the sun, so locate them where they will receive at least 6 hours each day. Follow these key planting steps to get the best out of your bulbs.
1. Prep the Soil
All bulbs require well-drained soil, with loam soil being the best option. In particular, they will struggle in heavy clay as they will go soggy and rot. If unsure, you can perform a quick check: dig a test hole and fill it with water; if it drains within an hour or two, you’re in the clear
You may be able to get the right consistency if you amend soil by blending in compost plus a little grit, so the basal plate isn’t sitting in water. In sandy soils, compost helps hold moisture just long enough for roots to drink. However, if your soil is really not compatible, then you’ll have more success planting bulbs in raised beds or containers.
Soil pH is also important – most bulbs are happy around 6.0 to 7.0. If you’re not sure where your soil sits, use a quick soil testing kit such as the MySoil Test Kit, available on Amazon, and amend the soil if it is too acidic or alkaline.
2. Dig Holes – and Plant
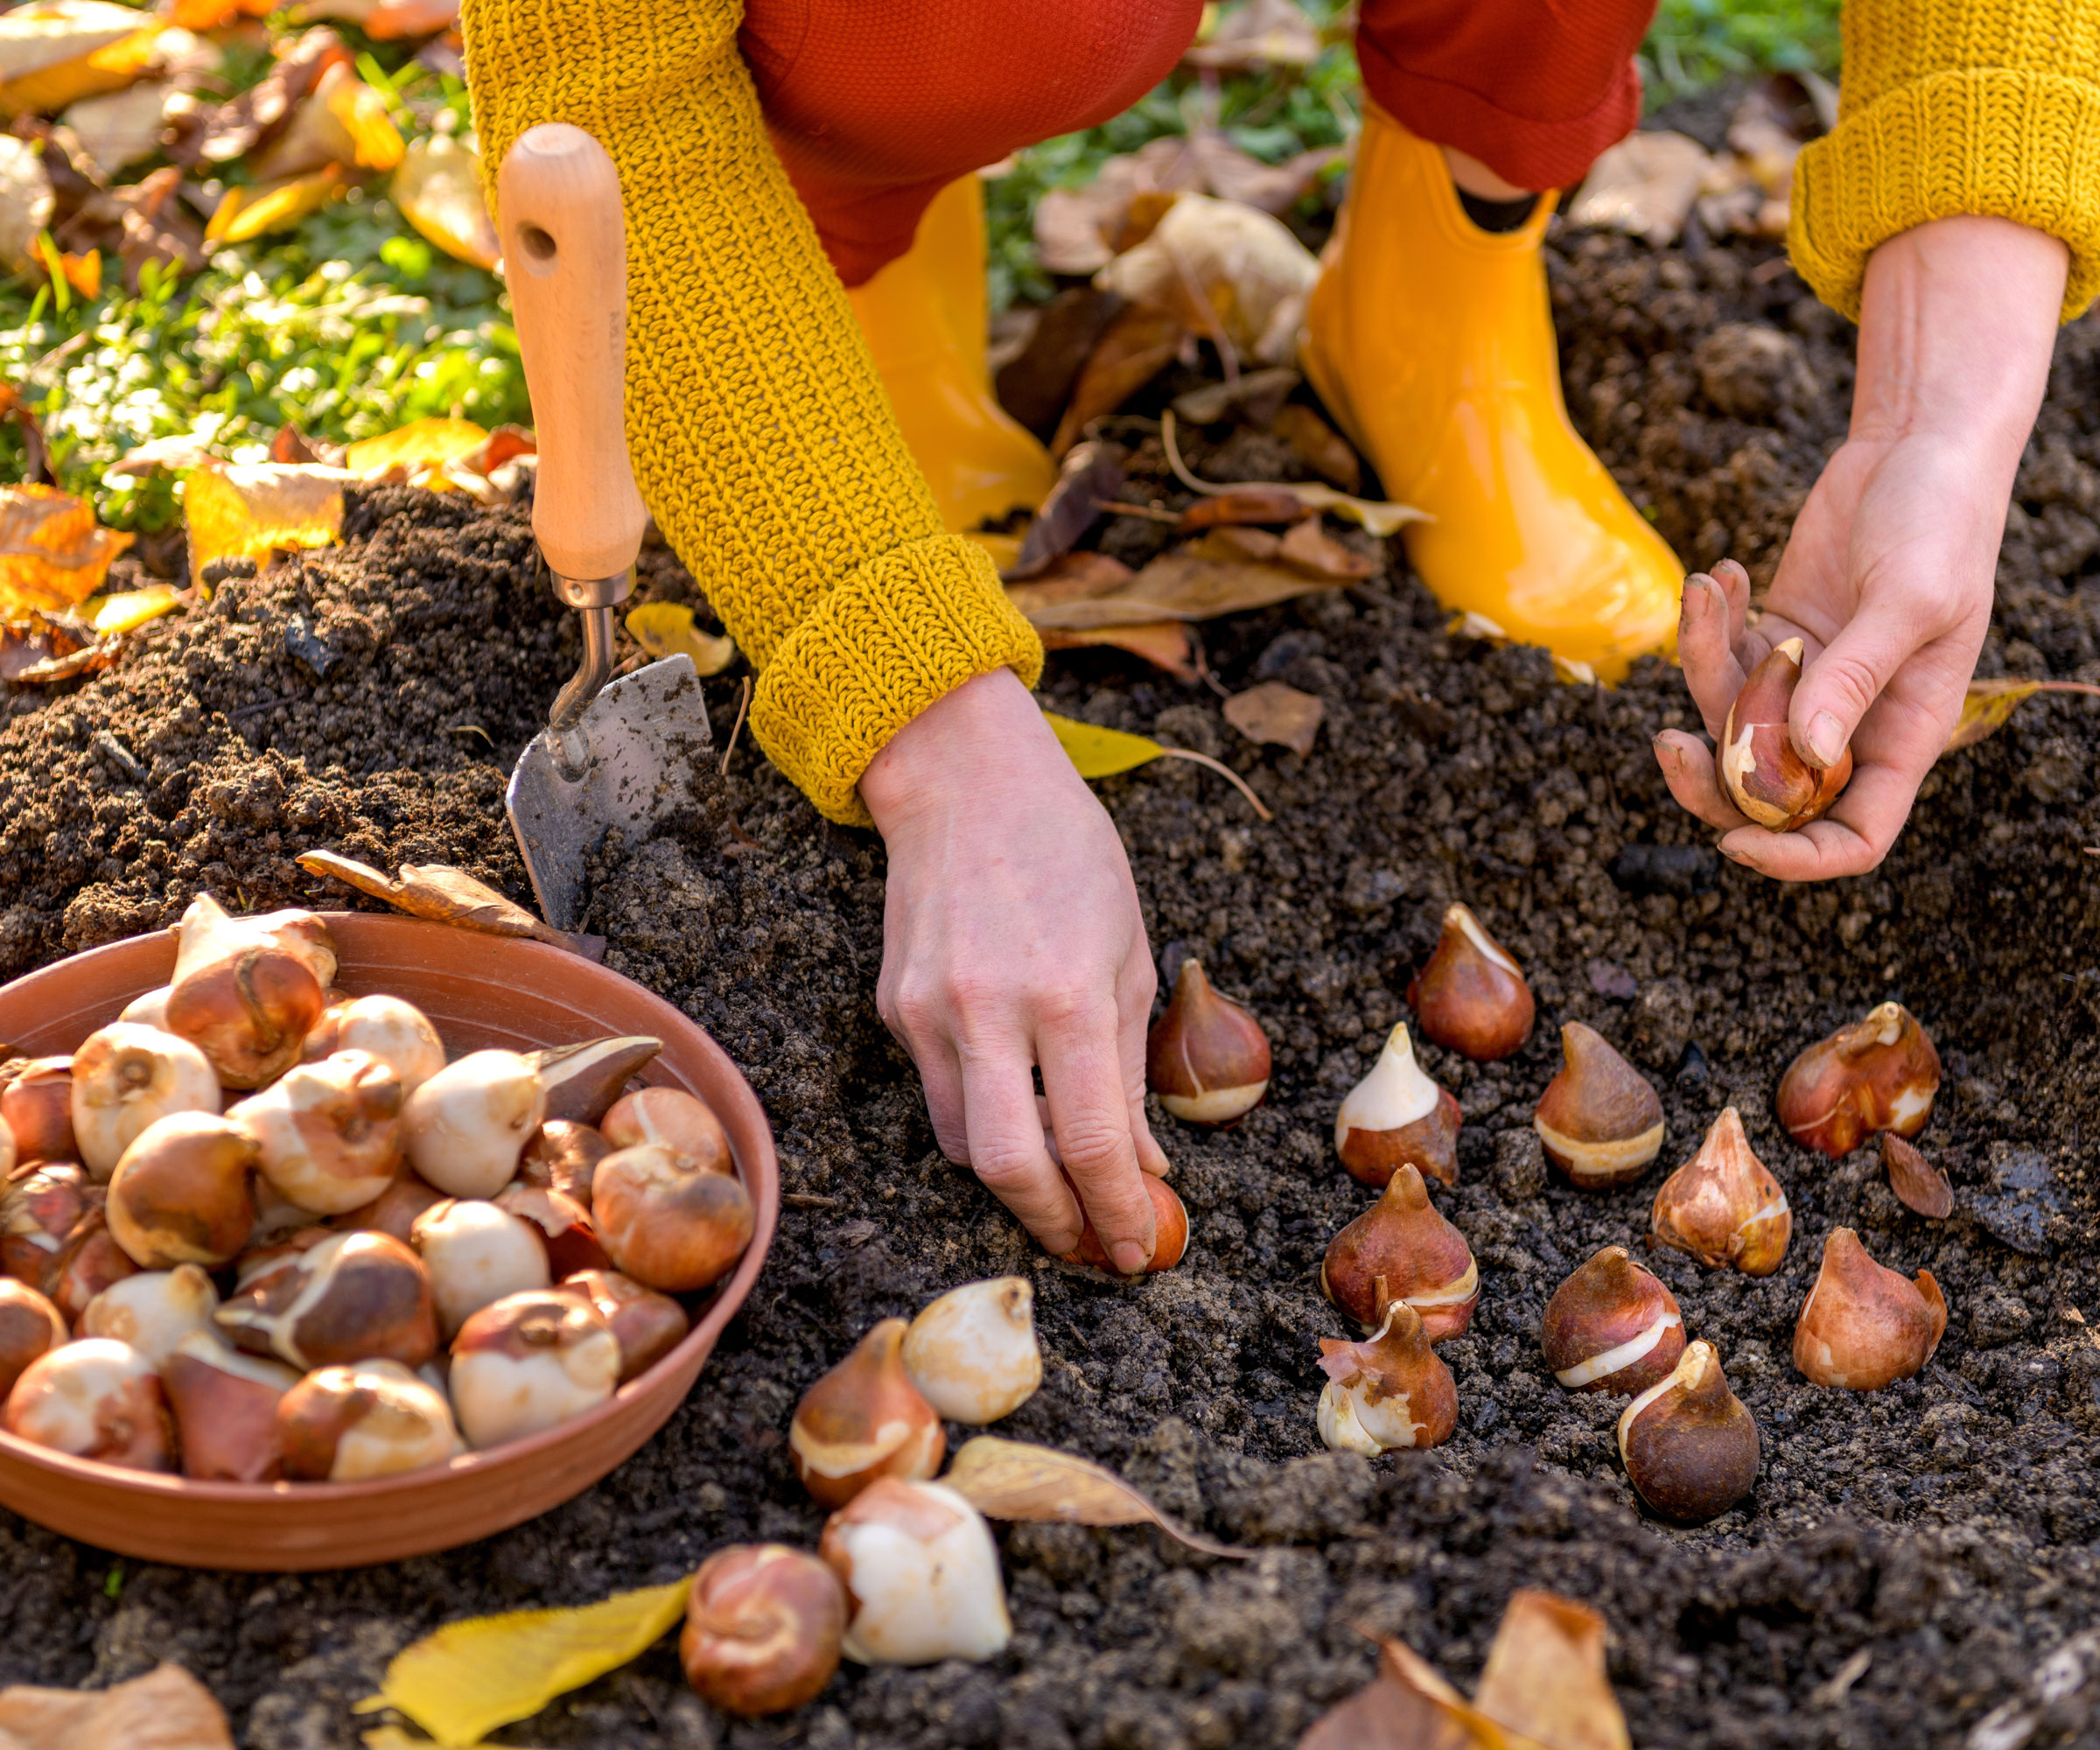
Loosen the soil to a full spade’s depth so roots can run, then measure the planting hole depth as two to three times the bulb’s height (see table below for accurate planting depth and spacing for your chosen varieties). A bulb planting tool, like the Edward Tools Bulb Planter on Amazon, makes it easy to consistently get the right planting hole size every time.
Set bulbs pointy end up and the flat basal plate down. Backfill, firm lightly, and water once to settle soil around the bulb.
3. Add Fertilizer – and Mulch
You’ll often read that bone meal should go into every bulb hole, but in most soils, it isn’t needed. It can help where soils are phosphorus-poor, but many beds already have adequate levels. Overdoing it can be wasteful and may even lure animals to dig. Instead, add a balanced fertilizer on the top of each bulb site, then lightly in early spring as shoots appear, and again just after flowering if growth seems weak. Using a specialist bulb fertilizer, such as Espoma Organic Bulb-Tone, available on Amazon, ensures they will get just the right nutrient mix.
After planting in beds, mulch lightly to insulate the soil and help prevent frost heave in colder climates.
Planting Depth and Spacing for Popular Bulbs
Here’s an at-a-glance guide to common bulb types, with recommended planting depth and spacing. Planting depth refers to the distance from the bottom of the bulb to the soil surface. Always check the supplied packet information for cultivar specifics.
Bulb | Planting Depth | Spacing |
|---|---|---|
Allium | 6 to 8 inches (15 to 20 cm) | 8 to 12 inches (20 to 30 cm) |
Anemone (A. blanda, A. coronaria) | 2 to 3 inches (5 to 8 cm) | 3 to 4 inches (8 to 10 cm) |
Begonia (tuberous) | 1 inch (2.5 cm) | 8 to 12 inches (20 to 30 cm) |
Calla lily | 3 to 4 inches (8 to 10 cm) | 12 inches (30 cm) |
Canna lily | 4 to 6 inches (10 to 15 cm) | 12 to 18 inches (30 to 45 cm) |
Colchicum (autumn crocus) | 4 inches (10 cm) | 6 inches (15 cm) |
Crocosmia (montbretia) | 3 to 4 inches (8 to 10 cm) | 6 to 8 inches (15 to 20 cm) |
Crocus | 3 to 4 inches (8 to 10 cm) | 3 inches (8 cm) |
Daffodil | 6 to 8 inches (15 to 20 cm) | 4 to 6 inches (10 to 15 cm) |
Dahlia | 4 to 6 inches (10 to 15 cm) | 18 to 24 inches (45 to 60 cm) |
Freesia | 2 inches (5 cm) | 2 to 3 inches (5 to 8 cm) |
Gladiolus | 4 to 6 inches (10 to 15 cm) | 4 to 6 inches (10 to 15 cm) |
Grape hyacinth (muscari) | 3 to 4 inches (8 to 10 cm) | 2 to 3 inches (5 to 8 cm) |
Hyacinth | 4 to 6 inches (10 to 15 cm) | 4 to 6 inches (10 to 15 cm) |
Iris reticulata | 3 to 4 inches (8 to 10 cm) | 3 inches (8 cm) |
Lily (Asiatic, Oriental) | 6 to 8 inches (15 to 20 cm) | 8 to 12 inches (20 to 30 cm) |
Nerine | 3 inches (8 cm) | 6 inches (15 cm) |
Oxalis | 1 to 2 inches (2.5 to 5 cm) | 2 to 3 inches (5 to 8 cm) |
Ranunculus | 2 inches (5 cm) | 4 inches (10 cm) |
Snowdrop (galanthus) | 3 inches (8 cm) | 3 inches (8 cm) |
Tigridia (tiger flower) | 3 inches (8 cm) | 4 to 6 inches (10 to 15 cm) |
Tulip | 6 to 8 inches (15 to 20 cm) | 4 to 6 inches (10 to 15 cm) |
If in doubt, follow the general bulb planting depth rule of two to three times the bulb’s height. If you do plant too shallow or too deep, don’t panic. You can lift and reset next year. In terms of plant spacing, remember bulbs will multiply, so leave a bit of wiggle room in naturalized areas.
Planting Bulbs in Containers
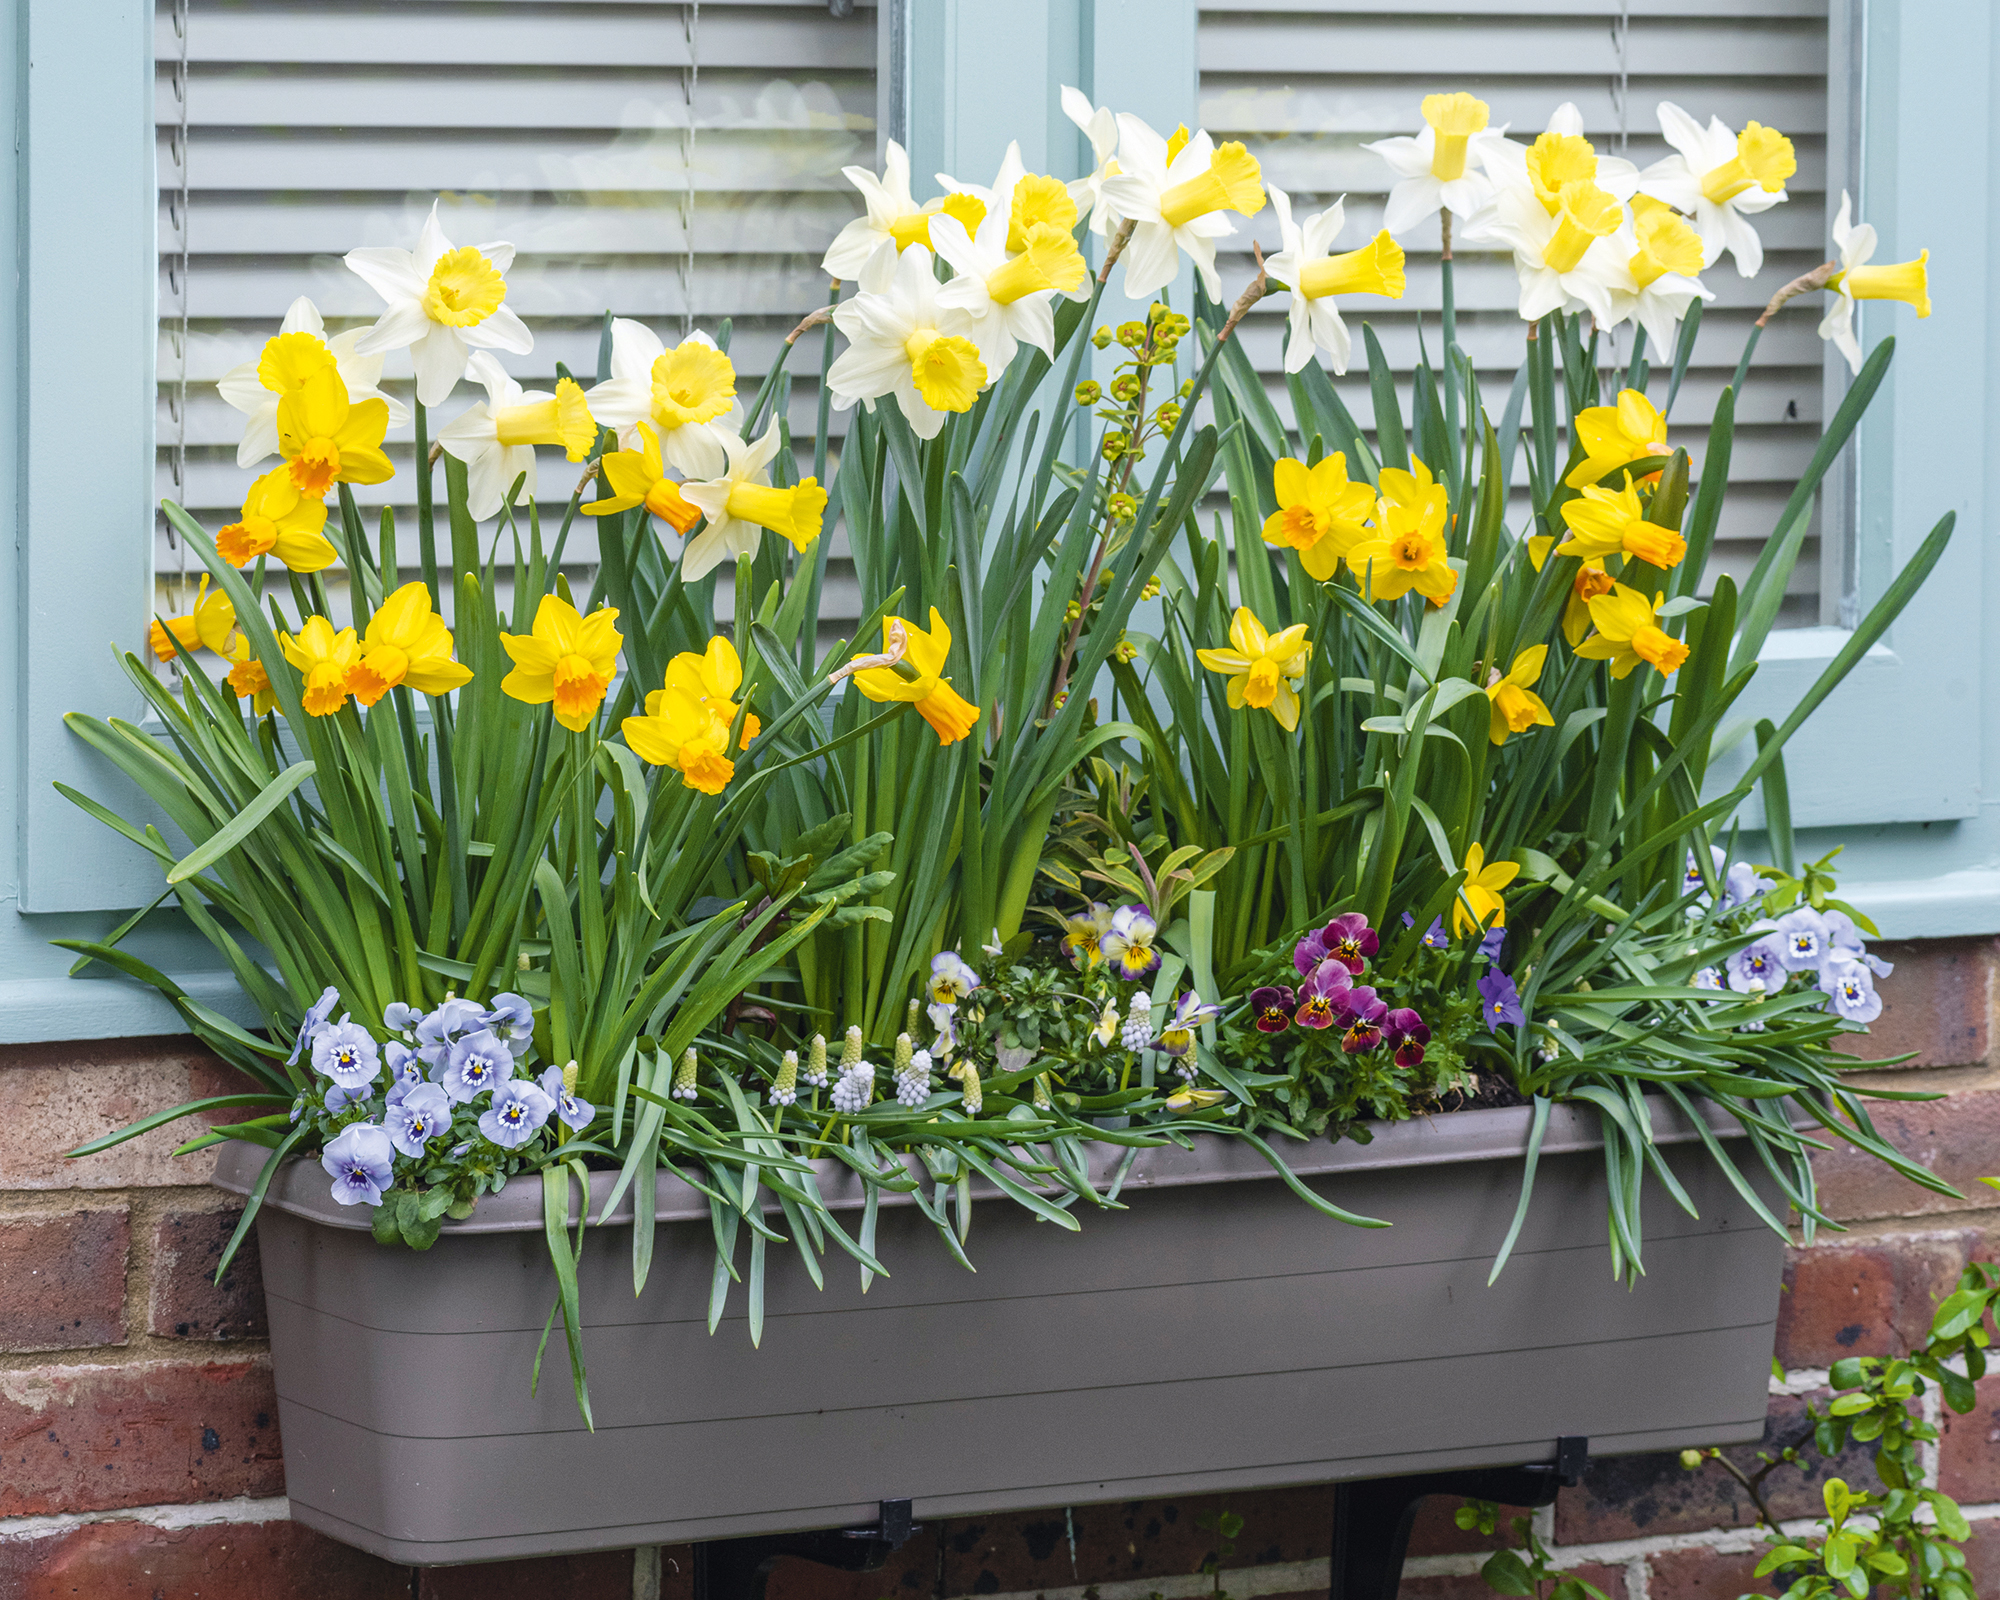
After the depths of winter, nothing says spring quite like containers filled with joyful bulb flowers. Planting a bulb lasagna will give you the best results, and essentially means succession planting in one pot.
Use a sturdy pot with a drainage hole. Start by adding a bit of potting mix with added grit for drainage, then layer early, mid, and late bulbs from deepest to shallowest so they bloom in sequence. Layer depth between bulbs should be about twice their height.
Water after planting to settle the soil, then focus on consistent moisture during active growth and bloom. Keep potted bulbs just moist through winter while they root. Container bulbs dry faster than bedded bulbs, so check more often. Topping winter pots with a thin mulch of leaf mold helps even out temperature swings without sealing in moisture. In mild climates, store containers in a shaded, cool spot over winter to mimic dormancy.
Naturalizing Bulbs in Lawns
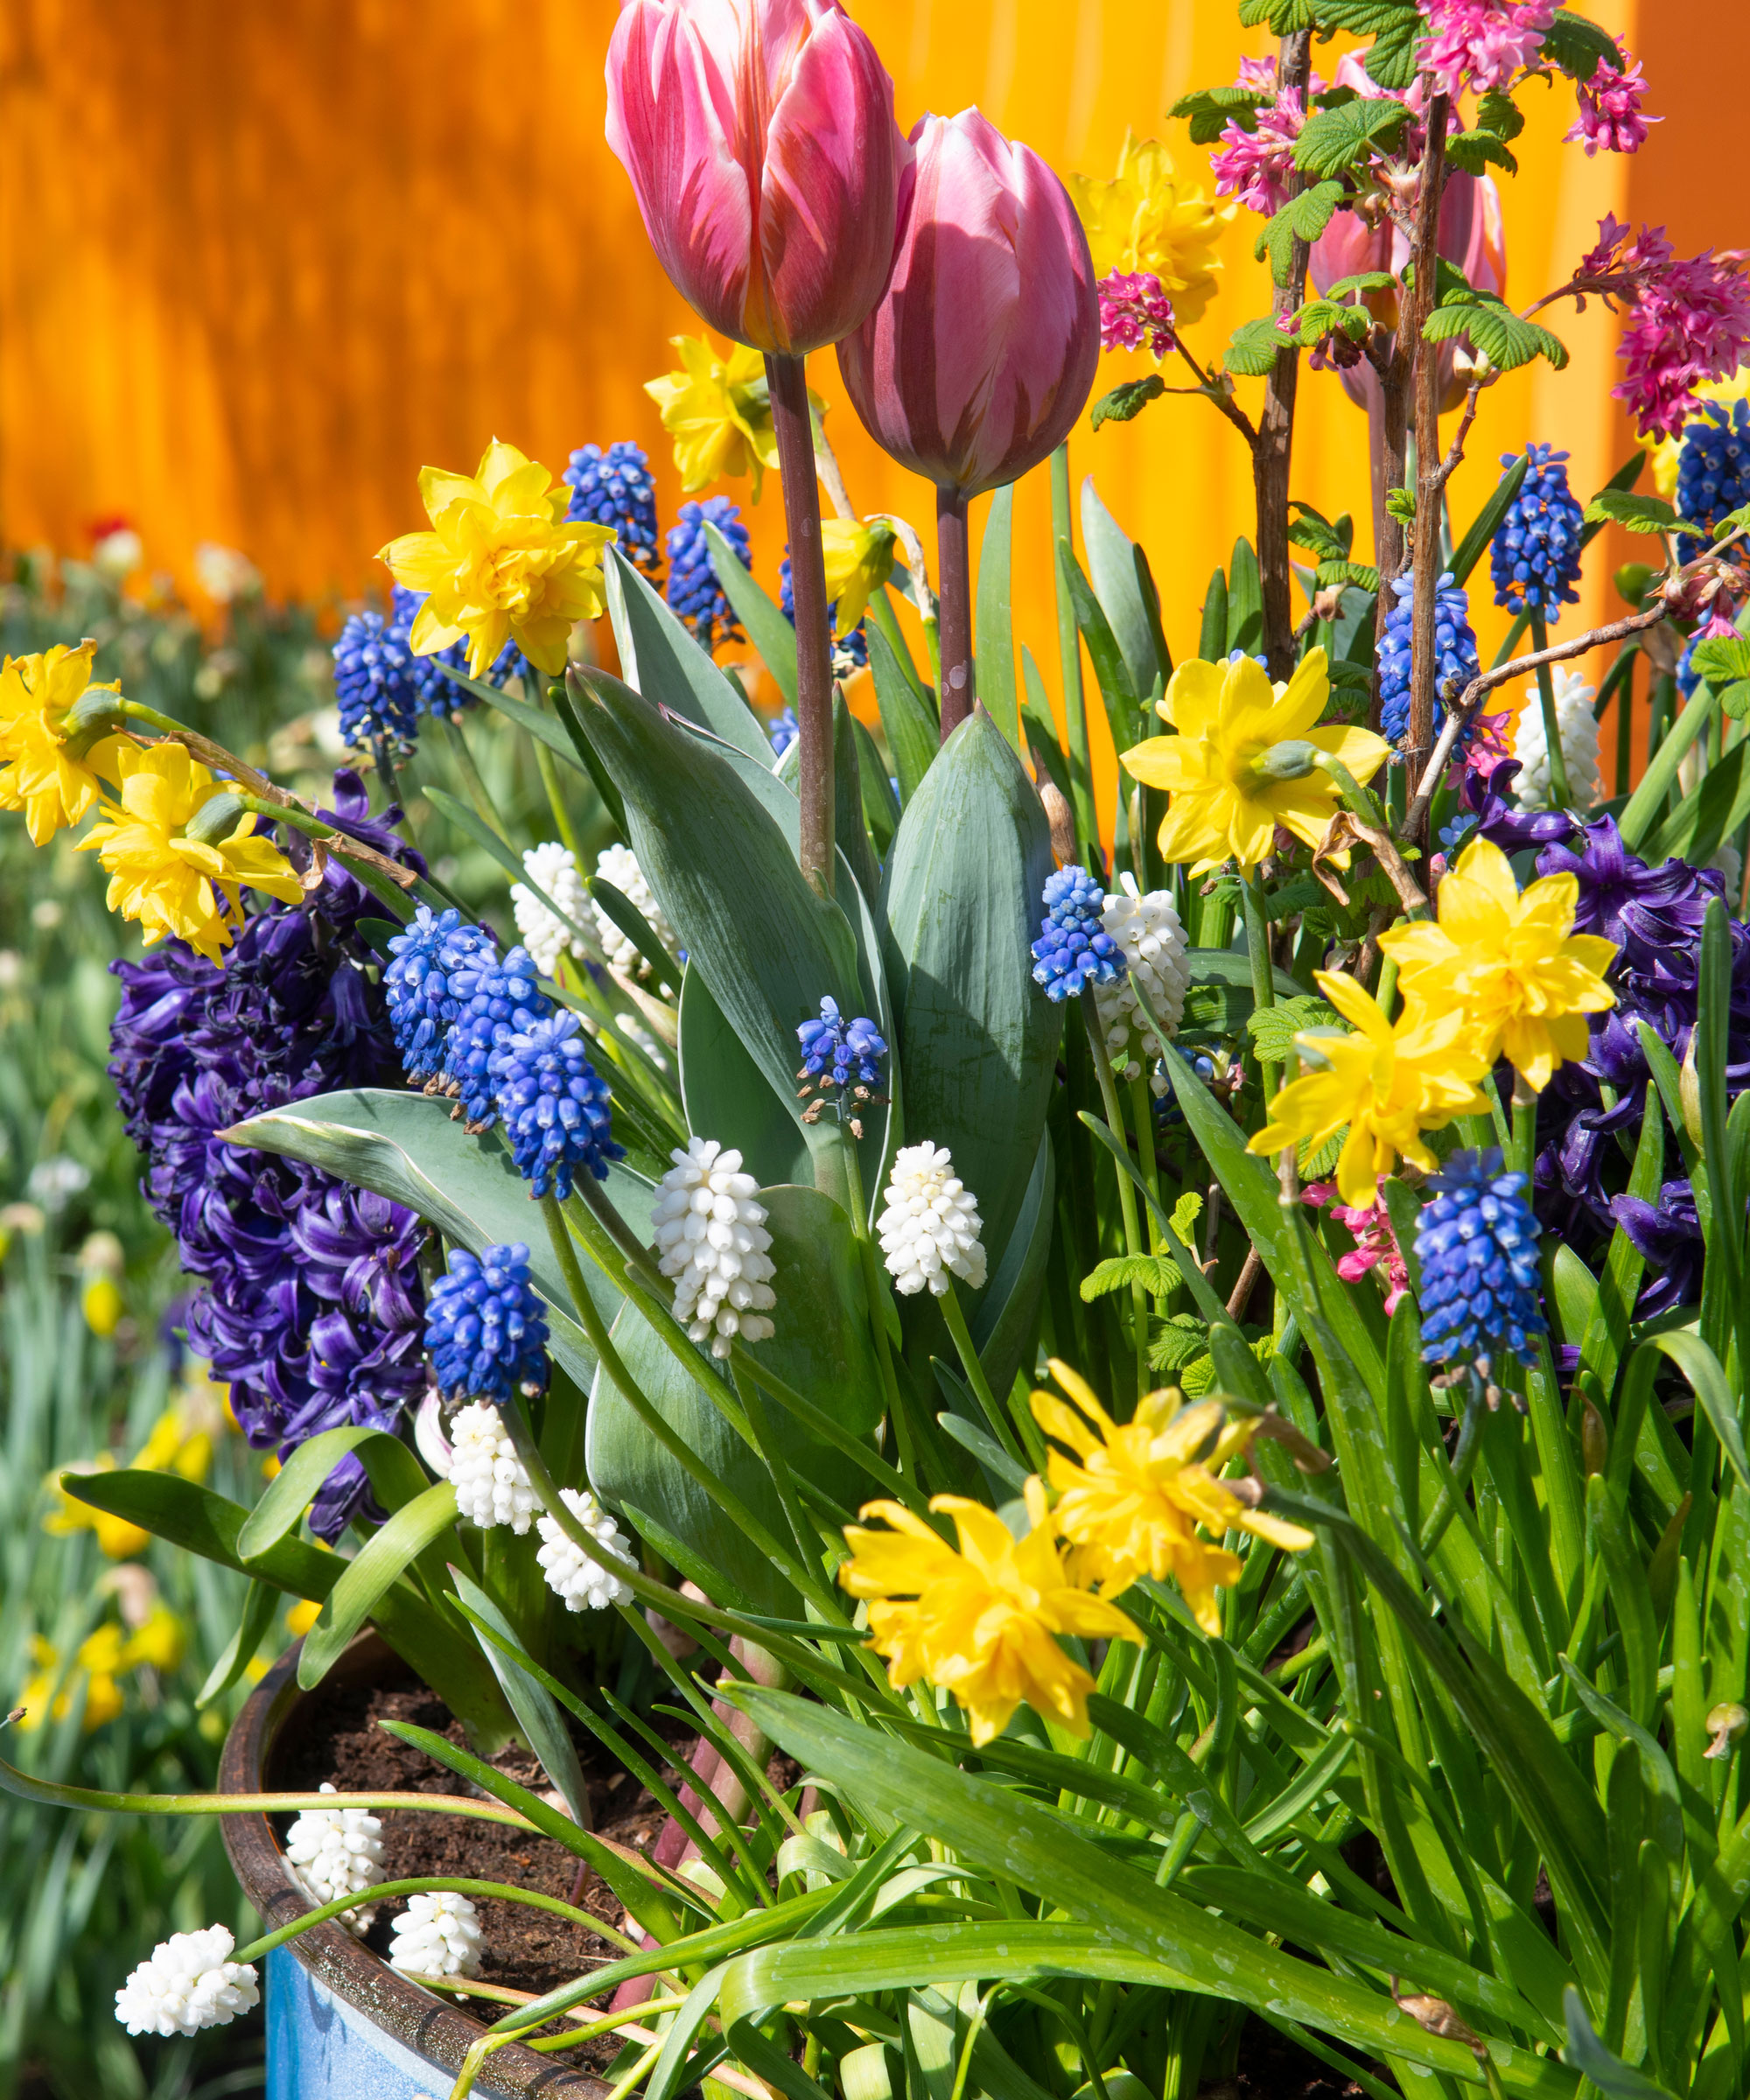
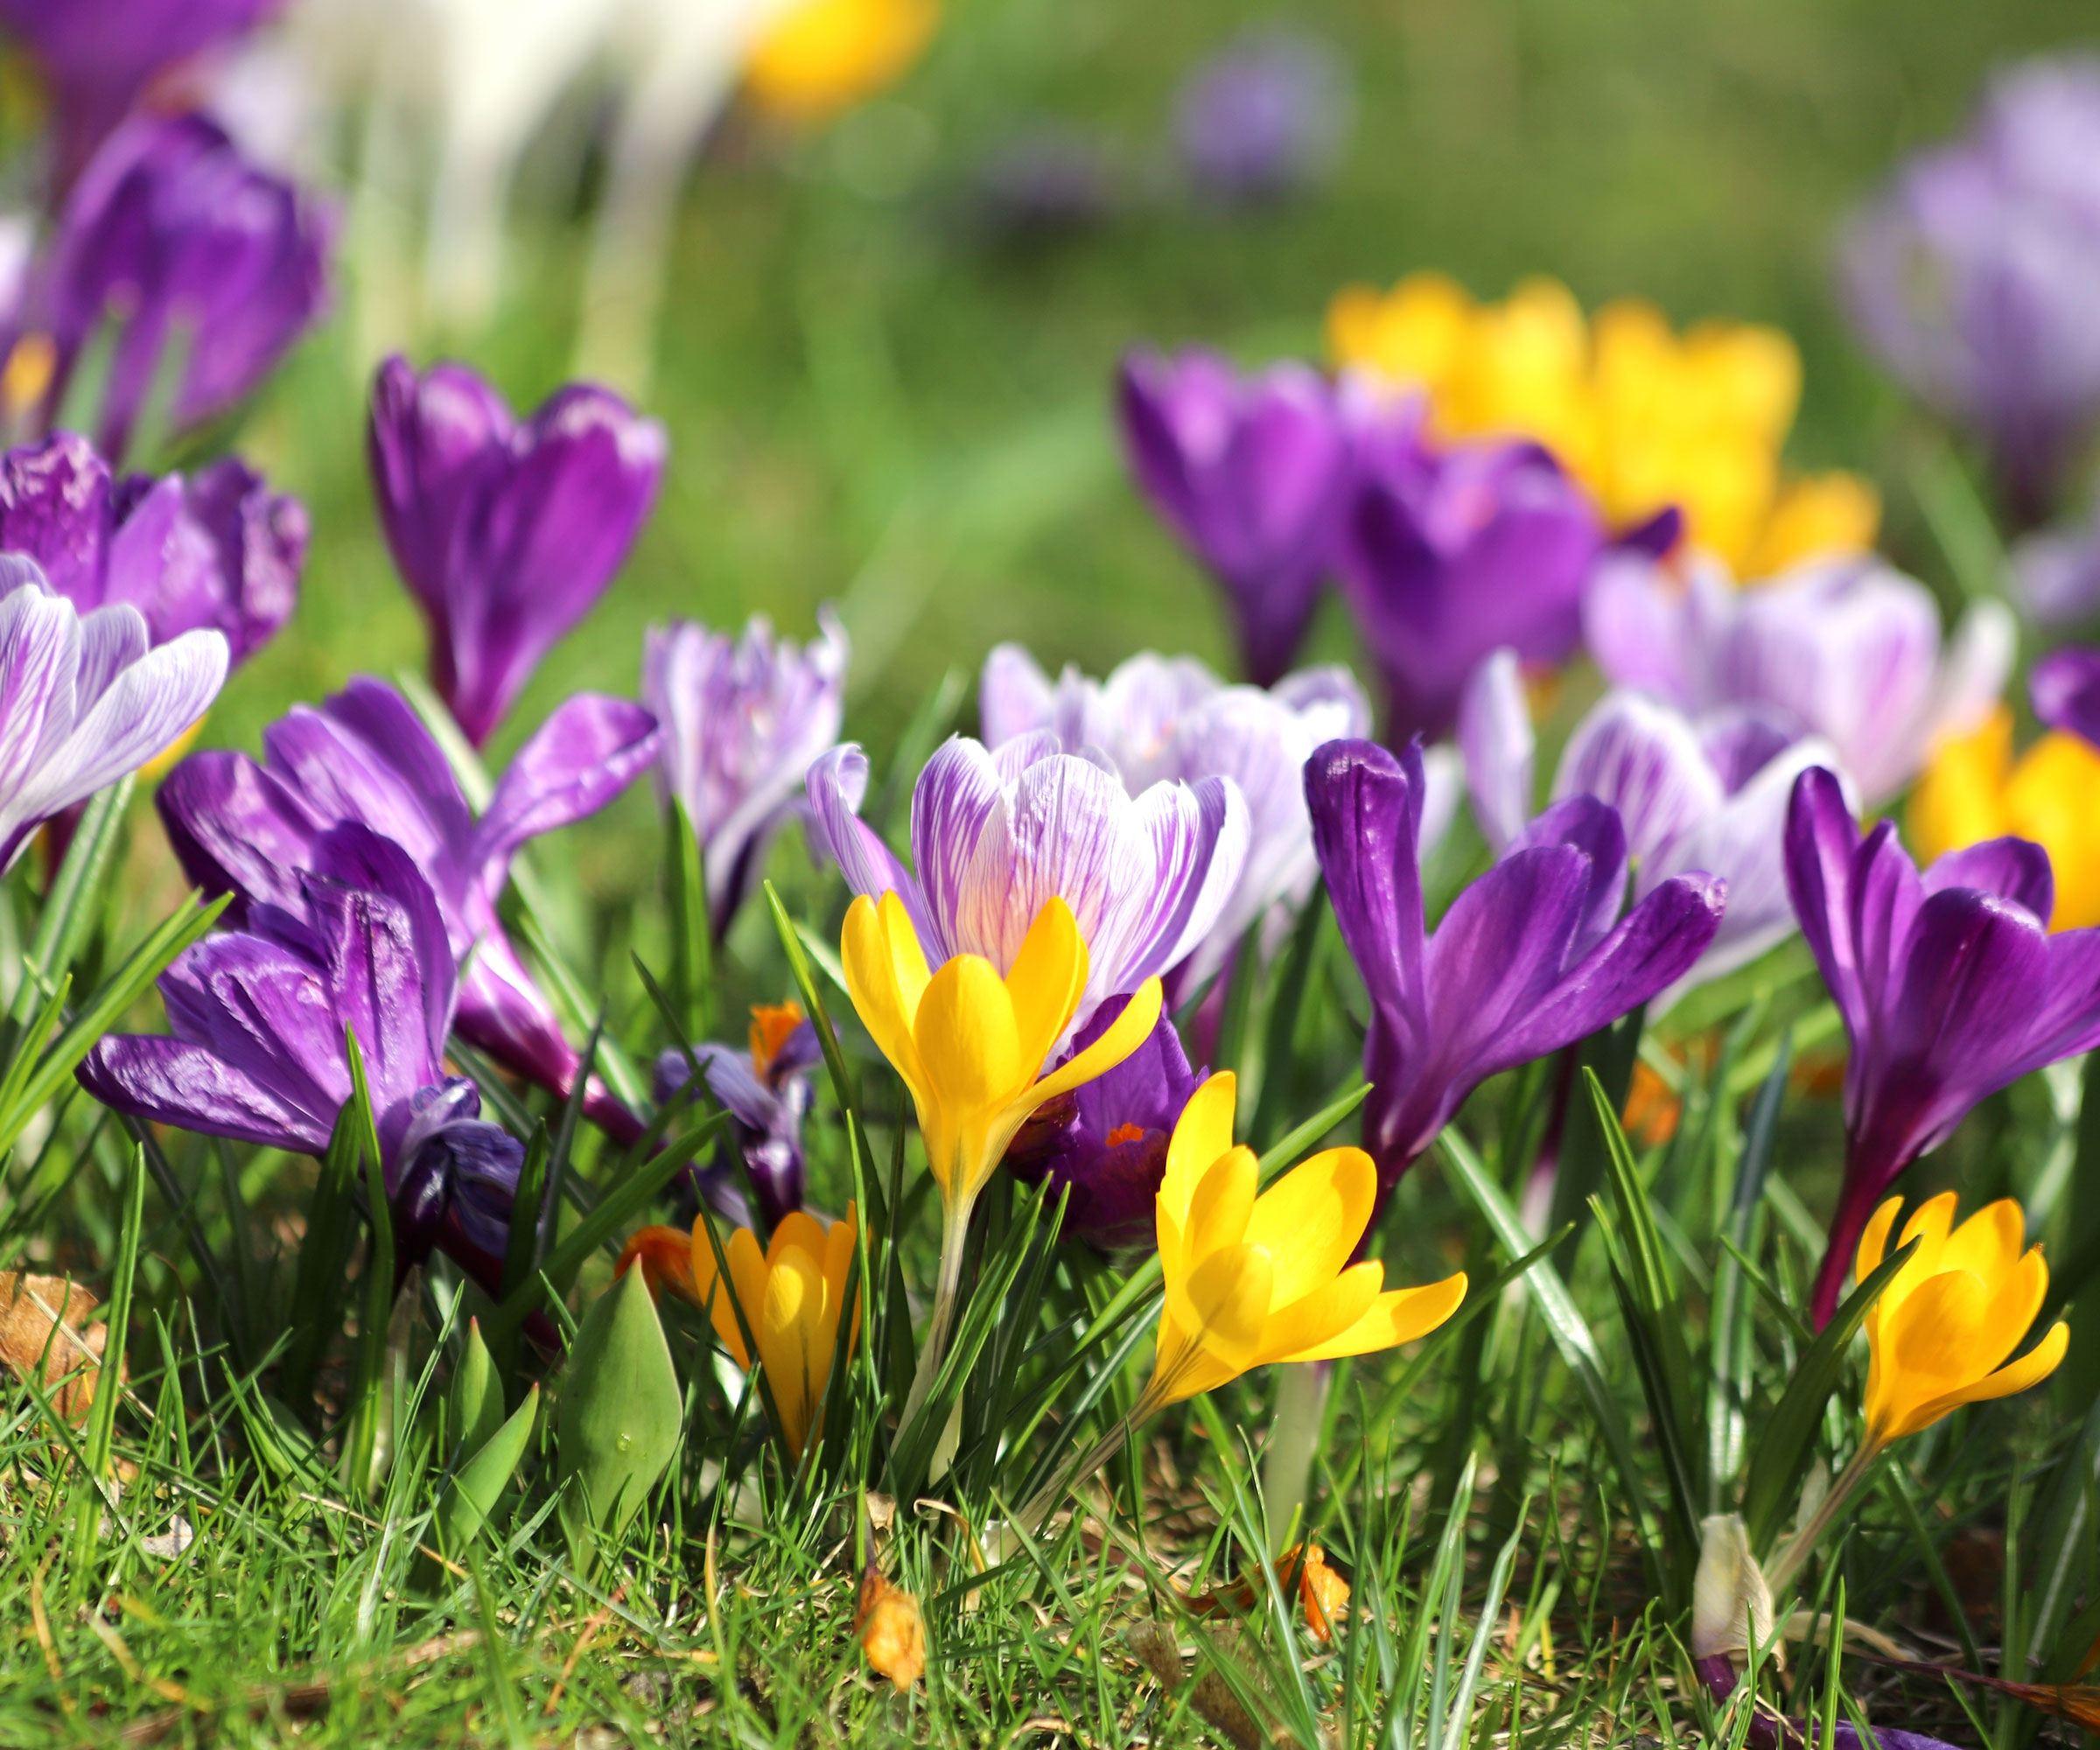
In nature, bulbs don’t line up in straight rows – they scatter and drift. To copy that look, toss a handful of bulbs and plant them where they land. Good candidates for naturalizing bulbs include crocus, snowdrops, species tulips, muscari, and daffodils. In lawns, wait until the foliage dies back – often 4 to 6 weeks after bloom – before mowing, or next year’s display will fade. After the foliage fades, give naturalized areas a light feed in fall to keep displays strong year after year.
Bulb Aftercare
After blooming, don’t cut back foliage too soon. The leaves rely on photosynthesis to recharge the bulb after bloom. If you want it tidy, gently braid or gather, but let them yellow on their own. Alliums and some tulips look striking if you leave seedheads; daffodils are cleaner if you deadhead. If clumps bloom less over time, mark the spot, then lift and divide in late summer when dormant.
Once bulbs are established, occasional deep watering in dry spring will help bulbs recharge for next year’s bloom, while a light feed each spring as leaves emerge will help to maintain vigor.
Established bulbs can be lifted and transplanted when dormant – usually late summer for spring bloomers, or after frost kills foliage for summer types.
Lifting and Storing Tender Bulbs
In cooler areas, tender bulbs such as dahlias, gladioli, and canna lilies won’t survive a harsh winter in the ground, so it’s best to lift and store them before planting again in spring.
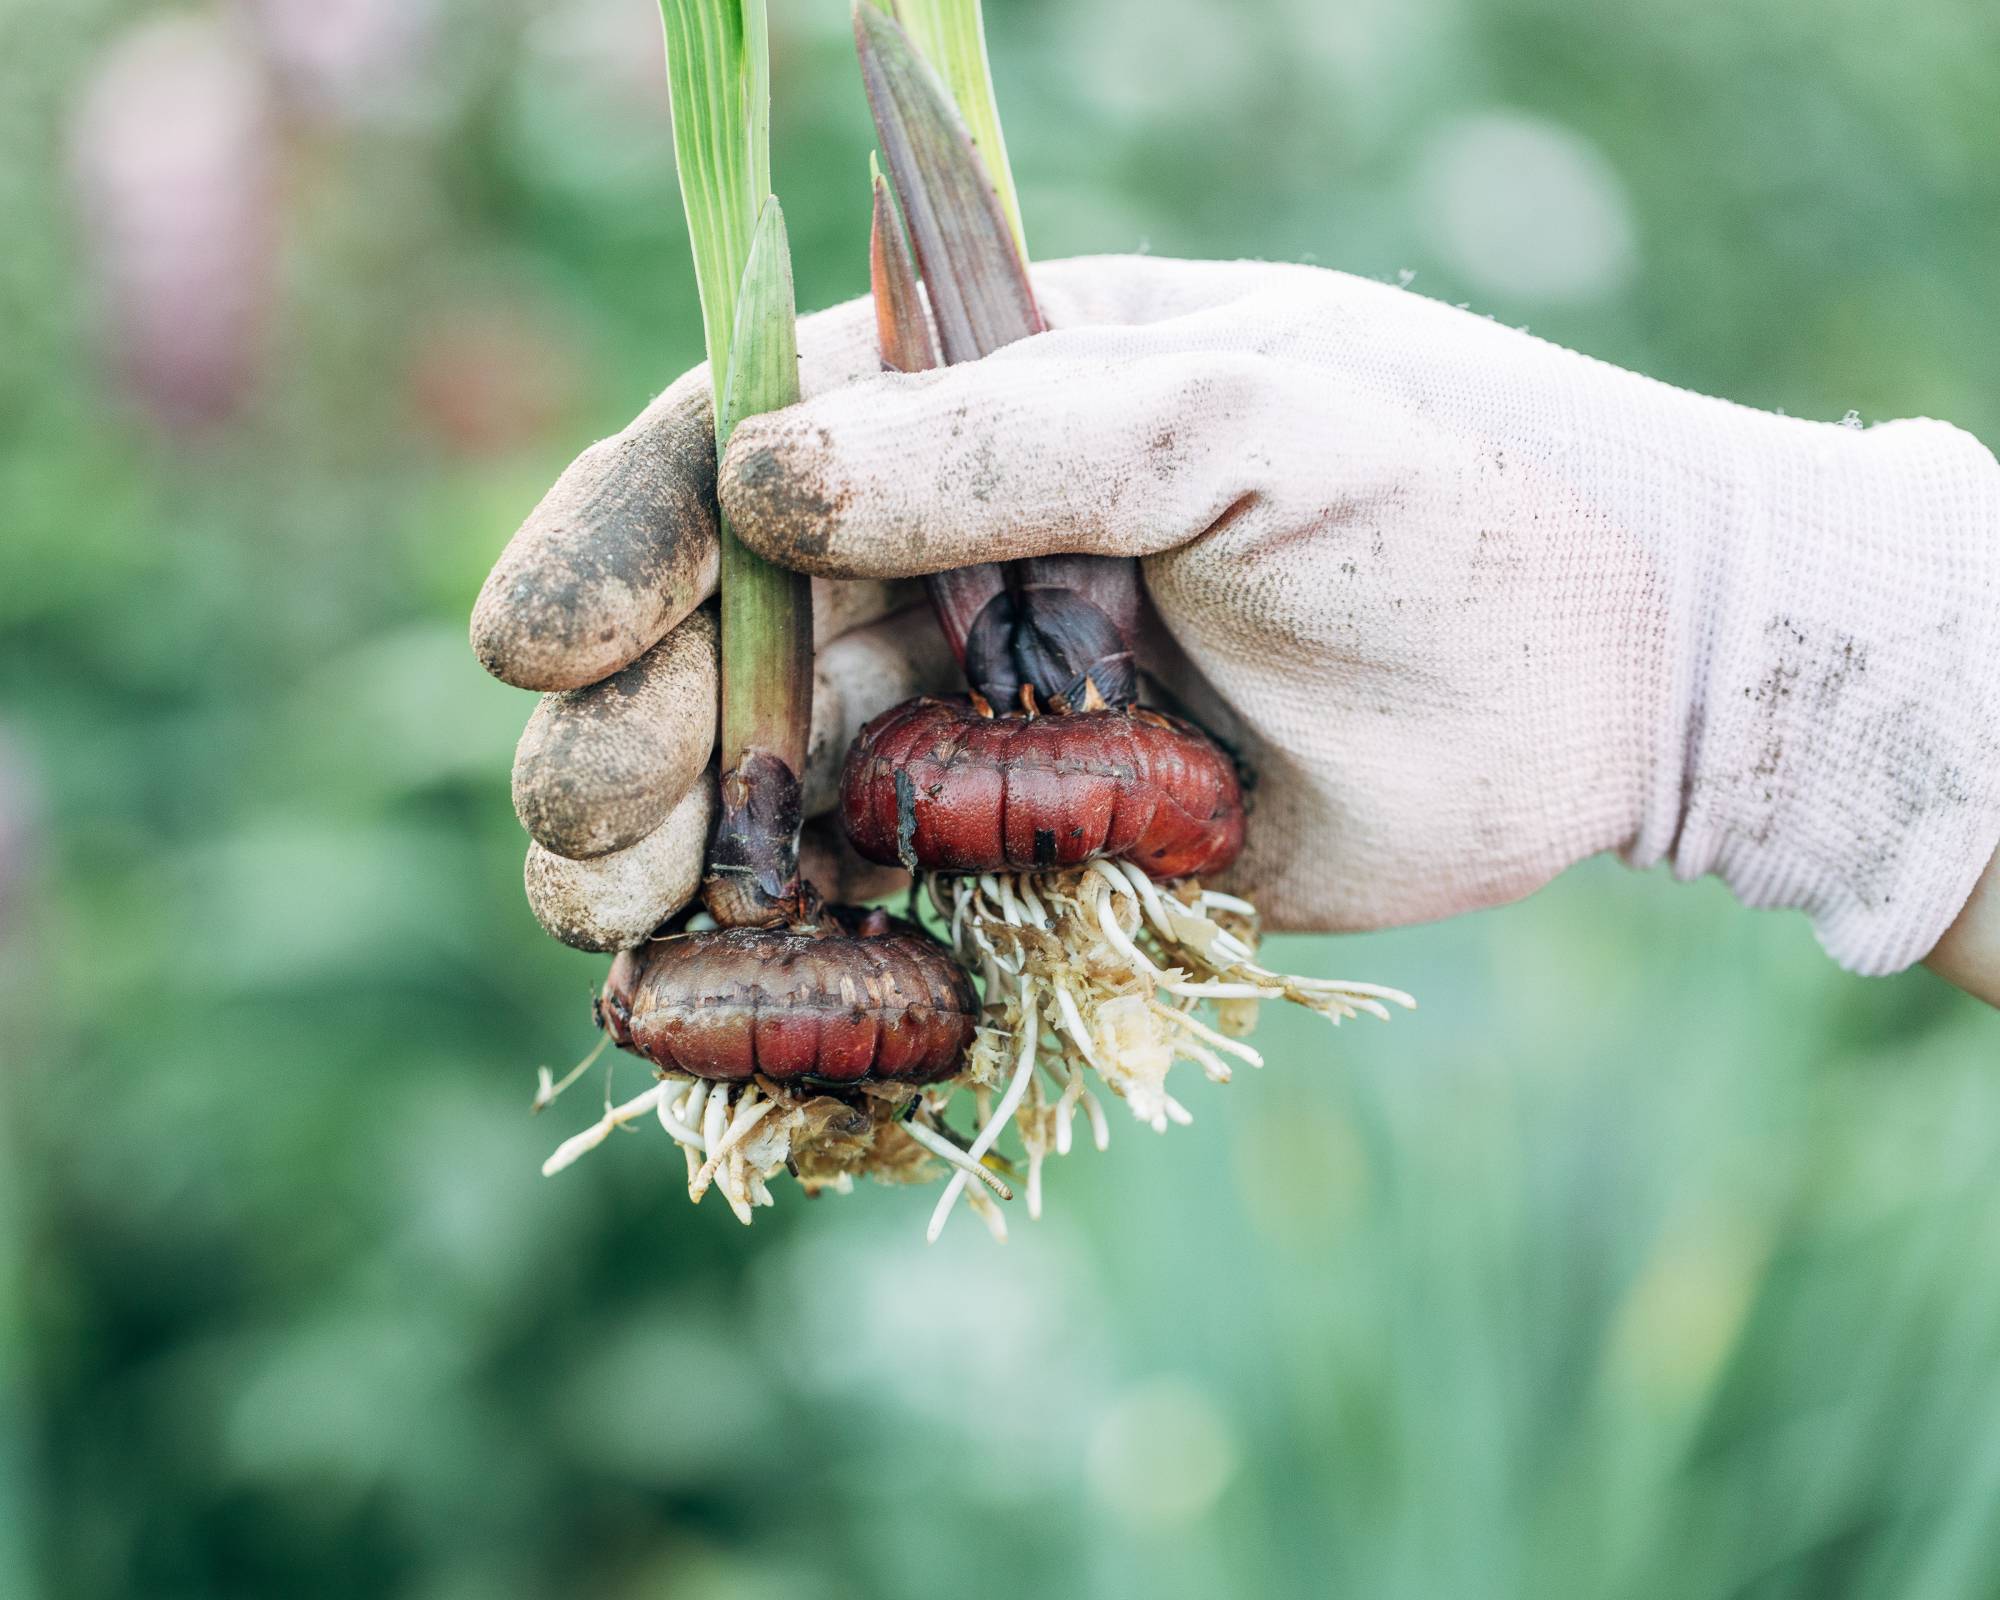
Lift gladiolus corms when leaves yellow, cure them in a warm, airy place (70 to 80°F / 21 to 27°C) for 2 to 3 weeks, then store cool and dry (35 to 45°F / 2 to 7°C). Check monthly and discard any that soften or mold.
Lift dahlias after the first frost blackens the foliage. Rinse or brush off soil, let the tubers dry, and store them in a frost-free, dark, ventilated space. Where winters are mild, some gardeners leave them in the ground with a thick mulch, but storage is safer in cold zones.
Canna lilies can be treated much the same way: lift the rhizomes once frost has cut back the leaves, dry for a few days, and keep them in slightly damp peat or sawdust in a cool (not cold) place until spring.
For other tender bulbs and tropical favorites – such as tuberous begonias, caladiums, and elephant ears – allow foliage to die back naturally, then lift the tubers or bulbs carefully. Brush off soil, dry for a week or so, and store in a frost-free location between 45 and 55°F (7 to 13°C). Replant them once the soil has fully warmed in spring and all frost risk has passed.
Storing Bulbs for Winter and Next Season
Not every bulb goes straight back into the ground. Tender types need winter storage, while hardy spares can be kept cool and dry until next season.
Tender bulbs – such as dahlias, gladiolus, and canna lilies – should be lifted and stored once frost cuts them back. Follow the same process outlined above.
Hardy spare bulbs – like tulips, daffodils, or hyacinths that haven’t been planted – can be kept cool and dry until next season. The goal is to prevent sprouting or rot rather than encourage long-term dormancy.
Store all bulbs in a dark, ventilated space at roughly 40 to 50°F (4 to 10°C). Use mesh trays, paper bags, or shallow crates so air circulates. These Eslite 34L Large Plastic Folding Storage Crates on Amazon are collapsible when not in use.
Label varieties and note their bloom season before storage, so replanting is effortless next year. Check bulbs occasionally and remove any that feel soft or show mold. Keep them well away from ripening fruit, as ethylene gas shortens bulb life.
Forcing Bulbs Indoors
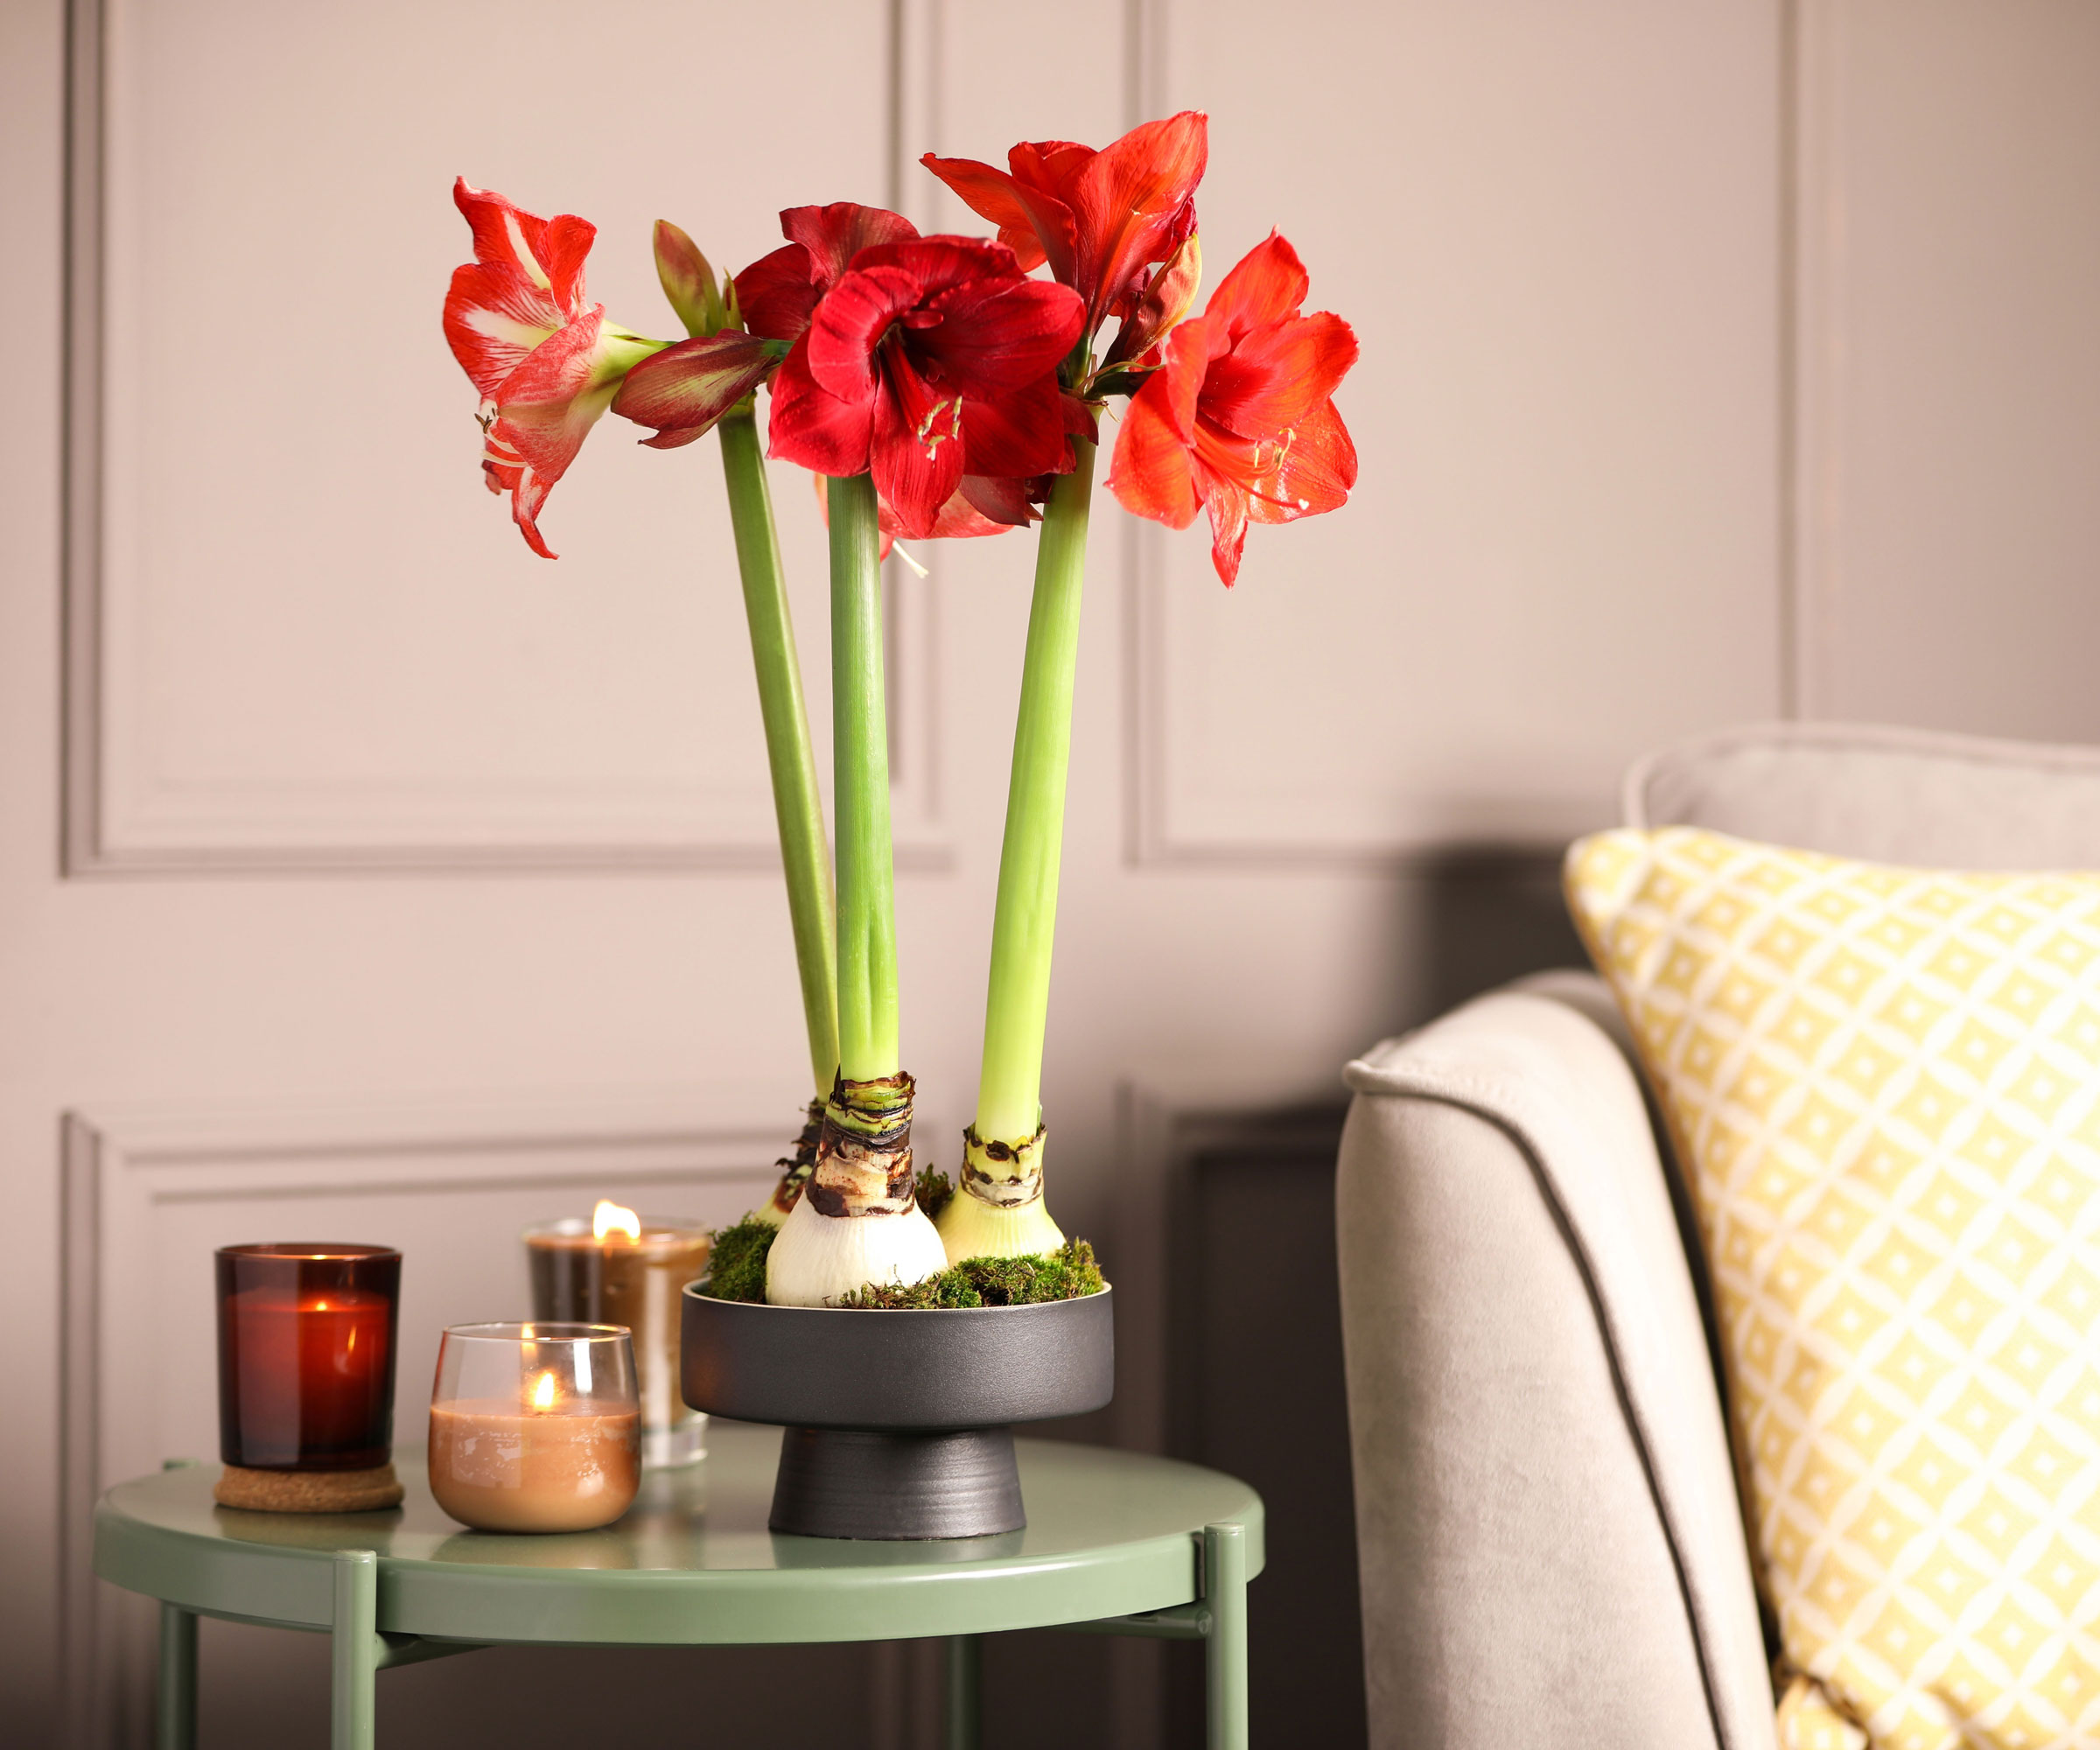
When winter feels long, forcing bulbs indoors brings a welcome burst of color. Choose bulbs such as tulips, daffodils, hyacinths, crocus, or amaryllis.
Chill hardy types (tulips, daffodils, hyacinths) for 10 to 16 weeks at 35 to 45°F (2 to 7°C), then move them into warmth and light to trigger flowering. Paperwhites and amaryllis skip the chill entirely and can be started right away.
A handy trick to keep paperwhites compact is to water them with a mild alcohol solution once stems are 1 to 2 inches (2.5 to 5 cm) tall.
Pest Proofing
Hungry critters such as squirrels, voles, and deer, love to eat bulbs, so protective measures are often necessary. Physical barriers work best. Lay chicken wire or hardware cloth over freshly planted beds and pin it down; remove in spring as growth pops through. In areas vulnerable to gophers, moles, and voles, use root guard baskets, like these Digger’s 1-Quart Root Guard Speed Baskets on Amazon. Sprinkling crushed gravel or sharp grit around bulb holes can also discourage digging.
Another option is to choose naturally squirrel or deer-resistant bulbs – daffodils and many alliums are usually left alone – and know that tulips and crocus are more often targeted.
Animal-based fertilizers, including mixes with bone meal, can attract diggers, so store them securely.
Frequently Asked Questions
Which way up should I plant bulbs?
The tip is the top and should point upwards, while the rough basal plate is the bottom. If you can’t figure it out, then plant the bulb sideways, as most will self-right as they grow.
Why didn’t my bulbs flower?
Bulbs not flowering usually come down to light, planting depth, age, or missing the chill period. Lush leaves with minimal flowers could be a result of over-fertilizing with high nitrogen, in which case ease back and let bulbs rebuild. With established bulbs, it could be due to overcrowding, so dig up, divide, and replant.
What should I do if the bulbs have sprouted on arrival?
Plant them promptly. Hardy types can go in the ground as long as the soil is workable; in deep winter, pot them up indoors and move them outside when it’s time.

Melanie is an experienced gardener and has worked in homes and gardens media for over 20 years. She previously served as Editor on Period Living magazine, and worked for Homes & Gardens, Gardening Etc, Real Homes, and Homebuilding & Renovating. Melanie has spent the last few years transforming her own garden, which is constantly evolving as a work in progress. She is also a passionate organic home grower, having experimented with almost every type of vegetable at some point. In her home, Melanie tends to an extensive houseplant collection and is particularly fond of orchids.