Growing Indigo Plants From Cuttings – How To Root Indigo Cuttings

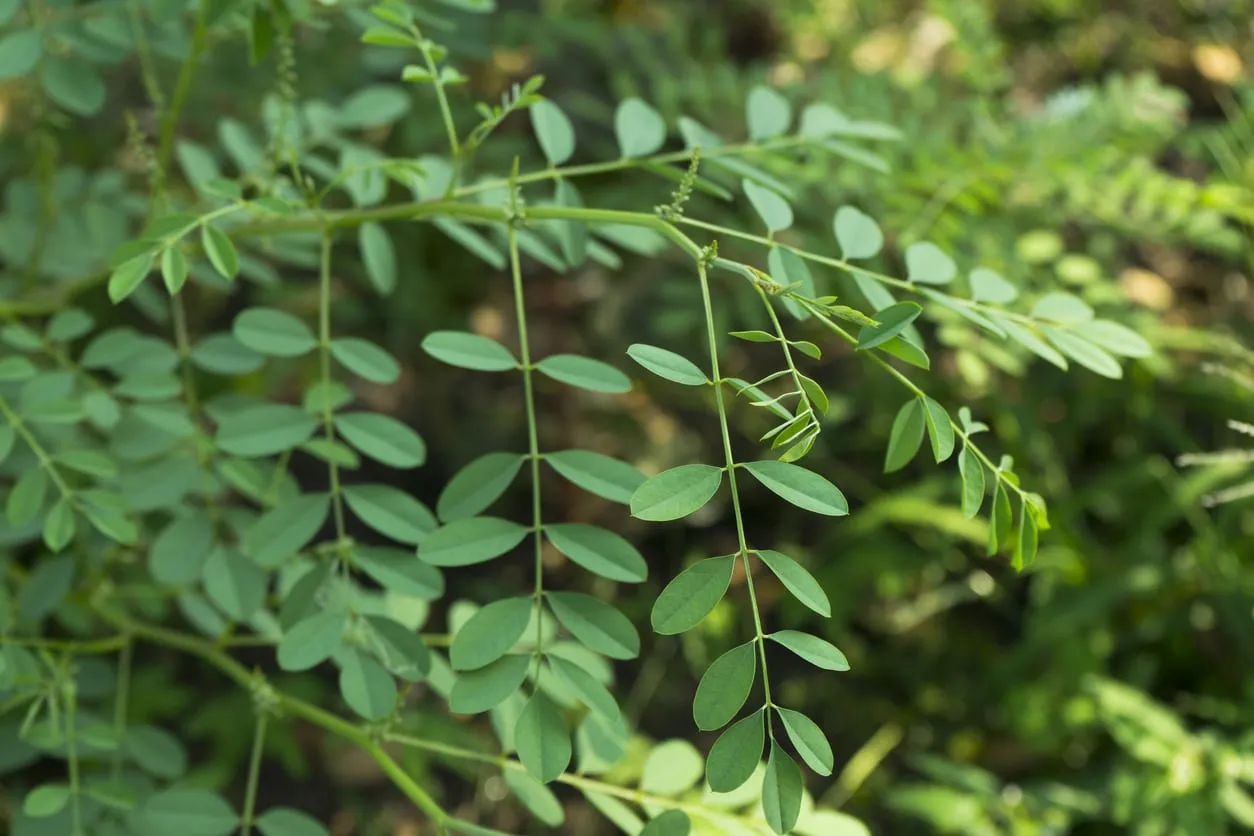
There are many reasons to grow indigo (Indigofera tinctoria). If you use the leaves for a dye, you may regularly be in need of more plants. Whether you use them as a source of indigo dye, a cover crop, or just for bountiful late summer blooms, growing indigo plants from cuttings is not hard. There are a few methods you may use to propagate indigo from cuttings.
How to Take Indigo Cuttings
Take cuttings early in the morning from vigorous shoots on healthy plants. Try to pick a day following a rain so that cuttings will be turgid. Take extra clippings, a few more than you need to allow for those that don’t take root. Cuttings should be 4 to 6 inches (10-15 cm.) long and contain at least one node (where the leaf will emerge) for indigo cutting propagation. Keep cuttings right side up, as an upside-down cutting won’t root. Avoid placing them in direct sun but do choose a warm spot in bright light.
- Softwood cuttings: Take these in late spring through summer. Softwood cuttings taken too early in spring may rot before they root. Let them reach more maturity before clipping.
- Semi-hardwood: If the blooms on your true indigo are winding down and you find you’d like more next year, grow some from semi-hardwood cuttings. Mid to late summer is the perfect time to find woody-based stems that have new growth. These usually root more slowly than softwood cuttings. Be patient. These will need winter protection and will flourish when planted out in spring.
- Hardwood cuttings: For those who can grow true indigo as a perennial year-round, such as zones 10 through 12, take cuttings and place in moist soil suitable for cuttings. Keep soil moist and, again, patience is vital.
How to Root Indigo Cuttings
The soil for rooting cuttings must have good drainage and the ability to hold them upright. Moisten soil before sticking cuttings. Make sure there is a clean cut on the bottom of the cutting and remove bottom leaves. Leave just a few top leaves on each stem. Growing leaves divert the energy you want to be directed to the roots of your cutting. Clip off half of the top leaves, if desired. Apply rooting hormone to the bottom of the stem. Rooting hormone is optional. Some gardeners use cinnamon instead. Make a hole in the medium with a pencil and stick in the cutting. Firm up around it. Covering the cuttings is also optional, but it is an extra layer of protection. If you wish to cover them, use some clear plastic and make a tent-like covering above plants. Use pencils, chopsticks, or sticks from the yard to suspend it above the cuttings. Keep the soil moist around cuttings, but not soggy. When you meet resistance from a gentle tug, cuttings have developed roots. Allow them to continue rooting for 10 to 14 days. Then plant out into the garden or individual containers. Now that you’ve learned how to root indigo cuttings, you’ll always have plenty of these plants on hand.

