2 Tasks to Do Now for Spectacular Hydrangeas Next Summer – Plus, 1 Chore to Leave Until Spring
Want your hydrangeas to wow everyone next summer? A little fall attention can make all the difference. Here's what to do (and not do) now before winter arrives.

Sign up for the Gardening Know How newsletter today and receive a free copy of our e-book "How to Grow Delicious Tomatoes".
You are now subscribed
Your newsletter sign-up was successful
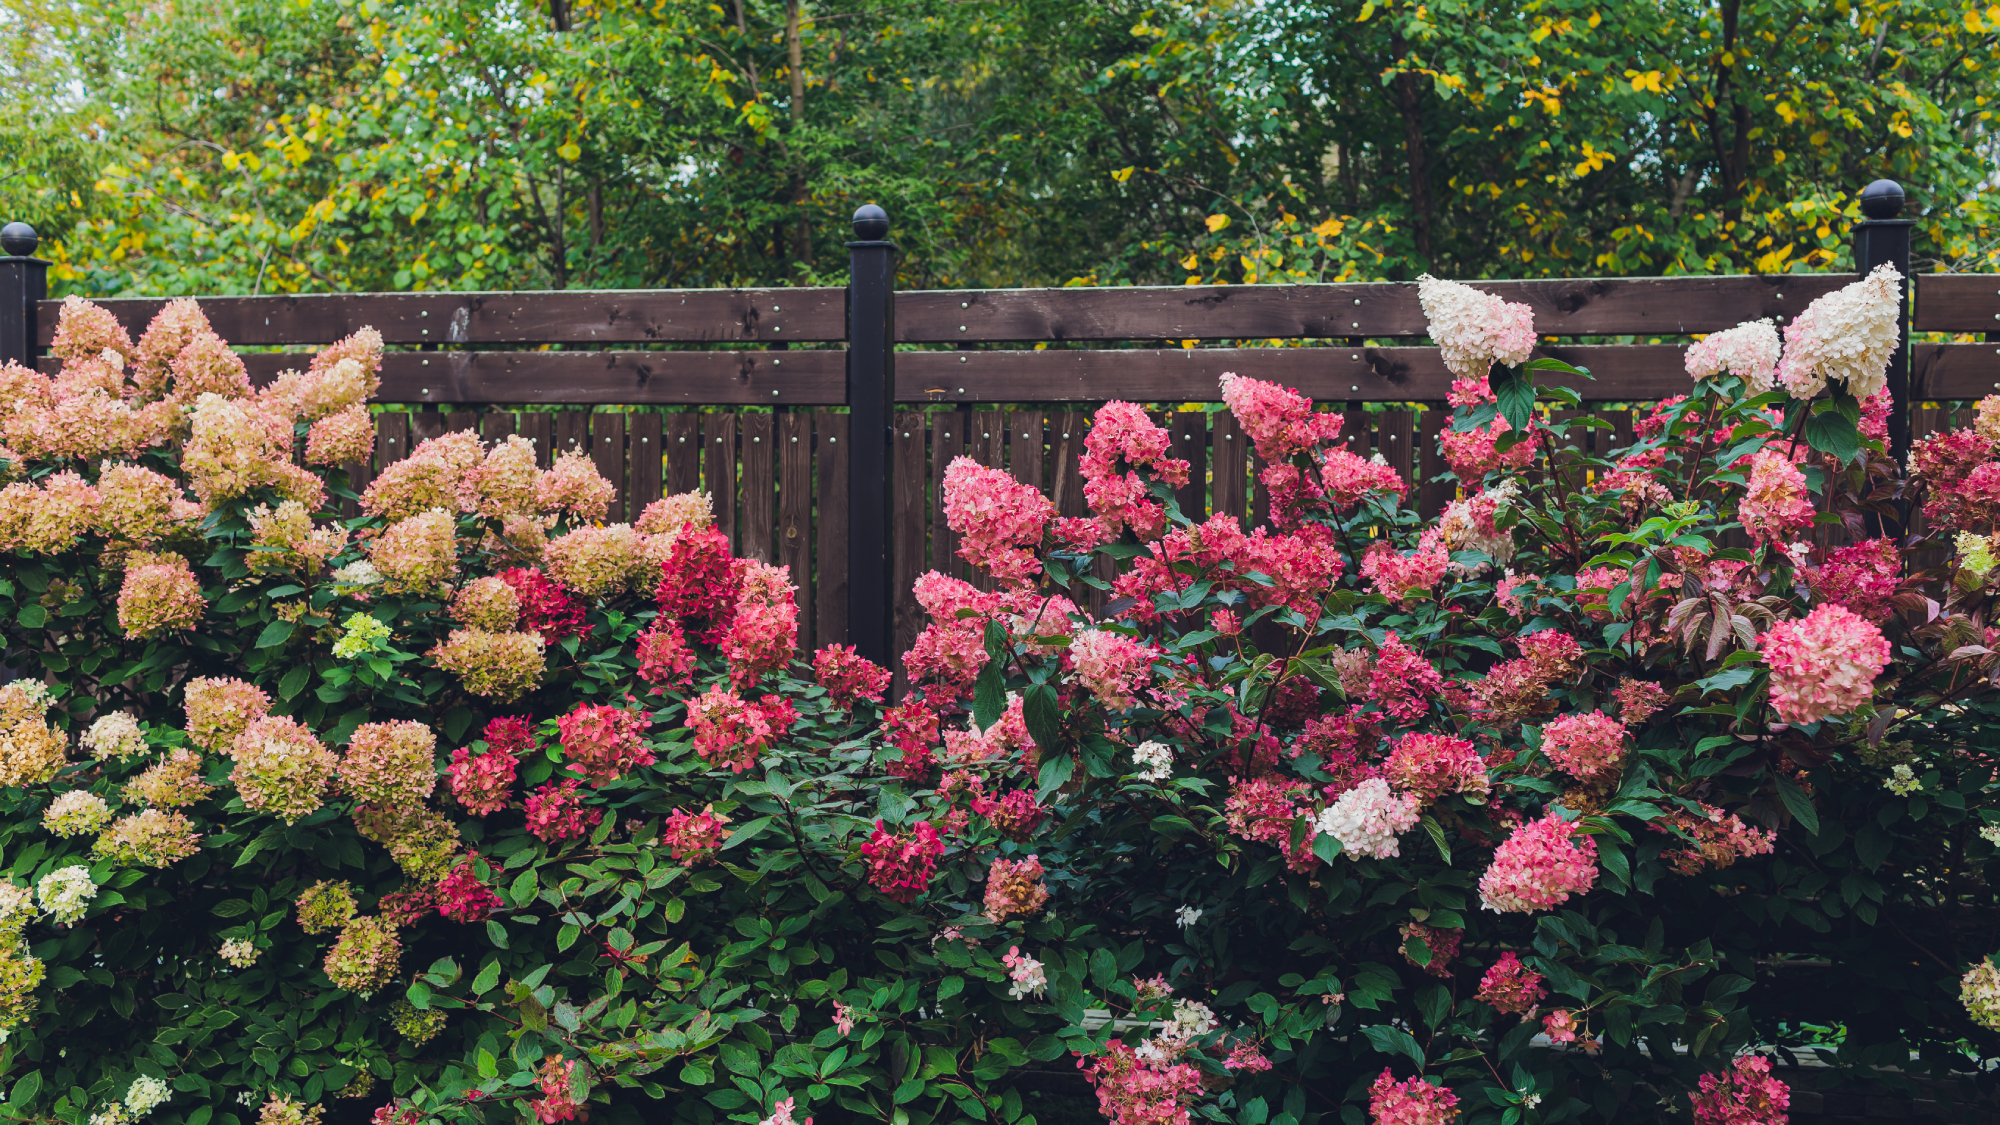
Hydrangeas are summer’s showstoppers. They're big and flashy with over-the-top blooms that look almost unreal. But unfortunately they don’t just crank out flowers on their own. You’ve got to tend to them a bit before winter sets in or else you’ll be staring at your shrub next July, wondering where all the color went.
To ensure you have a bounty of blooms next summer, there are two vital hydrangea care tasks to prioritize in fall: mulching and pruning. But before you go buy a bag of mulch and pick up your pruners, you need to learn the right way to carry out these chores and the rights shrubs to focus on.
I'll lay out the how to do these necessary fall jobs as well as one job you can't wait on until spring. Plus, I'll share some of my tricks for winterizing hydrangeas so they're primed for a killer summer. Get these right and your garden will be bursting with blooms that stop their neighbors in their tracks.
Task #1: Protect Roots With Mulch
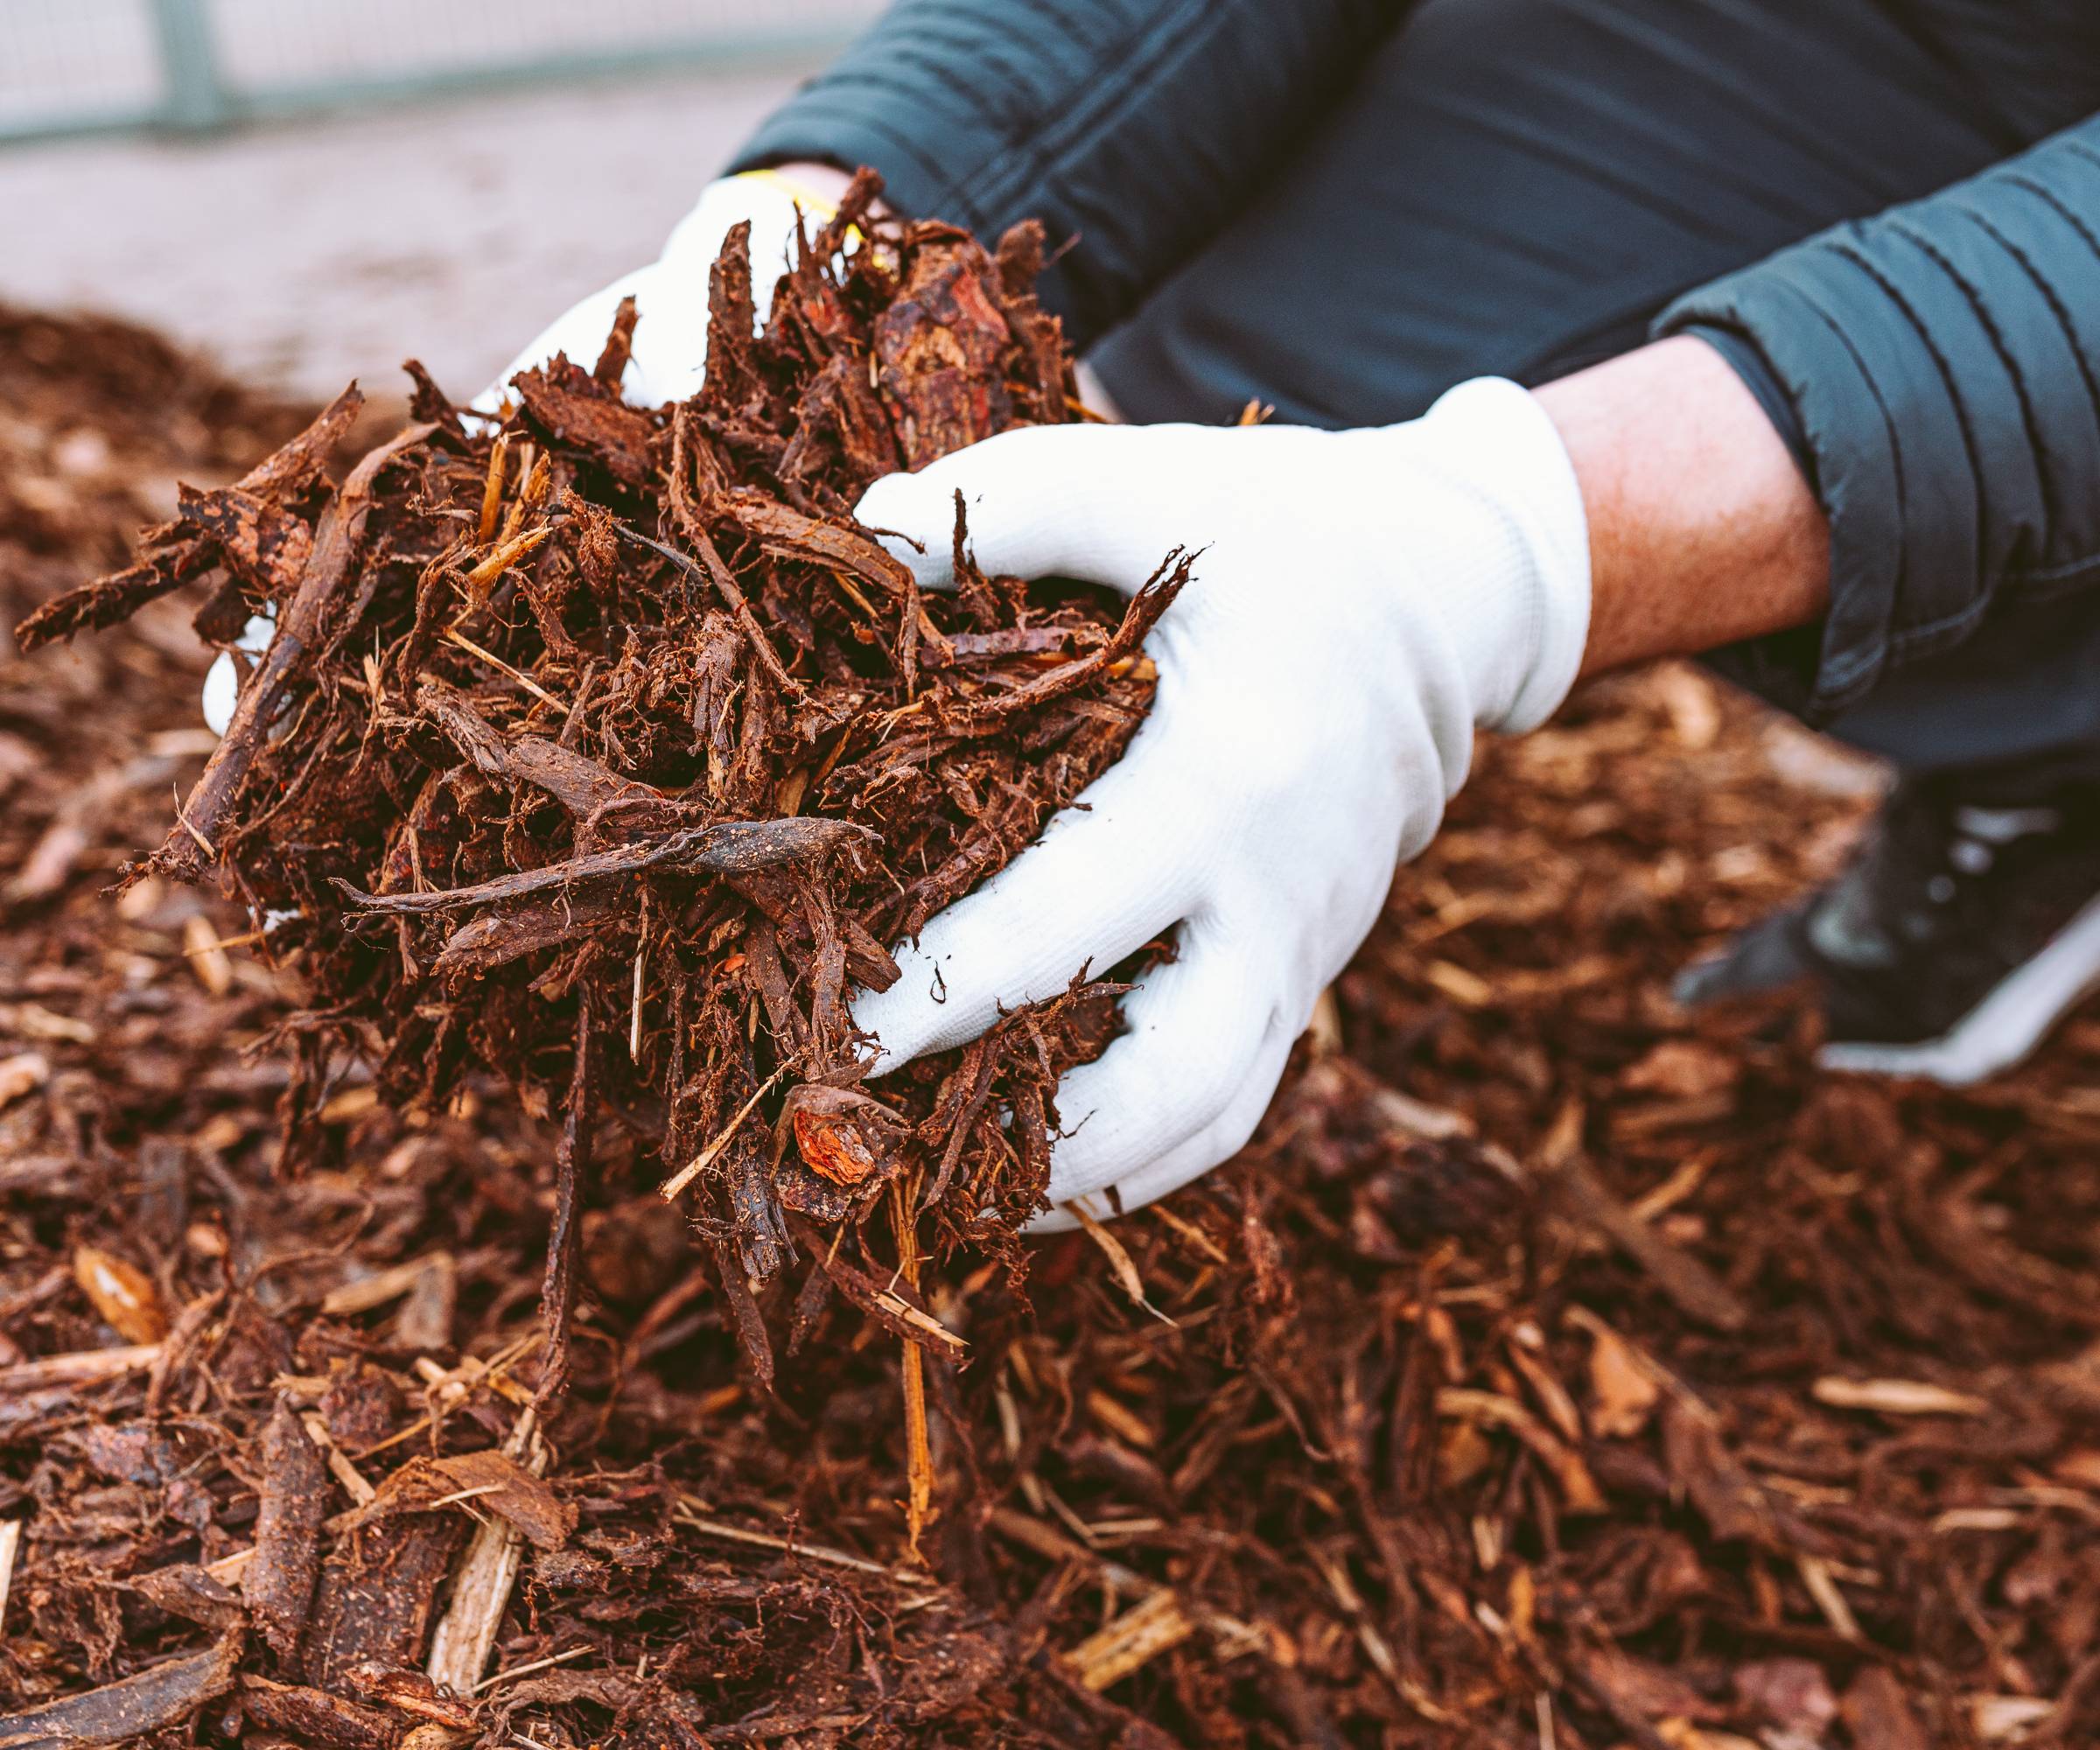
Hydrangeas don’t do well when their roots freeze, so mulching before winter really helps. Spread 2 or 3 inches (5-8 cm) of bark, pine straw, or leaf mulch over the root zone. Just don’t push it right up against the stems or you may invite rot. A good layer of mulch keeps the ground from getting either too hot or too cold when the weather shifts, which is a common cause of stress in plants.
I use pine straw—it’s cheap, looks clean, and stays put in wind. In zones 5 or colder, pile on 5 to 6 inches (13-16 cm) after the ground freezes to lock in warmth. A broad garden rake, like this one from Amazon that comes with a cleanup bag, spreads it fast and evenly. Mulch also holds moisture in until spring and stops common garden weeds from taking over.
For clay soils, mix in compost to improve drainage while mulching. In sandy soils, go heavier on organic mulch like leaf litter to help retain water. Pull back mulch a bit in March to let soil warm. This saves roots from too much cold and sets up plants to help them grow big, bold blooms.
Task #2: Give Them a Light Pruning
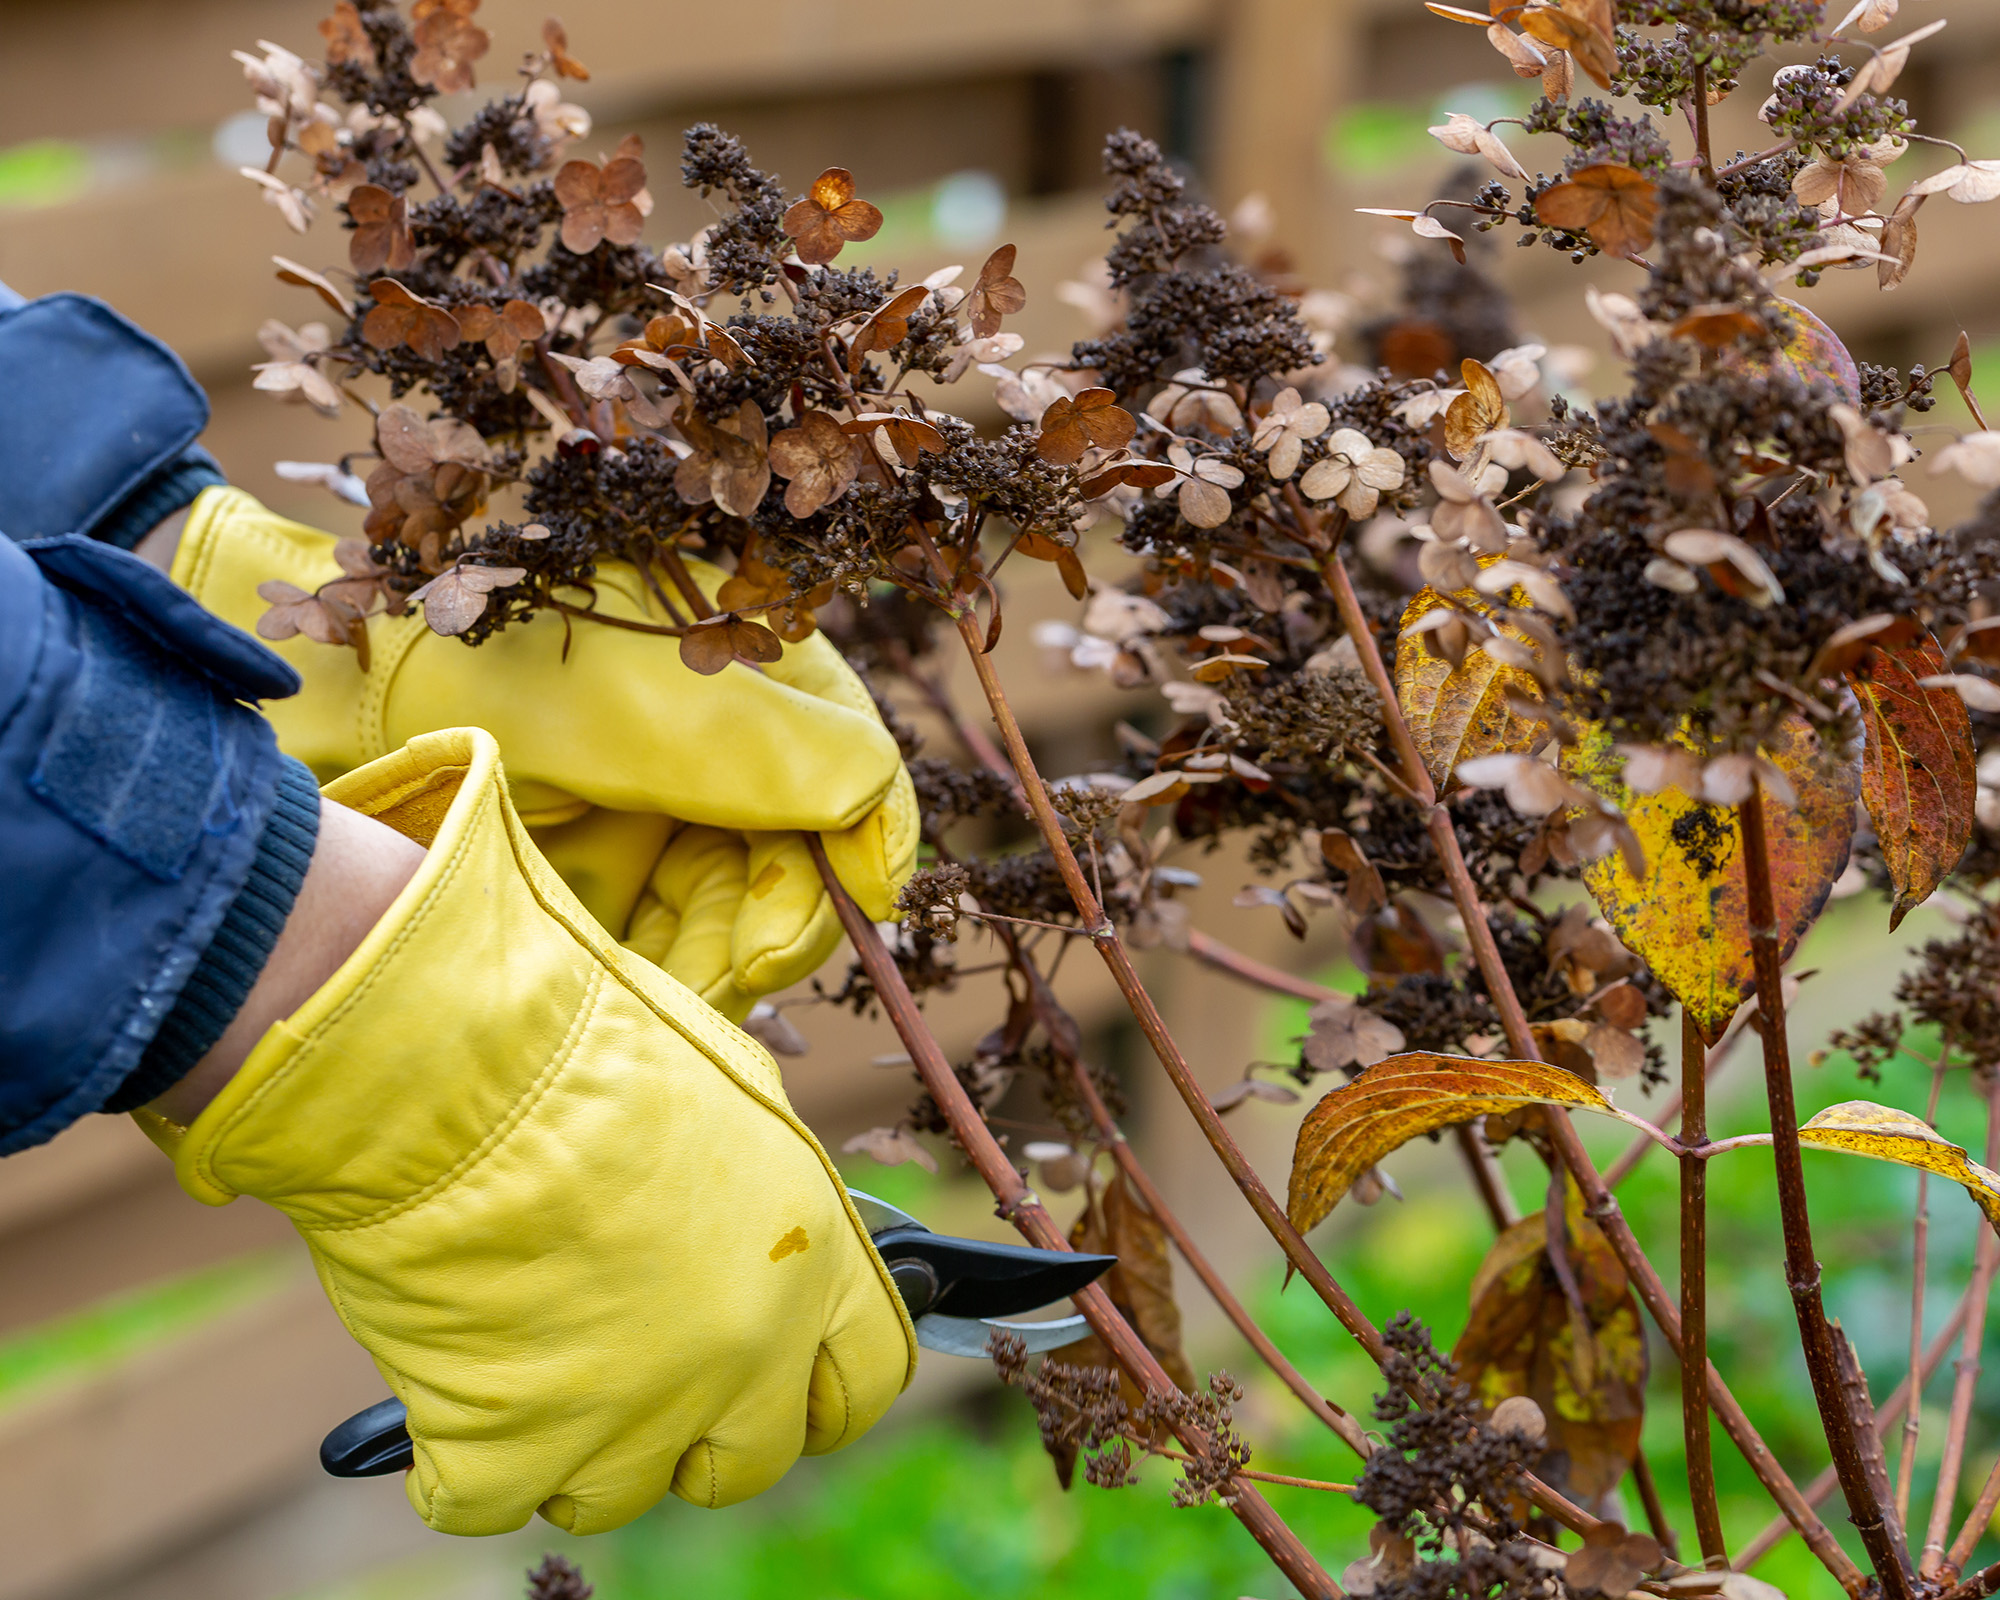
Bigleaf hydrangeas and oakleaf hydrangeas set their buds on old wood, so if you go heavy with the pruners in fall, you’ll be cutting off next year’s flowers. The goal right now isn’t a big makeover—just a little cleanup. It's best to prune old wood blooming varieties as soon as flowers fade.
Sign up for the Gardening Know How newsletter today and receive a free copy of our e-book "How to Grow Delicious Tomatoes".
When pruning hydrangeas, take out any dead or rubbing branches and if a stem has gotten too long, cut it to just above a healthy bud. But stop there. Anything more and you’ll regret it come summer when the blooms don’t arrive. Improper pruning is one of the main reasons why hydrangeas won't bloom.
I use these sharp Fiskars bypass pruners from Amazon to tidy my bigleaf hydrangeas, focusing on messy growth that crowds the plant.
For panicle hydrangeas and smooth hydrangeas, which bloom on new wood, skip fall pruning and wait to make any cuts in spring. While you can technically prune these hydrangea varieties in the fall without the risk of losing blooms, it's better to wait until spring to avoid making them more vulnerable to winter injury.
A light trim in fall boosts airflow, strengthens stems, and primes vibrant blooms. It’s a quick job that pays off big when summer hits.
What to Leave Until Spring: Fertilizing
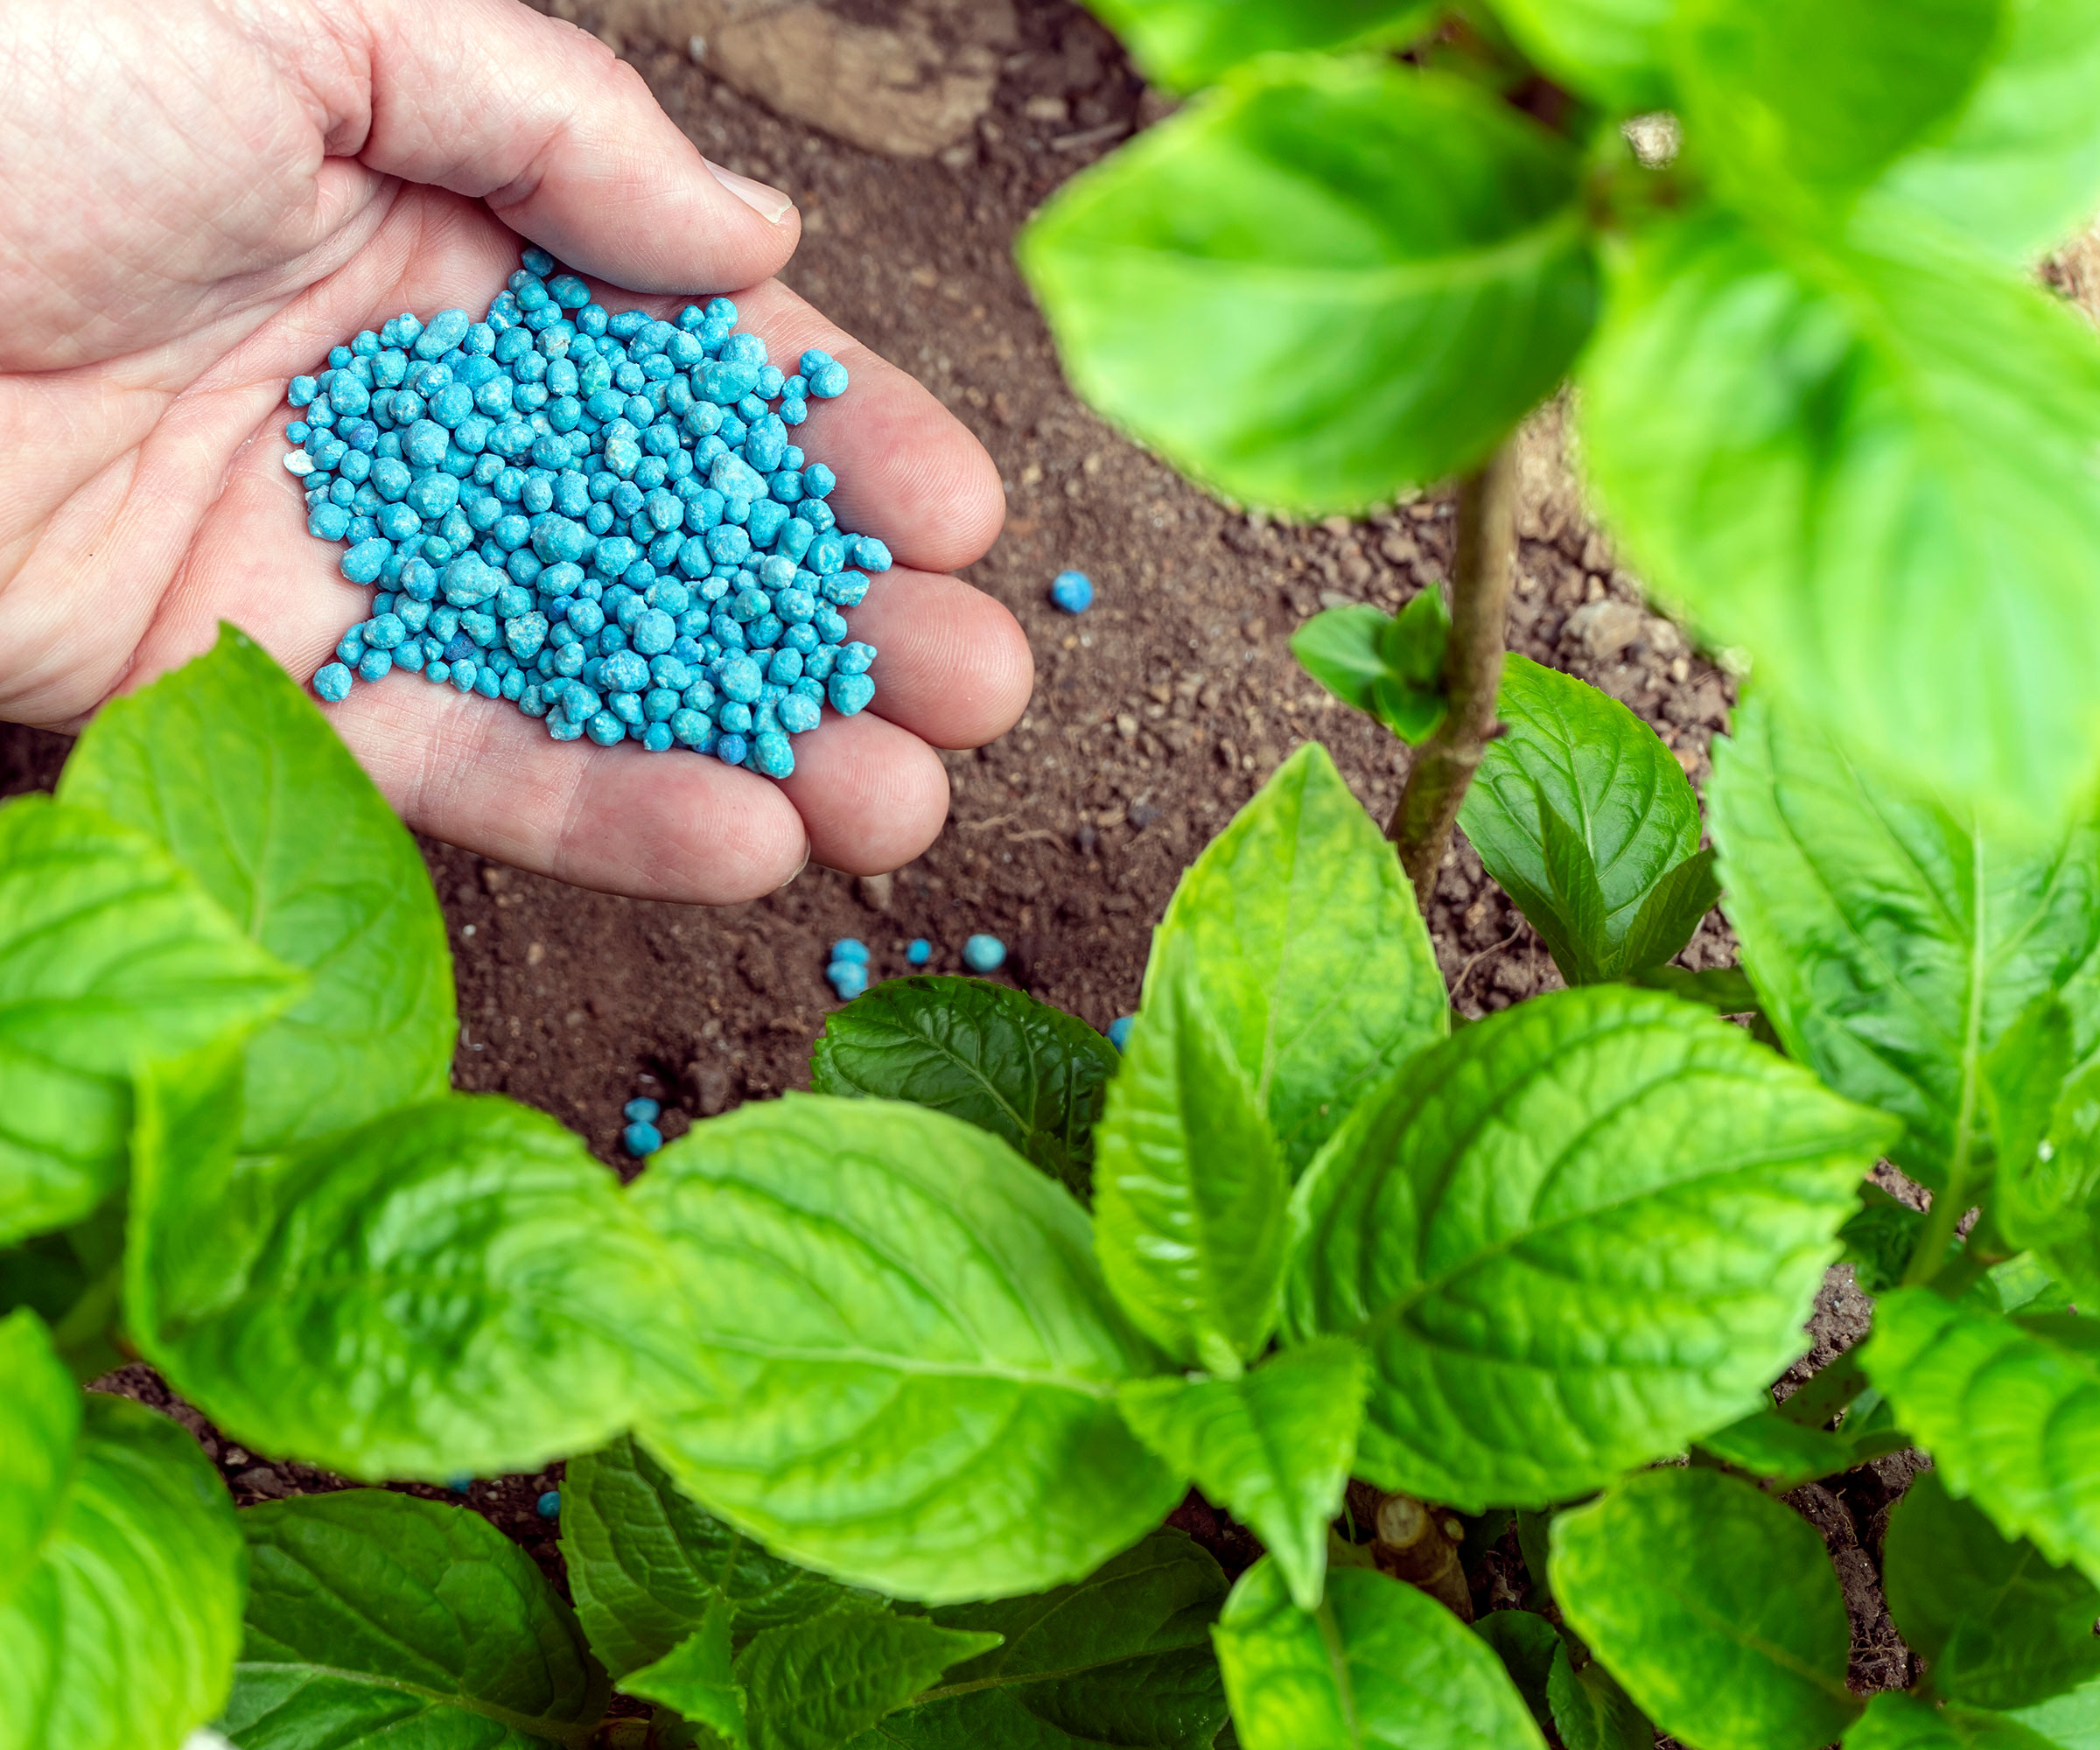
Fertilizing hydrangeas in fall is a bad call. Feeding shrubs now will cause them to put out soft, new growth that won’t survive winter, leaving plants weak or dead by spring.
Wait until buds swell in April or May, then use a balanced 10-10-10 fertilizer or a rose-specific blend like this Espoma fertilizer from Amazon to fuel blooms. Hold off until the soil warms, when plants are ready to take up nutrients. It’s the safest way to get those massive, colorful blooms you’re chasing.
Spring feeding supports flowers without risking frost damage. Fall fertilizer can burn roots or attract pests, so it’s a gamble not worth taking.
Additional Tips for Winterizing Hydrangeas
Mulching and pruning are the basics, but in colder USDA growing zones you’ve got to go a step further if you want hydrangeas to make it through the winter.
In zones 5 and below, wrap plants in burlap, like this plant burlap from Amazon, to protect hydrangeas from cold damage. But don’t mummify them—stake the fabric loosely so air can still flow easily and mildew won't set in.
If your shrubs are tall, a heavy snow can snap the branches, so loop some twine around them, nothing fancy, just enough to hold them together.
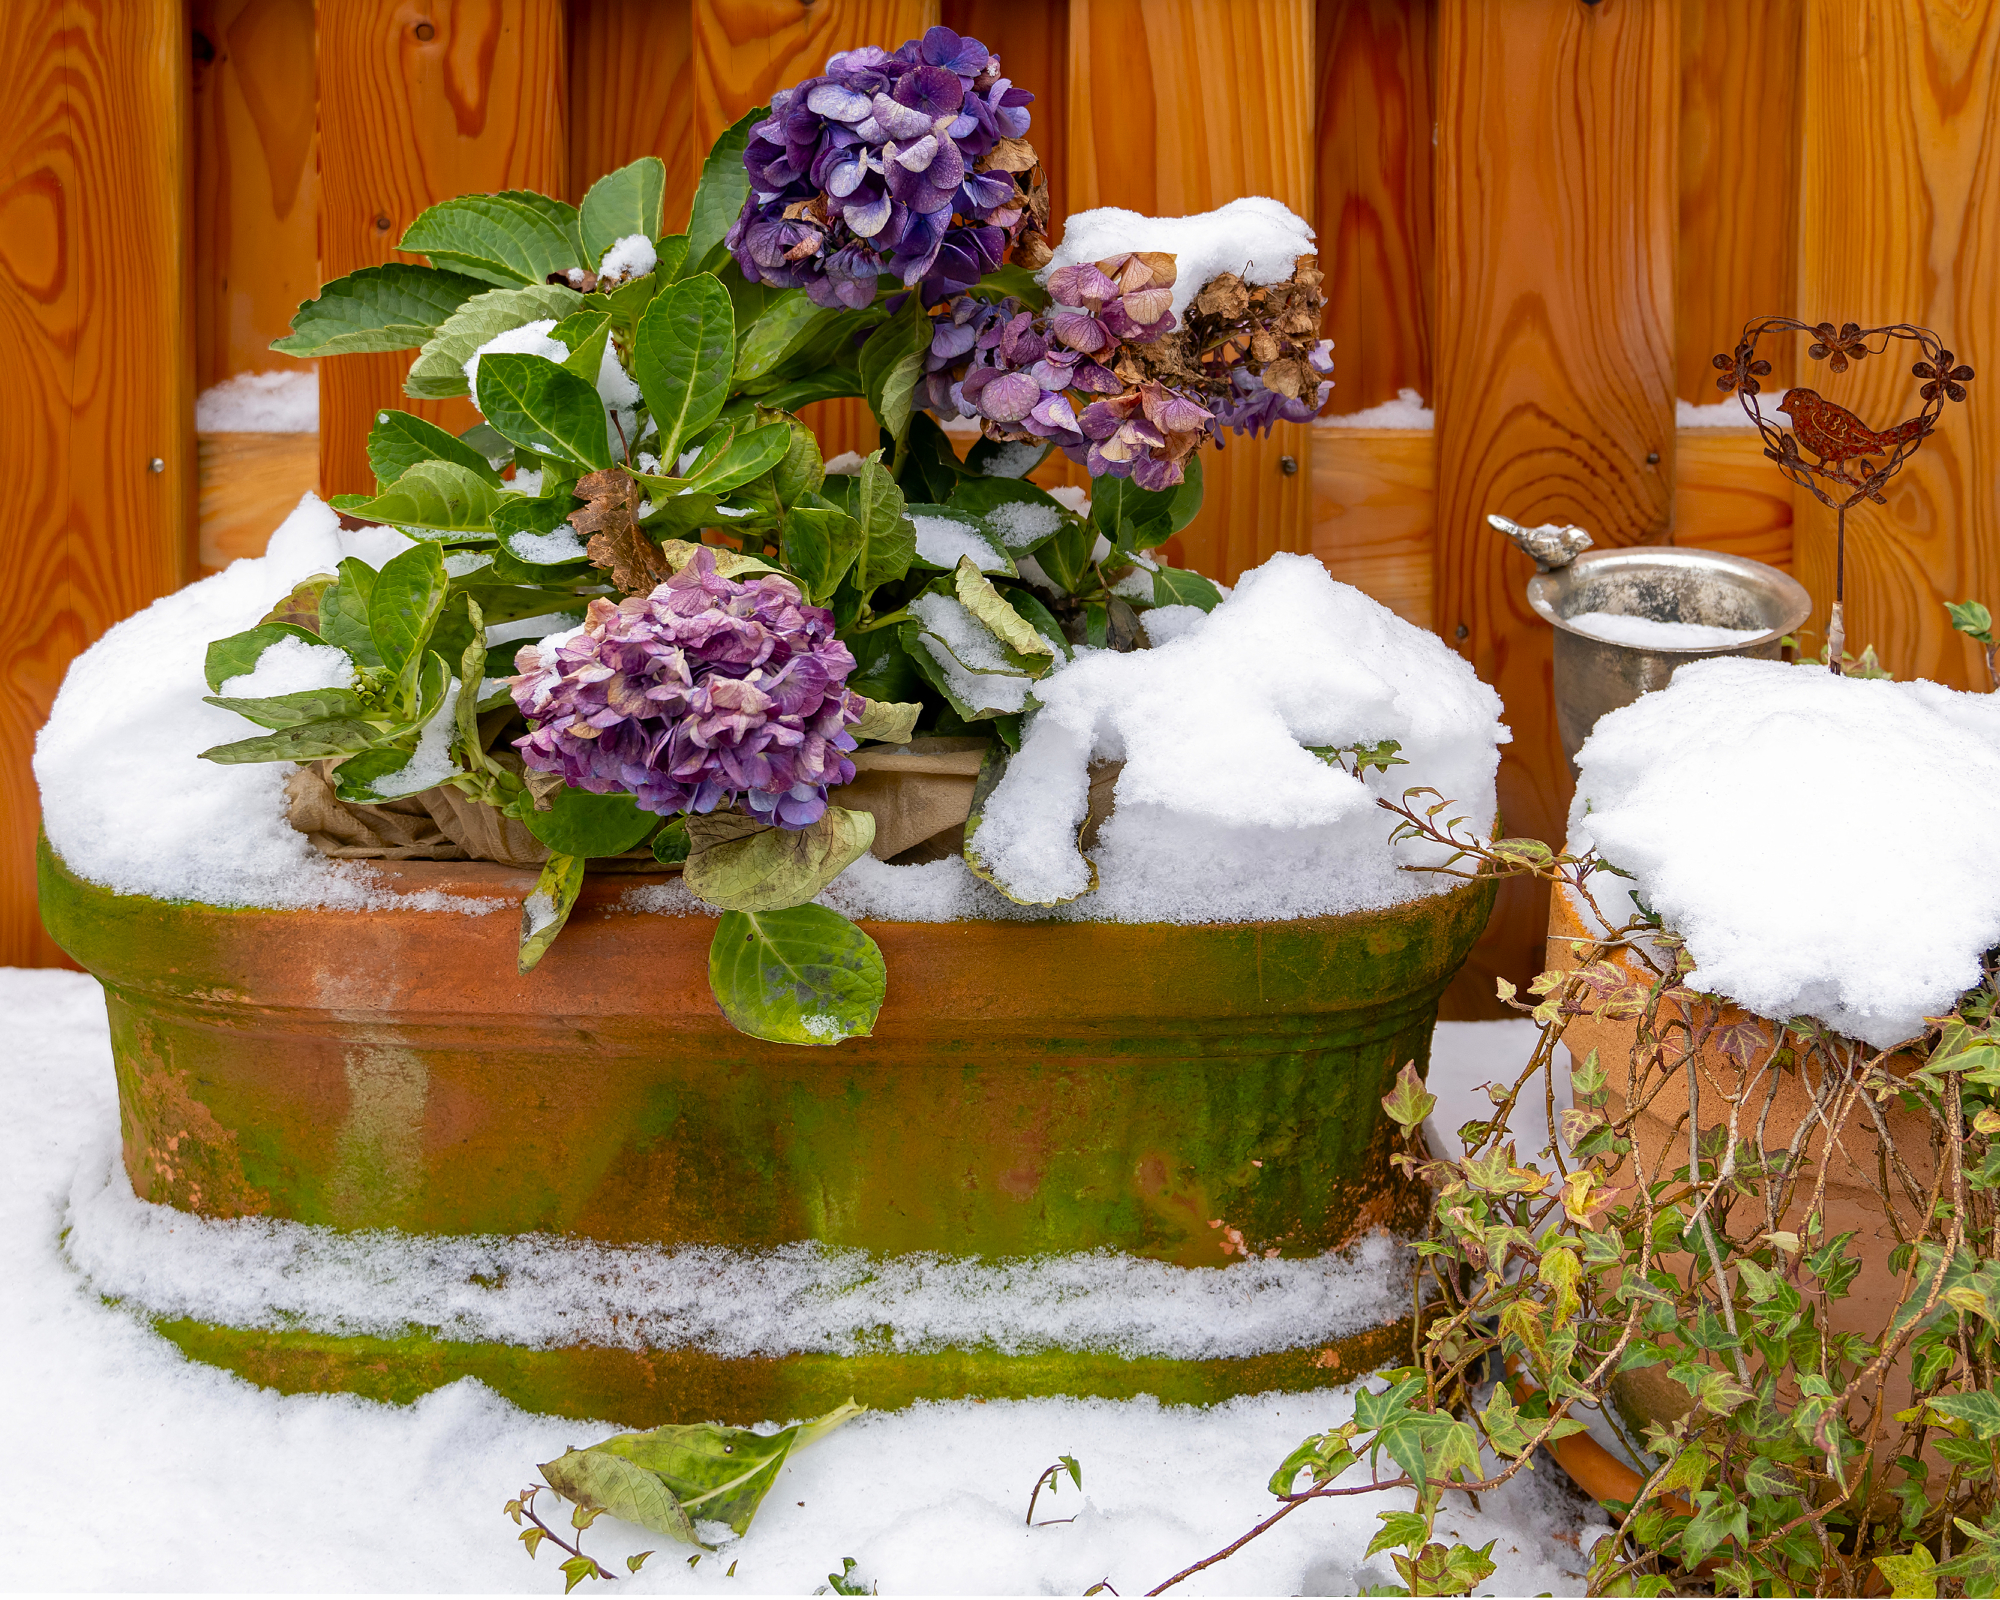
Before the ground freezes, water your hydrangeas deeply. Dry roots in winter spell trouble, especially if you grow hydrangeas in pots. If you have containers, tuck them into a garage or somewhere out of the wind.
I like to throw a layer of straw over the soil, too, to hold in warmth and protect roots from temperature shock. One last thing: make sure fall rains aren’t pooling around your plants. Nothing ruins winter prep faster than soggy soil and rot.
Deer love to eat hydrangeas and can be a real pain in winter as well. You can toss some cayenne pepper as a repellent or even crushed eggshells around the base of your plants to help keep hungry wildlife at bay. You can also try an ultrasonic deer repellent, which will also keep out raccoons and other critters.
For folks in warmer regions, like growing zones 6 and up, skip the burlap wrap. But don’t skip the mulch or watering before the ground freezes. A little prep like that can make all the difference between a weak plant and one that is filled with flowers come summer.

Tyler’s passion began with indoor gardening and deepened as he studied plant-fungi interactions in controlled settings. With a microbiology background focused on fungi, he’s spent over a decade solving tough and intricate gardening problems. After spinal injuries and brain surgery, Tyler’s approach to gardening changed. It became less about the hobby and more about recovery and adapting to physical limits. His growing success shows that disability doesn’t have to stop you from your goals.