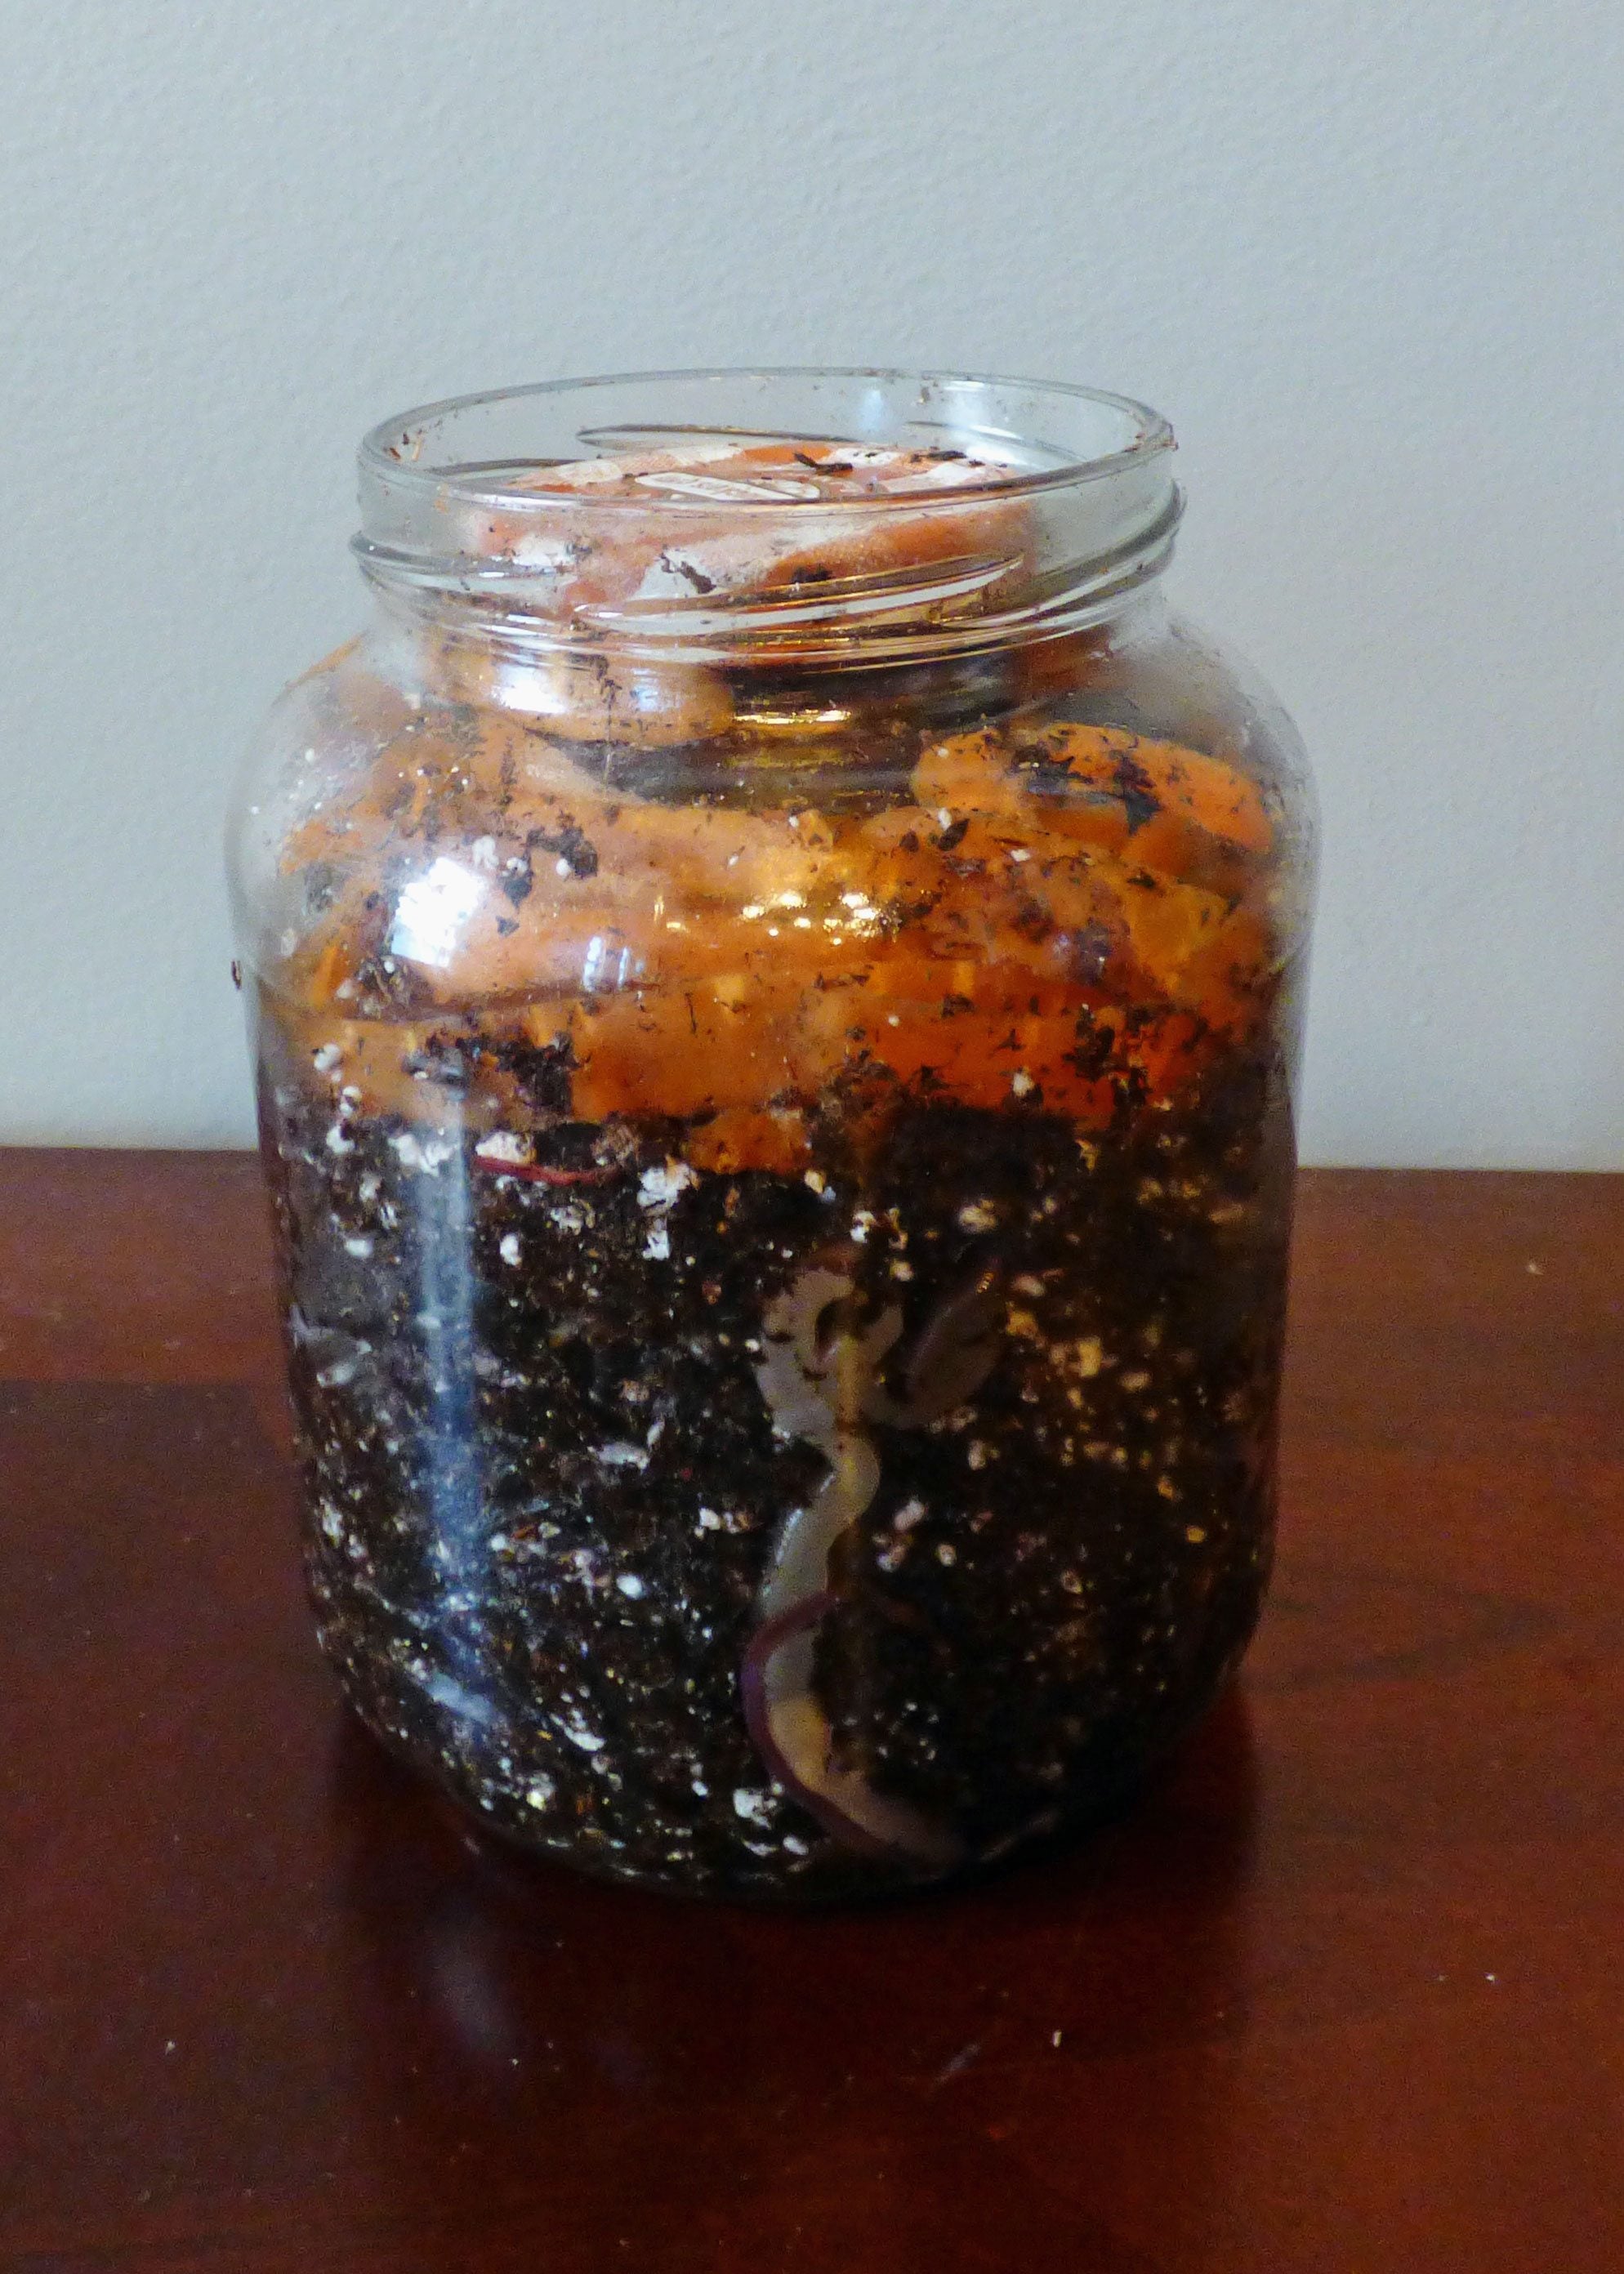
How To Make A Worm House: Making An Earthworm Jar Or Bin With Kids


Children have a natural curiosity about the world around them. As parents and teachers, it is our challenge to expose kids to the natural world and the creatures in it in positive and fun ways. Building earthworm homes is a great creative project that brings kids face to face with one of the fascinating organisms with which we share this earth. Read on to learn more.
Creating a Worm Bin with Kids
Creating a worm bin is easy and brings the lessons of composting and natural degrading processes into the home or classroom. All you need is some worms, a few simple materials, and kitchen scraps and the kids will be well on their way to unique and tutoring new pets. Often when we think about worms, images of slimy, squishy creatures leap back out of our brains. In truth, earthworms are one of the hardest working creatures in nature and responsible for our soil quality, fertility, and tilth. Without worms, our land wouldn't be as verdant and rich, and unused plant matter and detritus would take much longer to decompose. Teaching kids about the usefulness of worms is easy when you make a worm house.
Basic Worm House Design
One of the easiest ways to watch worms go about their business is by making an earthworm jar. This is especially suited for younger children. All you need is:
- A large wide-mouth mason jar
- A smaller jar with lid that fits inside the larger jar
- Small rocks
- Rich soil
- Water
- Kitchen scraps
- A rubber band
- Nylon or cheesecloth
- Worms
- Put a 1 inch (2.5 cm.) layer of rocks in the bottom of the large jar.
- Fill the small jar with water and tighten the lid. Place this inside the larger jar on top of the rocks.
- Fill around the jar with soil, misting as you go to moisten it. If you wish, while making an earthworm jar, you can make layers of the soil and sand so you can see the movements of the worms better.
- Put in some kitchen scraps and the worms and secure the top with the nylon or cheesecloth and the rubber band.
- Keep the worms where it is dark and cool except for observation periods.
Vermicomposting Worm House Design
A more permanent worm house design for older kids can be created using plastic bins or constructed wooden ones. Plastic bins are cheap, easy to use, and portable. For these, you simply need two bins that nest inside each other to make a worm house.
- Drill 8 to 12 holes in the bottom of one of the bins.
- Set bricks or rocks in the bottom of the other and then place the drilled bin on top of that. This will keep the bin raised so any excess moisture can run off into the bottom bin. This collected “juice” is valuable for fertilizing plants.
- Fill the upper bin with outside soil and mist it well.
- Add kitchen scraps cut into at least ½ inch (1 cm.) sizes and the worms.
- Use a lid with holes punched around to keep the worms and moisture inside the bin.
Lessons from Creating a Worm Bin
Older children may benefit from building a wooden worm house. There are many plans online and in vermicomposting articles. You can also order kits, if that is an easier route. Not only will children learn cooperative skills and enjoy a sense of accomplishment, but they also get to watch their new pets and see how quickly they break down the food scraps into soil. Noting how the worms move about the bin illustrates how worms move soil and increase tilth. Building earthworm homes also gives you an opportunity to talk about plant nutrition. The run-off liquid is a powerful fertilizer, chock full of nutrients. Teaching children the value of these little organisms also opens their eyes to other animals and their importance in nature. Plus, creating a worm bin is a fun family activity where the cycle of life is closely observed and lessons in conservation and recycling are recognized.
Sign up for the Gardening Know How newsletter today and receive a free copy of our e-book "How to Grow Delicious Tomatoes".

Bonnie Grant is a professional landscaper with a Certification in Urban Gardening. She has been gardening and writing for 15 years. A former professional chef, she has a passion for edible landscaping.