How to Grow Garlic at Home: The Easy Way to Bigger, Tastier Bulbs
From planting to curing, our garlic guide shows you how to grow generous aromatic bulbs like a pro.

Amy Draiss
Homegrown garlic is such a luxury for cooks who love fresh ingredients. If you’ve ever wondered how to grow garlic, you’ll be pleased to know it’s one of the easiest crops to master. Just plant a few cloves into prepared soil and, with a little patience, you’ll be rewarded with plump, flavorful bulbs that transform your cooking.
The plants ask for little space in the garden, but give so much back: homegrown cloves are infinitely juicier and sweeter when roasted than store-bought, while a braid of softneck garlic hanging in the kitchen is a source of great pride. Hardneck types even offer a bonus spring crop of tender garlic scapes, so harvesting begins months before the bulbs are lifted.
Garlic fits every kind of gardener – from beginners just starting a vegetable garden to seasoned cooks growing for improved flavor and freshness. The trick lies in choosing a type suited to your weather: softneck for gentle winters, hardneck for colder ground. The rest is simply good soil and a little care – with just a few small decisions making all the difference to bulb size and flavor.
Quick Garlic Facts
Botanical Name | Allium sativum |
Plant Type | Bulb vegetable |
Height | 1 to 2 feet (30 to 60 cm) |
Spread | 4 to 6 inches (10 to 15 cm) |
Light | Full sun |
Soil | Well-drained; fertile; pH 6.0 to 7.0 |
Hardiness | USDA Zones 3 to 10 (Not in the US? Convert your zone) |
Growing Season | Planted in fall or late winter; harvested mid-summer |
Time to Harvest | 8 to 9 months from planting |
Choosing the Right Type of Garlic
Not all garlic is the same. It's important to choose varieties that are compatible with your climate and how you want to use them. The main types of garlic are hardneck, softneck, and elephant garlic – each has its own strengths and, except for hardiness, it is a matter of taste as to which variety you choose.
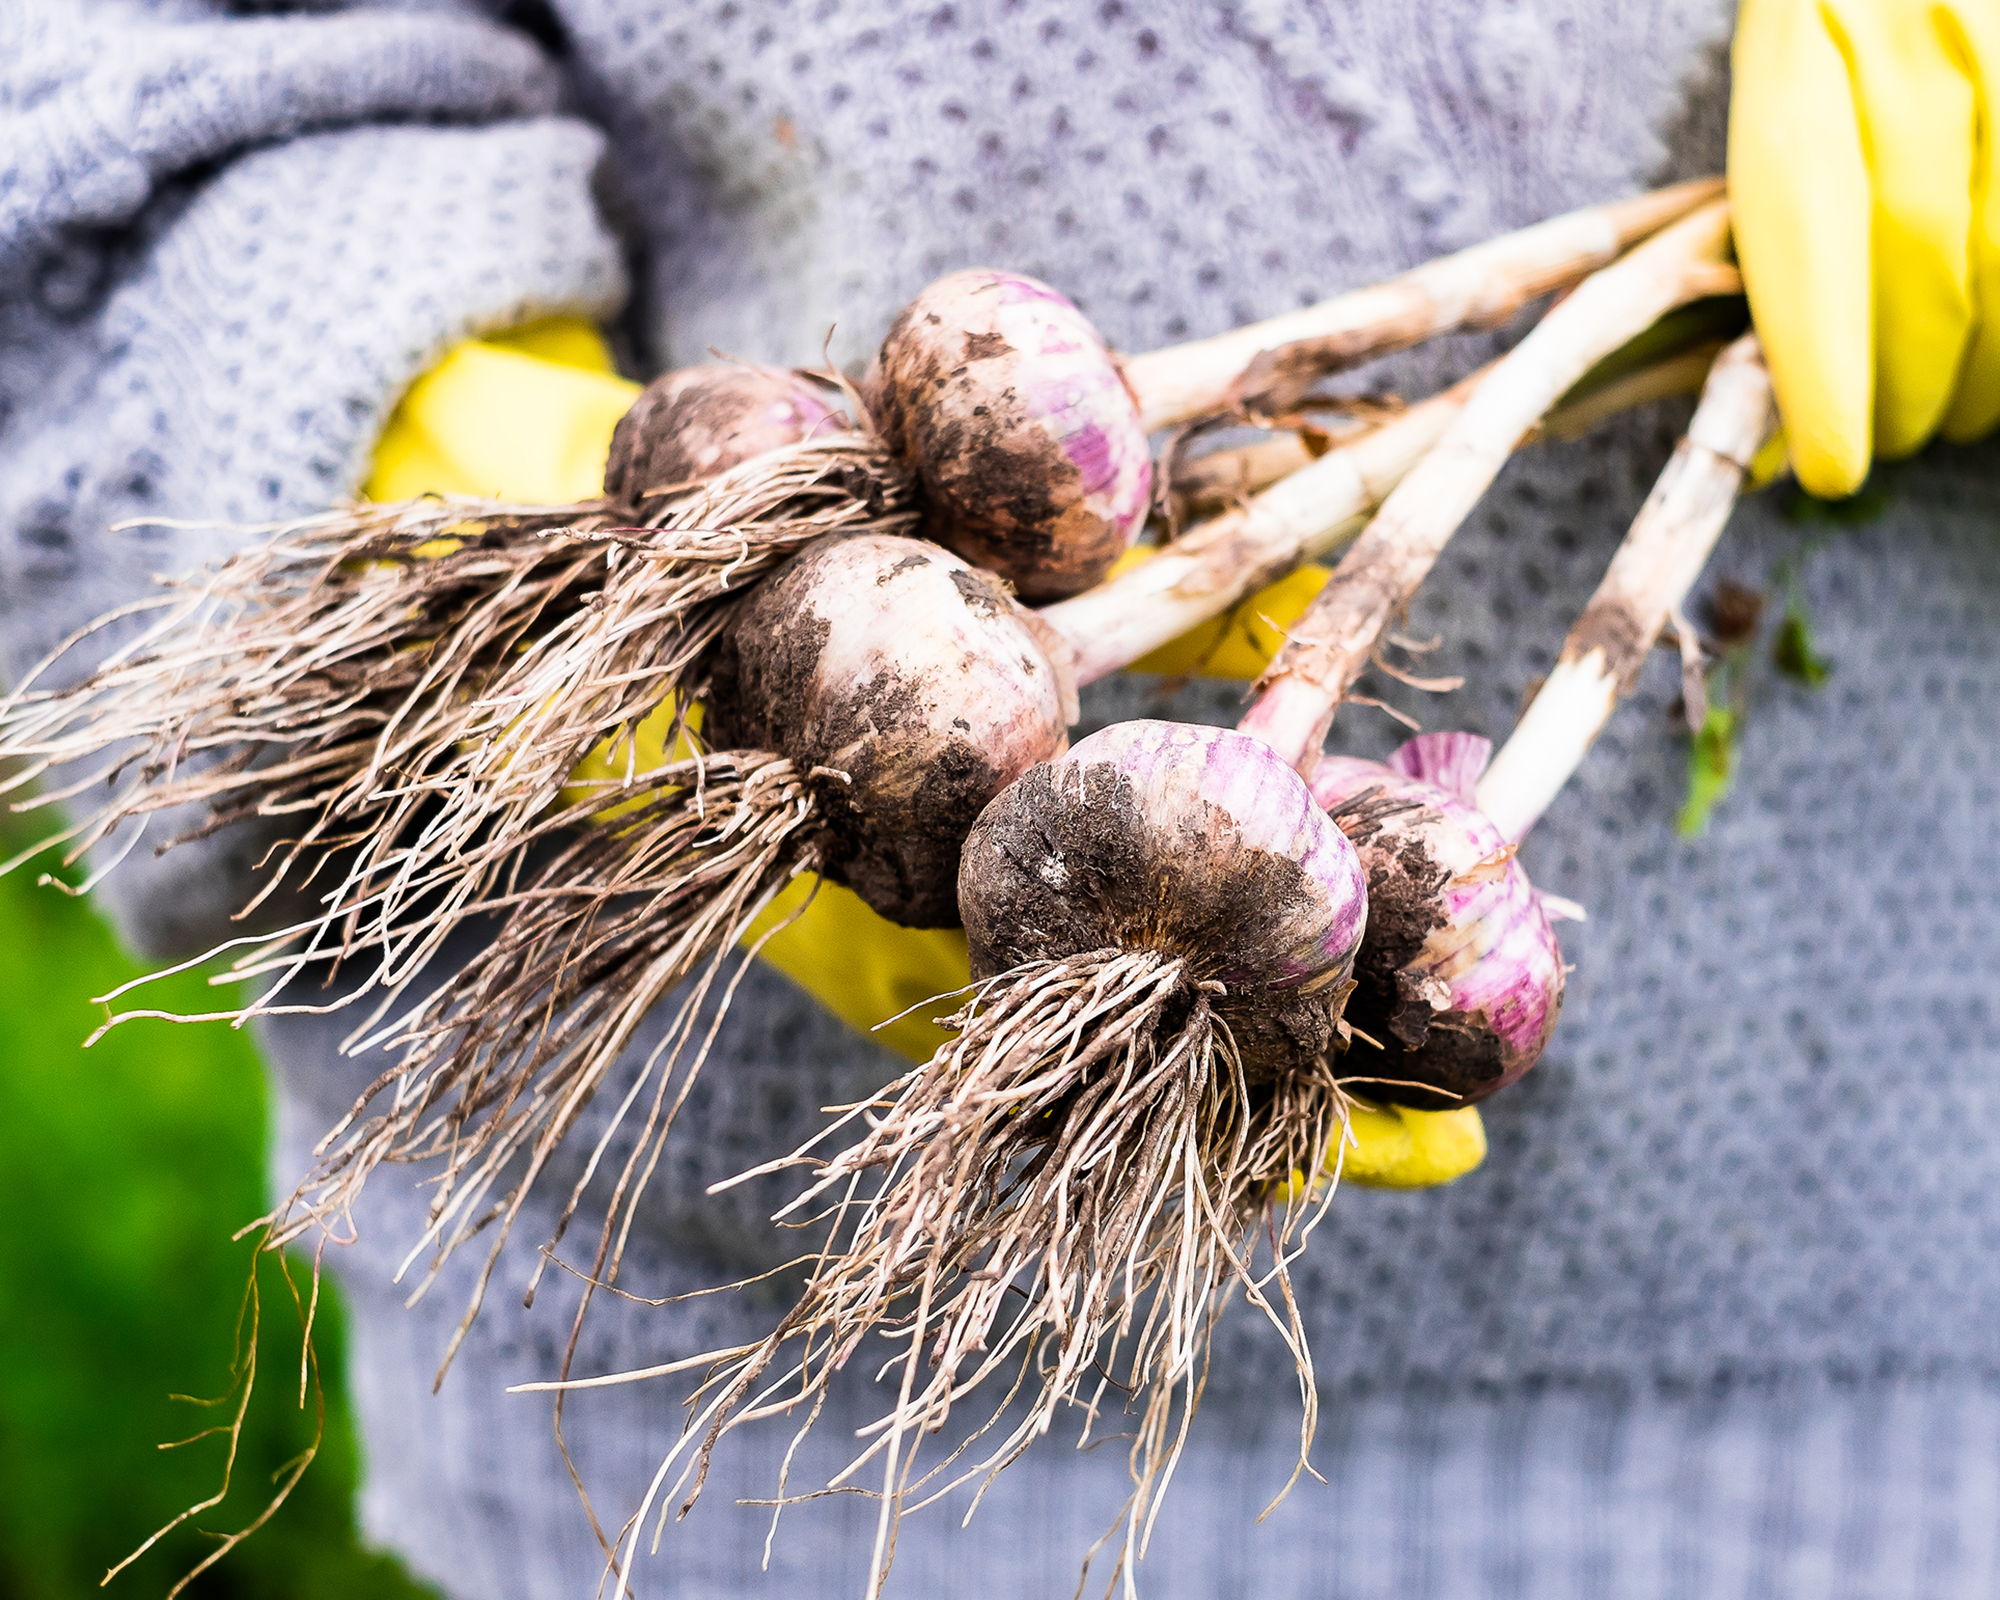
Hardneck garlic (Allium sativum var. ophioscorodon) is the best choice for cold climates, thriving in USDA Zones 3 to 6. It produces fewer but larger cloves around a firm central stem. The flavor is strong and complex, leading it to be often described as the “true gourmet” garlic. In late spring, hardnecks send up garlic scapes, edible curling flower stems, which have a fresh, mild garlic taste. Hardnecks don’t store as long as softnecks – usually three to five months – but their flavor is superior. The best hardneck garlic varieties to grow include Chesnok Red, Rocambole, German White, Purple Stripe, and Porcelain.
Softneck garlic (Allium sativum var. sativum) is the kind most often found at the grocery store. It prefers mild winters and is best suited to USDA Zones 7 to 10. Softneck varieties form multiple small cloves per bulb and store exceptionally well – six to eight months or even more when cured properly. Softnecks don’t produce scapes and have flexible stems, which can be braided for an attractive decoration. The flavor of softnecks is milder, but they develop richness as they cure. Good softneck varieties to grow are Inchelium Red, Creole, Italian Purple, and Lorz Italian.
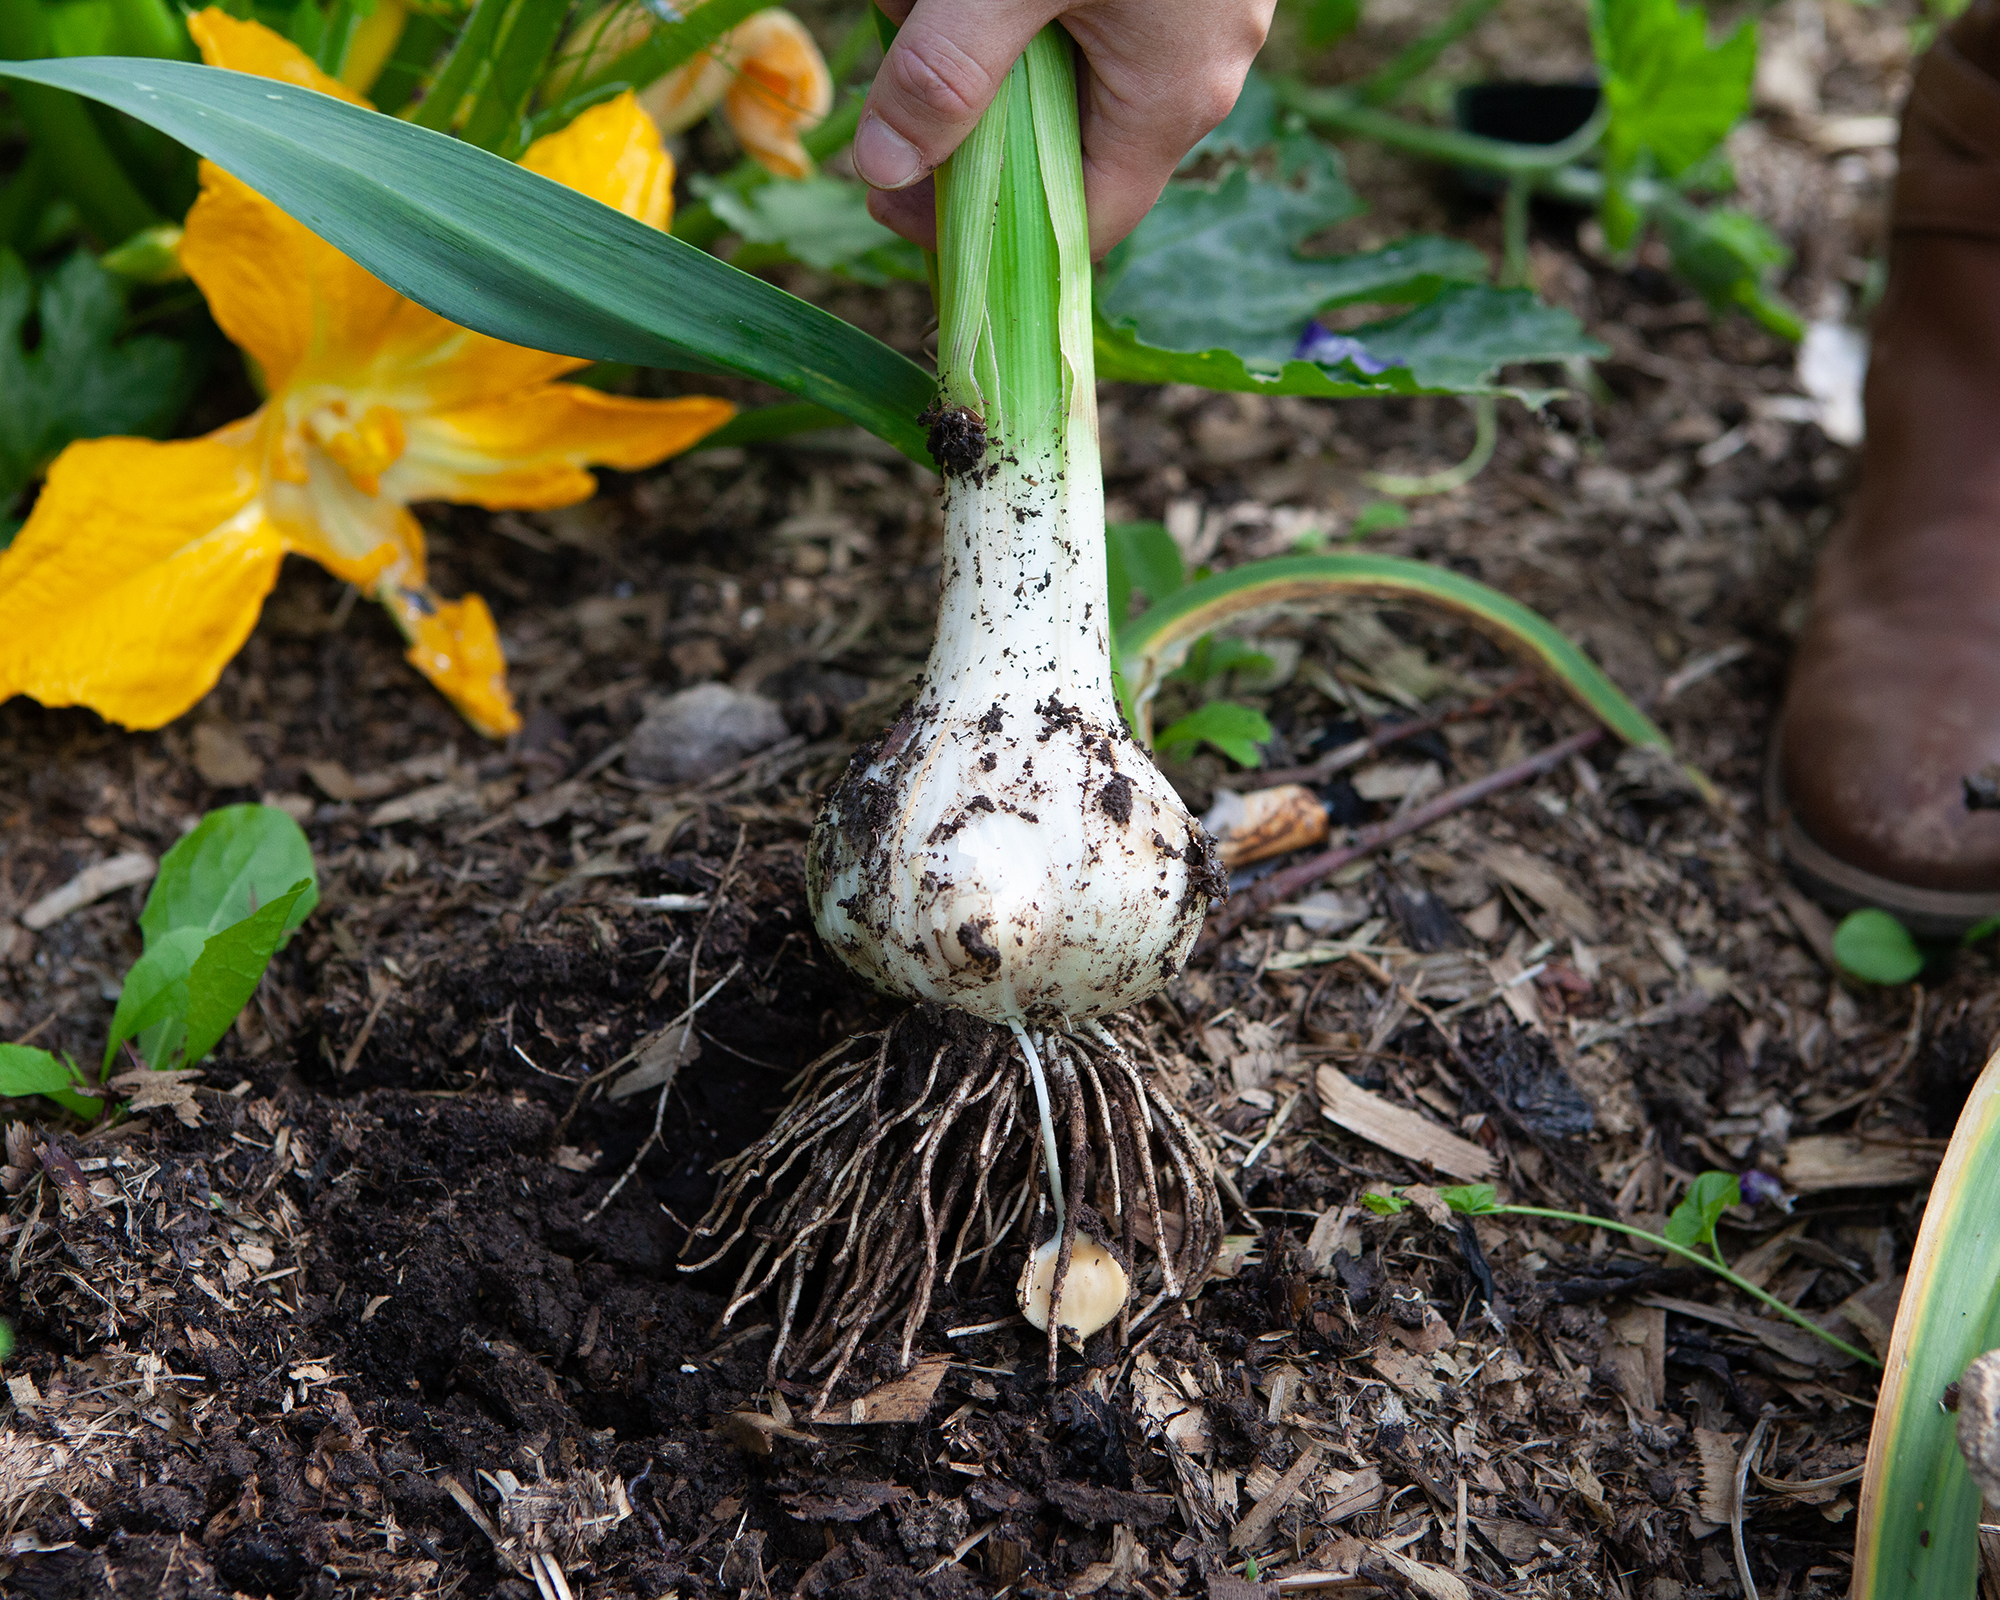
Elephant garlic (Allium ampeloprasum var. ampeloprasum) is not a true garlic but instead a close relative of the leek. It produces huge bulbs with a mild, slightly sweet flavor and tolerates a wide range of climates (roughly Zones 4 to 9). Each bulb has just a few very large cloves, which look impressive but are less pungent than true garlic. Grow elephant garlic for its size, planting adaptability, or gentle taste in roasted dishes.
Sign up for the Gardening Know How newsletter today and receive a free copy of our e-book "How to Grow Delicious Tomatoes".
Planting Garlic
While it's possible to plant store‑bought garlic, for the best results, purchase certified seed garlic from a reputable supplier – Burpee stocks a wide range of garlic. Choose firm, heavy bulbs and avoid any that are soft or musty.
If you want to experiment with growing grocery-store garlic, plant a small test patch alongside seed garlic so you can compare performance.
When to Plant Garlic
It's essential to know when to plant garlic in your zone, as it varies by climate. The bulbs require cool temperatures to establish, so in a cold-winter zone, fall is the best time to plant garlic – ideally four to six weeks before you expect the ground to freeze. Around Halloween is commonly known as a good time. If you're wondering whether it's too late to plant, let seasonal cues be your guide. Soil should be workable and drain freely.
While most growers need to plant garlic in the fall, those in milder climate zones can continue to plant garlic through winter up until February. Plant when nights are consistently cool and days sit in the 50 to 60 °F (10 to 16 °C) range.
Whenever you plant, it's a good idea to mark the planting day on a tag to help you track feeding and watering come spring.
Best Soil for Garlic
Garlic prefers loose, well-draining soil – a loam or sandy loam soil works best. Good soil structure and drainage are key to preventing bulb rot and encouraging strong root growth. You can improve the structure of heavy or tired ground by mixing in organic matter such as compost or well-aged manure.
Soil pH also matters and should be between 6.0 and 7.0. Use a testing kit, like the MySoil Test Kit, available on Amazon, which, in addition to pH, analyzes the nutrients in the soil.
Where soil is too acidic to grow garlic, it can be amended by adding lime, like this Earth Science Fast-Acting Lime on Amazon. If you need to make soil more acidic, then mix in a good amount of compost and mulch that is high in acidity, like pine needles and oak leaves.
At the time of planting, dig in two tablespoons of 10-10-10 fertilizer, fish meal, or bone meal below where the garlic clove will sit.
Light Requirements for Garlic
Garlic plants appreciate full sun. Choose a spot where they receive at least six hours of direct light each day. A sunny, open position helps bulbs mature evenly and keeps foliage lush and disease-free.
It is possible to grow garlic in partial shade, but it won't perform as well, and bulbs will be smaller. Though not a true garlic, elephant garlic is a better option for part shade. In full shade areas, wild garlic can be grown (for its leaves rather than bulbs) as it is a woodland plant. But bear in mind it can be invasive in gardens, so restrict it to containers or as a foraging crop.
How to Plant Garlic – Step by Step
Be sure to give your garlic plants plenty of room to grow. In well-draining soil, garlic has been known to develop root systems up to 3 feet (0.9 m) deep, so a raised bed or container should be at least 1 foot (30 cm) tall.
- Prep the bed or container: Start by amending the soil as required, adding a light application of fertilizer.
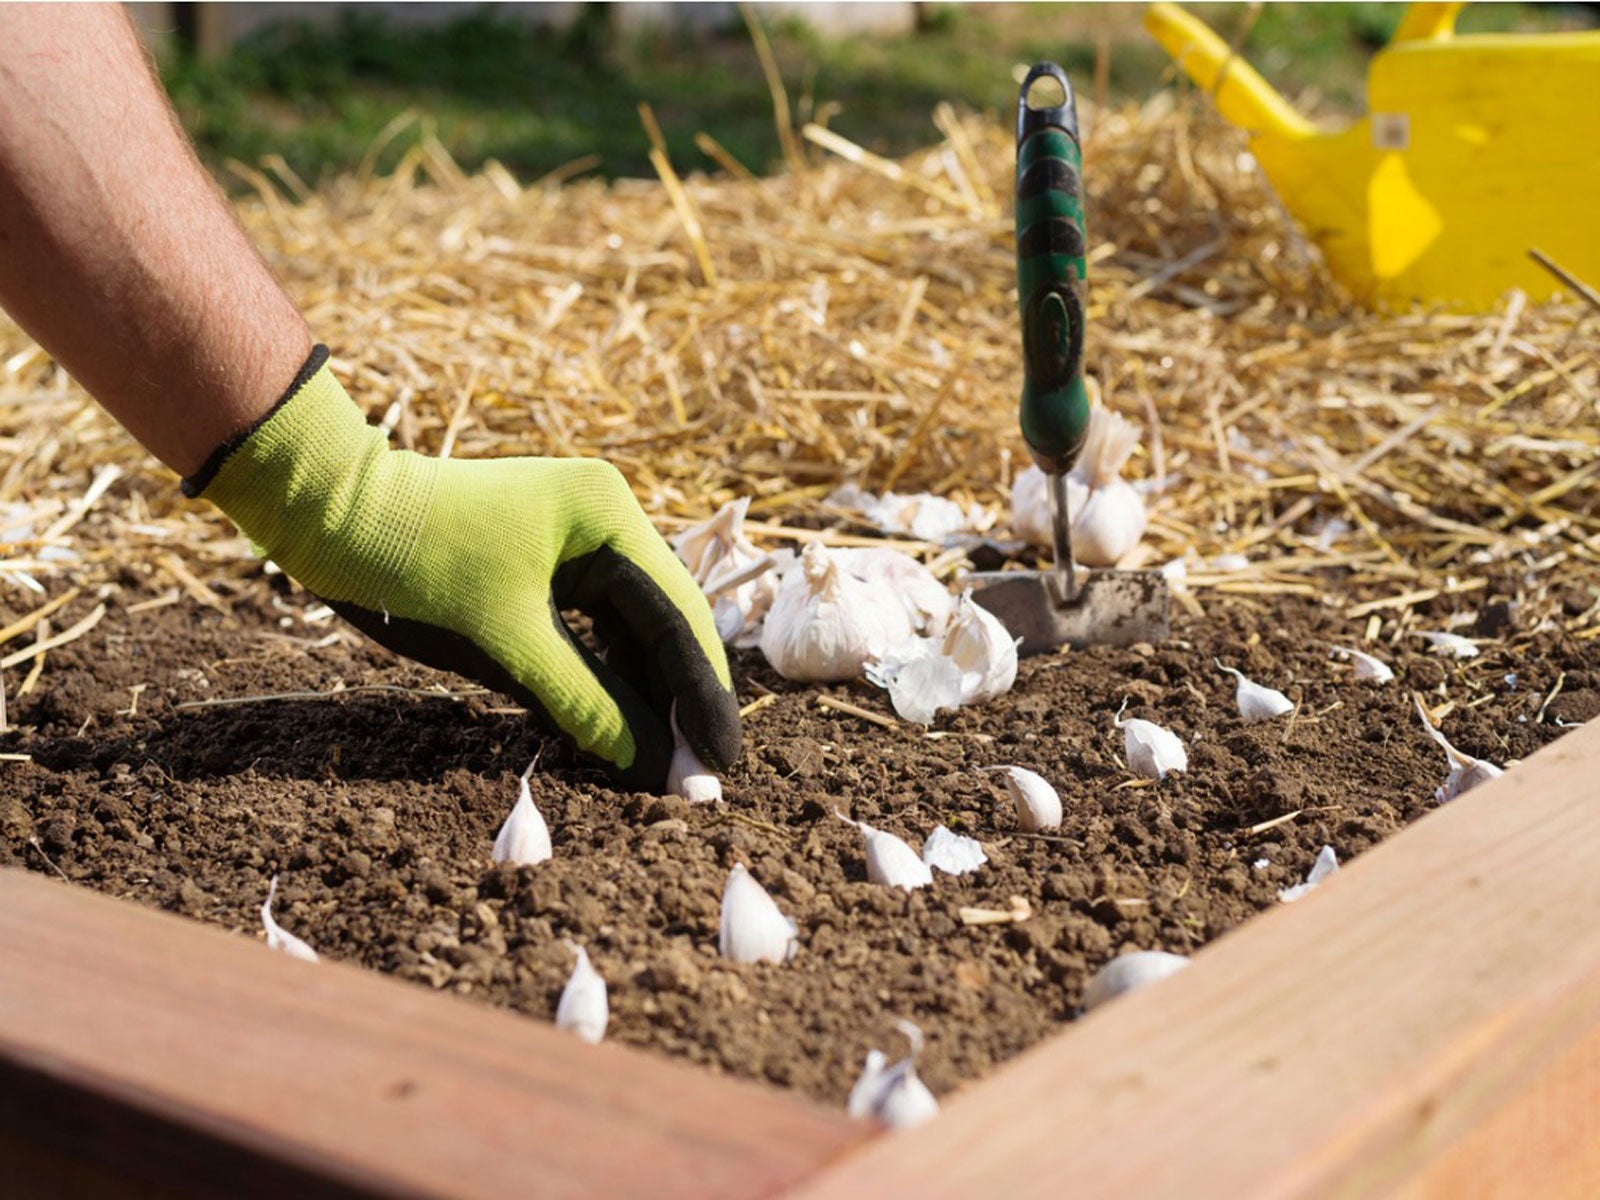
- Lay out your rows: Mark rows 12 to 18 inches (30 to 46 cm) apart so plants have room to breathe and you can weed and water easily.
- Set spacing within the row: For most varieties, space cloves 4 to 6 inches (10 to 15 cm) apart. If you’re aiming for larger bulbs, widen spacing to 6 to 12 inches (15 to 31 cm).
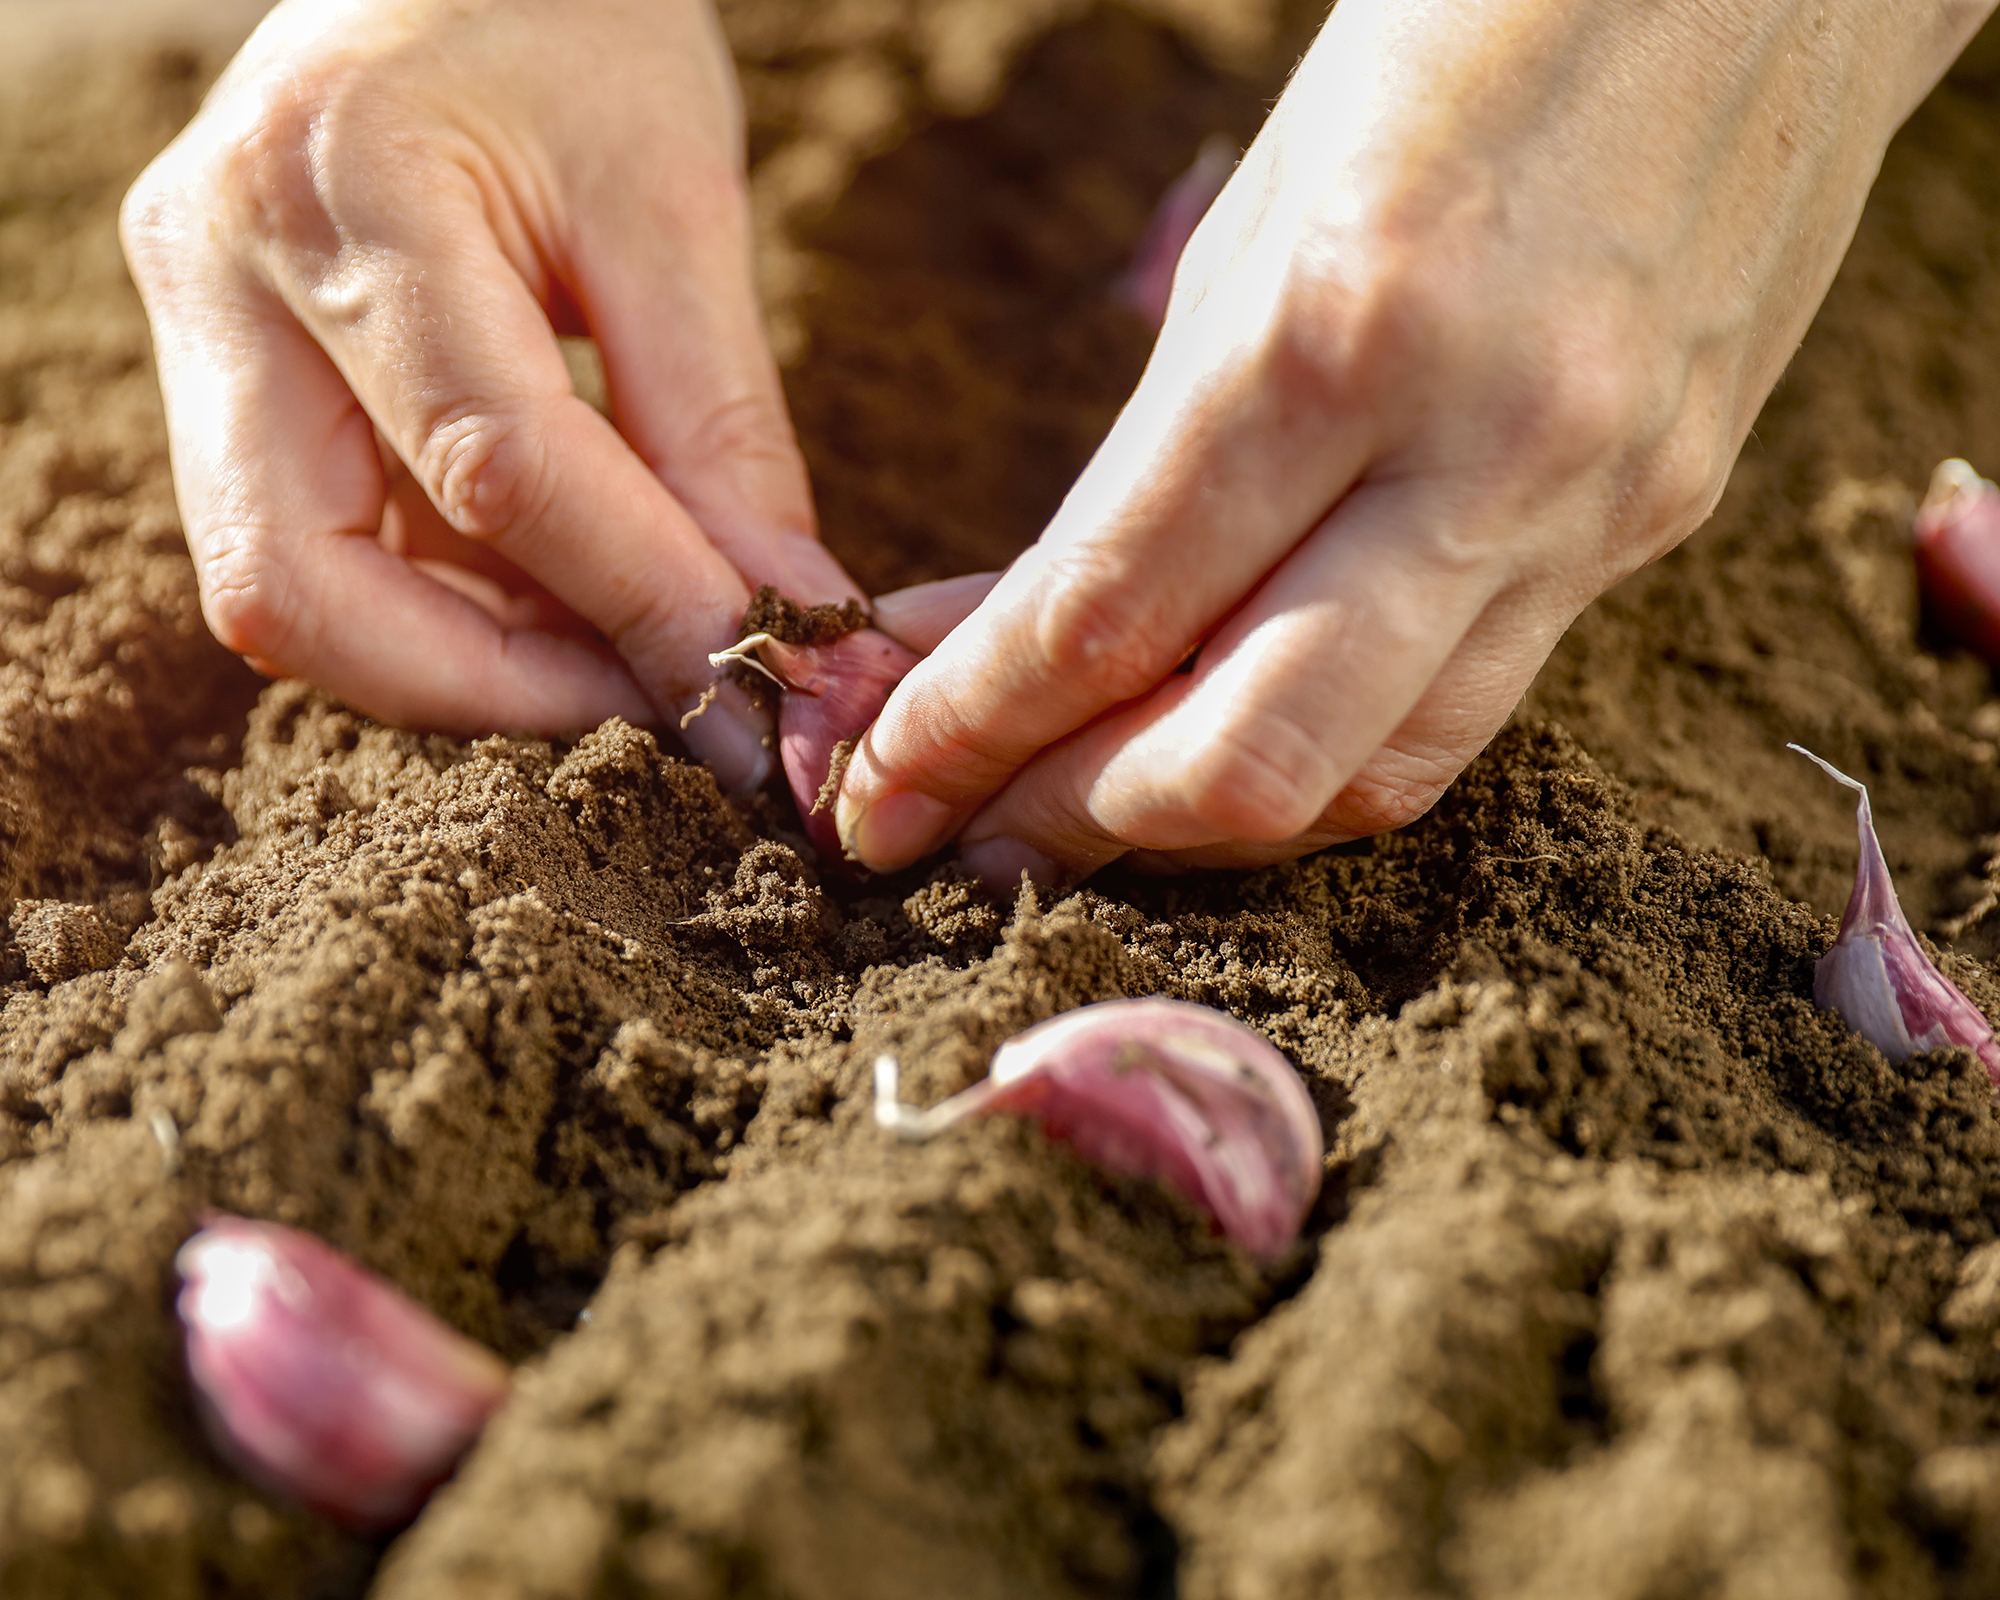
- Plant at the right depth: Make holes 2 inches (5 cm) deep.
- Position each clove correctly: Place cloves with the pointy end up and the fat root end down.
- Backfill and firm soil: Cover the cloves with soil and press lightly so there are no big air gaps.
- Water and mulch: Water enough to moisten the soil evenly to clove depth, but don’t soak it, then spread a light mulch to buffer winter temperature swings and suppress weeds.
How to Care for Garlic
Garlic is a low-maintenance plant, but it’s not entirely plant-and-forget. Like most crops in the garden, a little attention pays off, but give it a bit here or there rather than constant fussing. Water when the soil dries, feed to encourage strong growth, and keep a watchful eye for weeds or pests.
How Often to Water Garlic
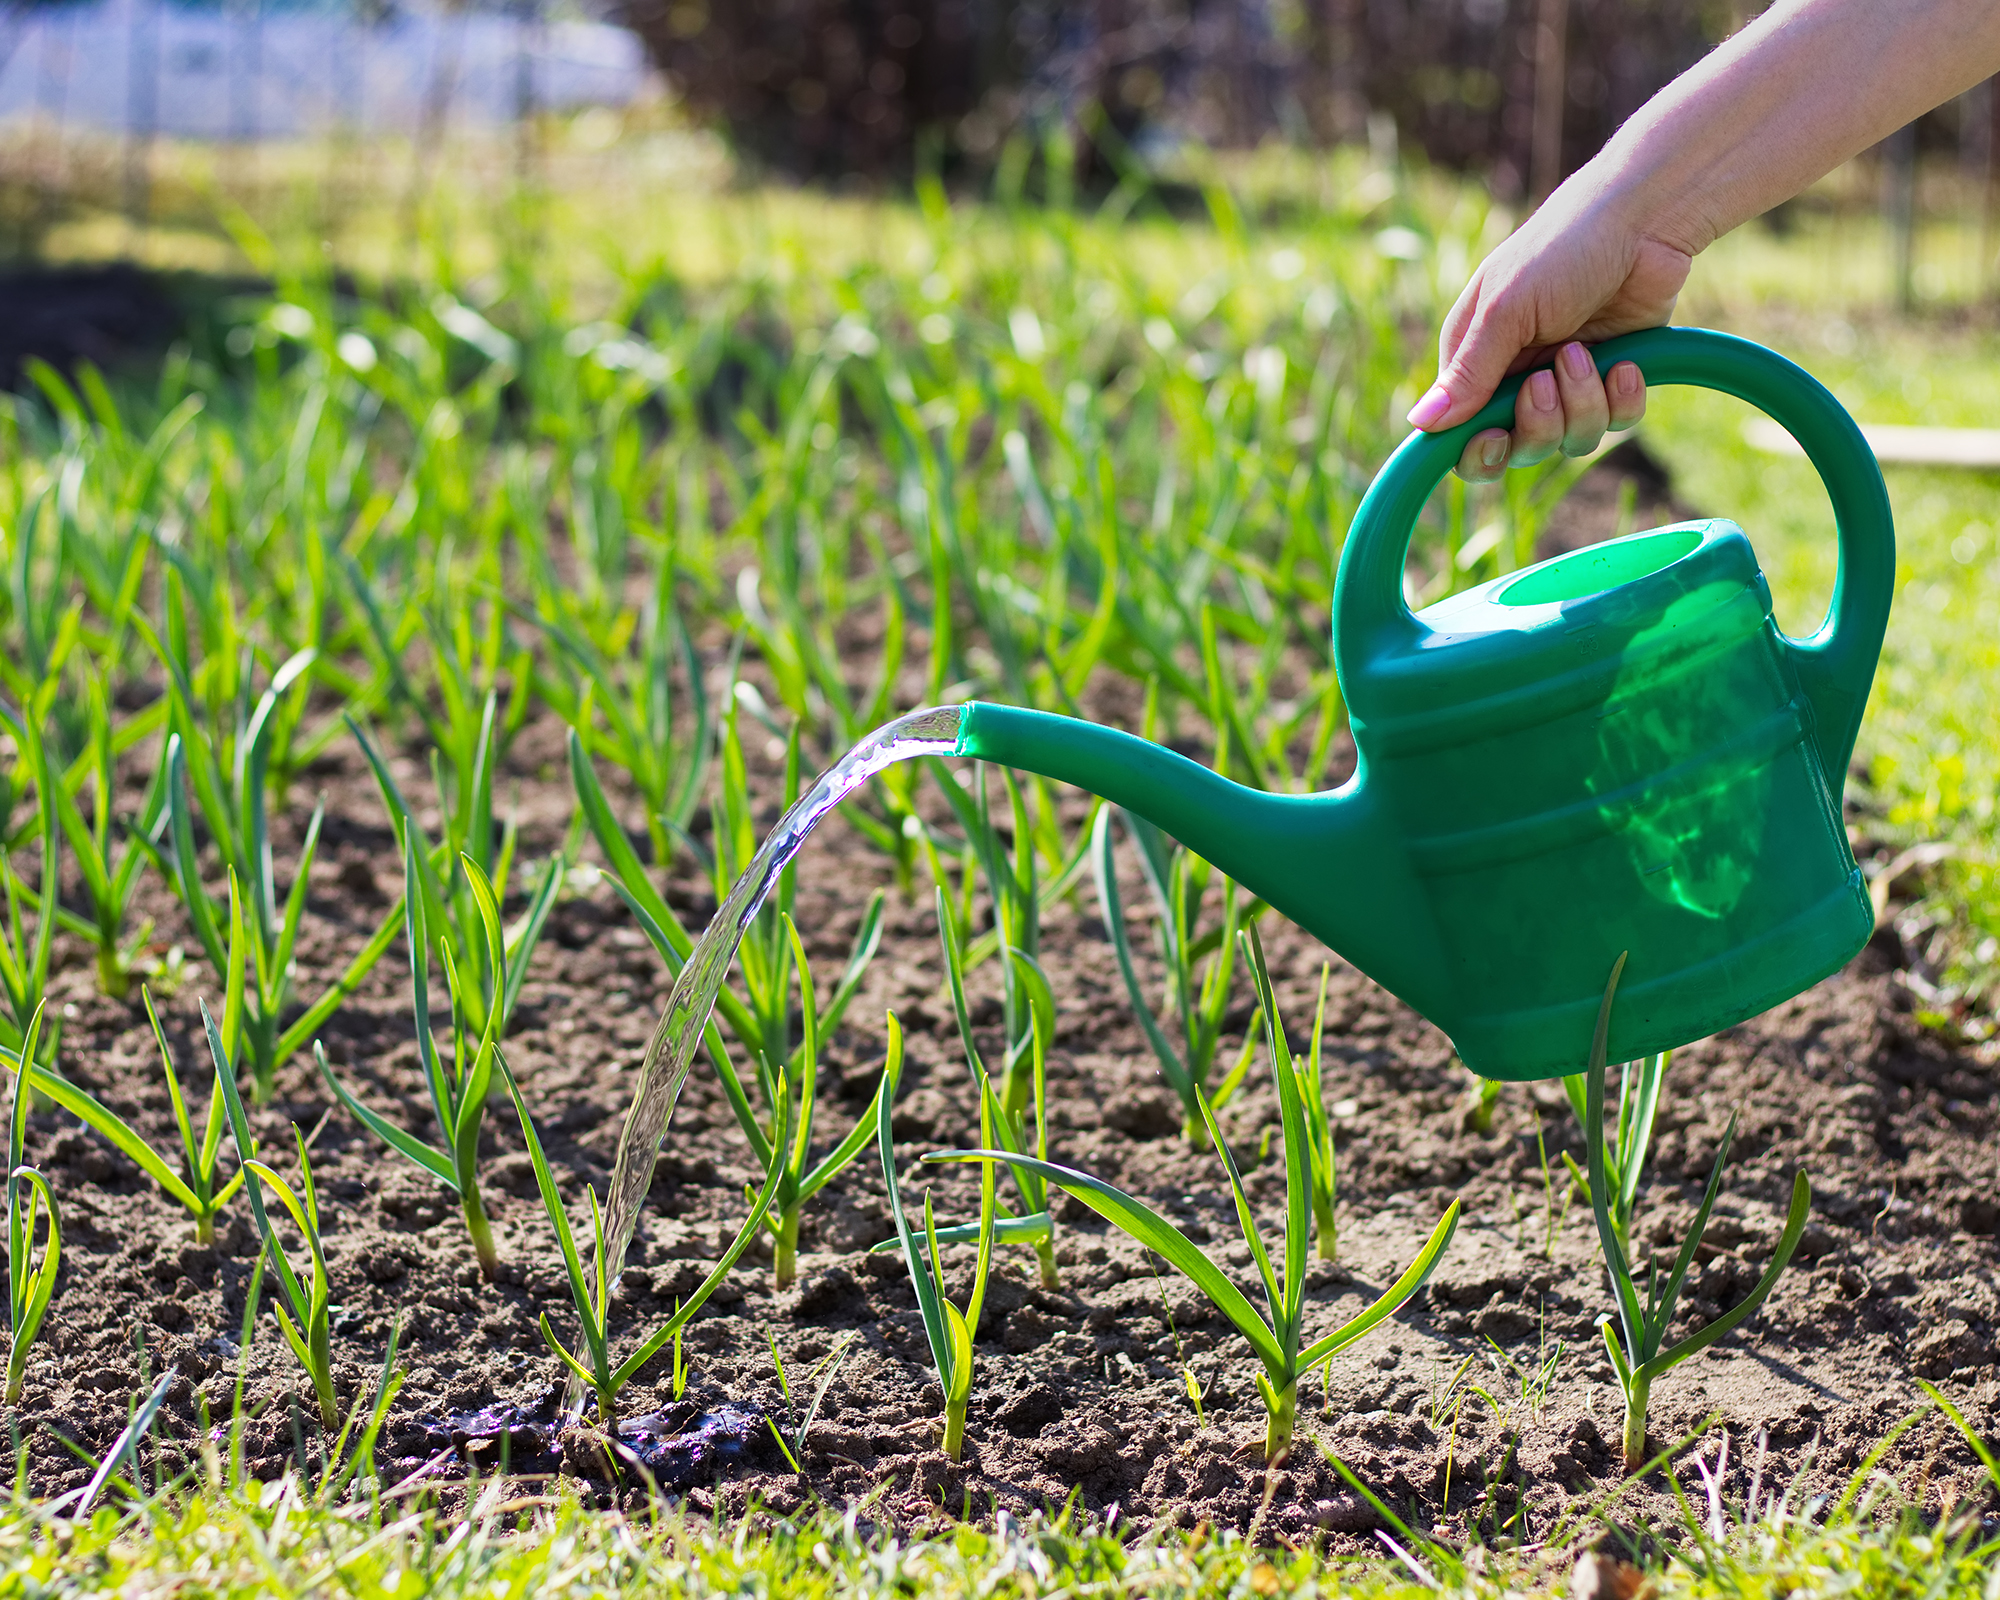
Water garlic plants during dry spells, but never forget that garlic dislikes soggy conditions. Follow this seasonal advice:
- Fall and winter: Only water if the weather is unusually dry.
- Spring: Keep the soil evenly moist – never sodden, never bone dry. Once or twice a week is usually enough, giving around 1 inch (2.5 cm) of water in total, rain included.
- Summer: Reduce watering in warmer months, as the plant tops begin to yellow and the outer garlic skins dry down.
Fertilizing Garlic
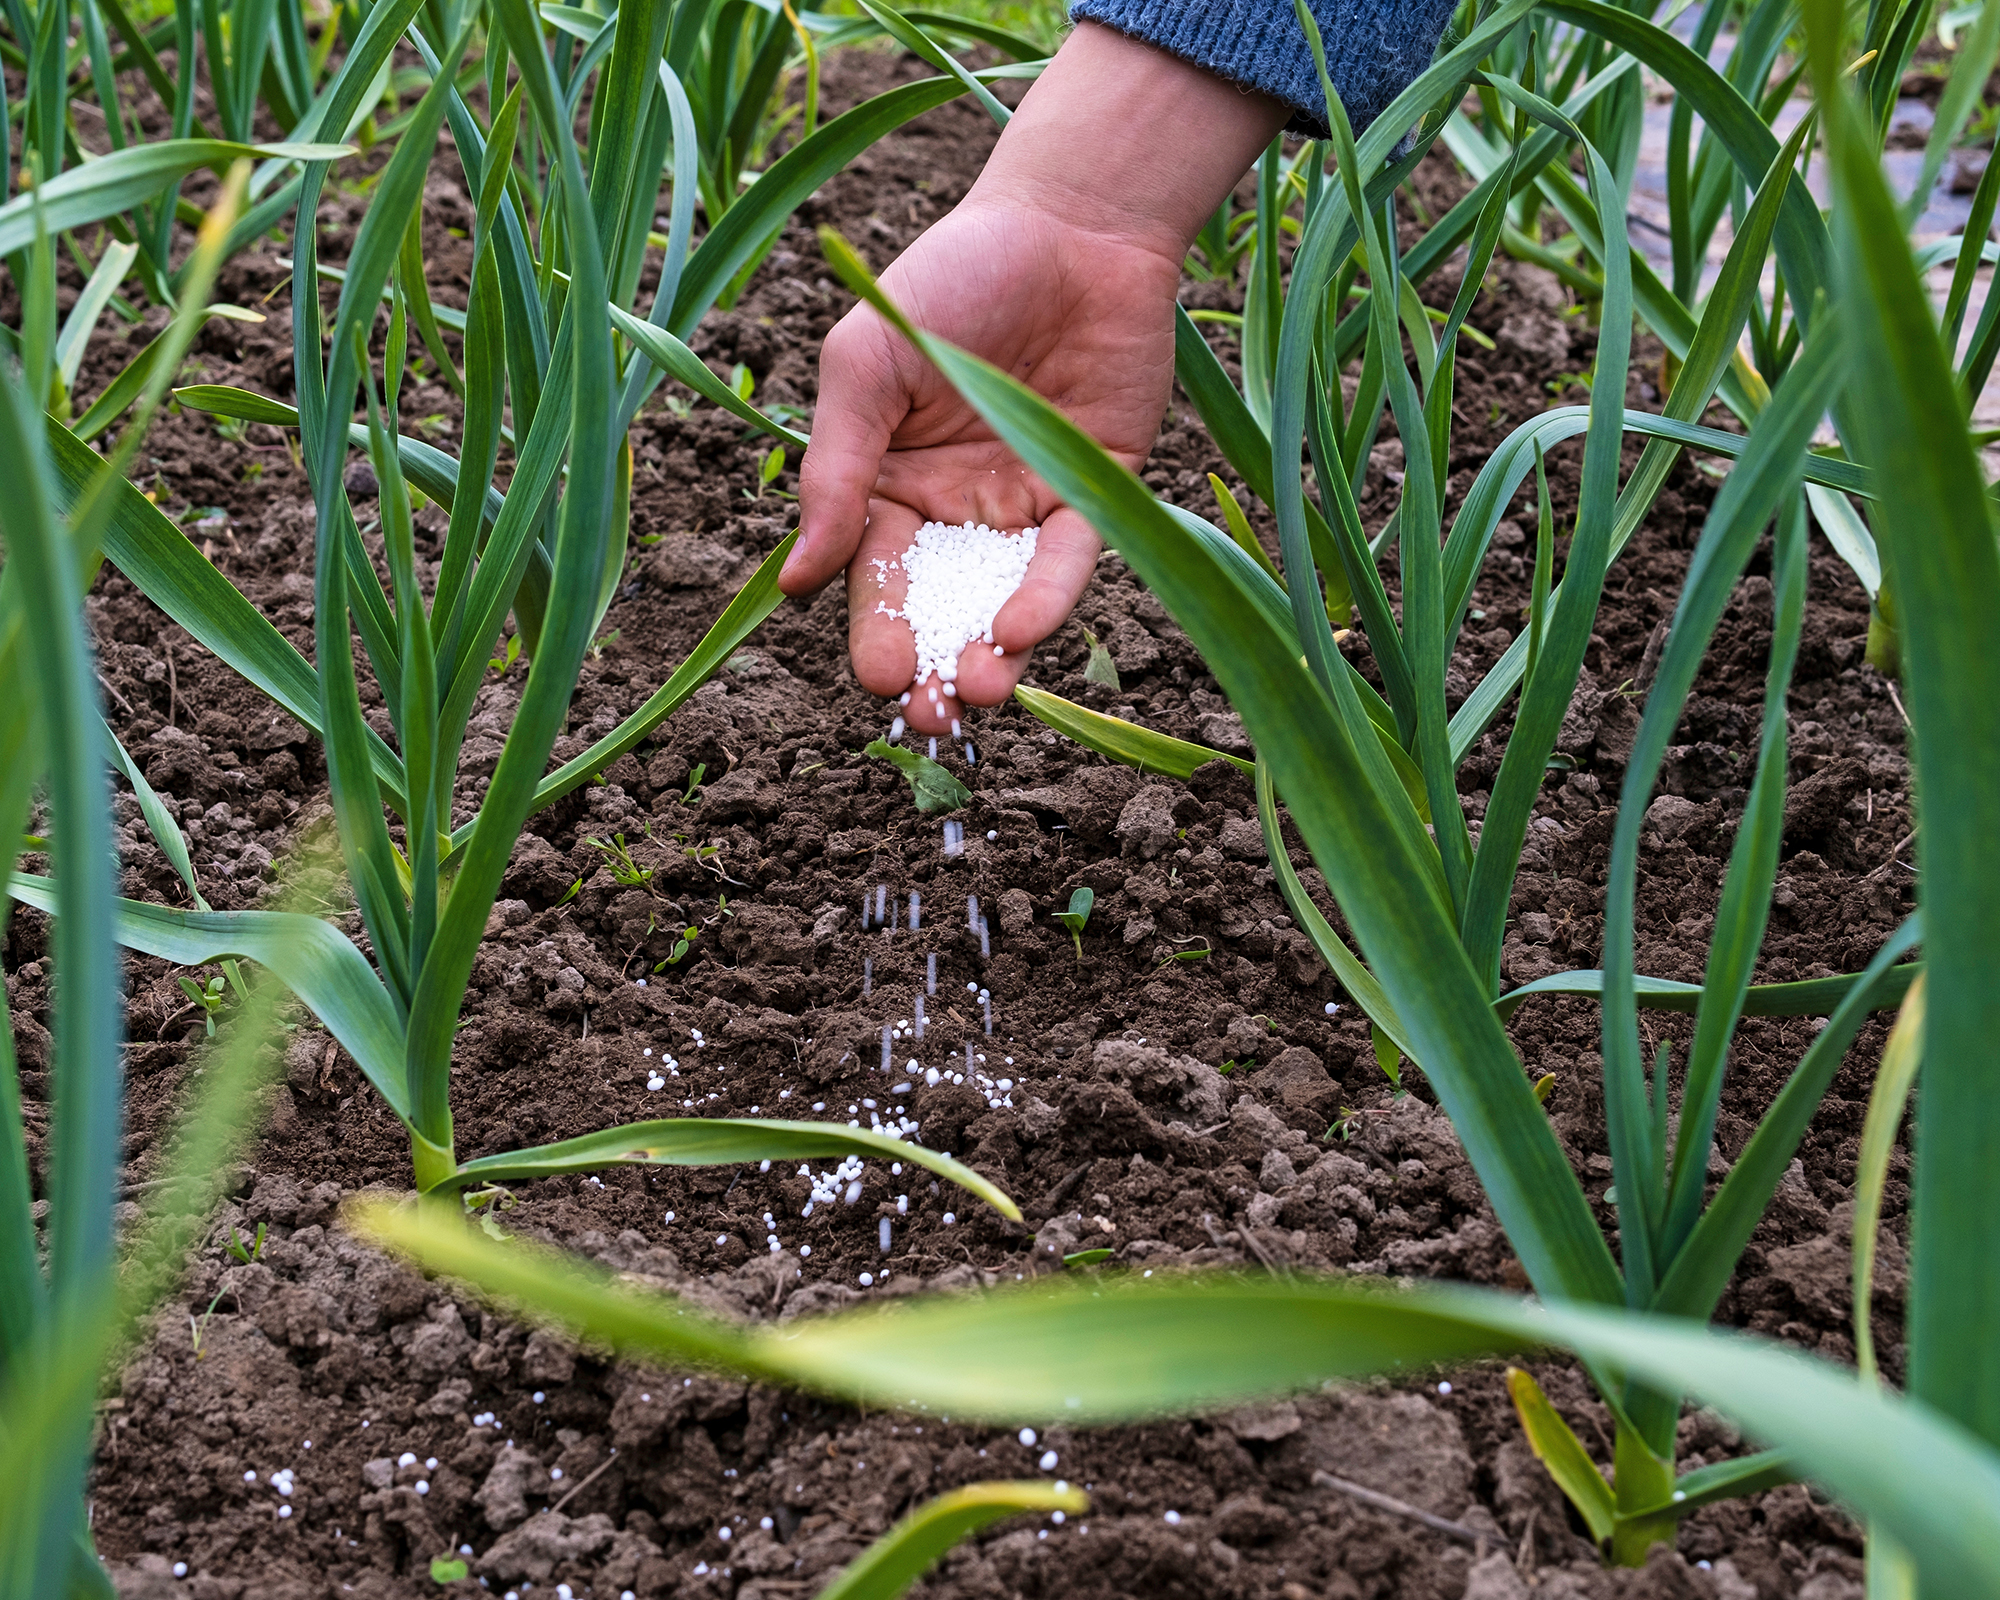
Garlic is a heavy feeder over its long growing season. Before planting in the fall, amend your soil with well-rotted manure or compost (jump to Best Soil for Garlic). You can also work in a balanced granular fertilizer or blood meal to help establish strong roots. This Gardenwise 10-10-10 plant fertilizer, available from Amazon, is a slow-release formula that will ensure a steady supply of nutrients.
Resume fertilizing garlic in early spring when shoots emerge. The focus now is on boosting nitrogen, which drives the leafy growth that fuels bulb development. Apply a high-nitrogen feed like liquid seaweed, fish emulsion, or a blood meal side-dressing every three to four weeks.
It's critical to stop feeding garlic by late spring (around the end of May), or when hardneck varieties produce scapes. Too much late nitrogen can stunt bulb size and cause soft bulbs that won't store well.
Mulching Garlic
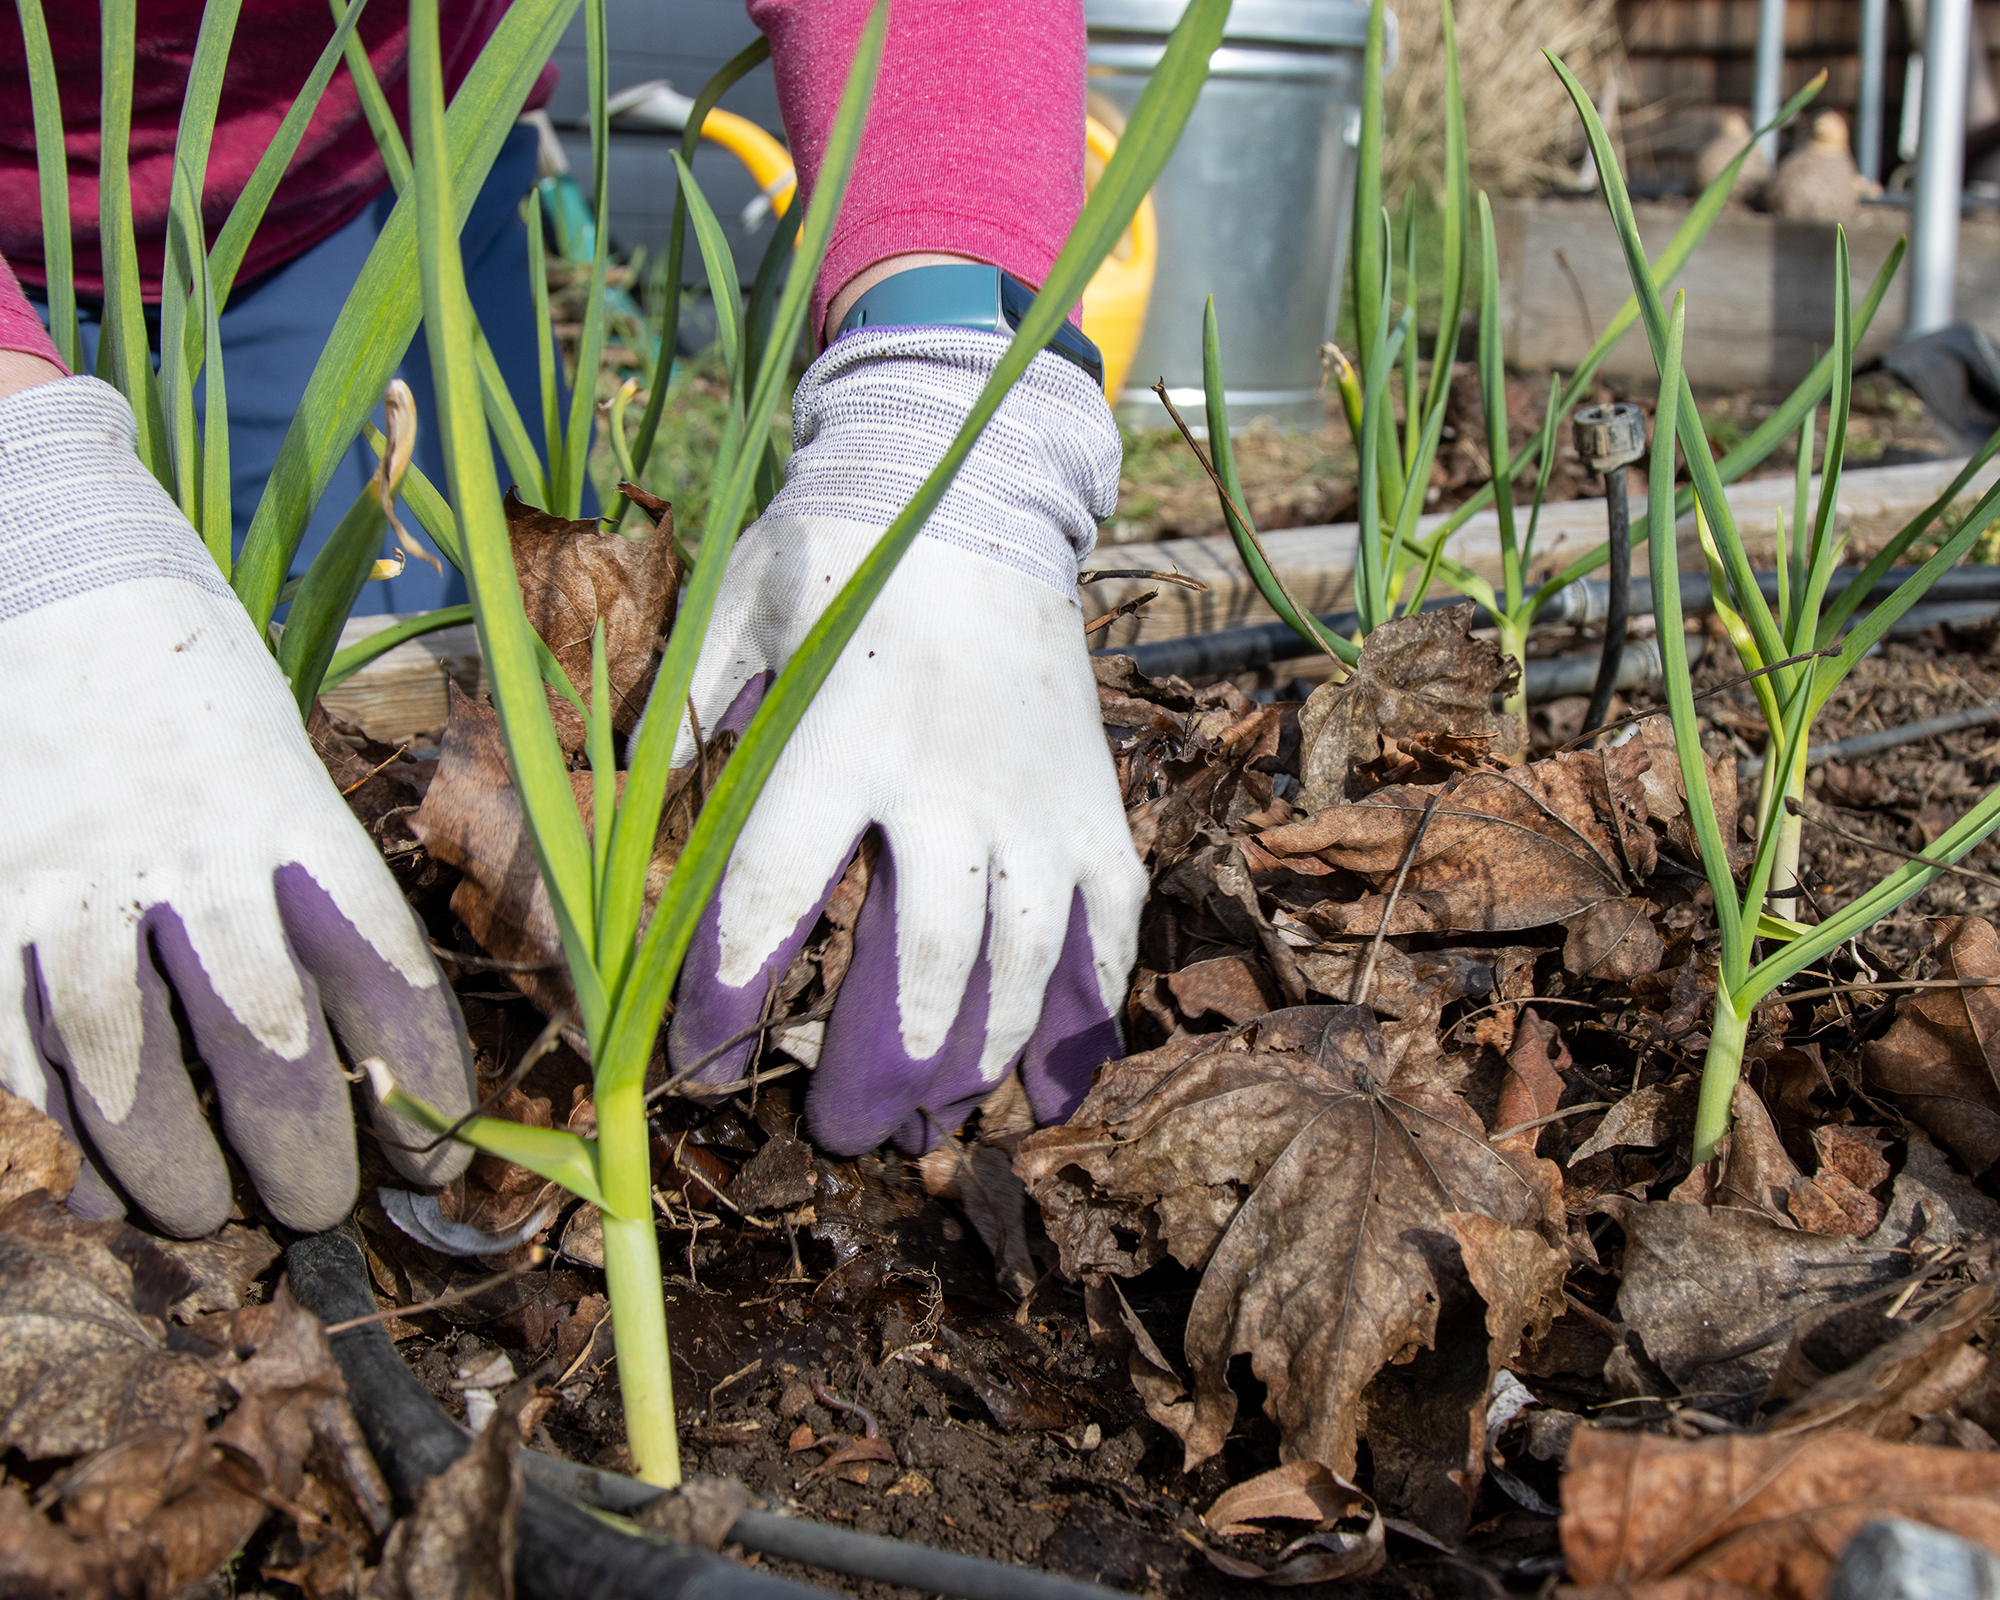
Garlic plants do not compete well with weeds, so mulching makes life much easier. A thick blanket of straw, chopped leaves, or clean hay works well, holding moisture in the soil and blocking light from weed seedlings.
Spread mulch right after planting in fall to protect cloves through freeze-thaw cycles, then top it up in late winter if it thins or blows away. As spring growth begins, check that the shoots can push through easily and loosen any matted areas so air and water can move freely.
Leave the mulch in place through the growing season and only pull it back slightly when you begin to harvest, giving the bulbs room to dry and cure in the soil.
Pruning Garlic
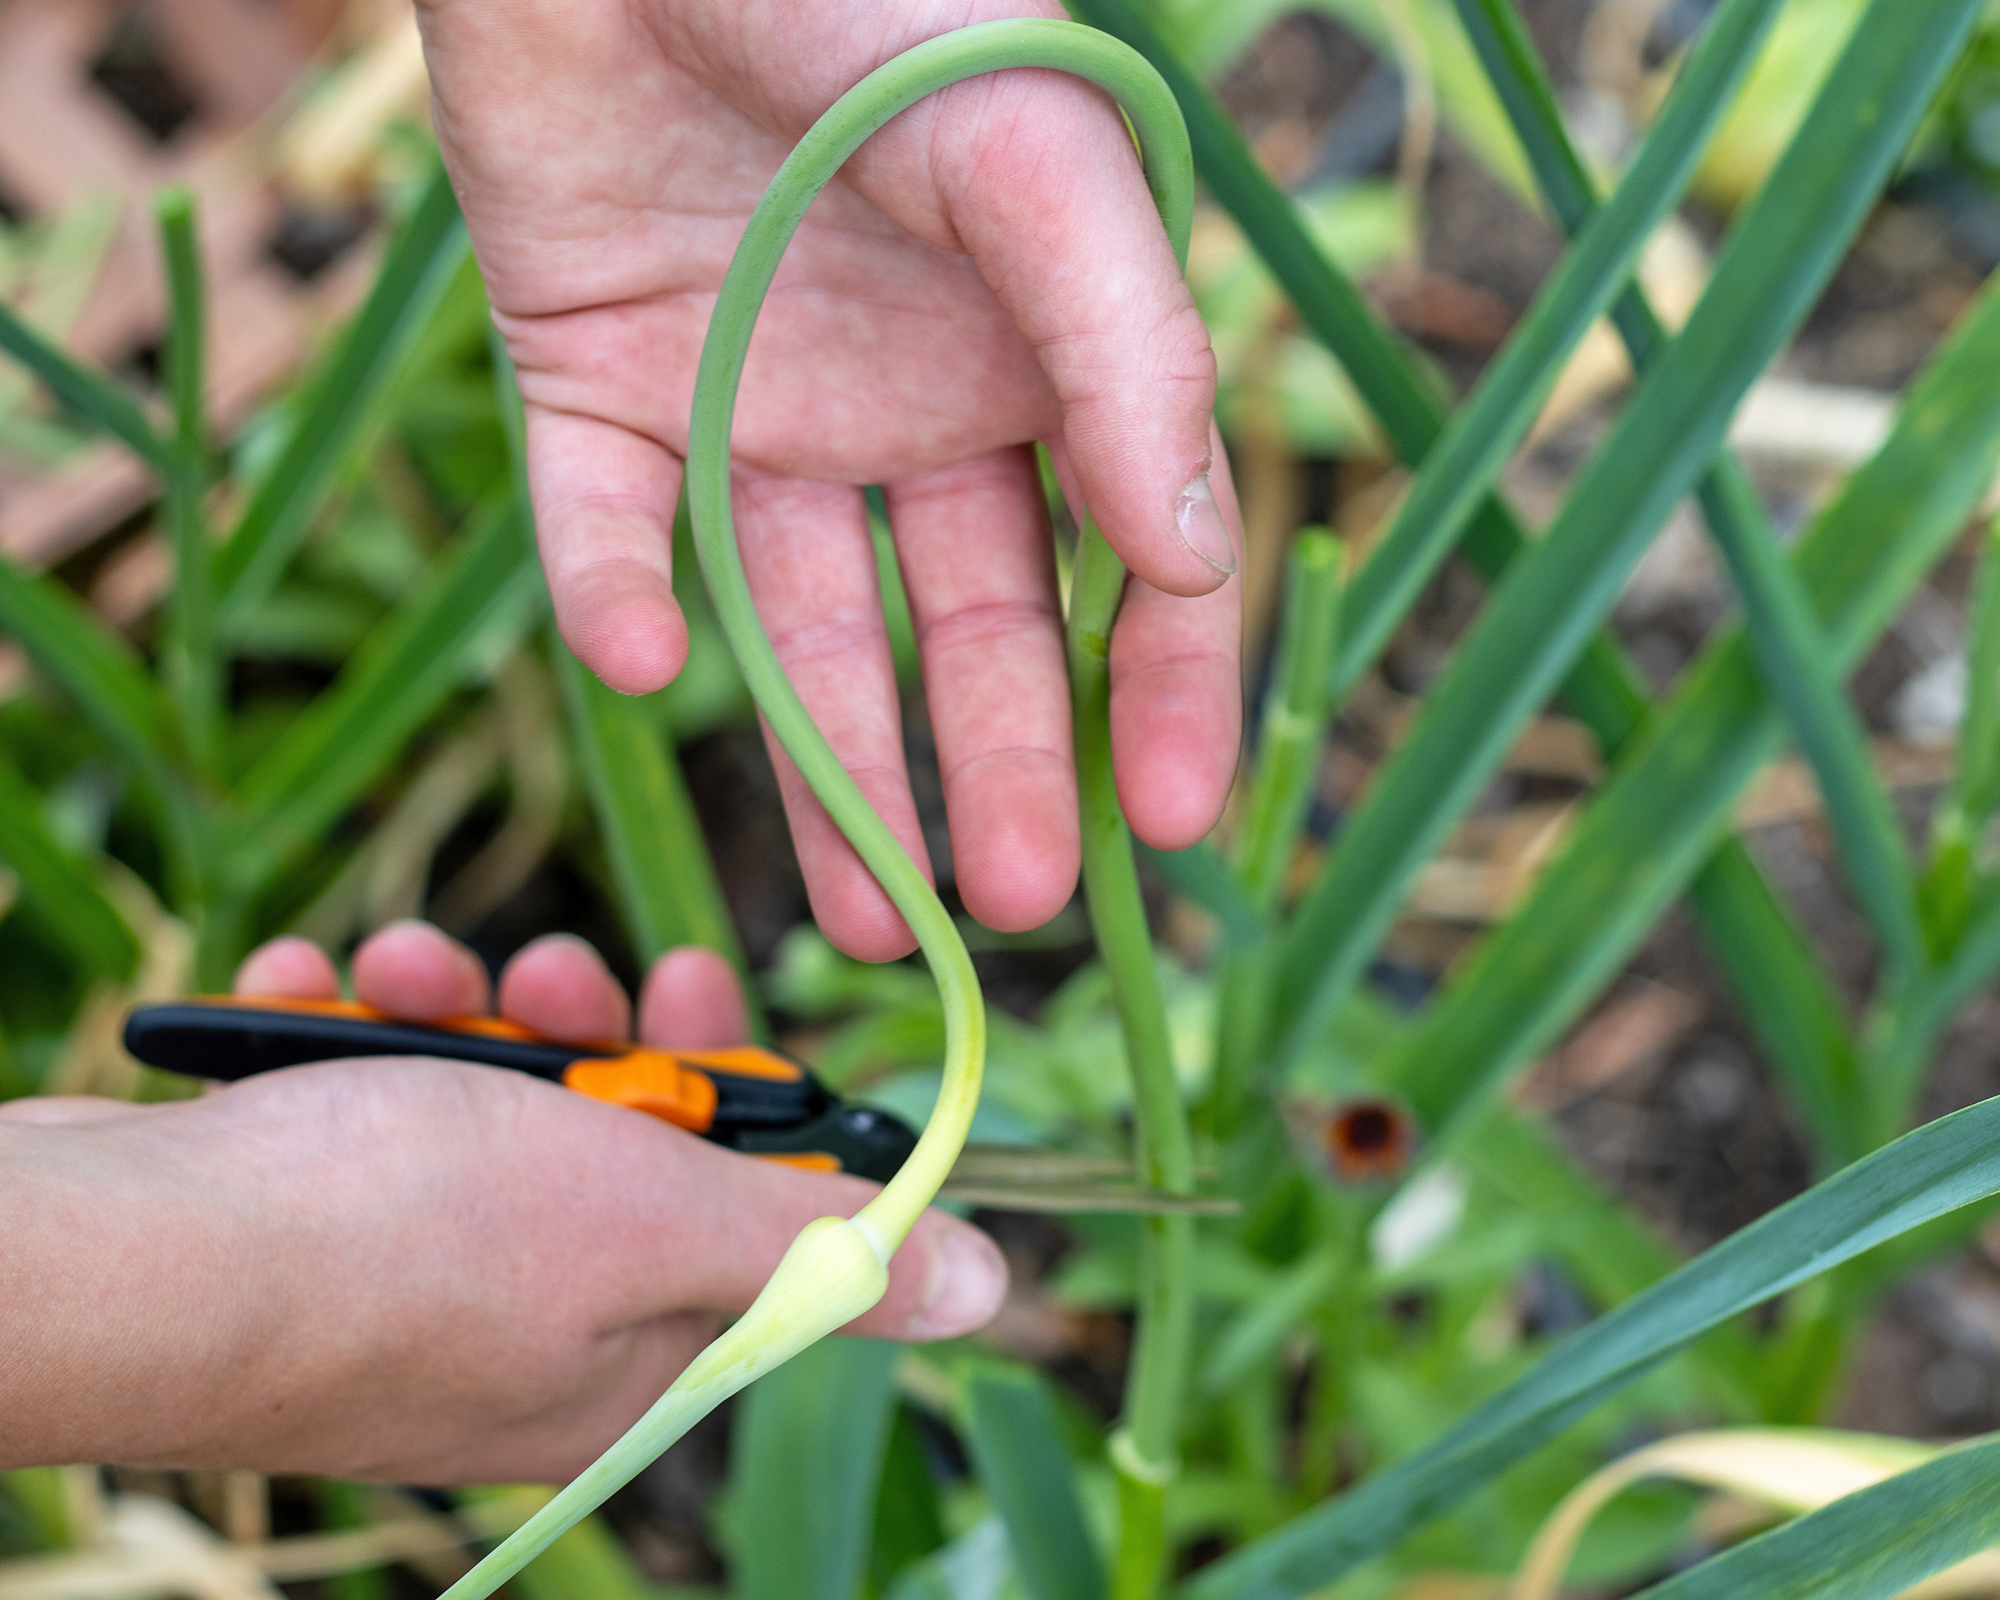
Hardneck garlic sends up tall, curling flower stems in late spring, known as garlic scapes. Removing these stems once they’ve made a full curl keeps the plant’s energy focused on plumping the bulbs – and you get a bonus crop in the process. Scapes are tender and aromatic, with a flavor somewhere between garlic and chives.
Softneck varieties don’t produce true scapes, but you can harvest a few young green leaves early in the season if you wish. Take just one or two per plant and leave the rest to keep feeding the bulbs beneath.
Harvesting Garlic
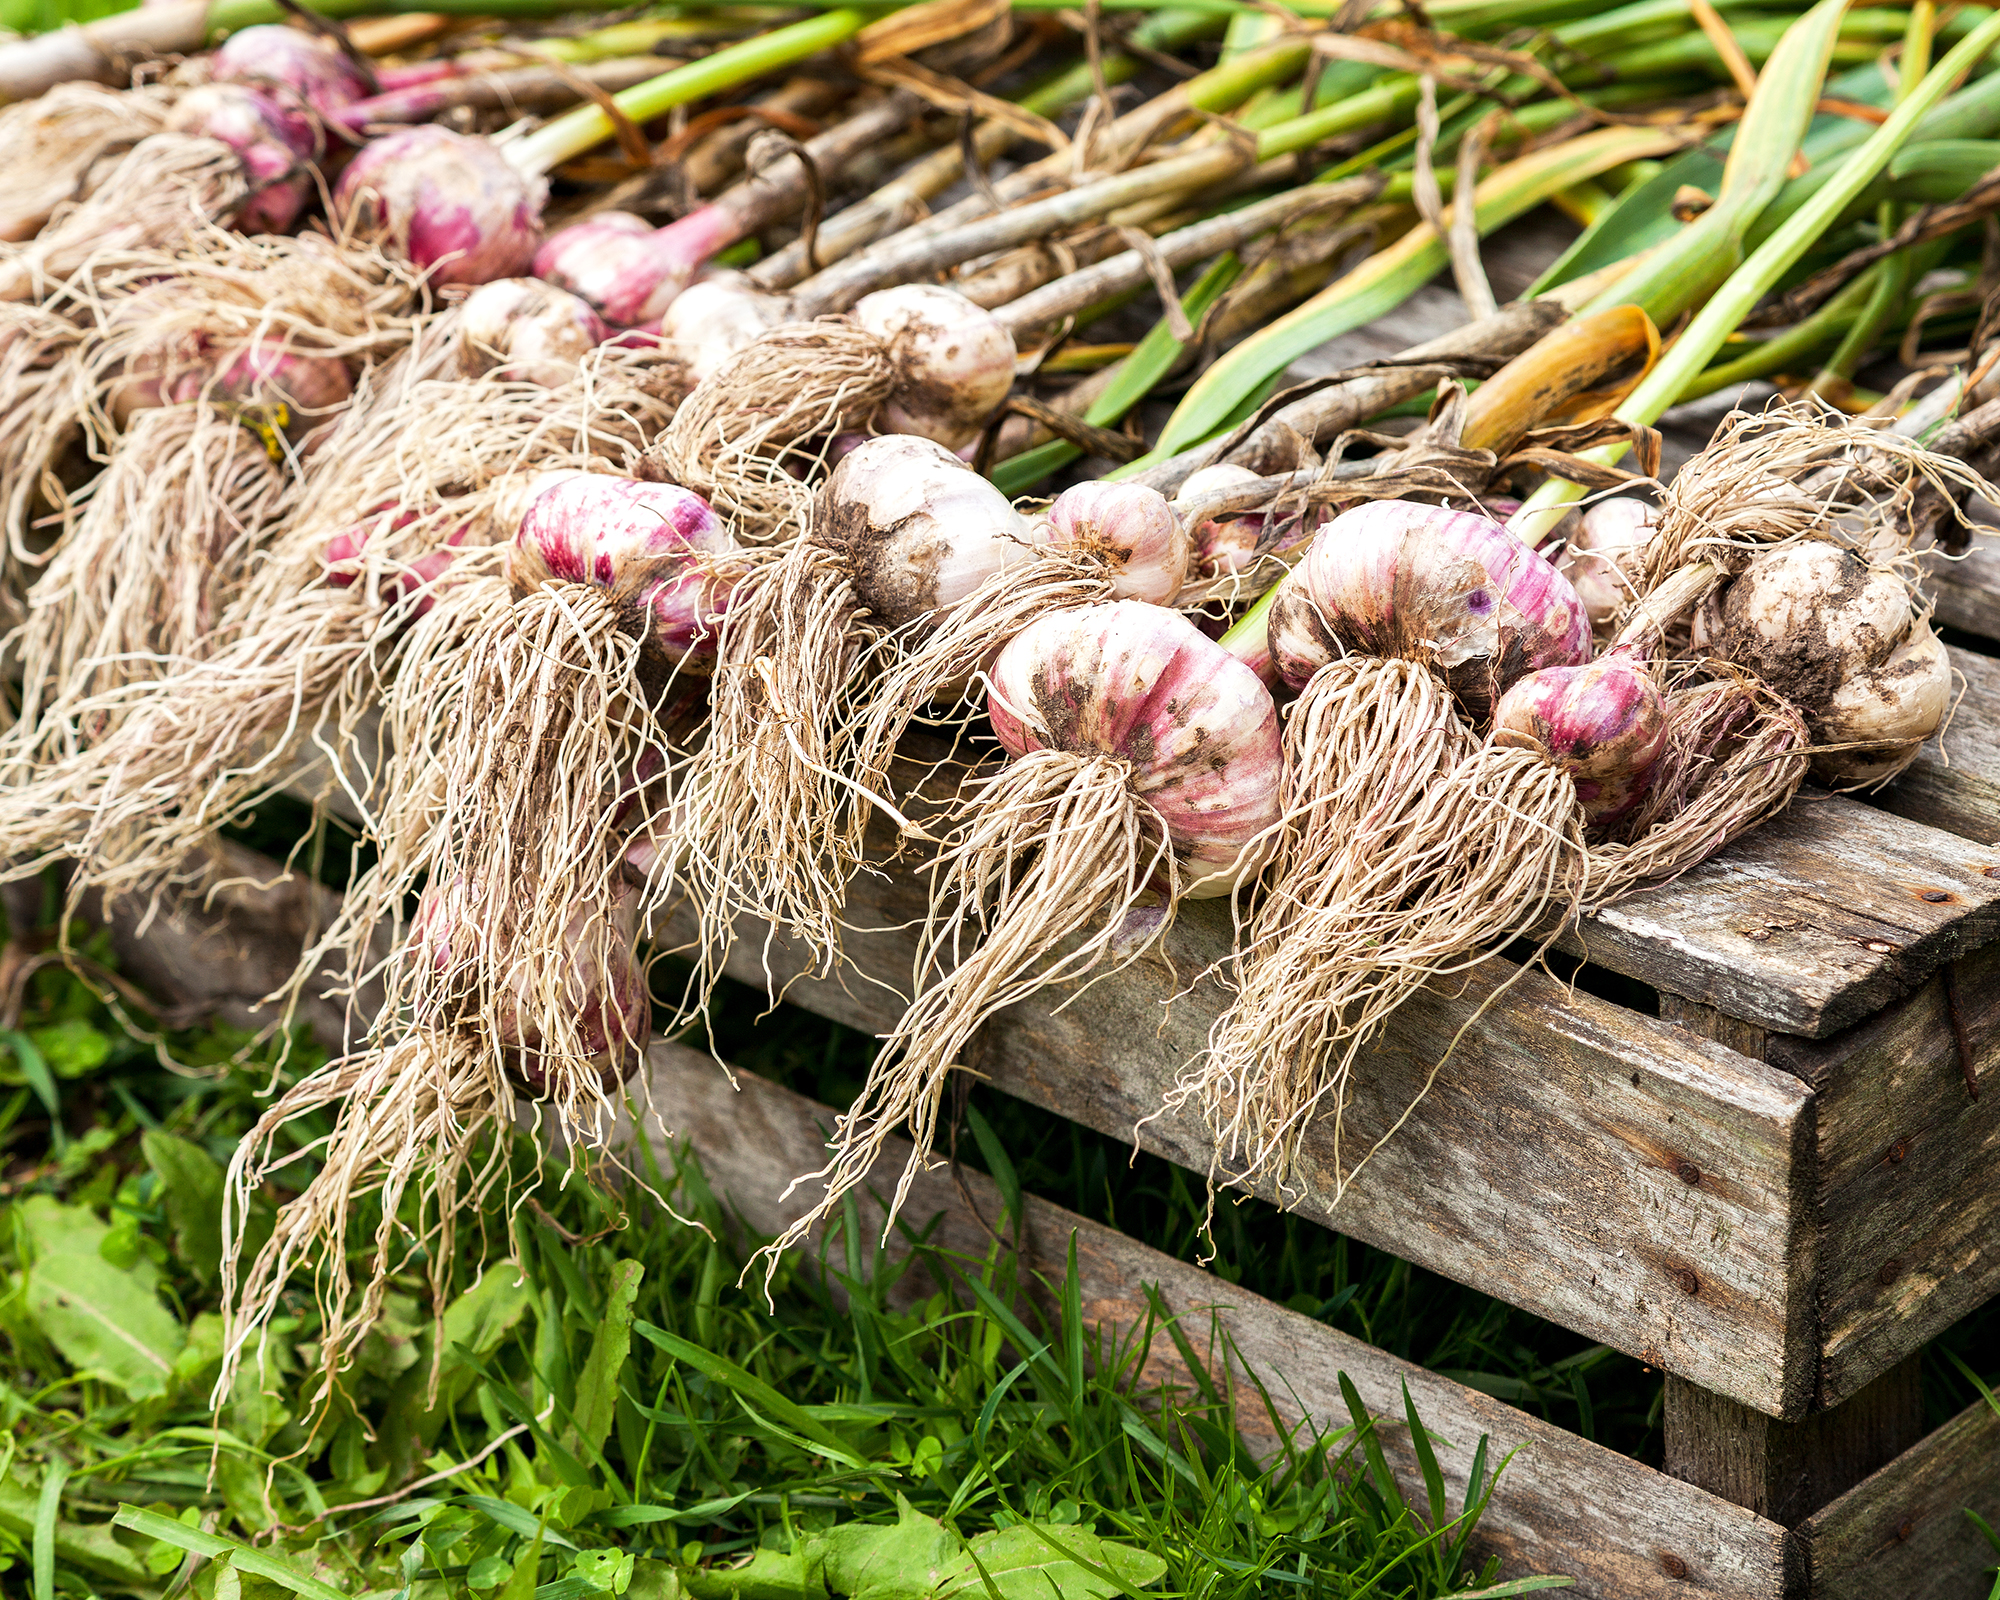
Begin to check for mature cloves around mid‑summer, though the best time for harvesting garlic can shift a little depending on climate and planting date.
The clearest sign is in the leaves: when the lower third of the foliage has turned brown and dry, while the upper leaves remain mostly green, the bulbs are close to ready. Don’t wait until the tops are completely brown – by then, the skin around each clove may have begun to split.
Start by test-digging one bulb to check for a strong covering of dry, papery skin and plump, well-defined cloves. Use a hand fork or trowel to gently loosen the soil before lifting; tugging by the leaves can bruise or break the stems. Choose a dry day if you can, as damp soil can cling to the bulbs and slow curing.
Once the balance of leaves looks right and the bulbs feel full, lift the rest carefully, shake off loose soil, and lay them in a single layer to begin curing.
Too Early or Too Late?
If harvested too early, garlic bulbs will be small, soft, and wrapped in skins that slip away easily. They won’t store well and are best eaten straight away. If left too long, the cloves begin to separate and the outer skins split, making the bulbs harder to cure and more likely to rot in storage. The sweet spot lies in catching them just as the lower leaves brown but before the top growth completely fades.
Garlic Care Calendar
| Row 0 - Cell 0 | Spring | Summer | Fall | Winter |
Plant | Row 1 - Cell 1 | Row 1 - Cell 2 | ✓ | ✓ (warm zones) |
Fertilize | ✓ | Row 2 - Cell 2 | ✓ | Row 2 - Cell 4 |
Mulch | ✓ | Row 3 - Cell 2 | ✓ | ✓ |
Harvest Scapes | ✓ | Row 4 - Cell 2 | Row 4 - Cell 3 | Row 4 - Cell 4 |
Harvest Bulbs | Row 5 - Cell 1 | ✓ | Row 5 - Cell 3 | Row 5 - Cell 4 |
Curing and Storing Garlic
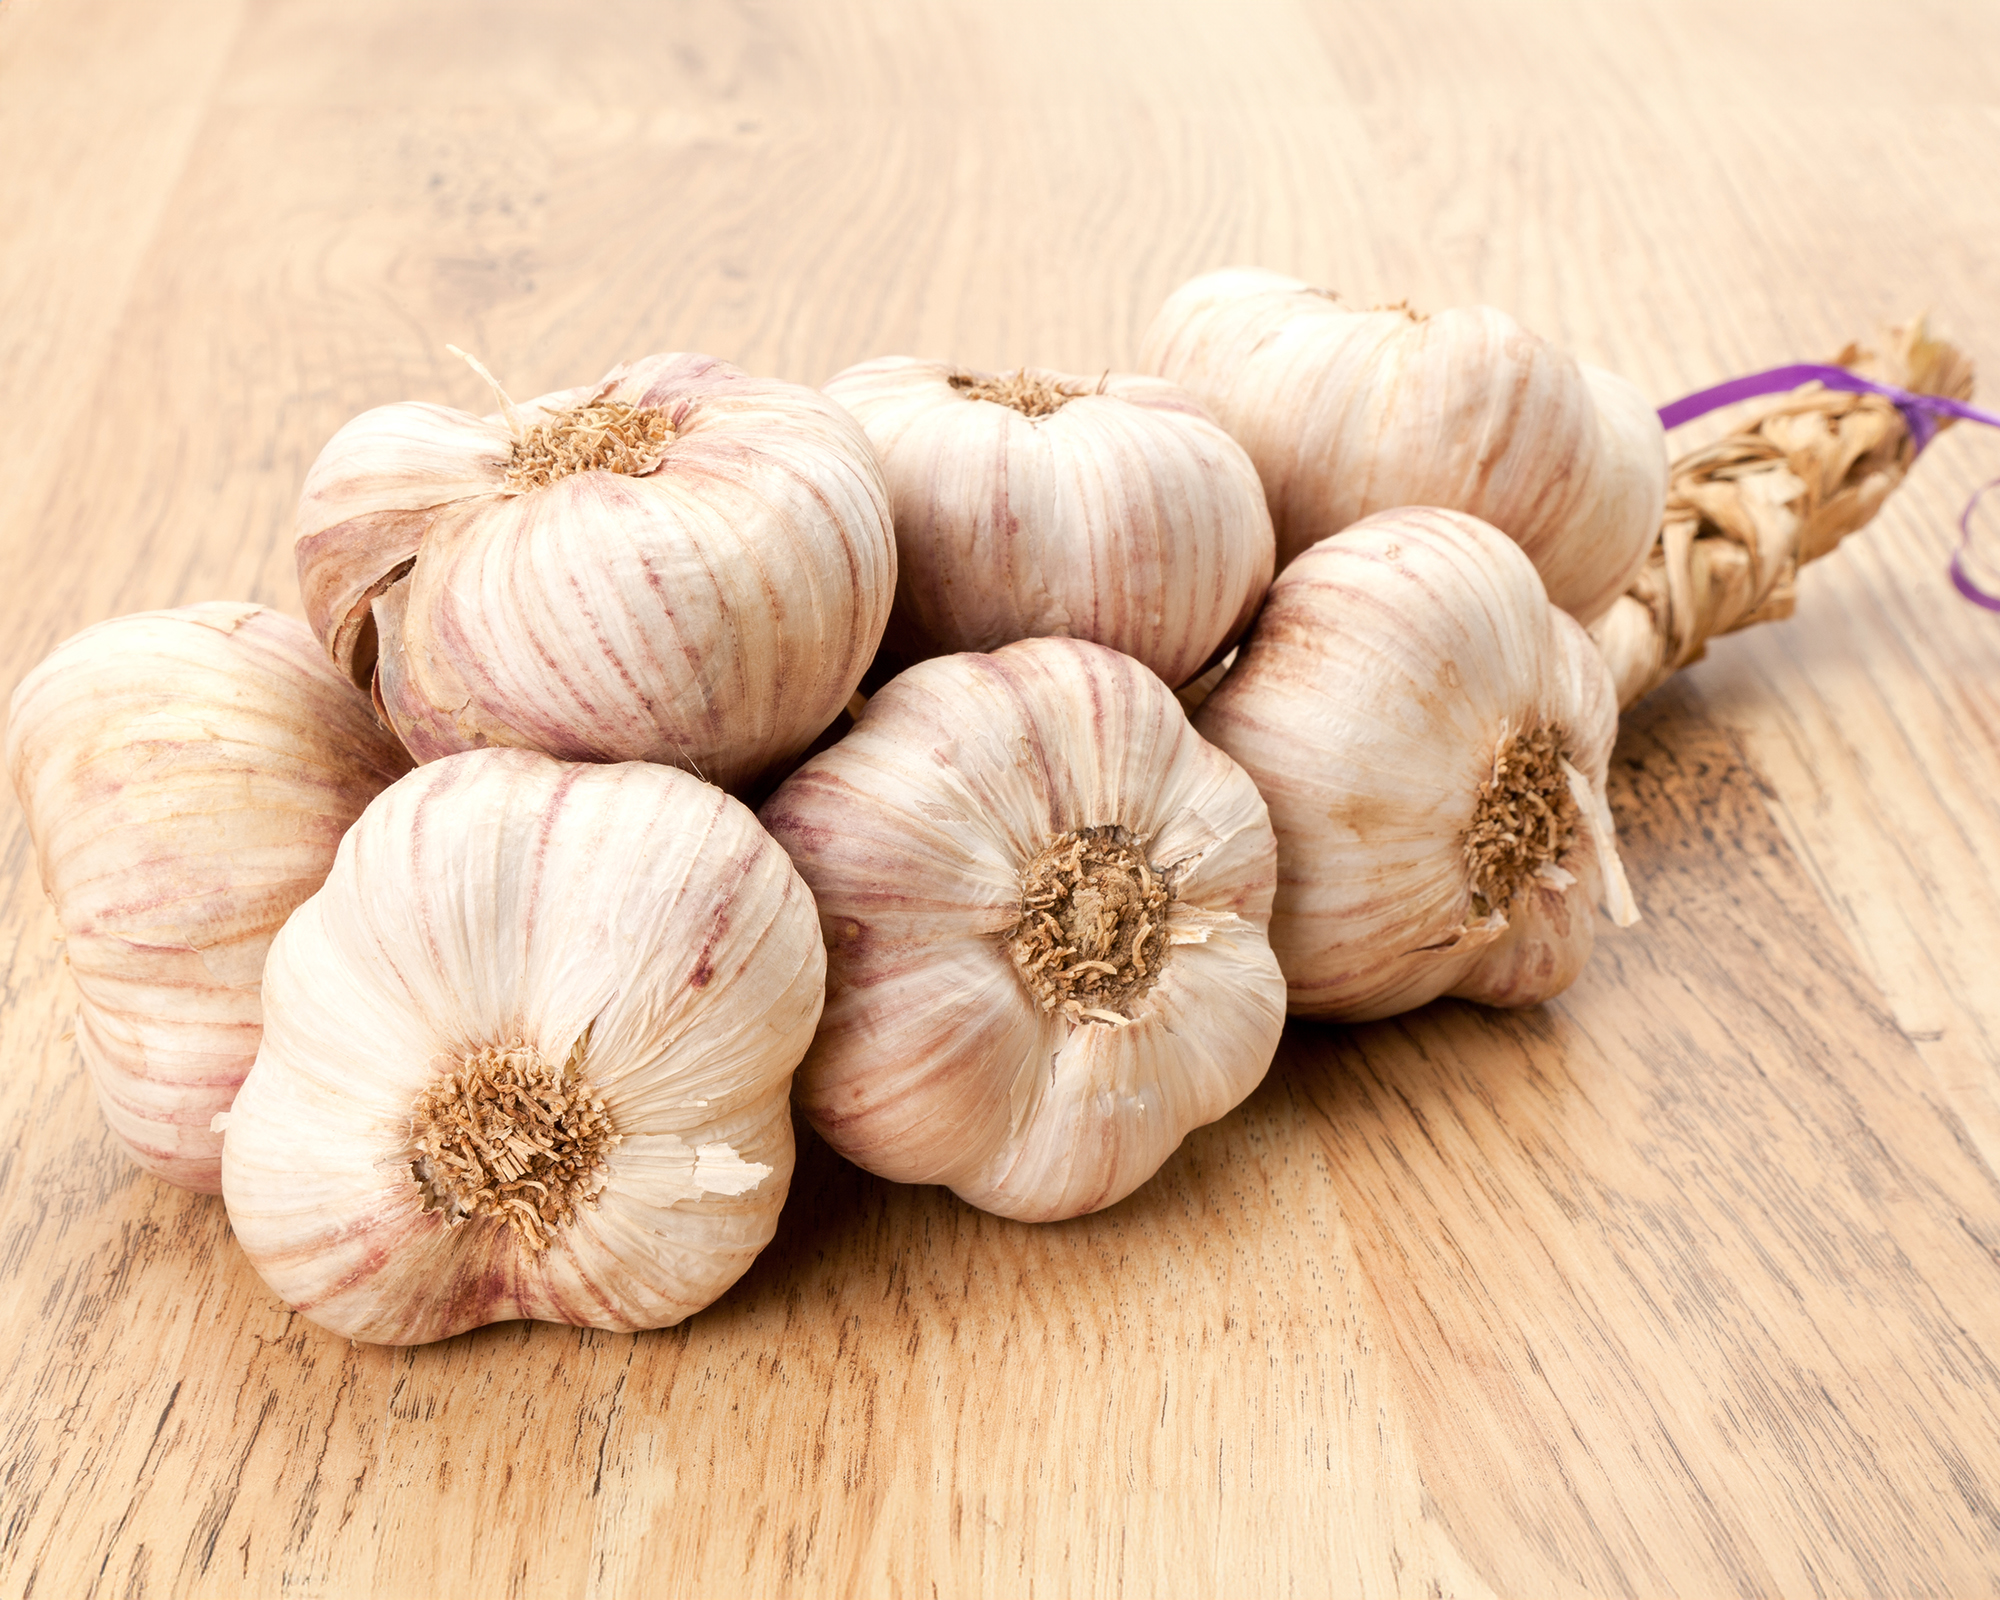
Freshly harvested garlic needs time to cure so the skins dry and seal for long keeping. Spread the bulbs in a single layer somewhere dry, shaded, and airy – a shed or covered bench is ideal. Leave the plants untrimmed while they dry to avoid rot.
After two to three weeks of curing, the skins will feel papery and the necks firm. At this stage, snip the roots to about half an inch (1 cm) and trim the stems to an inch (2.5 cm). If harvesting softneck varieties, you can braid the leaves for hanging.
Store cured garlic bulbs in a cool, dry, well-ventilated spot such as a pantry or mesh bag, like these Reusable Garlic Storage Bags from the Organic Cotton Mart Store via Amazon. Never store garlic in the fridge, as it can trigger sprouting. Properly cured garlic keeps for five to eight months, sometimes longer for softneck varieties.
For longer keeping, you can freeze, dry, or pickle cloves, or use them to flavor oils and vinegars. And don’t forget to save a few of your biggest, healthiest bulbs – you can use these to start a fresh crop next season.
Propagating Garlic
One of the joys of growing garlic is that it’s easy to propagate. Instead of buying new seed garlic each year, you can keep your best bulbs and plant the cloves for the next crop. Garlic doesn’t reproduce in the same way as most other vegetables, but it grows reliably from cloves and, with a bit more patience, from bulbils. True seed is possible but rarely worth the long wait.
Propagating garlic from cloves is by far the simplest and quickest method. Each clove inside a bulb can become a new plant. Separate the bulb carefully into individual cloves, keeping their papery skins intact, and replant the biggest, firmest ones in fall – or late winter in mild climates.
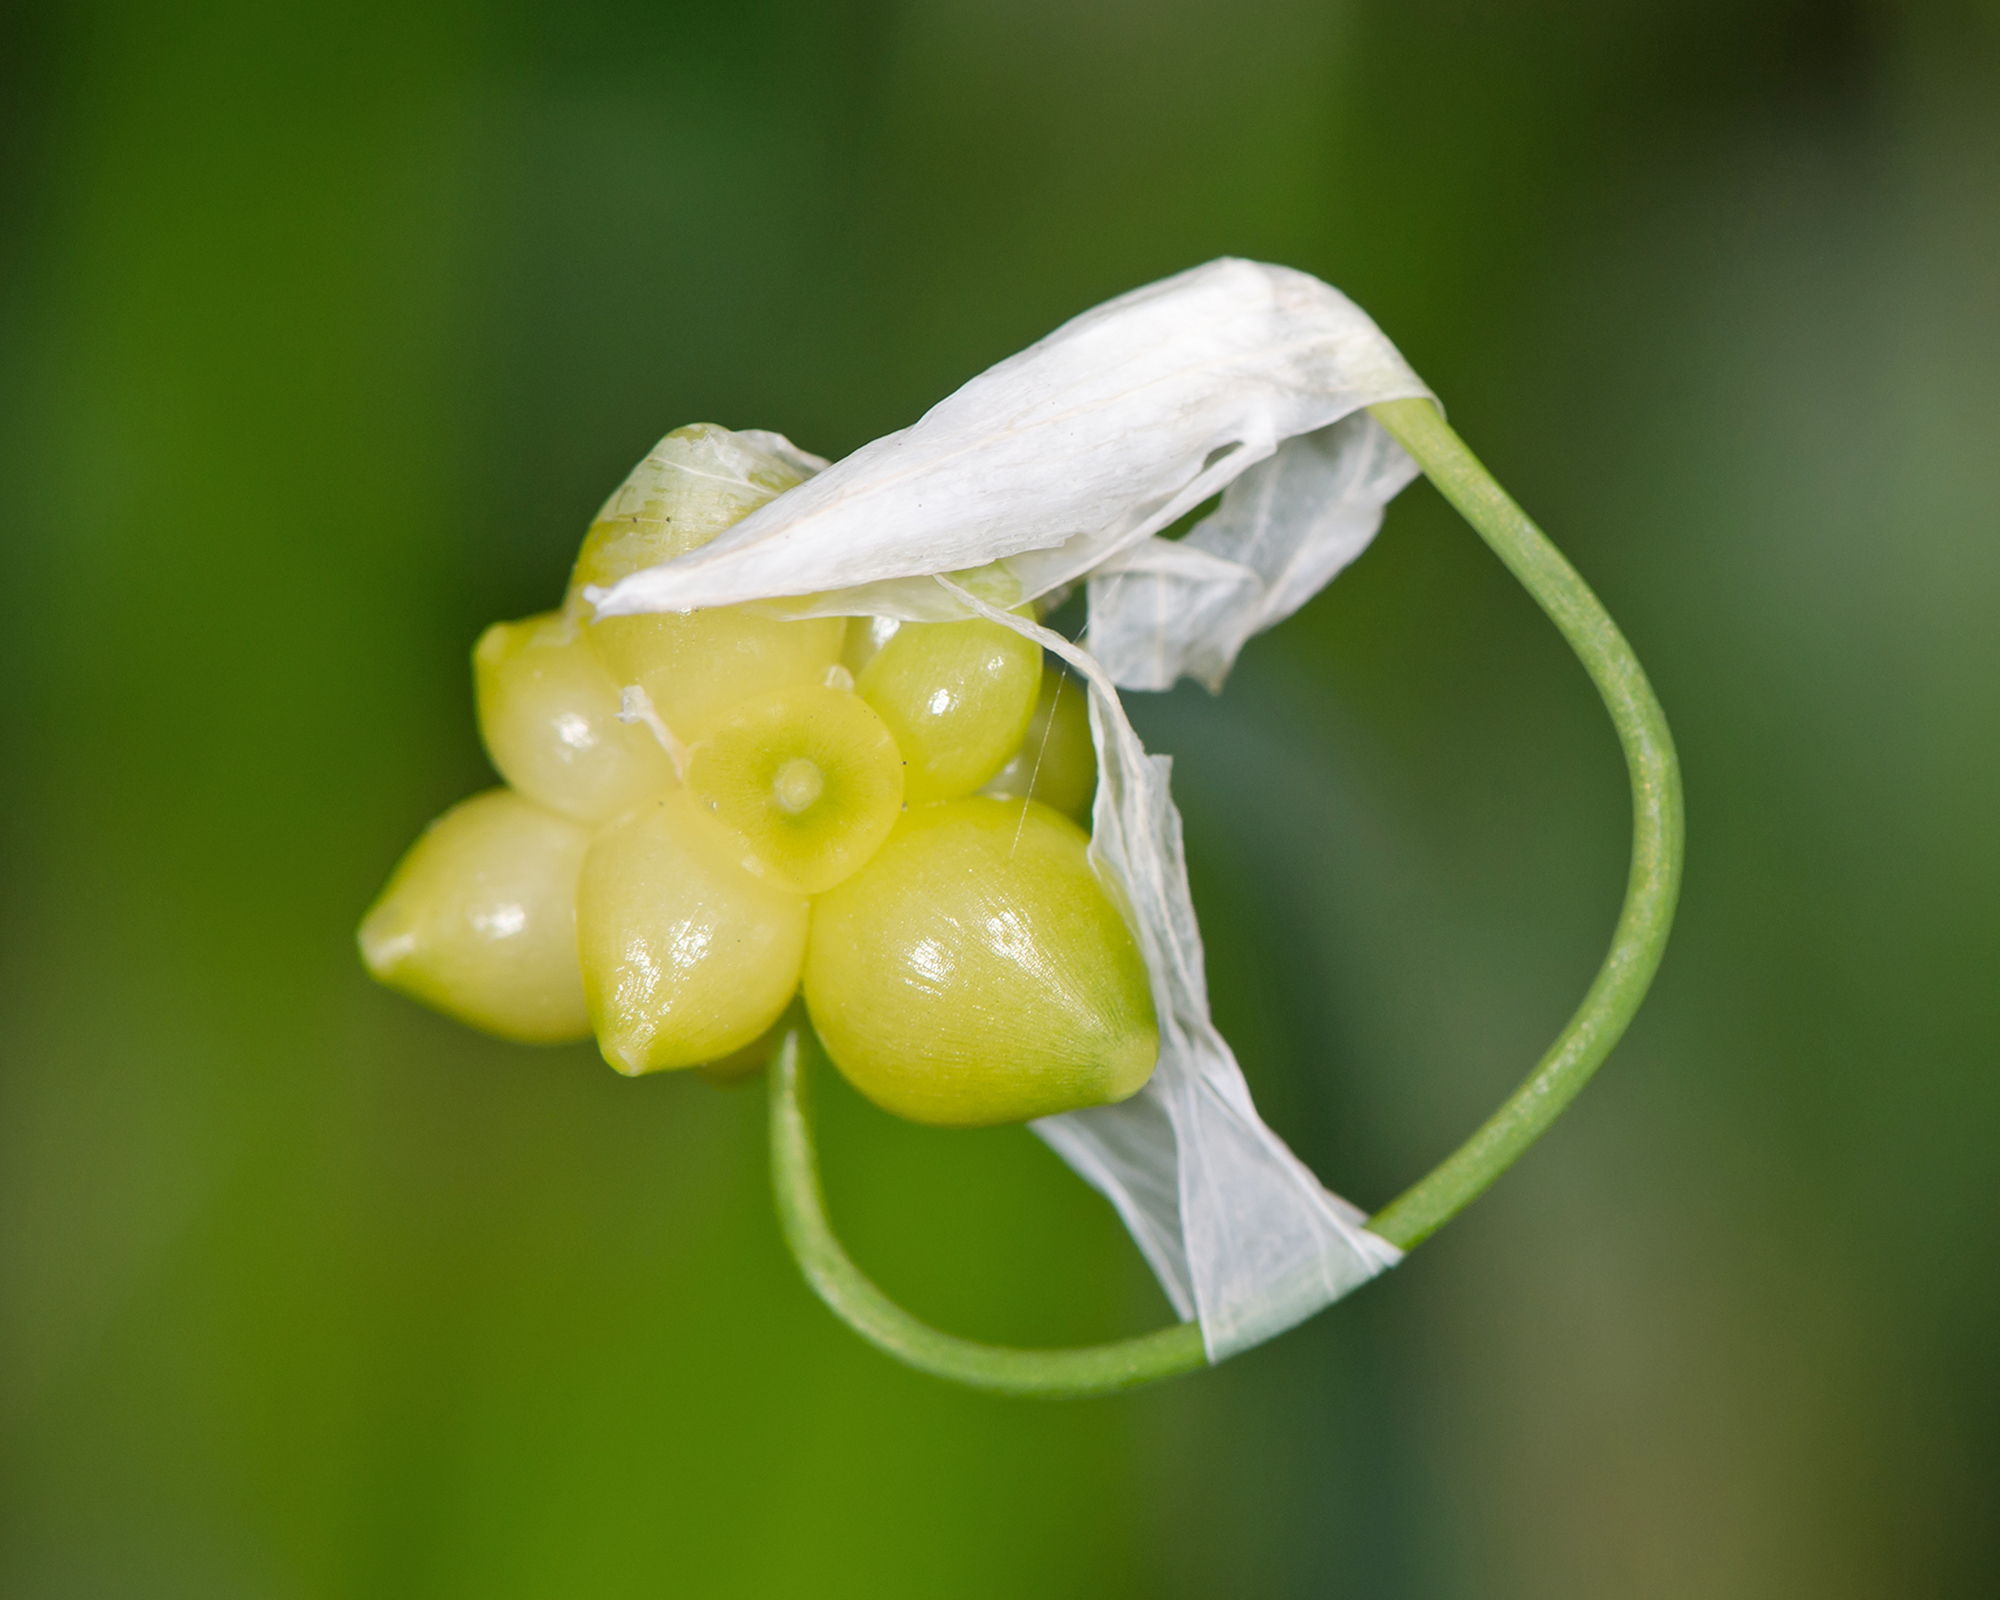
Growing garlic bulbils can be an option for hardneck garlic. These are the small seed-like bulbs that grow at the tips of garlic scapes. Collect them once the heads begin to dry and plant into well-drained soil in fall. Bulbils take longer to reach full size – they form small single “rounds” in their first season and full bulbs in their second – but they’re naturally disease-free and mean you don't need to sacrifice whole bulbs.
Garlic seed growing is occasionally possible. Sometimes, hardneck garlic will produce viable true seed after flowering. It can be sown in pots or trays and raised much like onion seed, but takes several years to form bulbs. Unless you enjoy experimenting or hope you create your own variety, it's not a practical method for most gardeners.
Garlic Problems
Garlic is a reliable crop not prone to problems, but issues with weather, soil, or timing can cause disappointment. Spotting the signs early – such as yellowing leaves or drooping plants – makes all the difference. Here are the most common garlic problems and diseases to watch for:
- Yellowing leaves are most often caused by watering issues or a nitrogen deficiency. Avoid the issue by keeping the soil evenly moist (never soggy) and feed plants with a nitrogen-rich fertilizer in early spring. Bear in mind that yellowing can also appear naturally as bulbs mature, but if it happens too soon then it suggests a problem.
- Drooping or wilting plants is a sign of heat stress or root damage. If garlic is falling over, check the soil isn't compacted or waterlogged, and loosen it if needed. In hot weather, applying a light layer of mulch helps maintain steady temperatures and moisture levels.
- Garlic not forming cloves is a common frustration, usually caused by late planting, too much shade, or being fed excessive nitrogen after spring.
- Flowers on garlic plants happen naturally in hardneck types as they produce scapes. Remove them when they curl to keep the plant's energy focused on bulb growth. If softneck garlic starts to flower, it’s often a sign of heat stress or irregular watering.
- Allium white rot is a serious fungal disease that causes yellowing, wilting, and white, cottony mold around the base of the plant. Infected bulbs often rot and collapse. White rot sclerotia can persist in soil for decades, so remove affected plants immediately and avoid replanting alliums in affected beds.”
- Fusarium basal rot is another soil-borne fungus that causes the base of the bulb to turn brown and roots to die back. It spreads in poorly drained or compacted soil, so good crop rotation and drainage are key to prevention.
- Rust is a fungal infection encouraged by damp conditions and poor airflow. It's indicated by orange pustules on leaves. Remove infected foliage and, in the future, ensure plants are well-spaced and grown in open sun.
- Garlic pests are few, but include onion thrips and nematodes. Tiny thrips can cause silver streaks or speckling on leaves; control them with insecticidal soap or neem oil. Stem and bulb nematodes cause swollen, spongy bulbs – prevention is best, through crop rotation and planting clean seed garlic.
- Moldy or soft bulbs in storage are usually caused by curing bulbs in damp air or storing them in humid spaces. Always cure garlic thoroughly in a dry, ventilated area and store in mesh bags, never sealed containers or the fridge.
Growing Garlic in Containers
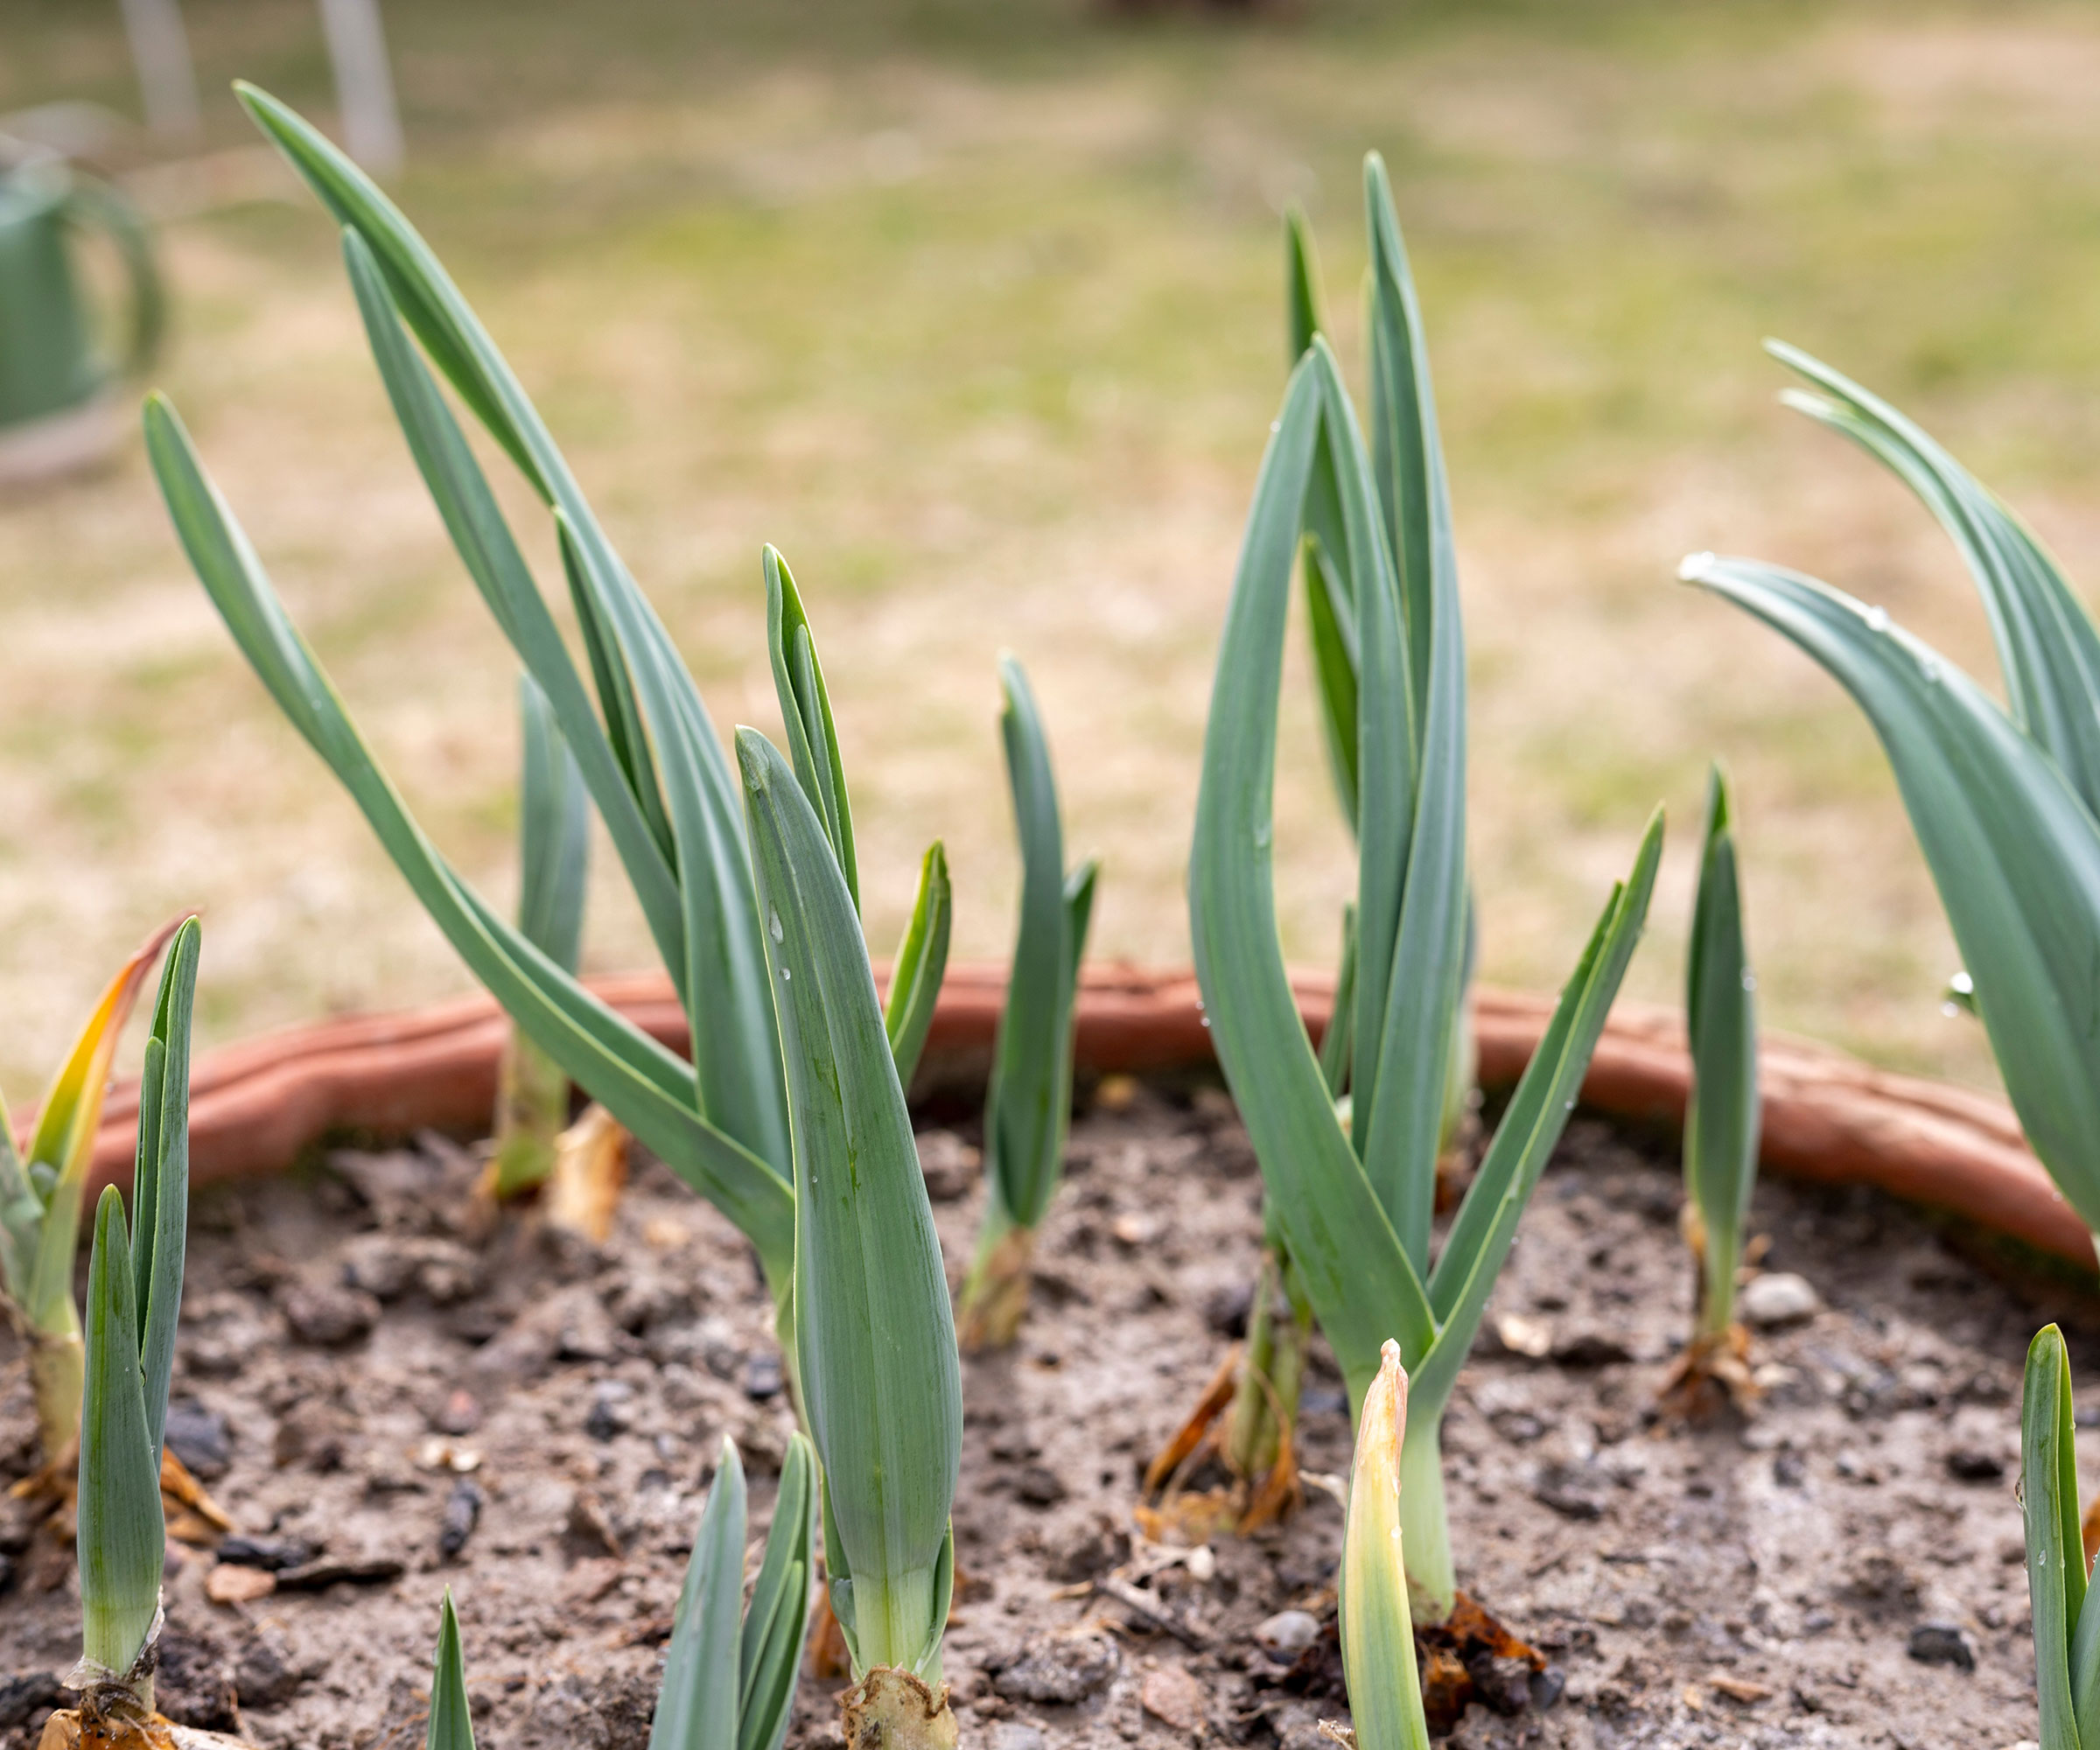
Garlic grows well in containers, as long as they're deep enough to accommodate the roots. Choose a container at least 12 inches (30 cm) deep with several drainage holes, and fill it with loose, loamy compost mixed with grit for aeration.
When planting garlic in containers, space cloves 4 inches (10 cm) apart and plant 2 inches (5 cm) deep, pointy end up. Position pots in a sunny position and water evenly through spring.
In colder regions, protect bulbs from freezing by moving pots against a wall or wrapping them in horticultural fleece, like this Valibe Blanket Plant Cover from Amazon.
Growing Garlic Indoors
It is possible to grow garlic indoors, though it isn't a common choice since bulbs take many months to mature. For indoor bulb attempts, pre-chill cloves for 6 to 8 weeks at about 40 °F (4 °C) in a paper bag to mimic winter chill. This short chilling period is very different from long-term storage, where refrigeration is not advised. Position containers in a sunny spot and only water when the potting mix feels dry to the touch.
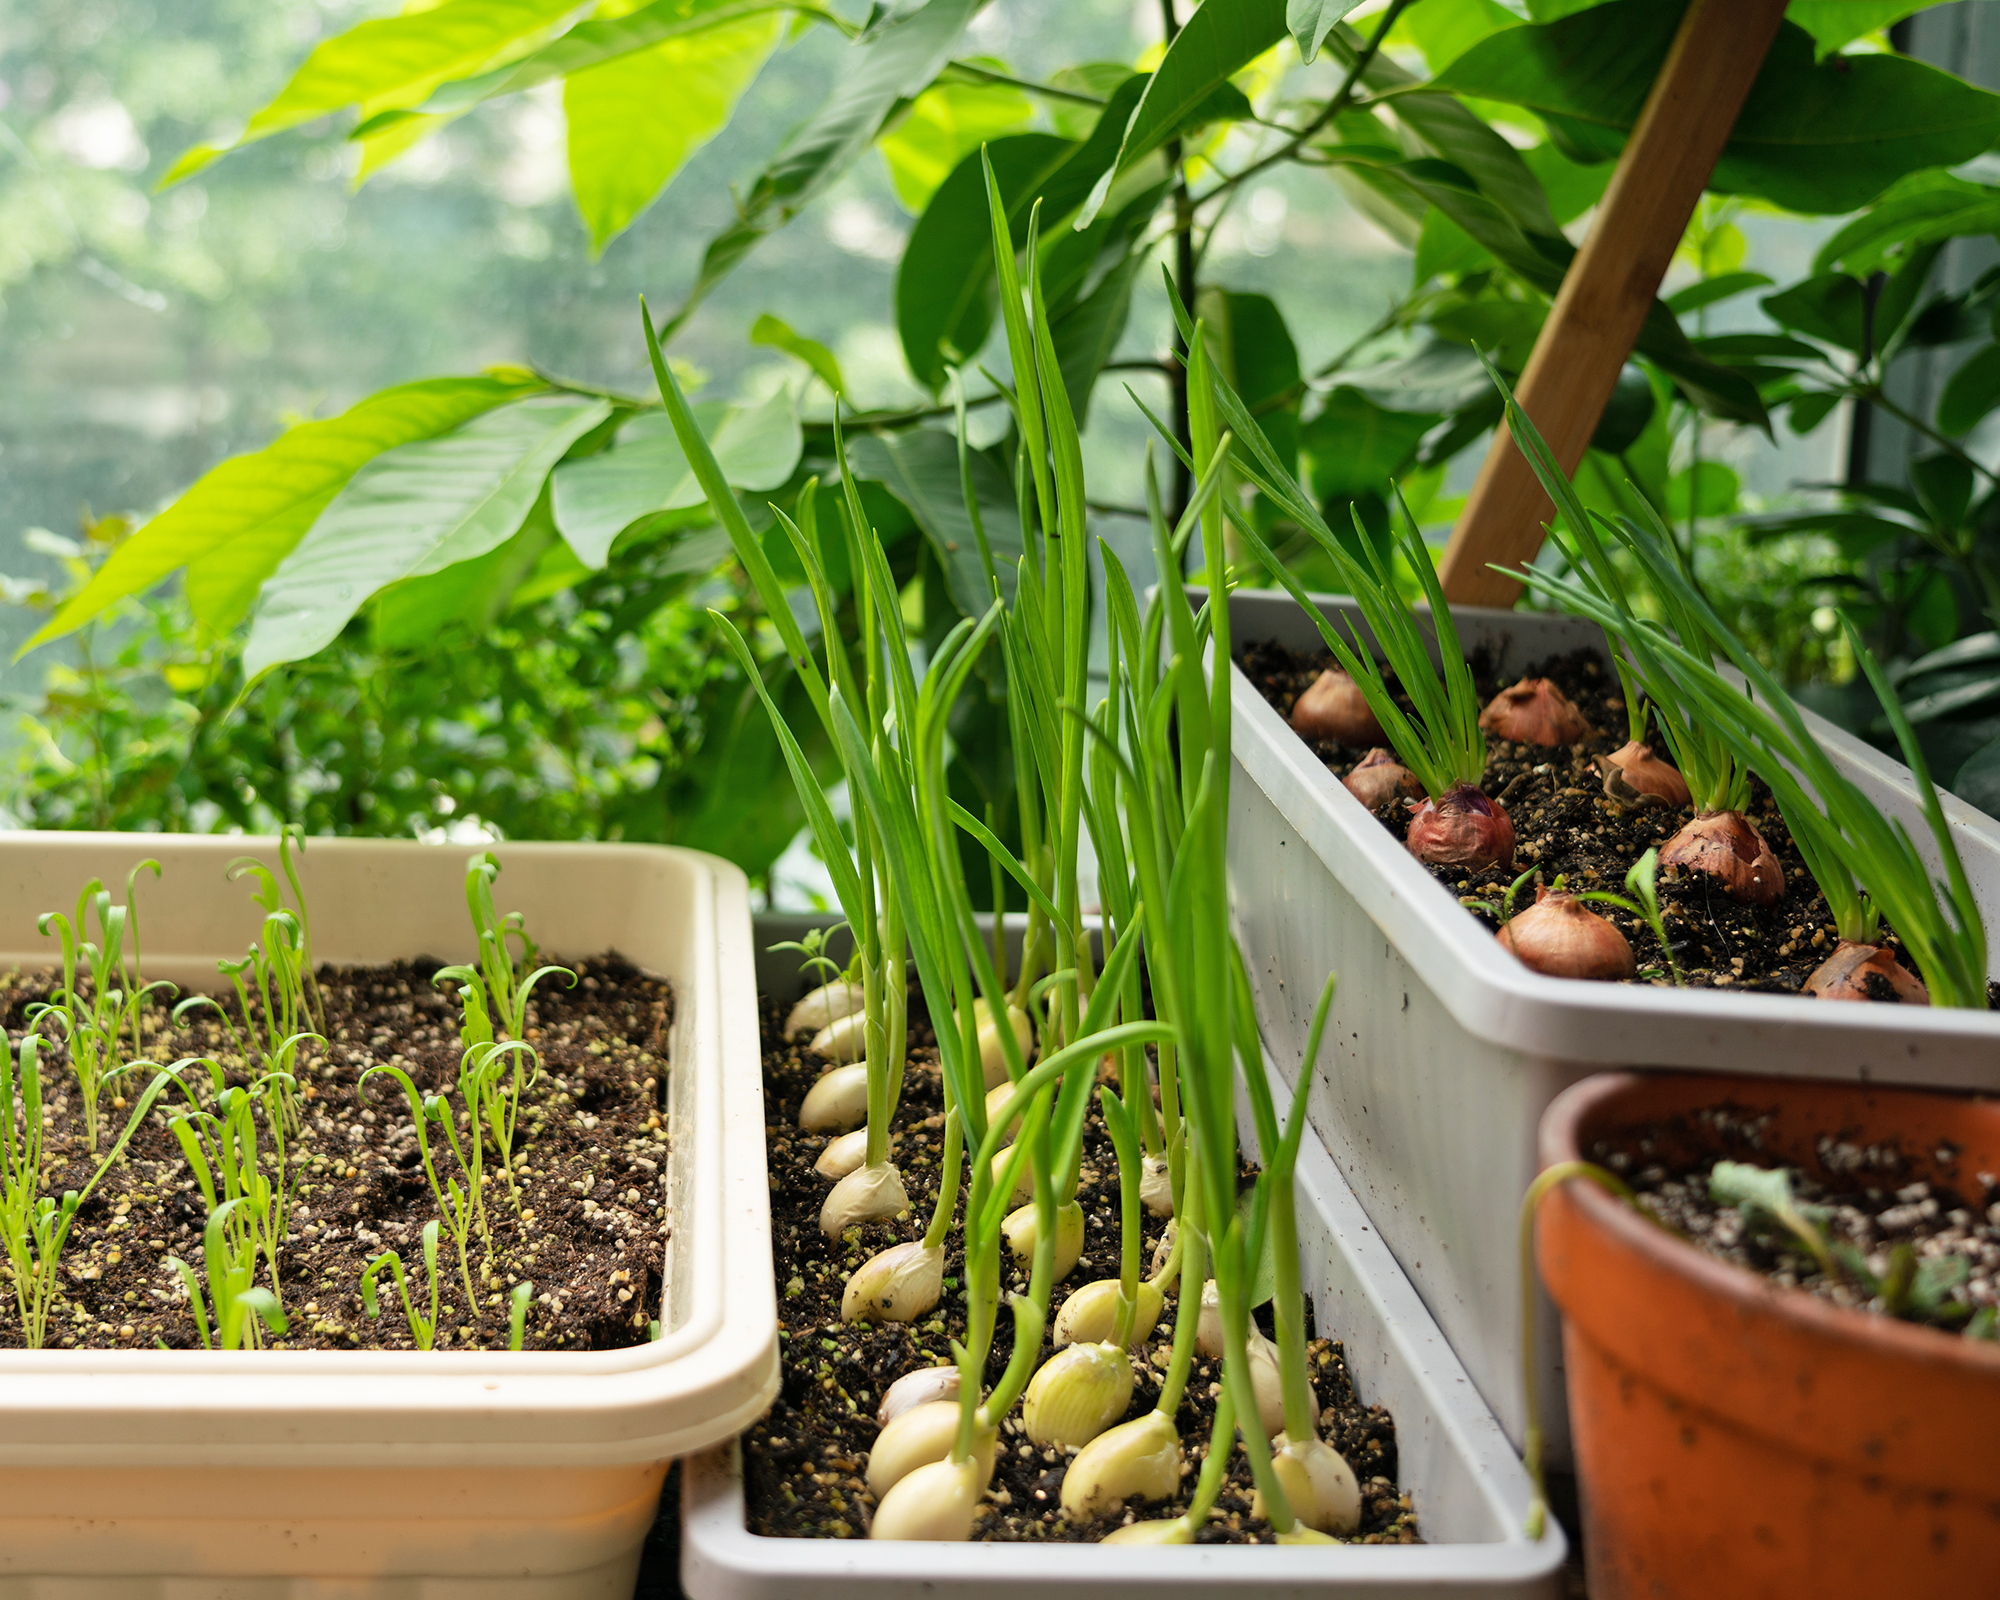
Rather than growing bulbs, a better option is to grow garlic greens for a quick, flavorful harvest. Simply plant sprouting cloves in a pot of moist compost, keep them on a sunny windowsill, and water lightly when the top inch (2.5 cm) of soil feels dry. Within three to four weeks, you’ll have tender shoots that you can snip like chives. Use them in salads, omelets, or as a garnish.
Companion Planting Garlic
Garlic is a helpful neighbor in the garden. Its scent confuses and repels aphids, spider mites, and other pests, making it an excellent companion for crops like lettuce, carrots, peppers, strawberries, and cruciferous vegetables such as cabbage, Brussels sprouts, cauliflower, collard greens, or kale. Plant it near roses, tomatoes, or fruit trees to discourage insects naturally.
Bad garlic companion plants include asparagus, peas, beans, sage, and parsley, which can struggle beside its strong chemistry.
Frequently Asked Questions
What are the benefits of growing garlic?
Homegrown garlic is fresher and more flavorful than most store-bought garlic, which is often grown in China and shipped to distributors in the US. That garlic may be treated or stored in ways that reduce sprouting. Homegrown garlic also stores for months and provides a steady kitchen supply through winter. Beyond its taste, garlic has long been valued for its natural sulphur compounds, which are thought to support overall health.
Does growing garlic deter pests?
Growing garlic can help to deter garden pests when planted alongside other crops, such as deer, rabbits, mice, rats, moles, and voles. Some gardeners even claim garlic works as a snake repellent, though evidence is anecdotal.
What is black garlic?
Black garlic isn’t a different variety, but ordinary bulbs that have been aged under gentle heat and humidity for several weeks. The process darkens and sweetens the cloves, giving them a soft, molasses-like flavor. You can make black garlic at home using a rice cooker or dehydrator set to low heat.
Should I replant garlic every year?
Yes – harvest each summer and replant fresh cloves from your best bulbs in fall for the next crop.
Garlic Quiz
How much have you learned about growing garlic? Test your knowledge!
Garlic Growing Essentials
- Start with the best seed garlic – Burpee stocks a myriad of flavorful varieties.
- Test your soil will give garlic the best possible start with the MySoil Test Kit, available on Amazon.
- Fertilize garlic with a slow-release formula, like Gardenwise 10-10-10 plant fertilizer, from Amazon.
- When harvesting garlic, using a broad fork, like this Vevor design on Amazon, makes the job easier without damaging bulbs.
- Store cured bulbs in these Reusable Garlic Storage Bags from the Organic Cotton Mart Store via Amazon.

Melanie is an experienced gardener and has worked in homes and gardens media for over 20 years. She previously served as Editor on Period Living magazine, and worked for Homes & Gardens, Gardening Etc, Real Homes, and Homebuilding & Renovating. Melanie has spent the last few years transforming her own garden, which is constantly evolving as a work in progress. She is also a passionate organic home grower, having experimented with almost every type of vegetable at some point. In her home, Melanie tends to an extensive houseplant collection and is particularly fond of orchids.
- Amy DraissDigital Community Manager