Garlic Propagation: Propagating Garlic Cloves And Bulbs


Garlic is a component to most international cuisines. The herb’s popularity is a testament to its powers and intoxicating flavor. Add a little garlic to almost any dish and it perks up perceptibly. Garlic plant propagation is a noteworthy pursuit for those of us who need our garlic fix. Fresh bulbs, scapes, and leaves add punch or delicate notes, depending upon your desires. Learn how to propagate garlic for a garden-fresh supply of this Allium plant year-round.
How to Propagate Garlic
You know you want it. Garlic with its pungent, zesty flavor and intense aromatic properties is actually quite easy to grow. Choice of variety that is suitable for your growing zone and soil is the first concern when propagating garlic bulbs. Softneck varieties grow best in warm climates, while the hardneck types are more suited to cooler climes. For the indecisive gardener, the Asian species can perform well in either climate.
Planting Garlic Cloves
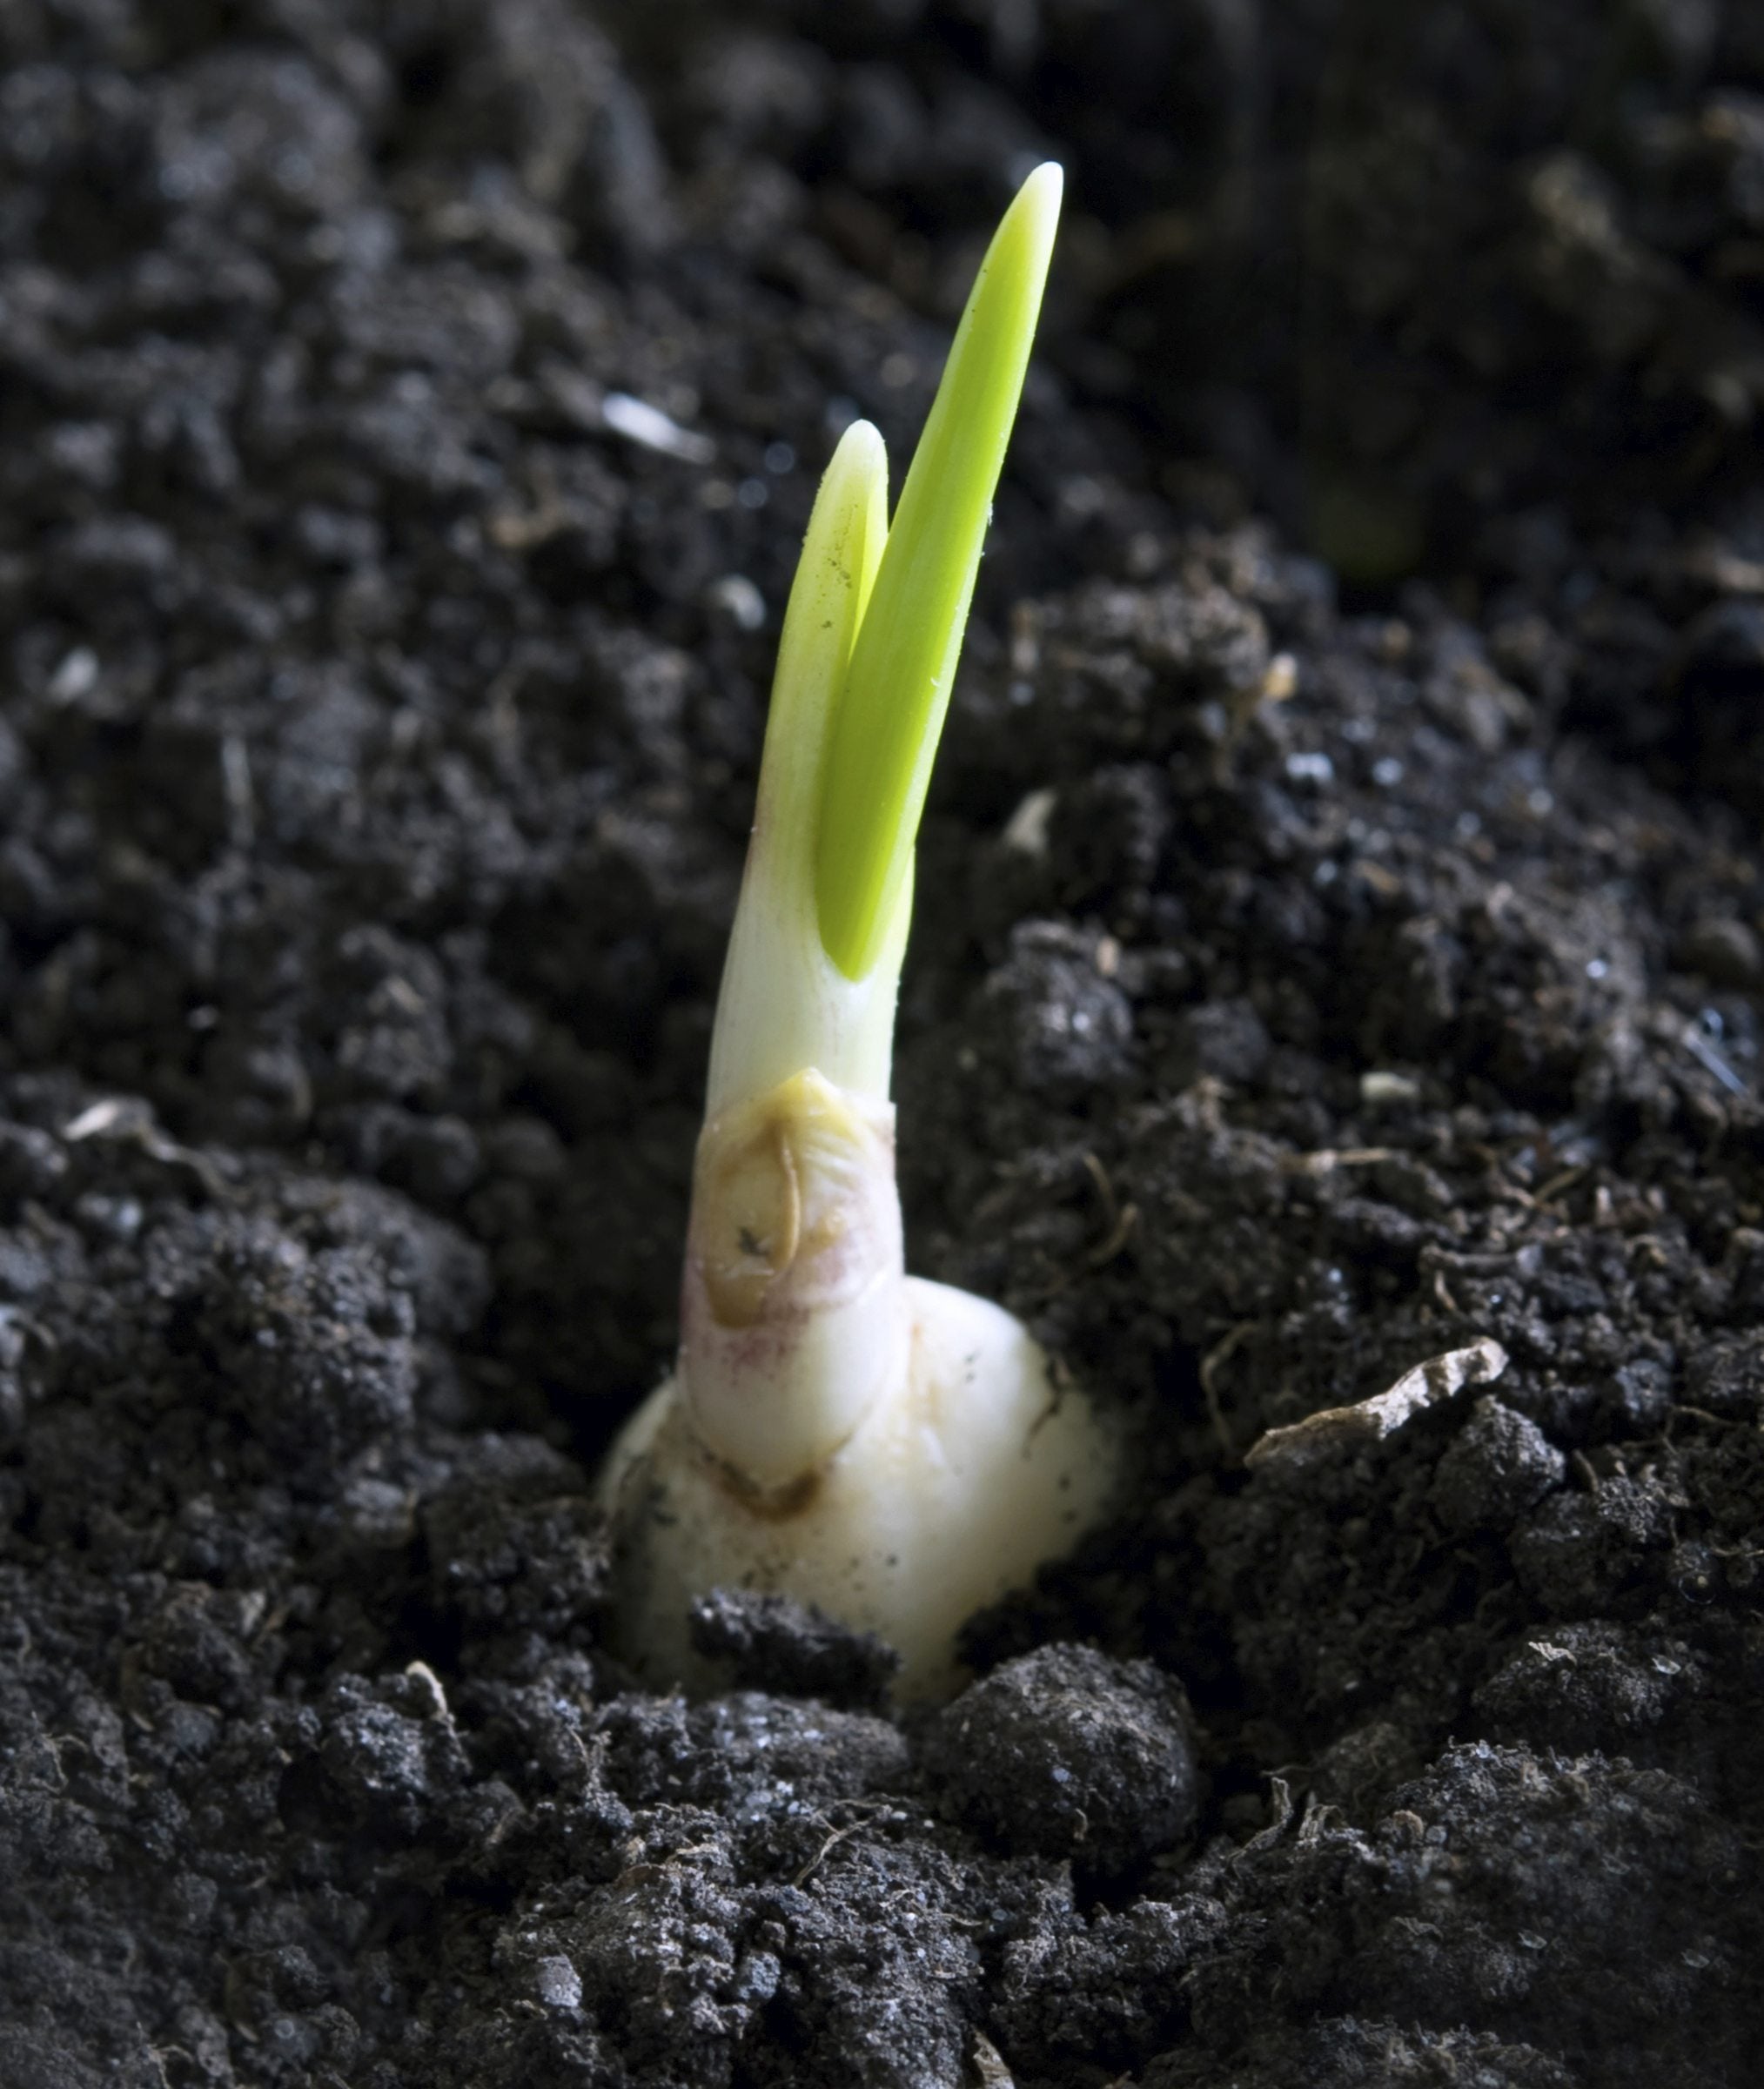
Fall is the best time to plant most garlic. In climates with longer growing seasons, you can plant in late winter to early spring as soon as all danger of frost has passed. Garlic plant propagation requires deeply cultivated beds with plenty of compost added in to enrich the soil and enhance drainage. Dig trenches 1 inch (2.5 cm.) deep and 2 inches (5 cm.) wide. Keep trenches 6 inches (15 cm.) apart and plant individual cloves at the same spacing. A single garlic bulb can yield up to eight plants. Separate the cloves, ensuring the papery covering is intact. Place each clove with the pointed top upright and cover the trenches with amended soil. Place several inches (8 cm.) of mulch such as straw over the top of the beds.
Propagating Garlic Bulbs from Seed
Garlic seed is tiny and contained in the mature, dried flowers of the plants. Shake out the tiny black seeds and plant them immediately or save them in a cool, dry location until ready to plant. Growing the Allium from seed can be a frustrating process, as it takes much longer than plants established from cloves or bubils, and germination is capricious. Plant seeds indoors in fall to early winter after a storage period of four weeks in the refrigerator to encourage germination. Use a good seed starting mixture and plant seeds in flats with ¼ inch (1 cm) soil covering them. They need to be in an area of at least 65 degrees F. (15 C.), covered to retain moisture and heat, and place in a spot with bright light after seedlings emerge. Harden off seedlings before transplanting to prepared beds in spring. Propagating garlic cloves will result in edible bulbs in a few months as opposed to seeded garlic, which produces bulbs the following year.
Planting Garlic Bulbils
Another method of garlic plant propagation is through the use of bulbils. Bulbils are located in the scape of hardneck varieties or on the false neck of softneck species. They are small undivided bulbs that can function like seed. The advantages to using bulbils are their ability to prevent soil borne disease and their faster production. Plant garlic bulbils 1 inch (2.5 cm.) deep in fall, much the same way you would plant cloves. Care and cultivation is the same as bulb-planted garlic. Be careful not to weed out the tiny seedlings in spring, which will emerge looking much like common grass. Leave the plants in the ground until the tops turn brown and then harvest. The resulting bulbs will be smaller than those you get when propagating from cloves but equally delicious and you can get many more from bulbils.
Sign up for the Gardening Know How newsletter today and receive a free copy of our e-book "How to Grow Delicious Tomatoes".

Bonnie Grant is a professional landscaper with a Certification in Urban Gardening. She has been gardening and writing for 15 years. A former professional chef, she has a passion for edible landscaping.