How to Store Bulbs Over Winter: Best Tips for Blooming Success Next Spring
Learn how to store bulbs over winter so you can have the best blooms next year. Follow these simple rules to ensure that you have success overwintering bulbs.

Amy Draiss
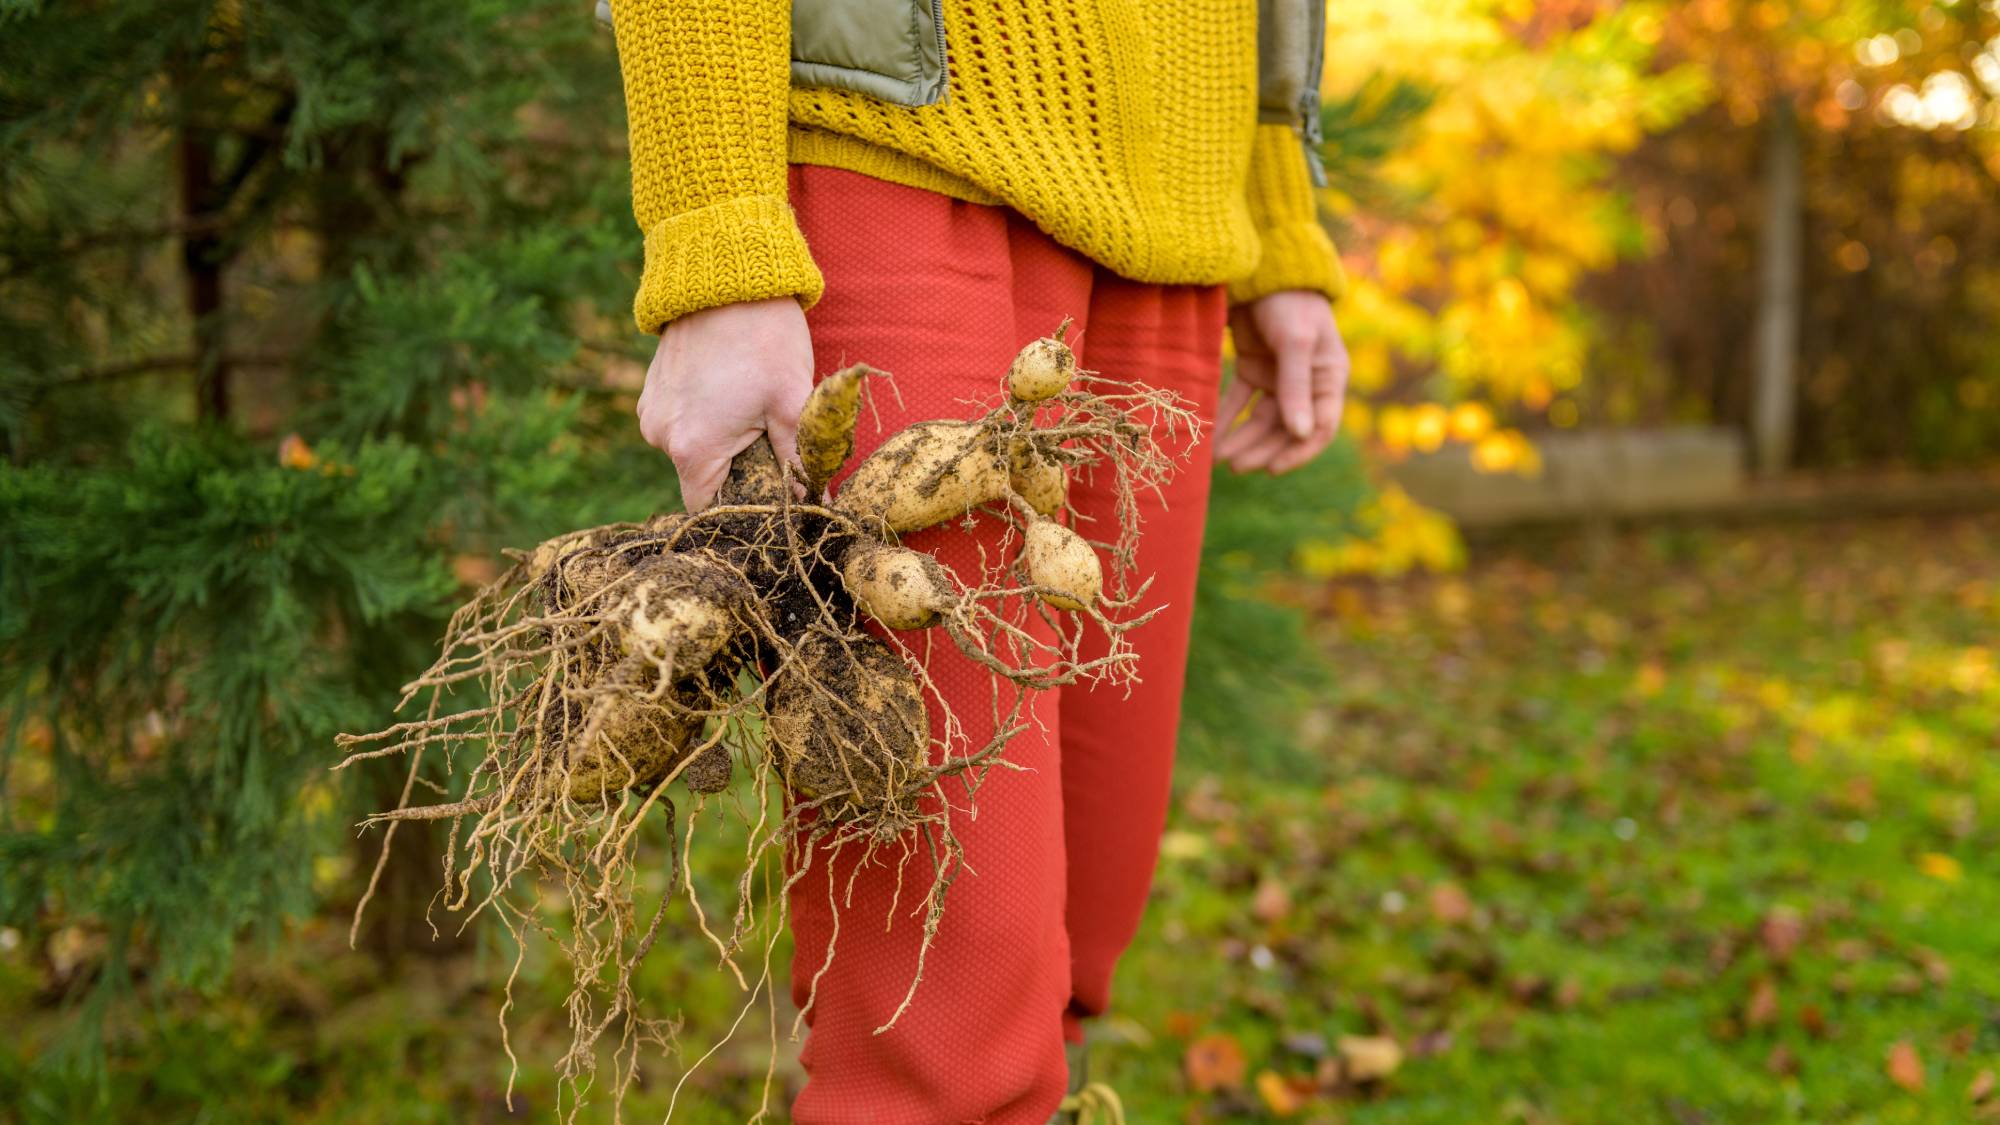
Knowing how to store bulbs over winter means you can enjoy those warm weather, tropical plants for more than just one year. These tender plants do well outdoors in summer in many areas but won’t survive the winter.
Overwintering plants allows you to grow specimens that your USDA hardiness zone would typically preclude. This could be as simple as bringing potted plants indoors as the weather grows cool, or digging up tender bulbs for indoor storage during the cold months.
Flowers like canna, calla lilies, dahlias, tuberous begonias, plus foliage plants like elephant’s ear, can be safely overwintered if done correctly. Here’s what you need to know to store bulbs over winter.
Overwintering Bulbs, Corms, and More
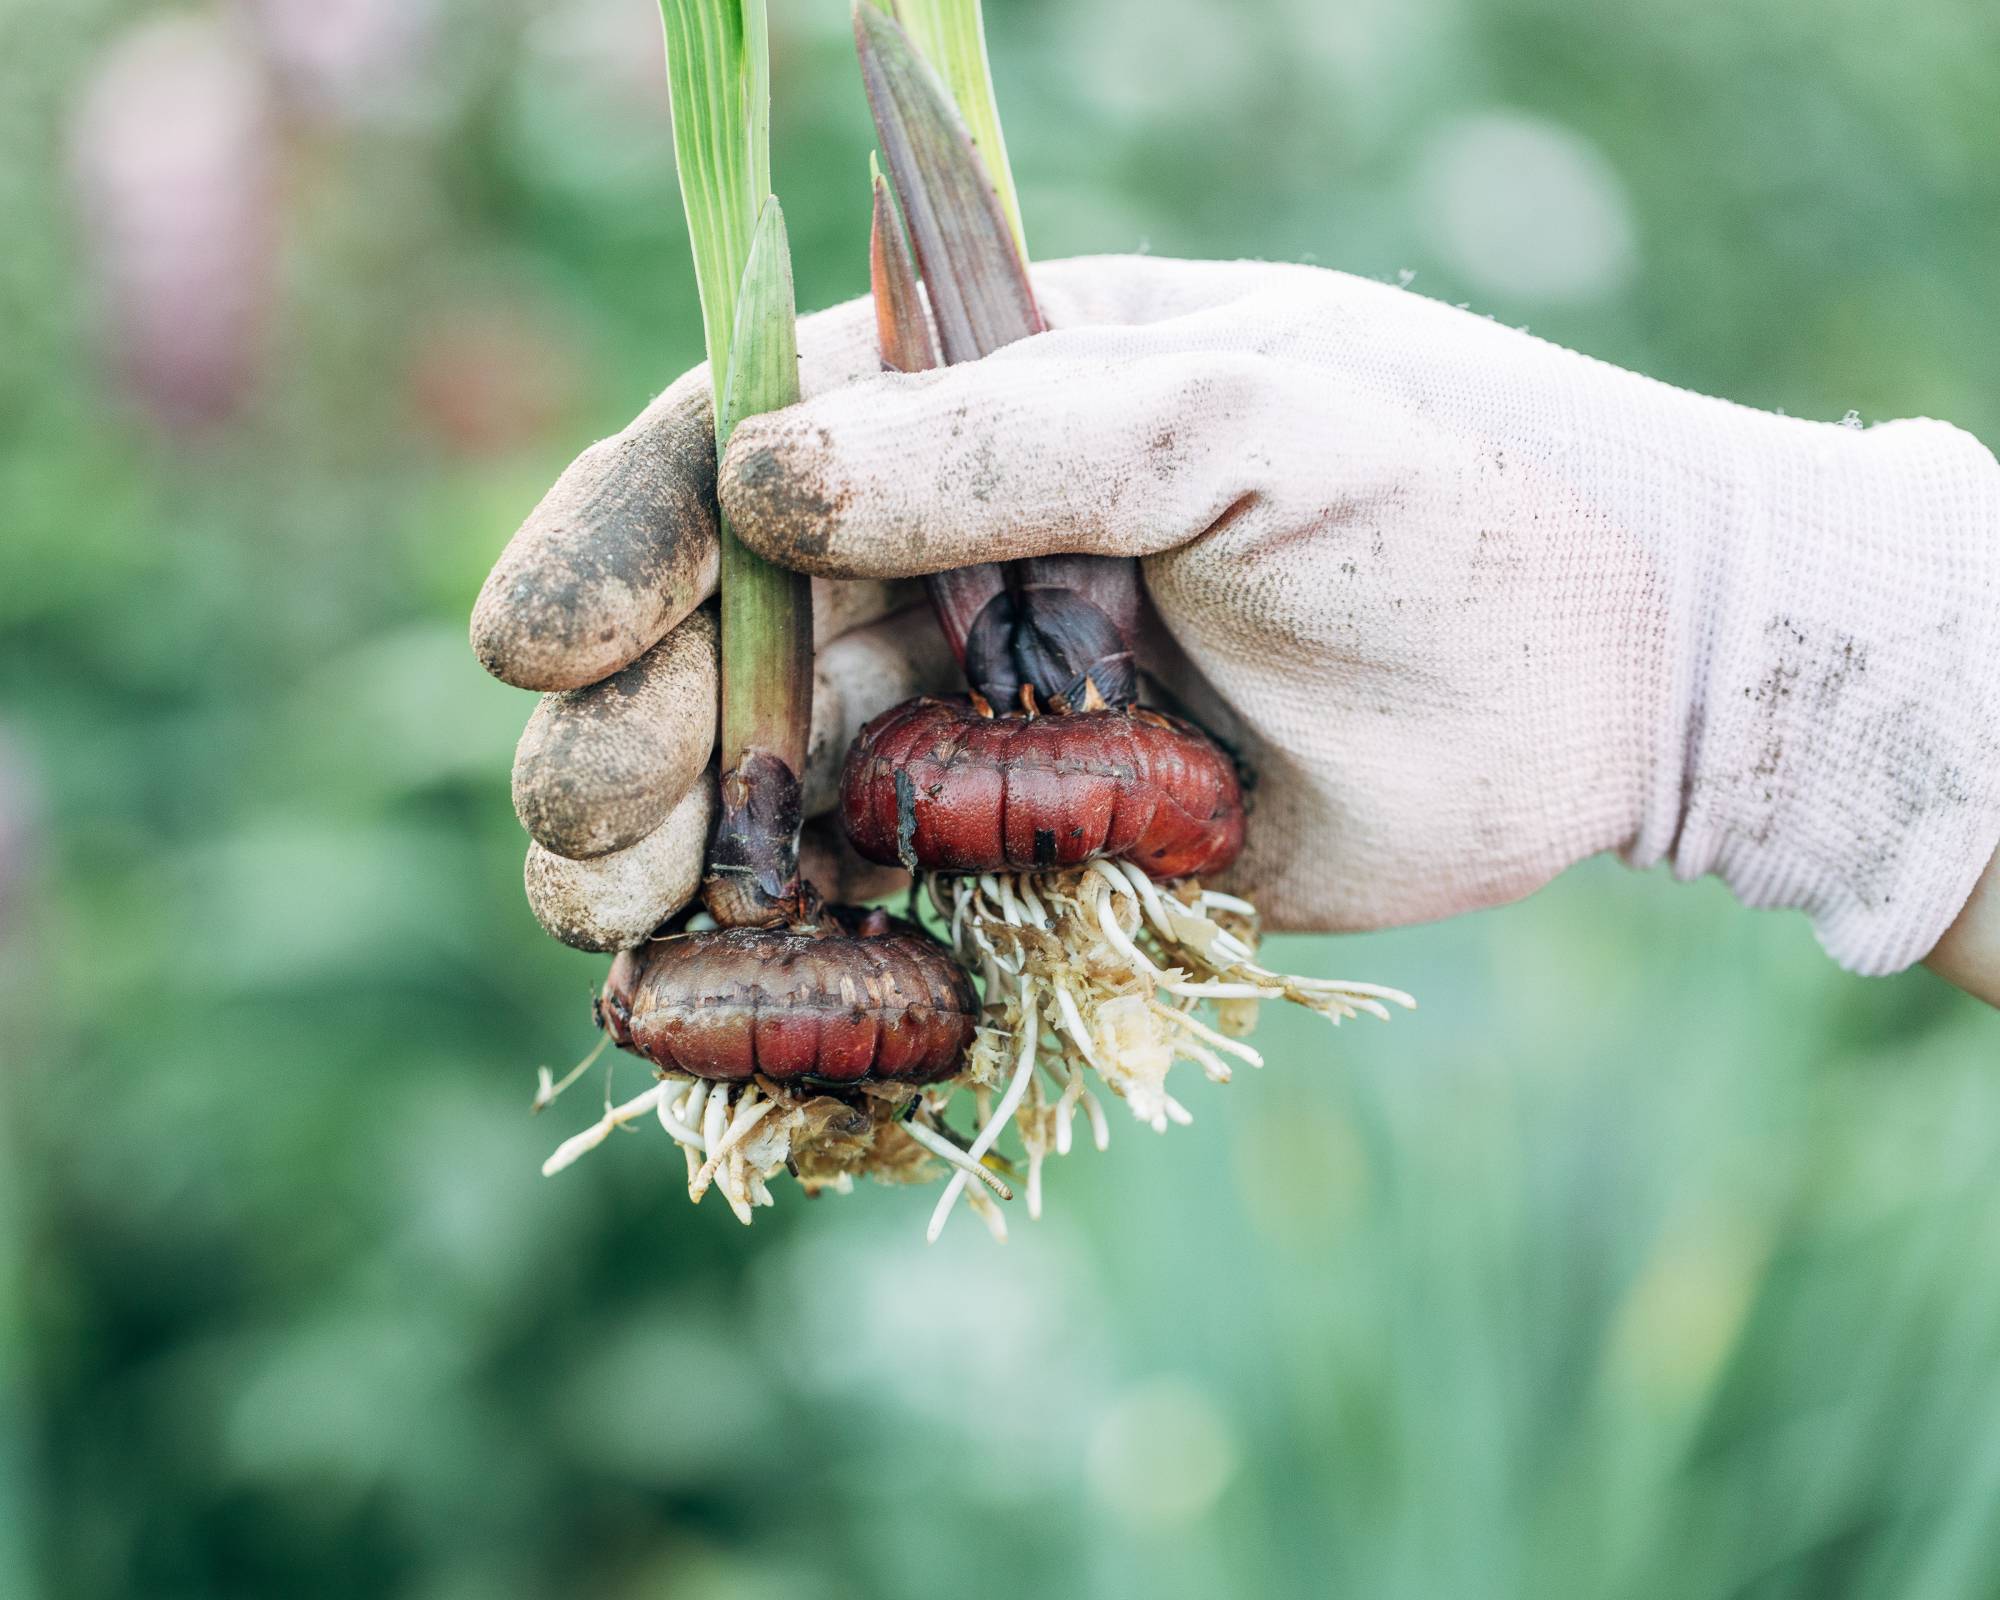
We often use the term bulb for many tropical and subtropical plants that can be dug up and stored for winter. To be more accurate, some of these grow from bulbs but others have corms, rhizomes, or tubers. These are different types of fleshy structures that store energy and water for the plant.
Regardless of the type of structure, you can dig them up, store them, and replant them in spring for another round of summer flowers and foliage. For convenience, they are often all referred to as bulbs.
Dig up Bulbs to Store Over Winter
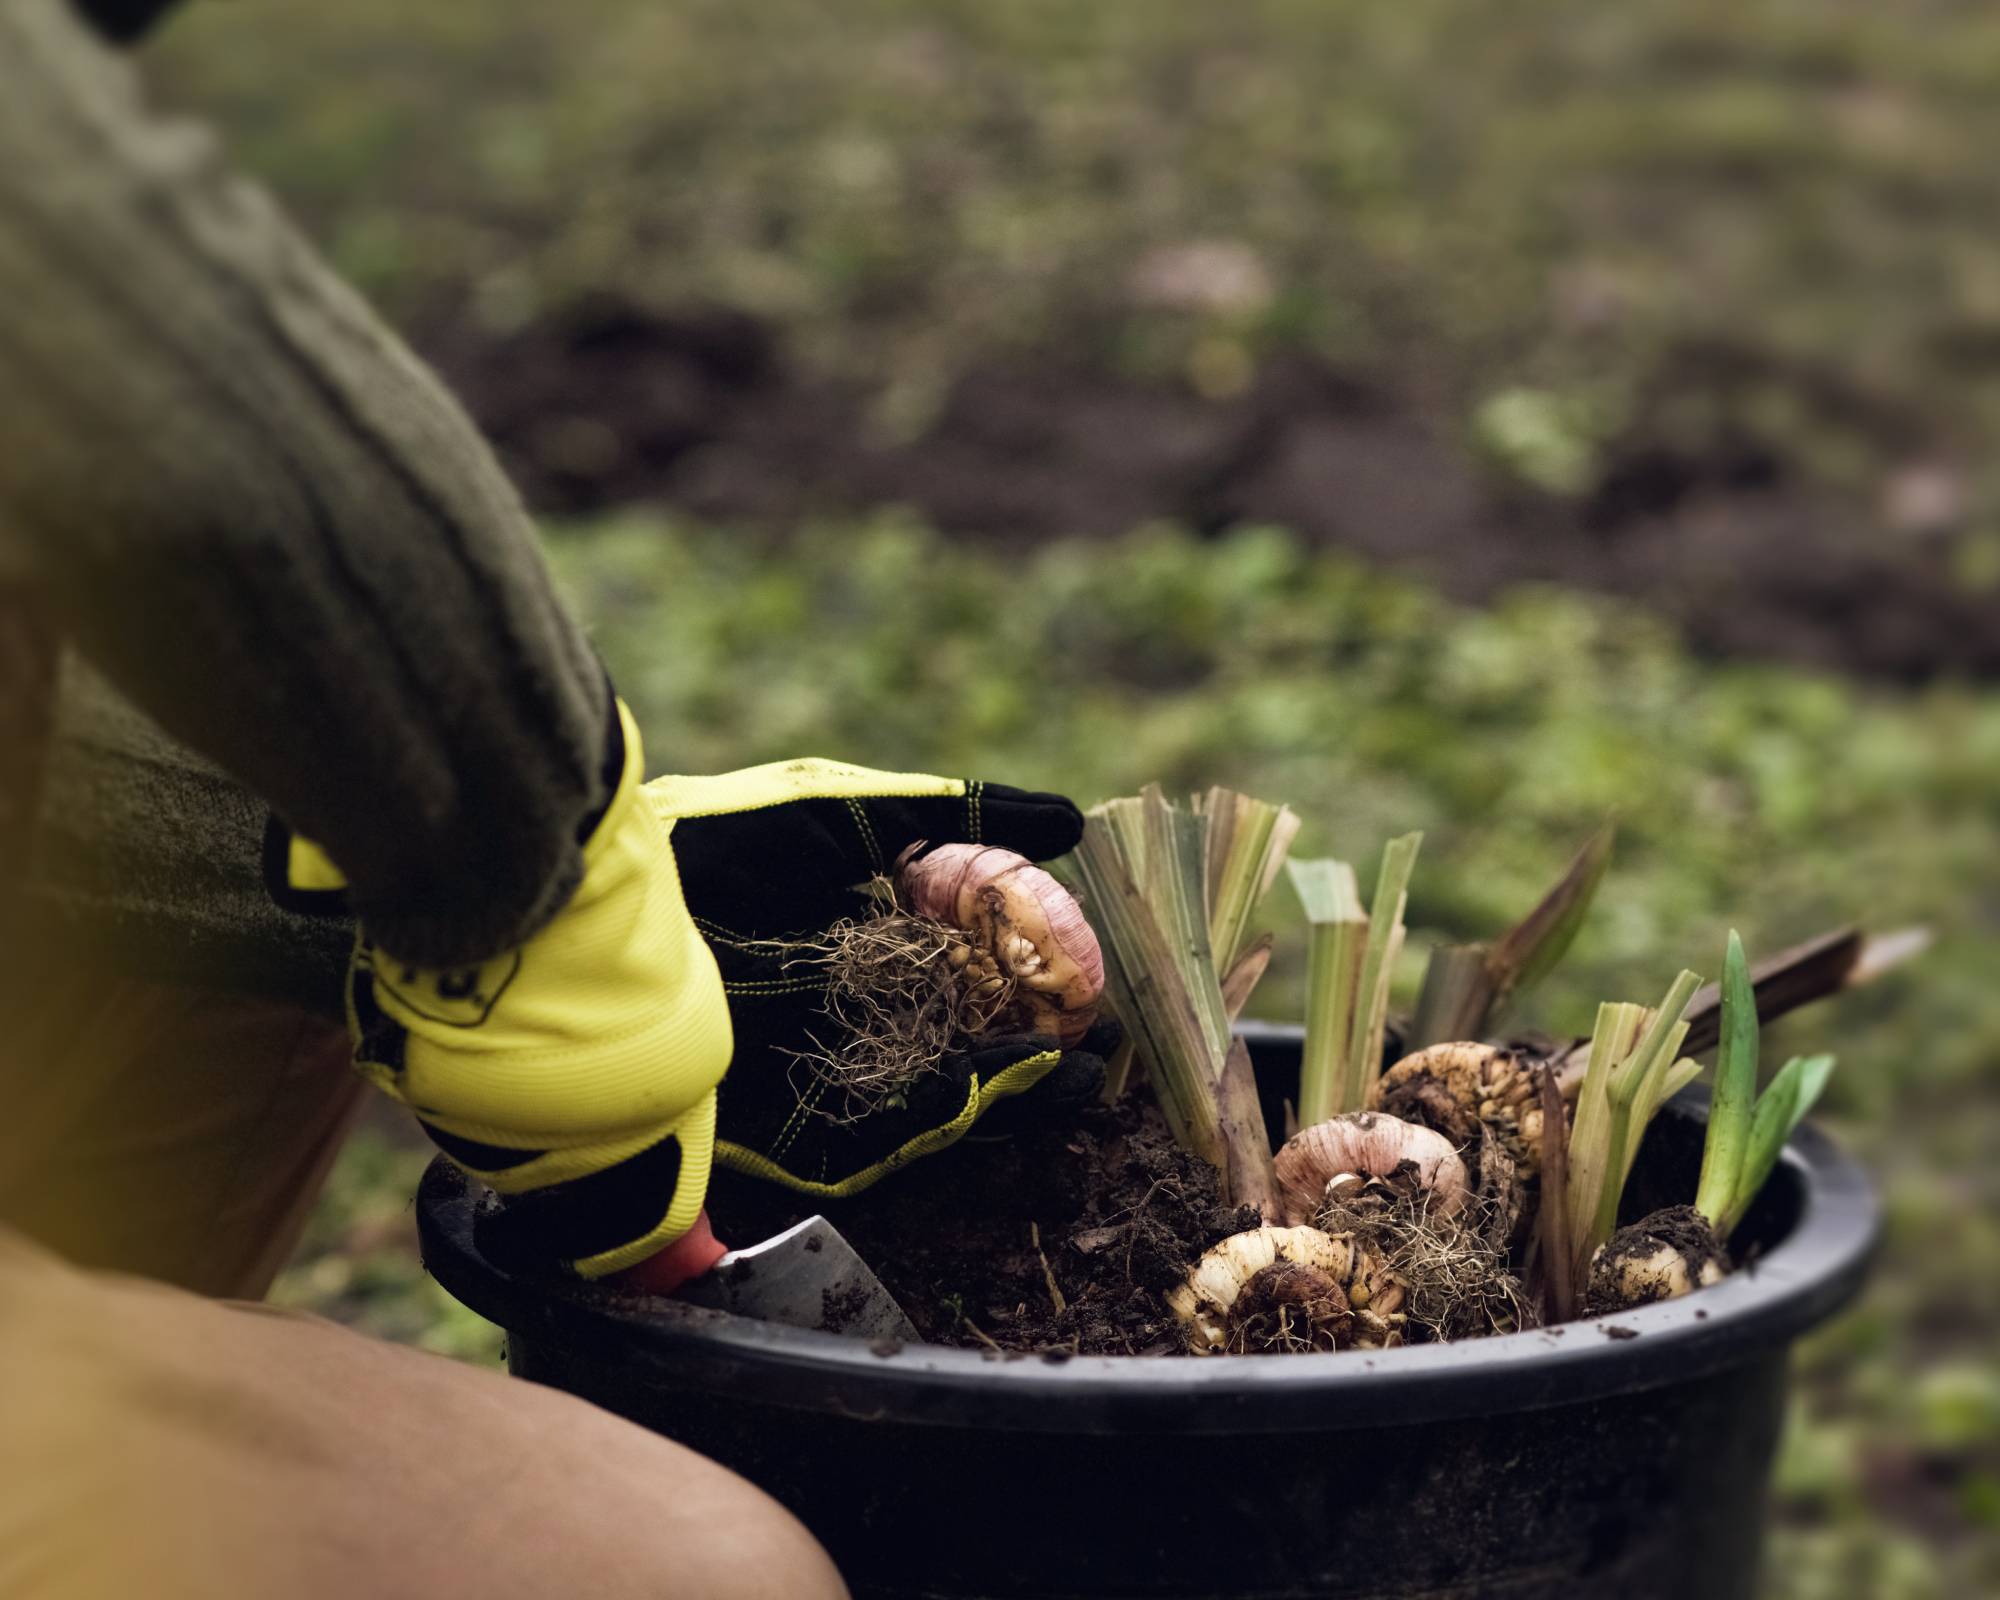
To overwinter bulbs, start by choosing the plants you want to save for next year. Dig their bulbs out of beds or containers. Do this carefully and slowly so as not to injure or damage them. Any injuries can introduce disease or rot. Use a fork rather than a shovel to gently loosen soil around the bulb.
When to dig summer bulbs varies depending on your location, climate, and weather. The best time to do it is after the foliage has faded and dried but not long after the first frost. Most of these bulbs will survive the first gentle frost, but it’s important to get them up soon after.
Sign up for the Gardening Know How newsletter today and receive a free copy of our e-book "How to Grow Delicious Tomatoes".
Clean the Bulbs
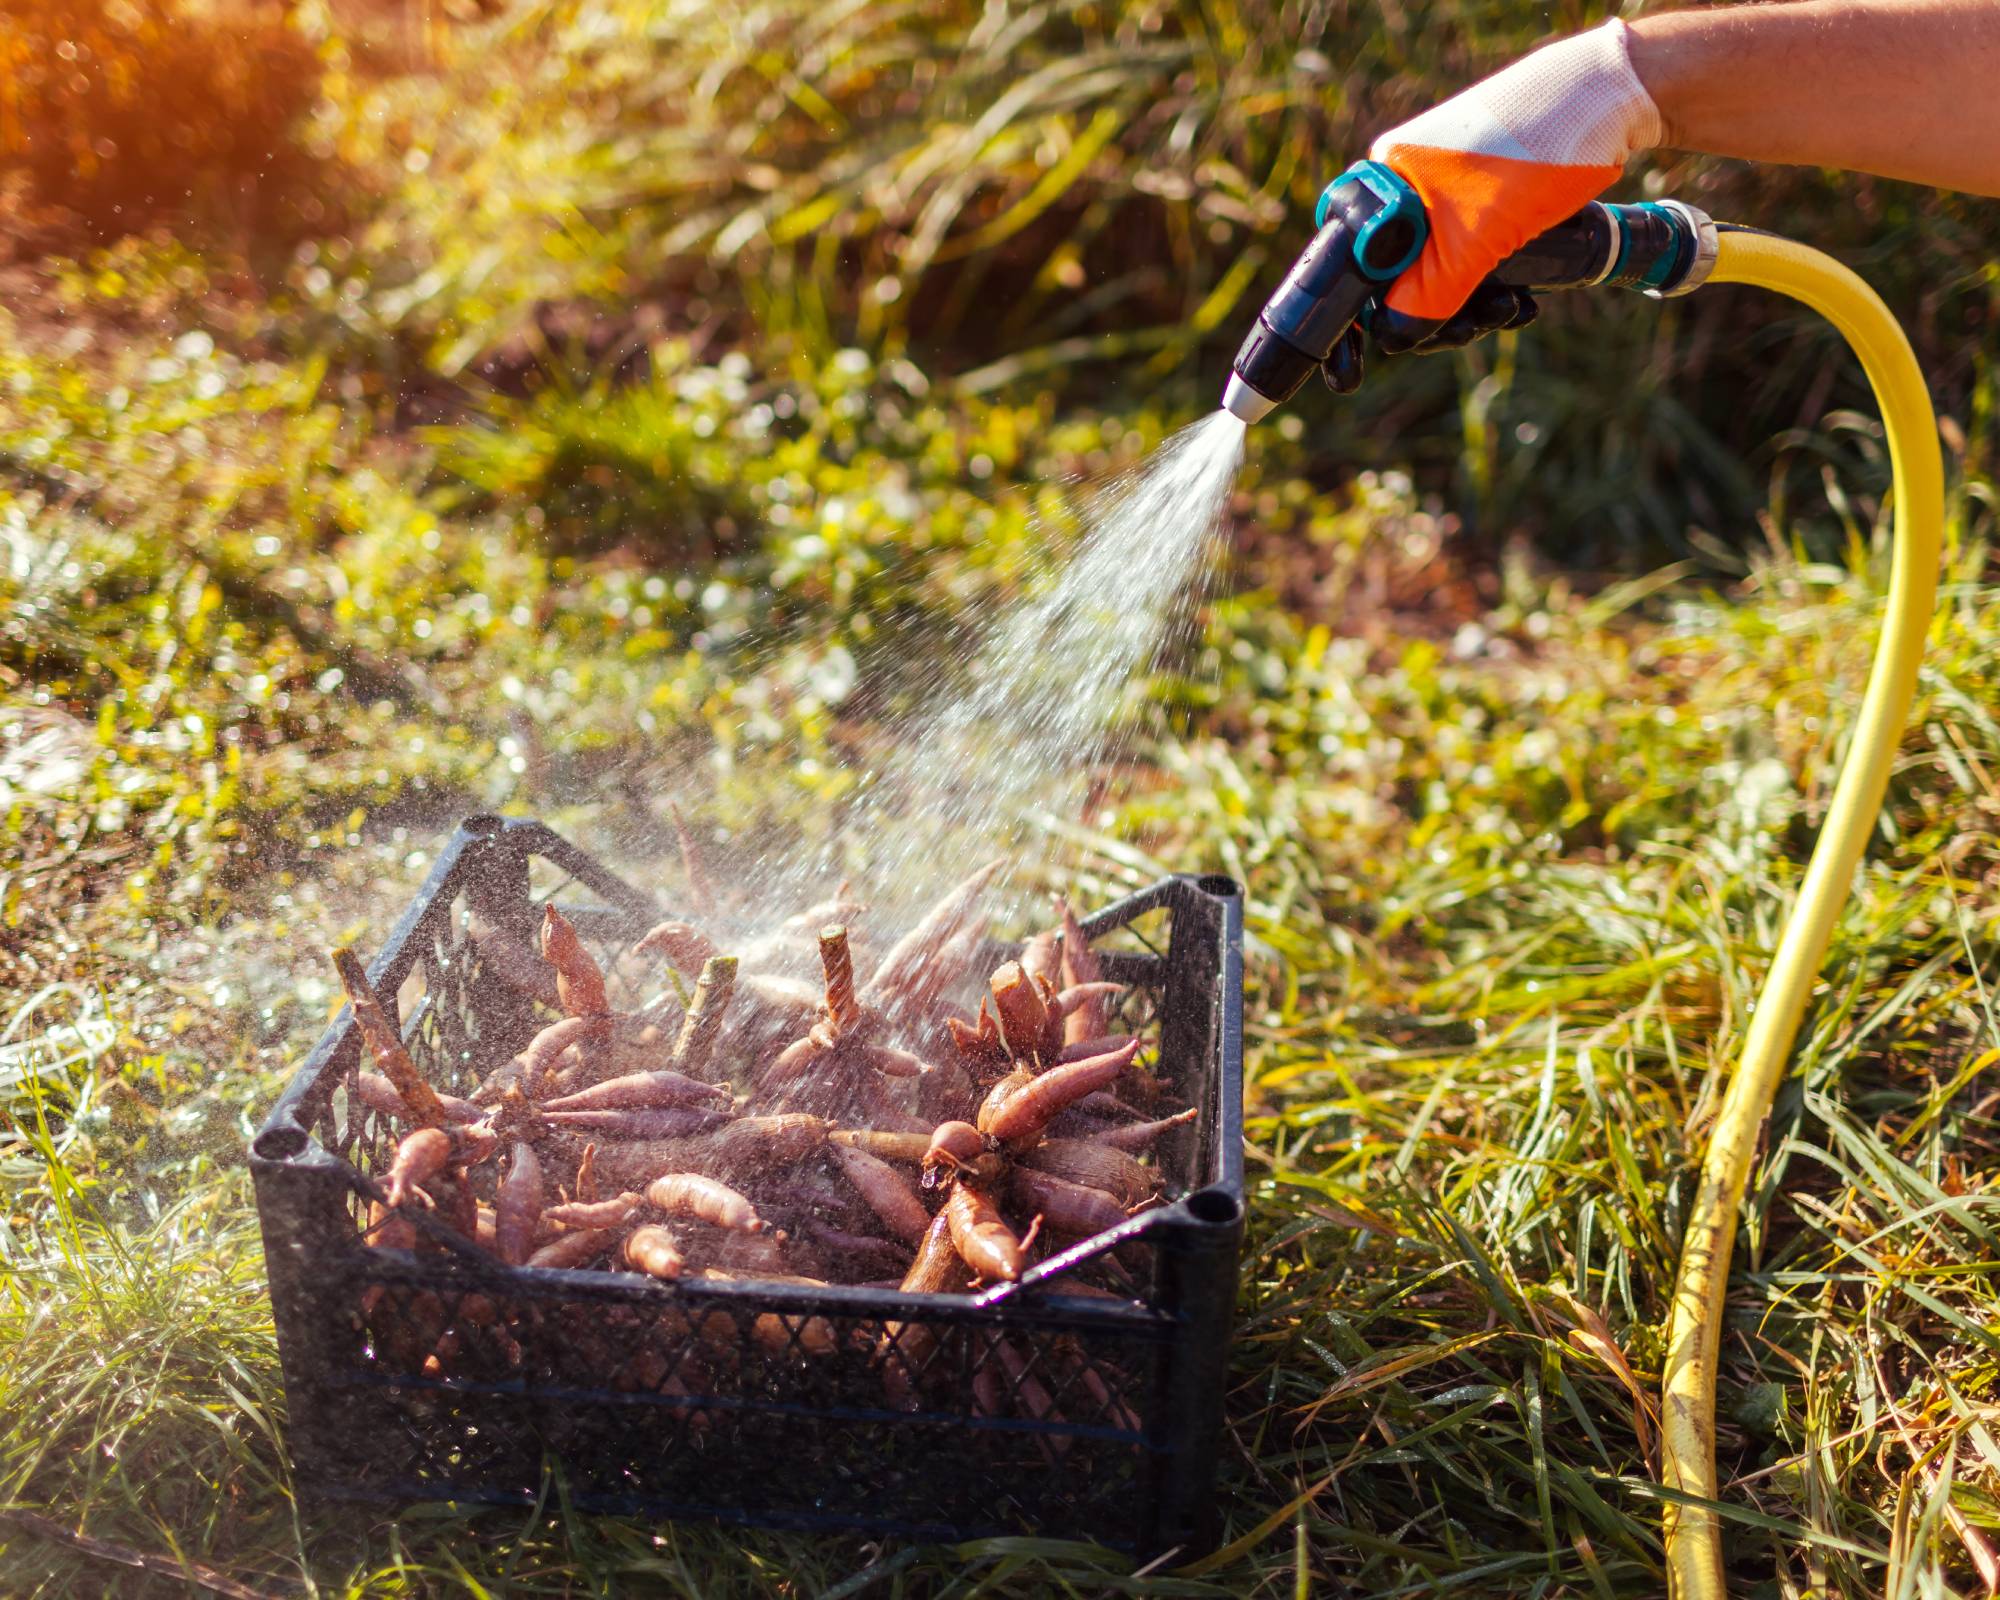
Shake excess soil off the bulbs and use a gentle stream of water to clean off any remaining soil. You don’t need to scrub them or get them completely clean. However, it is essential that the bulbs be completely dry before storage. Gladiolus corms are an exception in that they do not need to be cleaned.
Check all bulbs for insects or signs of diseases. You can treat diseases with a fungicide or insecticide, or dispose of affected bulbs. Garden Safe fungicide, found on Amazon, is made with neem oil which treats fungus, insects, and mites.
Cure the Bulbs
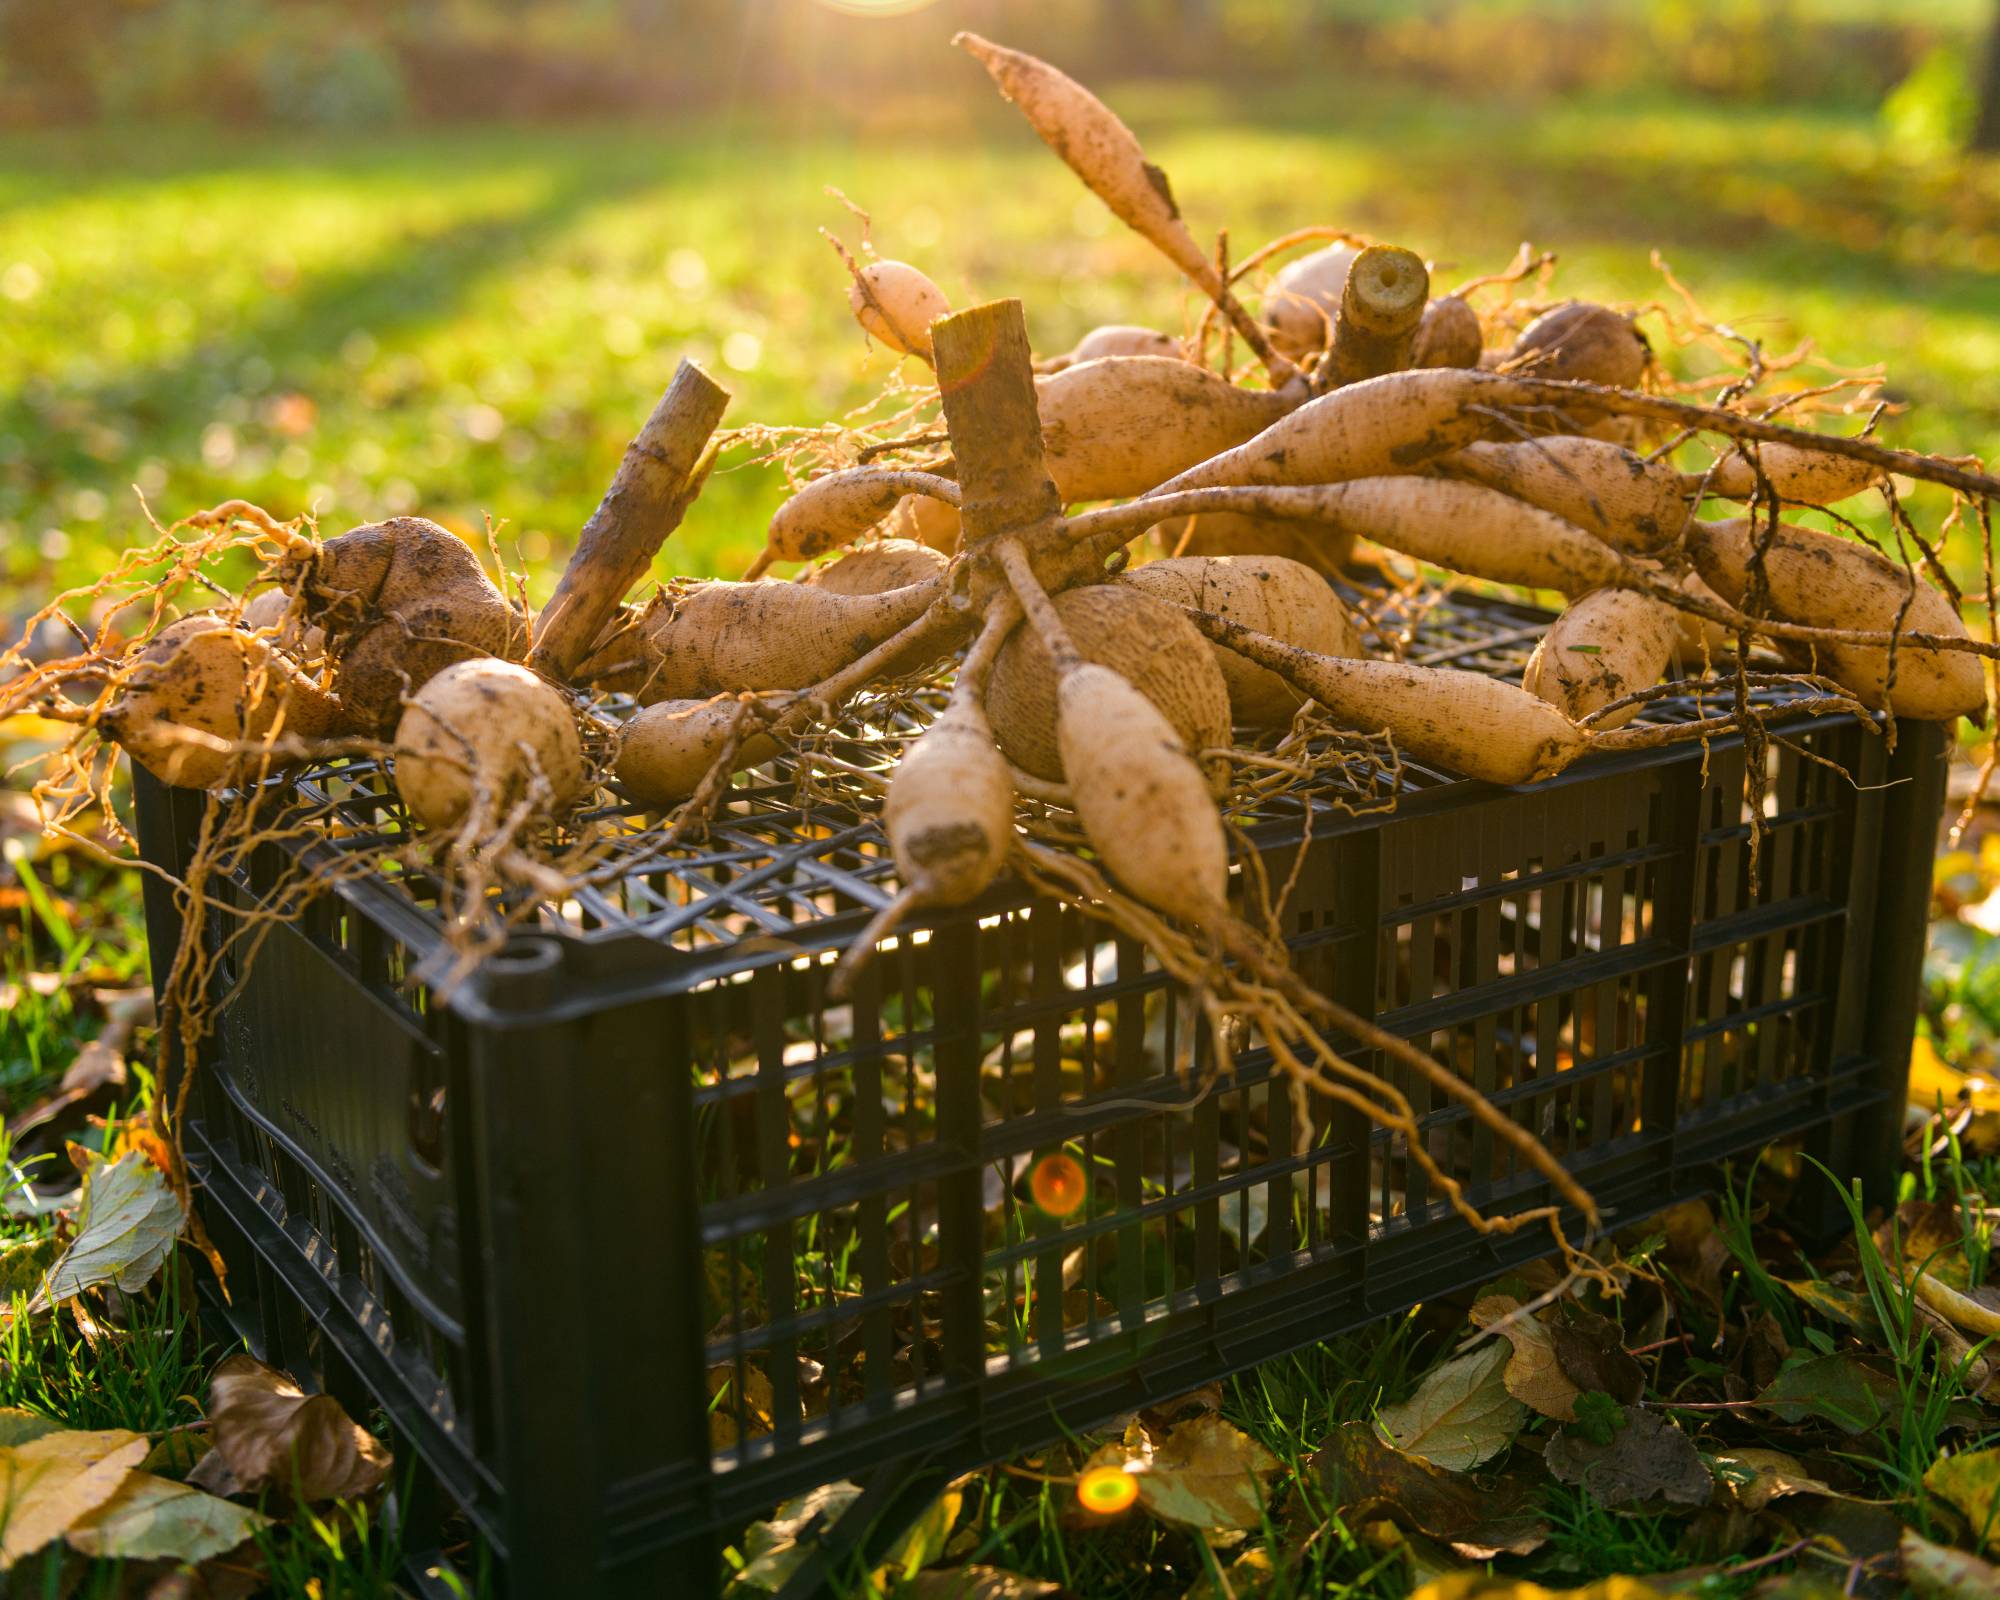
Most bulbs benefit from a curing period of a few days before being stored for winter. This allows them to dry thoroughly. Leave bulbs in a dry, cool spot without direct sunlight. Gladiolus and calla lilies need a few weeks of curing prior to storage.
How to Store Bulbs Over Winter
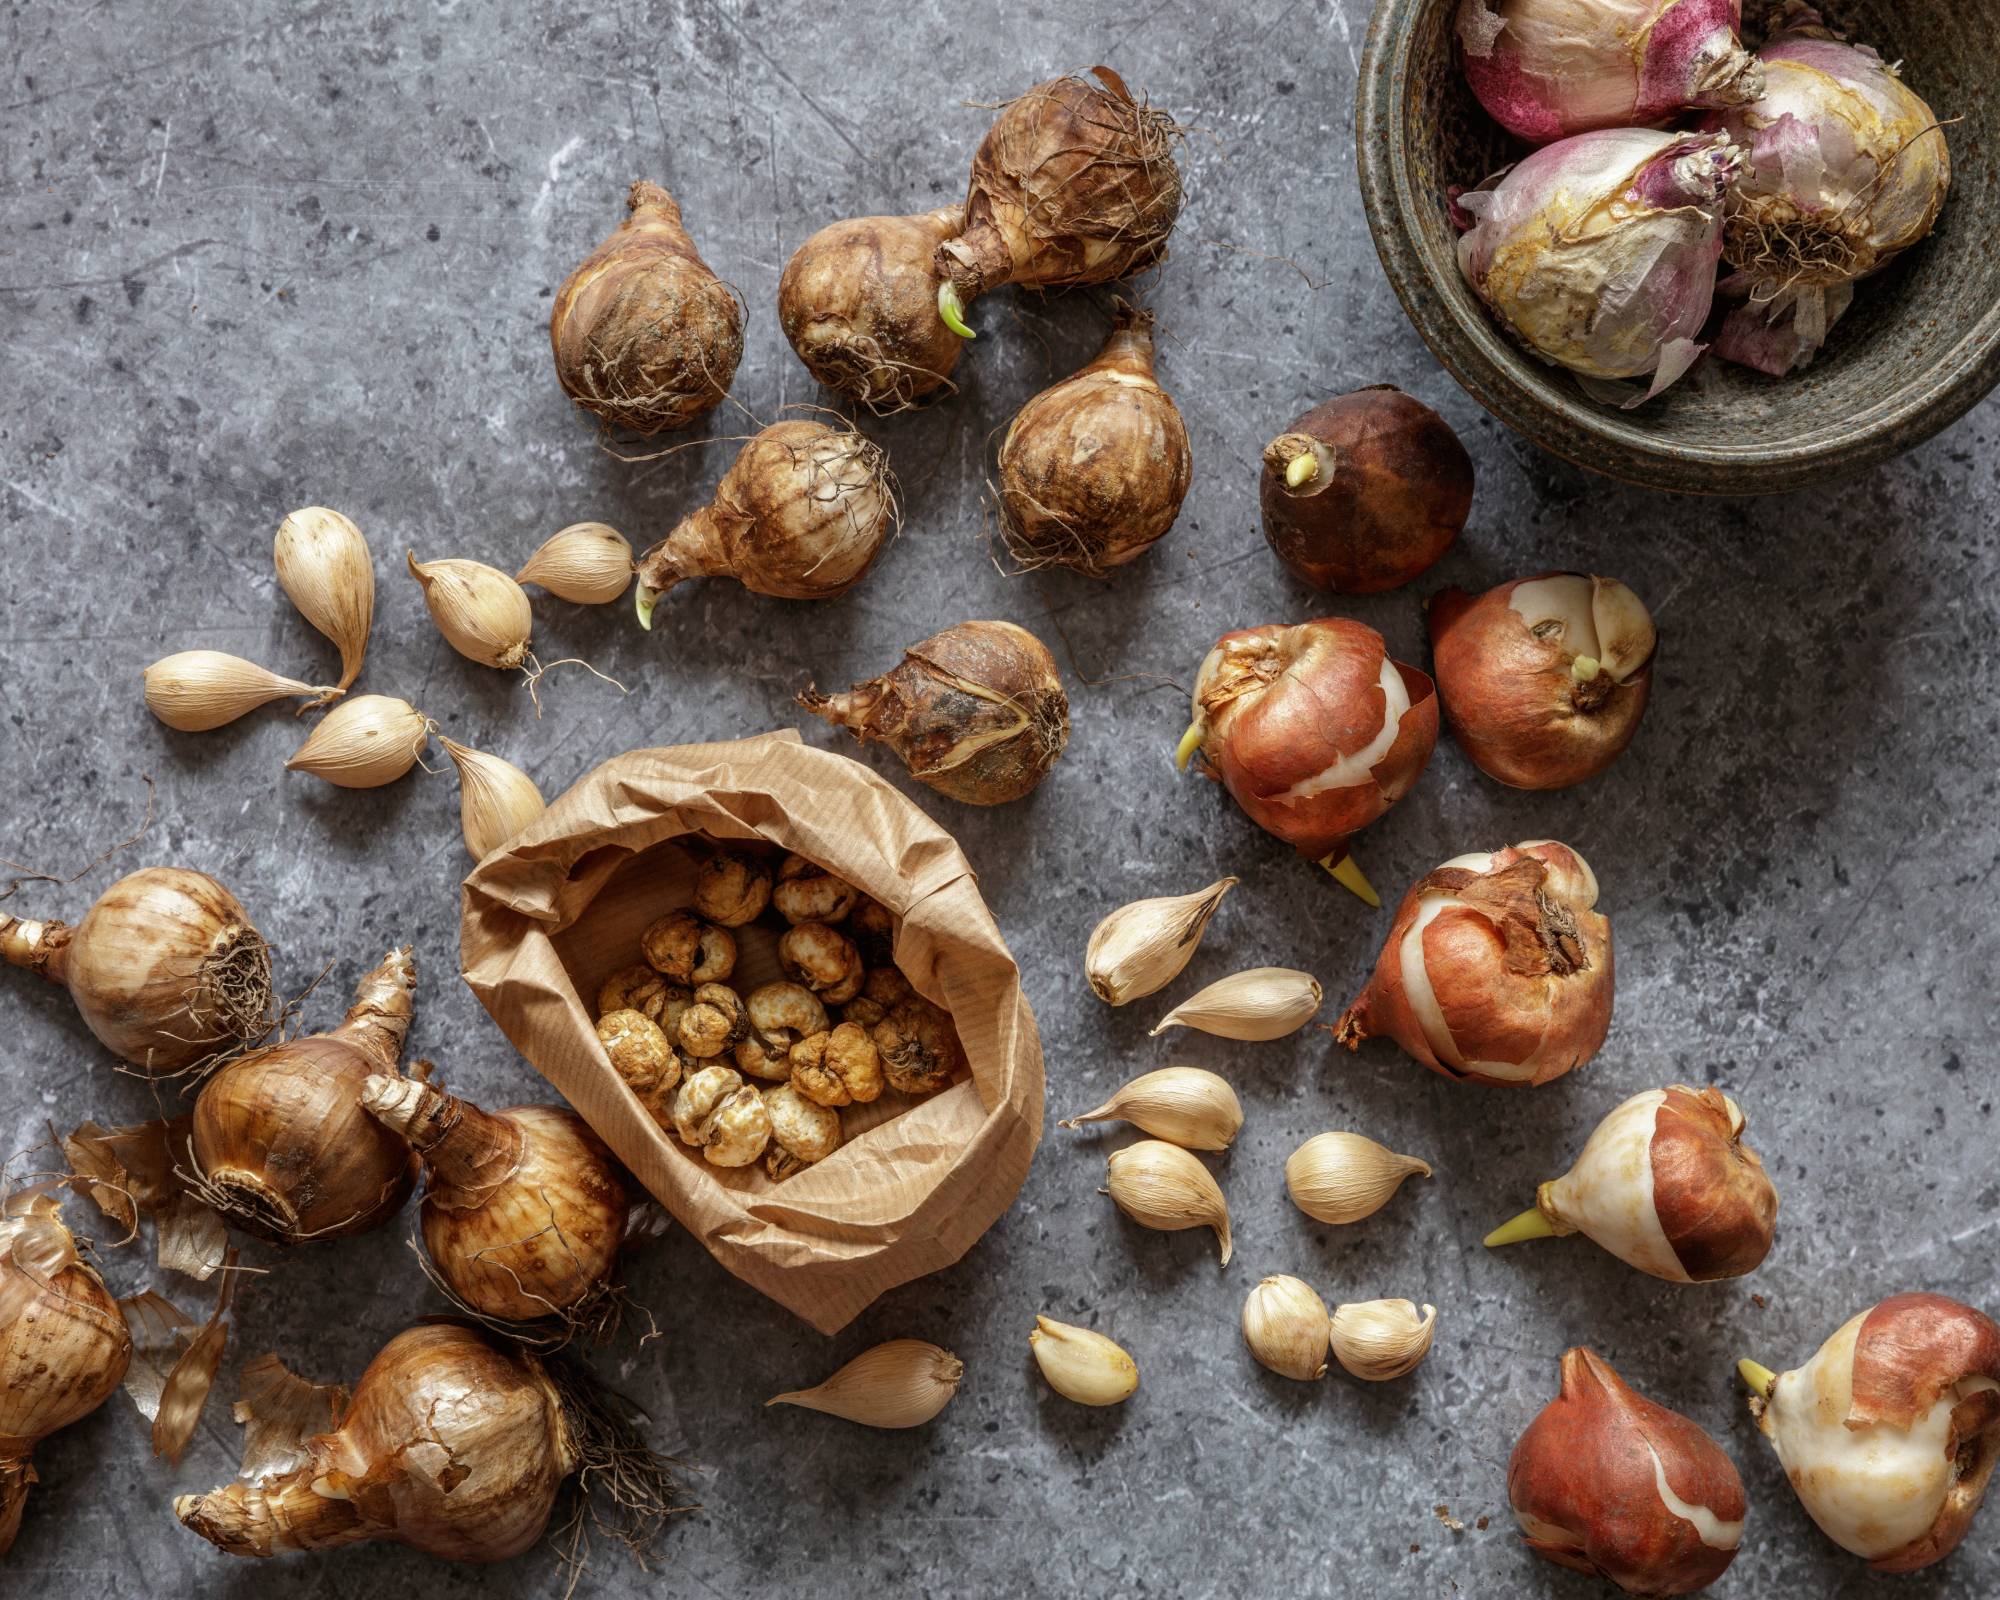
Many containers and materials are suitable to store bulbs over winter. Most importantly, they should be able to breathe and stay dry. Avoid airtight containers, which can cause moisture to build up. Also avoid letting the bulbs touch each other, which can lead to rot.
Cardboard boxes, wooden crates with ventilation, or paper bags are all good options for storage. Separate the bulbs from each other with sawdust, wood shavings, vermiculite, or coconut coir. These collapsible storage crates and coco coir can be found on Amazon and are perfect for bulb storage.
Place the bulbs in a location that remains cool and dry throughout the winter. The ideal temperature is between 35 and 45 degrees Fahrenheit (2 and 7 Celsius) with about 50% relative humidity. Cellars, unheated basements, and garages (as long as temperatures don’t reach freezing) are usually good choices.
Check Bulbs Regularly
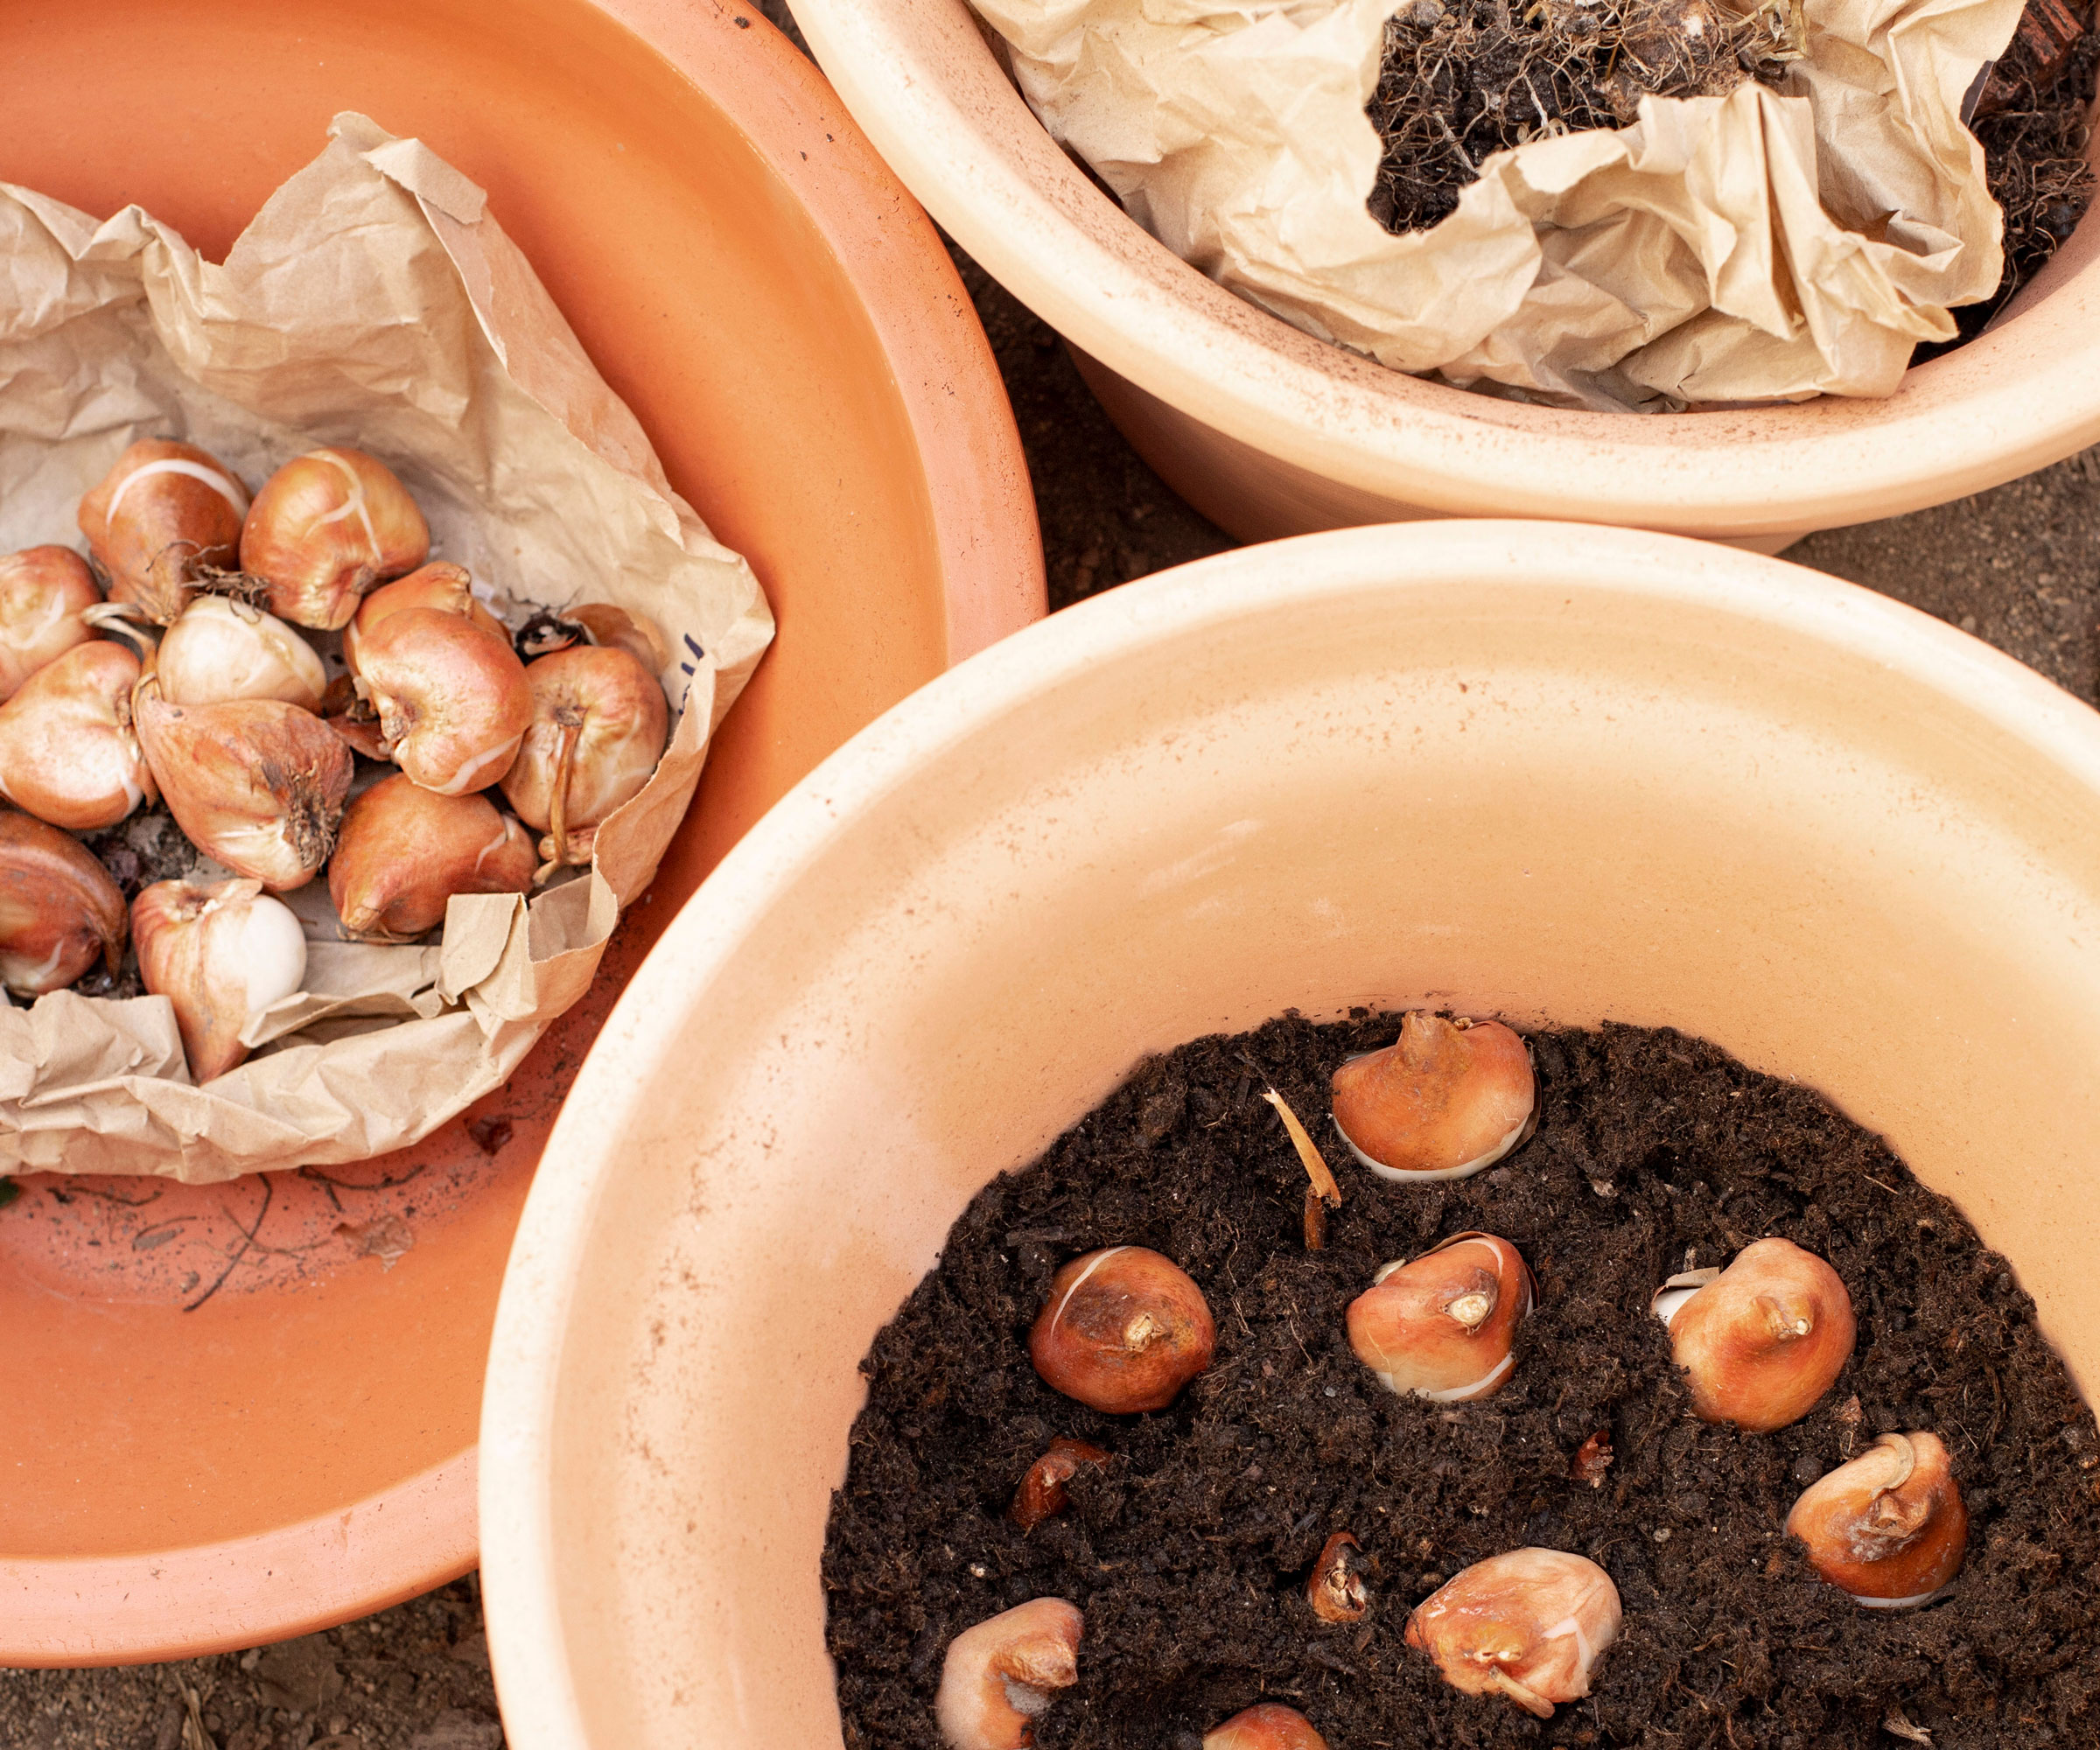
You can’t just store bulbs and forget about them until spring. It’s important to check them periodically for signs of moisture, rotting, insects, or disease. Remove any rotting bulbs, or if the rotting area is small, cut it out.
If the bulbs get too dry, they will look shrunken and wrinkly. In this case, give them a little spritz of water. If they look too moist but are not yet rotten, take the bulbs out to dry and repack them.
Start checking your bulbs in late winter and early spring for signs of sprouting, which indicates they are ready for planting. Once the last risk of frost has passed, you can plant bulbs outside. If they’re eager to start growing too soon, pot bulbs indoors.
Follow these simple steps to storing your tender bulbs over the winter and get ready to have a fabulous garden next summer. It will be here before you know it!

Mary Ellen Ellis has been gardening for over 20 years. With degrees in Chemistry and Biology, Mary Ellen's specialties are flowers, native plants, and herbs.
- Amy DraissDigital Community Manager