Repotting A Rabbit's Foot Fern Plant: How And When To Repot Rabbit's Foot Ferns

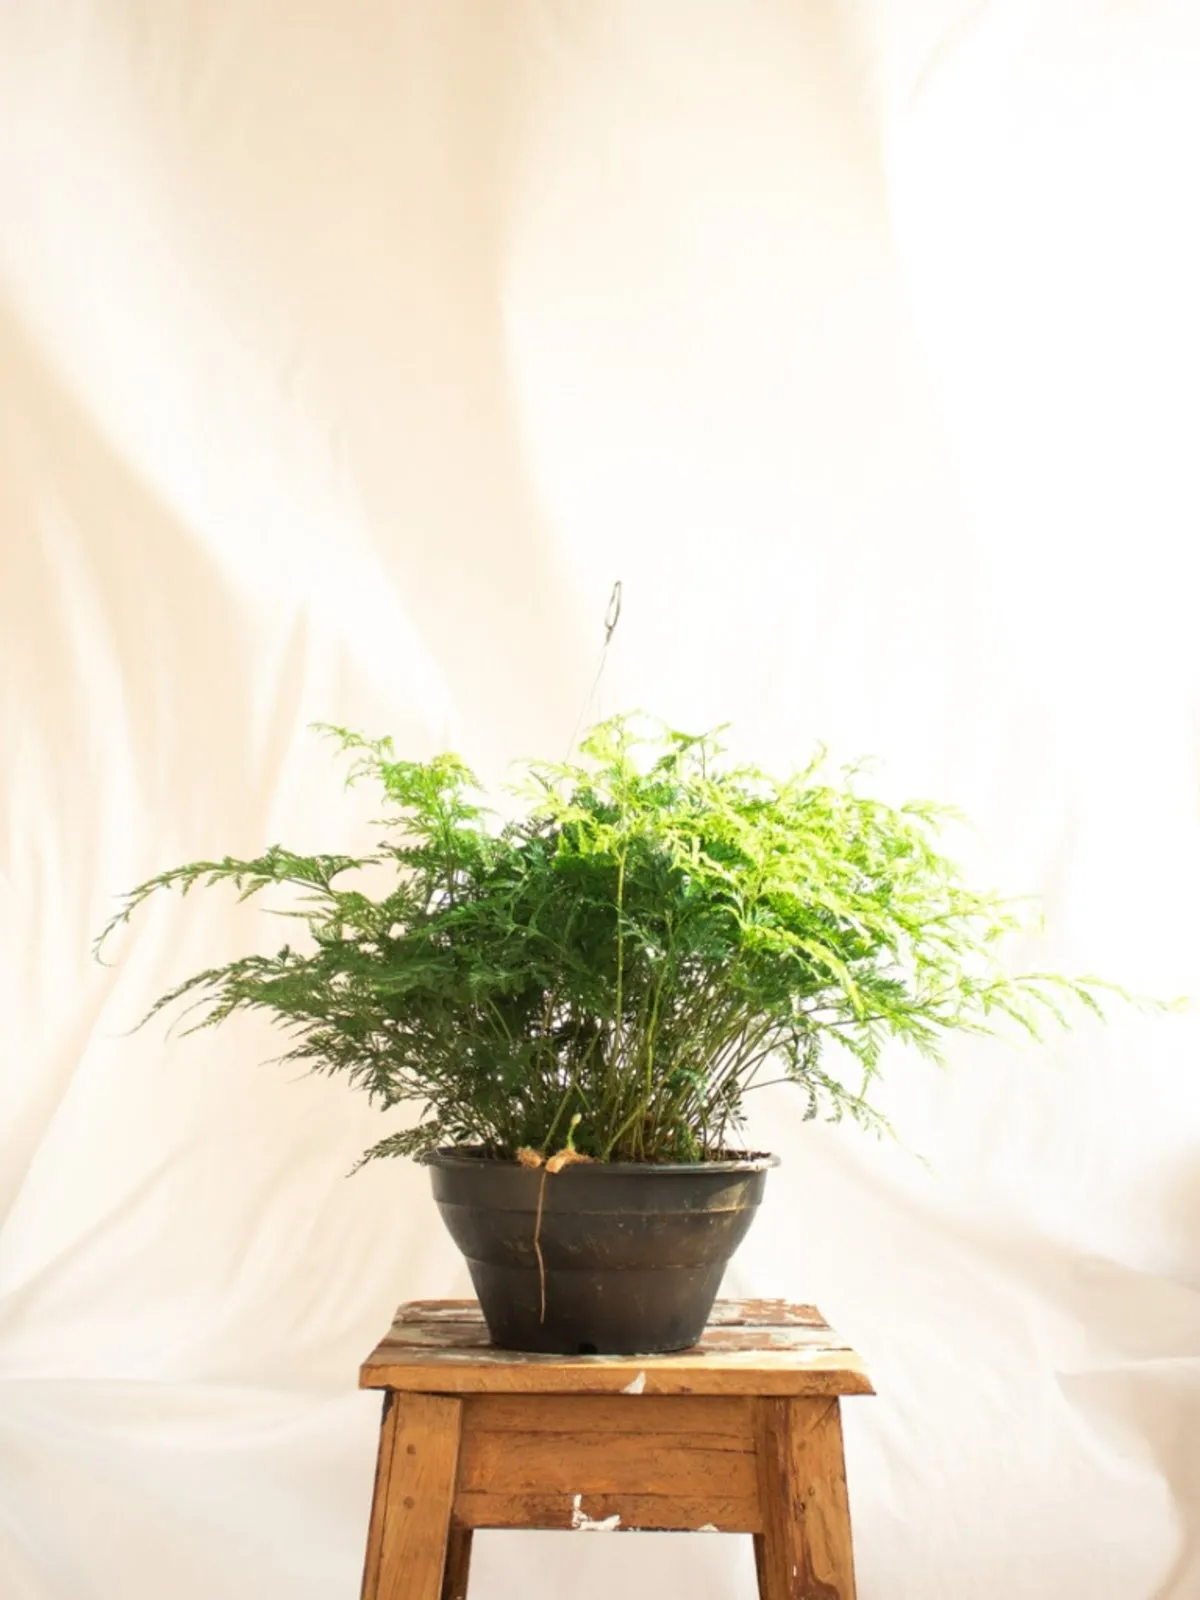
There are many “footed” ferns that produce fuzzy rhizomes that grow outside the pot. These are generally grown as indoor plants. Rabbit's foot fern doesn't mind being pot bound, but you should give it fresh soil every couple of years. Repotting can be a challenge with all the little feet hanging around the original pot so read here for a step-by-step tutorial on how to repot a rabbit's foot fern. Davallia fejeensis is the botanical name of the rabbit's foot fern (Humata tyermanii or white paw fern, is a similar plant). These charming plants produce soft, silvery growth off the base of the plant that stream down the outside of the pot. The growths are actually above-ground rhizomes and can be used to start entirely new ferns. In mature plants, these rhizomes will literally coat the outside of a container and cascade down over a hanging pot. Don't worry if you break one off during rabbit's foot fern repotting, as you can simply root it for another of these wonderful plants.
When to Repot Rabbit's Foot Ferns
Timing is everything, and this is the case for when to repot rabbit's foot ferns. As with most plants, the best time to disturb it in any way is when the plant is dormant. This goes for repotting, trimming, or training. It is a little harder to tell when indoor plants are dormant but, basically, it is when no new growth is being produced. Usually, this is in winter when it is cooler and light levels are lower. However, this is a very forgiving plant and repotting a rabbit's foot fern at any time of the year is fine as long as it is not exposed to any extreme stresses such as temperature fluctuations.
How to Repot a Rabbit's Foot Fern
Choose a lightweight pot if you are creating a hanging planter. The size of the pot should be just slightly larger than the base of the plant. These ferns enjoy being crowded. Removing the fern from the existing pot is the trick. If it is a cheap nursery pot, you can cut the plant out to liberate it. Otherwise, use a hori hori or slender planting tool to gently pry around the inside of the pot and loosen the soil. The bottom of the pot may also have roots growing outside. Loosen these and, if necessary, cut off those that have wound around the drainage holes. Don't worry, there are plenty of roots still to sustain the plant and it won't damage the fern. Use a potting mix with little to no soil such as 2 parts peat, 1 part soil, and 1 part sand or perlite. You may decide to divide the fern if it has gotten too large. Cut it into up to four sections with a sharp, clean knife. Plant in the new soil with the rhizomes balanced around the edge of the pot. Water well.

Rabbit's Foot Fern Repotting of Rhizomes
Root any of the fuzzy little rhizomes that may have broken off during repotting. Use a flat tray or small pots filled with perlite that is just slightly moistened. Bury the rhizome completely in this medium and cover the container with plastic wrap to create greenhouse conditions. Place the container in a warm location and keep evenly moist. Remove the plastic wrap once per day to give the plant air and prevent mildew. Within a few weeks, the rhizome will produce little green leaves which signal the complete removal of the plastic. Do not fertilize for a month after repotting a rabbit's foot fern.
