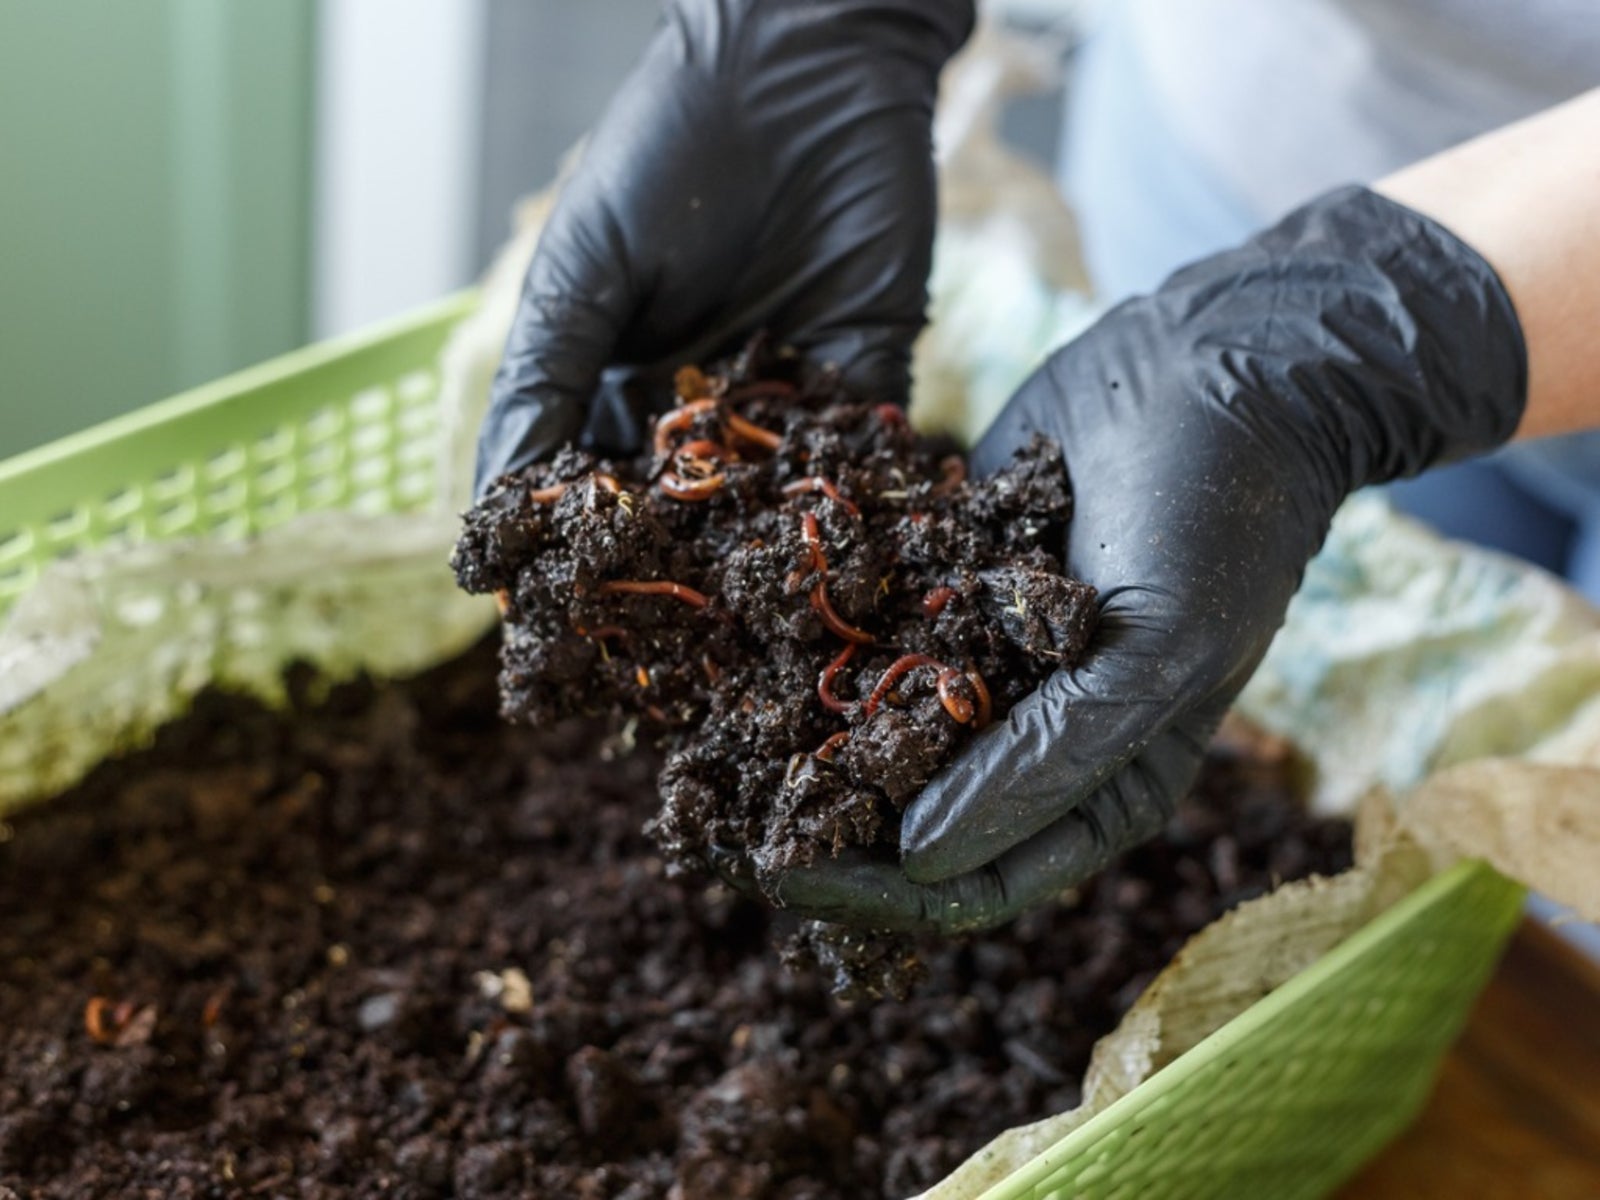
Kitchen Vermiculture: Learn About Under Sink Composting With Worms


Sign up for the Gardening Know How newsletter today and receive a free copy of our e-book "How to Grow Delicious Tomatoes".
You are now subscribed
Your newsletter sign-up was successful
Composting and the reduction of waste is a sensible way to help the environment and keep landfills free of excess organic waste. Kitchen vermiculture allows you to create a nutrient-rich fertilizer from worm castings that you can use in your garden. Vermicomposting under sinks is convenient, environmentally sound, and creates no mess.
About Kitchen Vermiculture
Worms are remarkably un-fussy and just need organic food to eat, a moist earthy bed, and warmth. The first step to this easy and economical waste removal system is the creation of worm composting bins for indoors. In no time you will be feeding the little guys your kitchen scraps, reducing waste, and building a soil amendment that is of amazing benefit to your plants. Kitchen worm composting takes up very little space. The best varieties for turning your kitchen scraps into “black gold” are the red wigglers. They can eat their body weight in food daily and their castings are a rich fertilizer for plants.
Worm Composting Bins for Indoors
You can build a small wooden box or simply use a plastic bin with a few adjustments to house your new composting buddies.
- Start with a wooden box or plastic bin. You can also purchase a kit but it is more costly than using materials at hand. On average, you need one square foot (0.1 sq. m.) of surface for every pound (0.5 kg.) of material you collect for under sink composting with worms.
- Next, make bedding for the worms. They like a dark, warm area with moist, fluffy bedding like damp shredded newspaper, straw, or leaves. Line the bottom of the bin with 6 inches (15 cm.) of the material you choose.
- The perfect container should be 8 to 12 inches (20.5 to 30.5 cm.) deep to accommodate the food scraps, worms, and bedding. If you cover the bin, make sure there are air holes for vermicomposting under sinks or any area that is appropriate.
Food for Kitchen Worm Composting
Here are some things to know when feeding your worms:
- Worms like their food slightly broken down or even moldy. Food scraps are easier for the worms to eat if they are smaller pieces. Cut up heavy vegetables and fruit into one-inch (2.5 cm.) cubes and place them in the bin.
- Lightweight items, like lettuce, are easier for worms to make short work of and turn into castings. Do not feed dairy, meat, or excessively greasy items.
- You don't want a smelly bin, so keep in mind how much you feed the worms. The amount will vary dependent upon the number of worms and the size of the bin. Start small with only a small amount of food scraps buried in the bedding. Check in a day or two to see if they ate all the food. If they did, you can increase the amount, but be careful not to overfeed or you will have a stinky mess.
Under sink composting with worms may take some trial and error to get the appropriate amount of food for the bins size and food scrap level. Over a few weeks, you will see that the food scraps and bedding are broken down and clean smelling. Remove the castings and start the process over again with a handful of worms. The cycle is virtually unbreakable as long as you keep the bin clean, food scraps small and appropriate, and have a healthy colony of red wigglers.
Sign up for the Gardening Know How newsletter today and receive a free copy of our e-book "How to Grow Delicious Tomatoes".

Bonnie Grant is a professional landscaper with a Certification in Urban Gardening. She has been gardening and writing for 15 years. A former professional chef, she has a passion for edible landscaping.