How To Get Rid Of White Fuzzy Mold On Seedlings
If you've spotted white, fluffy fungus on seed starting soil, seedlings, or seeds, then you need to deal with it quickly before you lose your plants.

Heather Rhoades
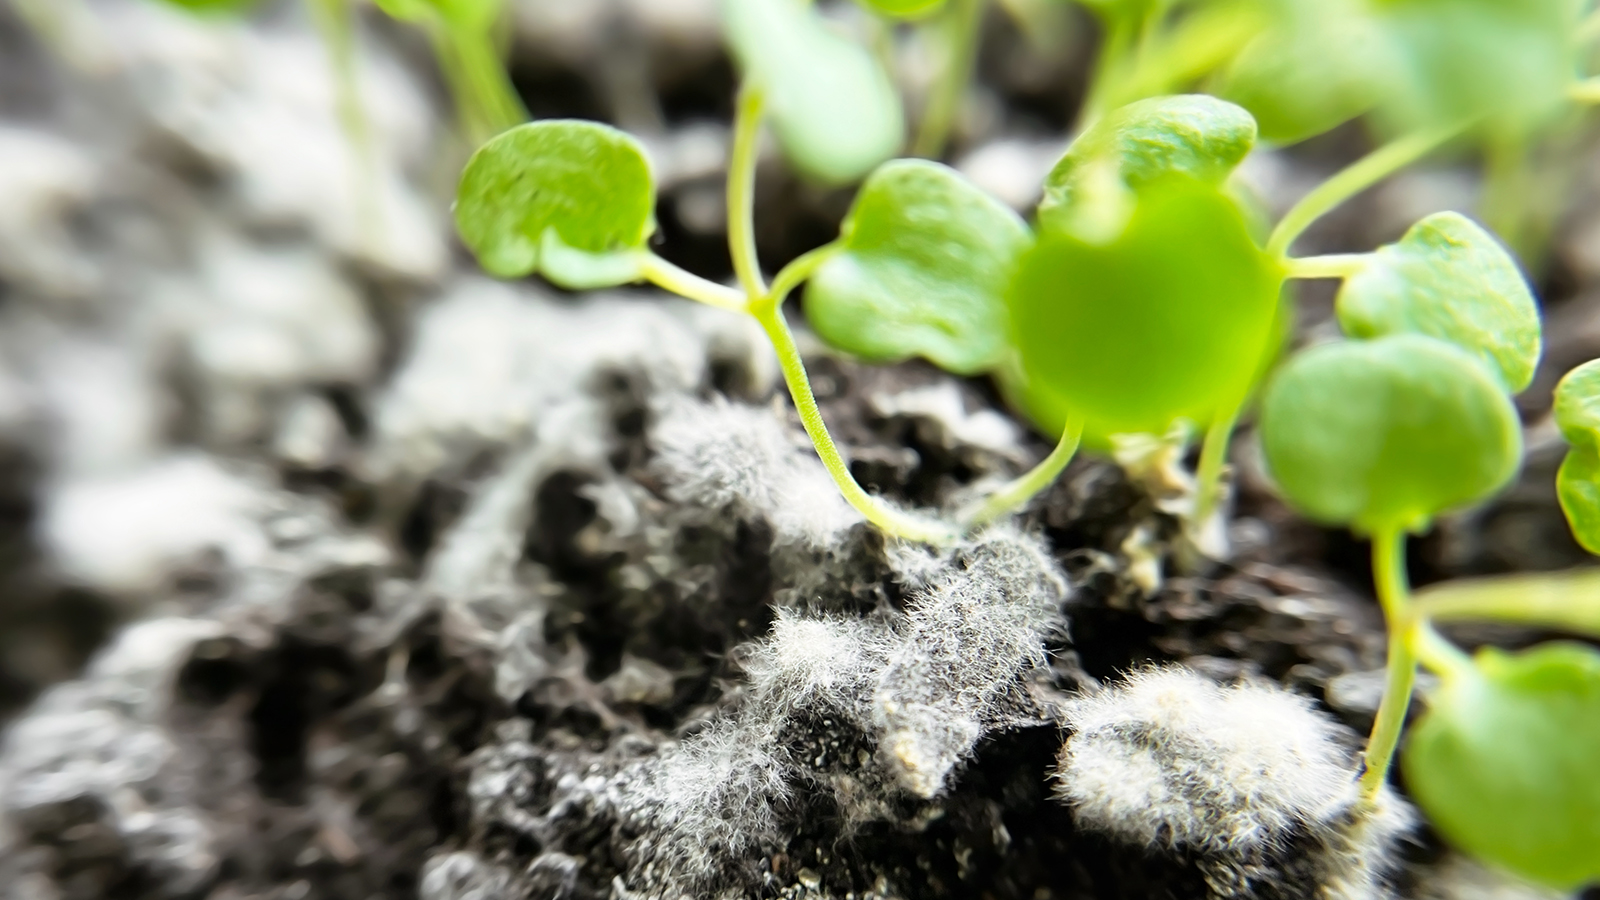
You’ve gone to a lot of trouble and work starting your seeds for the season, but you spy white fuzz on your germinating seeds or seedlings. What is this stuff? Mold on seedlings and soil is very common and can be caused by certain cultural and environmental conditions. If mold is on the seeds, it may be caused by contaminated seeds or equipment, poor soil, excess moisture and condensation, or high humidity.
White fuzzy fungus on seedlings or seed-starting soil is one of the most common seed-starting problems, and is particularly prevalent when starting seeds indoors. It may be harmless, or it may lead to a disease known as damping off, which kills the seedlings, so it needs to be dealt with swiftly. But, as is always the case, prevention is better than cure.
What Causes Mold on Seedlings?
When planting seeds, moisture is required to break the seed coat and allow the embryo to emerge. But fungi thrive in similar moist conditions. The fungi may be introduced when you reuse potting soil. It could already be on the seeds. It may also be brought into the planting situation through cross-contamination when you don’t clean containers or tools. Fungi may also bloom if you are covering the containers and creating excess humidity.
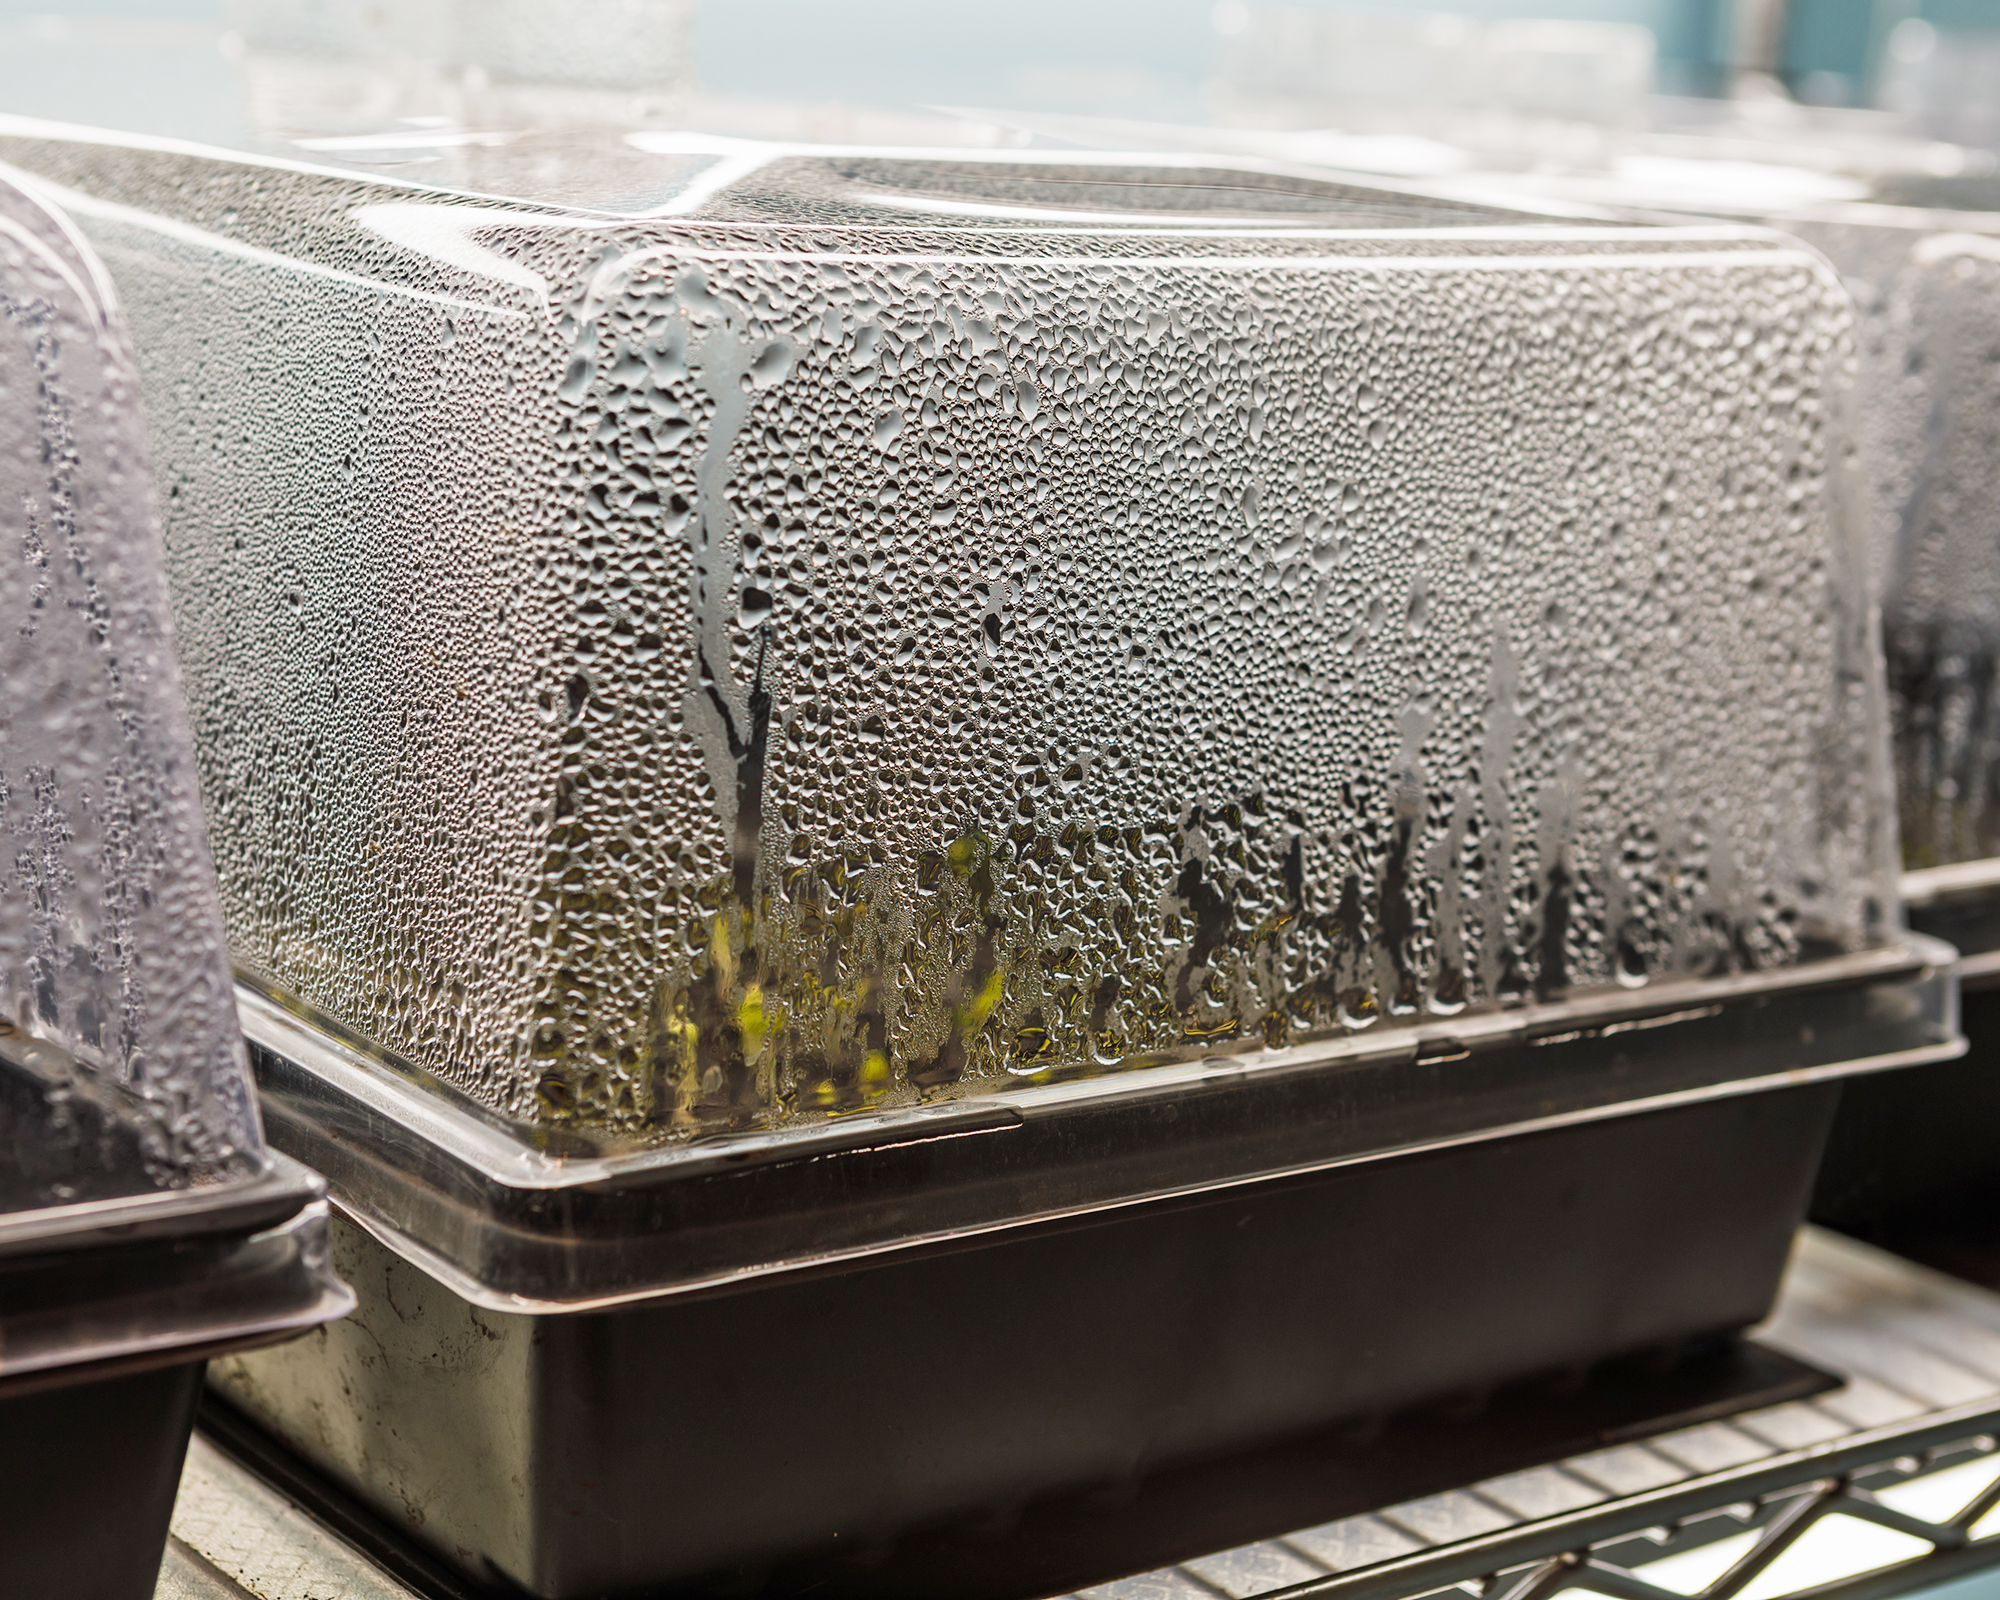
Most gardening experts will suggest that you keep the humidity high over the soil until the seeds have fully germinated. Your seedling planter probably has a lid or humidity dome that helps with this, or you may have covered your container with plastic. Sometimes this raises the humidity to a level that is too high and encourages the growth of this white, fluffy fungus.
To avoid excess humidity, either prop open the lid of the seedling planter about an inch (2.5cm) or poke some holes in the plastic over the container you are starting seeds in. This will allow more air circulation and decrease the humidity around the seed-starting soil.
Is the Mold Harmful?
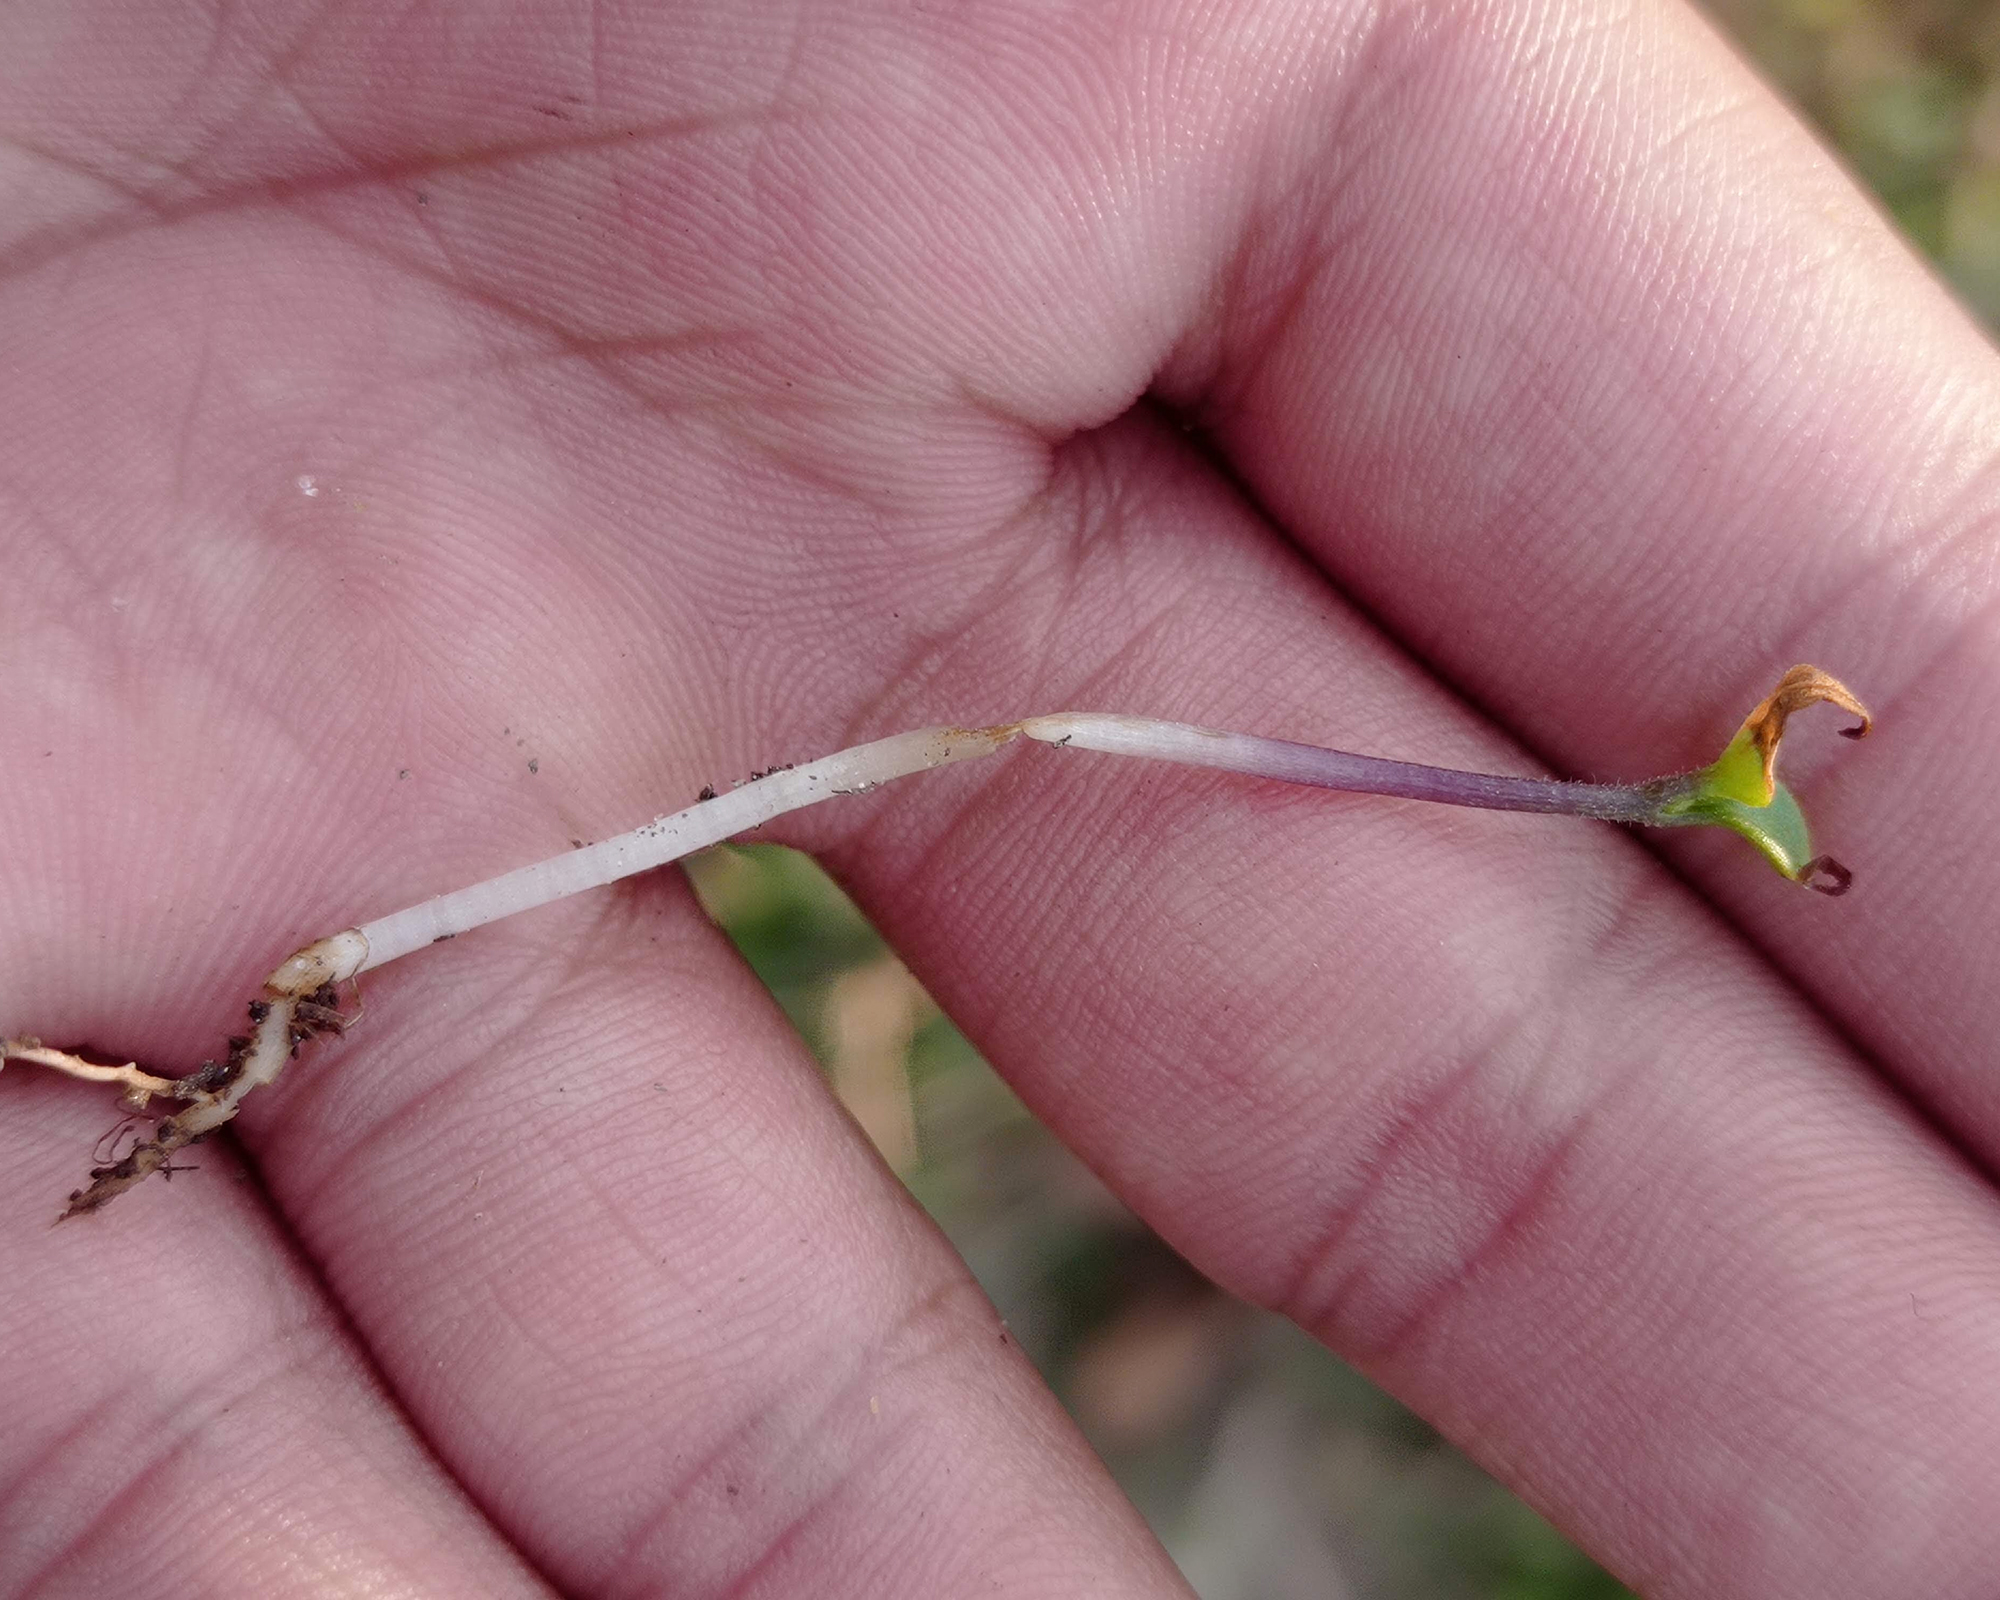
The mold may be fairly harmless, but the conditions that caused the mold can cause problems for the seedlings. The worst-case scenario is damping off. The initial signs are tiny, tan spots on the plantlet that turn darker. Soon, white masses form on any part of the plant, but often near the soil line.
The first leaves and stems can appear soft, discolored, and mushy. The stems will be too slender to support the plant, and the leaves will turn grayish. The tender, little stem will wilt as the fungi girdle it and prevent the uptake of nutrients and water.
Sign up for the Gardening Know How newsletter today and receive a free copy of our e-book "How to Grow Delicious Tomatoes".
Because the little plant can’t bring in the moisture and food it needs to grow, the seedling will decline and eventually die. In the case where many seeds are started in a tray, the whole array of plants can become infected and potentially kill all the tender growth. Sometimes when the soil is infected, the seed will fail to germinate and emerge.
How to Get Rid of White Fuzzy Mold on Seedlings
If you have removed the cover from your seedling planter and the fungus is still growing, you'll need to take additional steps. Set up a small fan that can blow gently over your indoor seed-starting setup. This will help to get the air moving, making it much harder for the fungus to grow. Be careful, though, that you keep the fan at very low levels and only run the fan for a few hours each day. If the fan is running too high, this will damage your seedlings.
If damping off is the cause, it is very difficult to cure. While larger plants may tolerate a fungicide application, seedlings are usually too tender to apply the product. Damping off can look similar to other diseases and cultural problems at the start. It may appear the plants are simply overwatered, the soil is too heavy, the soil is too hot or cold, the seedlings have fertilizer burn, and other issues. If you notice the tan lesions early, you can back off on watering and see if the issue clears up. If it progresses, then it is best to discard the seedlings and start again.
How to Prevent Mold From Developing
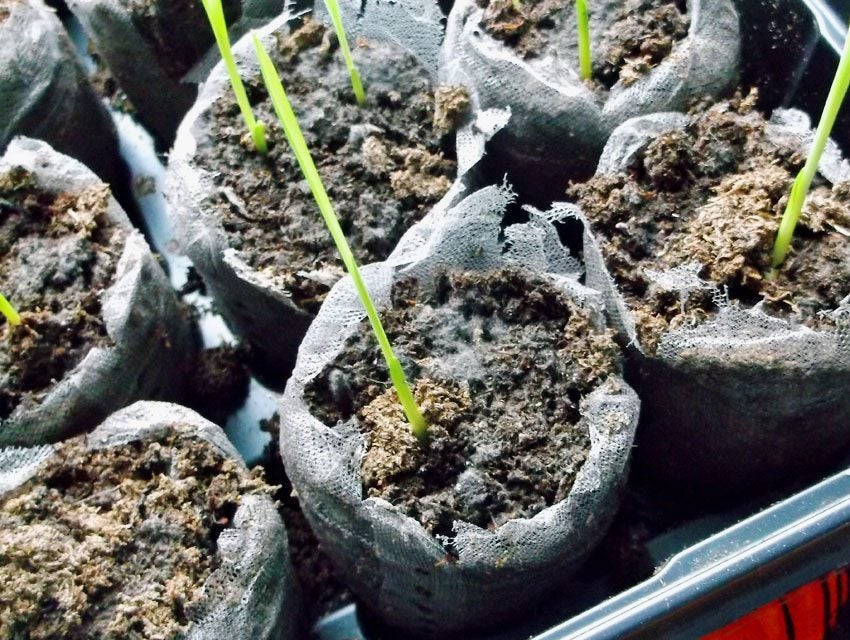
Take these steps to avoid the build-up of mold and to keep seedlings healthy and thriving:
1. Sterilize
Sanitation is crucial to prevention. Prior to planting your seeds, take last year's containers and sterilize them with a wash of 1 part bleach and 9 parts of water. You may also use equal parts water and white vinegar.
With plastic containers, wet the container and place it in the microwave for 2 minutes. Clay pots may be baked at high heat in the oven for 2 hours and allowed to cool on the counter.
If you are reusing old potting mix, sterilize the soil by baking it or solarize it by placing it outdoors with black plastic over the earth. Let this “cook” in the sun for several days. Sanitize all your garden tools to prevent transferring fungal spores.
2. Reduce Water
Many of the fungal blooms that occur can be diminished by carefully watering seedlings. The young plants need water, but shouldn’t be swimming in it. Use containers that will evaporate excess moisture, such as unglazed clay, and make sure there are plenty of drainage holes.
In addition, use a potting mix that percolates well and is light and airy. Let the soil dry out to the touch between waterings.
3. Increase Airflow
While humidity is helpful to encourage seeds to germinate, as soon as you see seedlings appear, you should remove any lids or covers from containers. Set up a little fan on low near a seedling flat to increase circulation and air flow.
Don’t overcrowd your containers with seedlings. It can be difficult to cull them, but thinning seedlings must be done to allow adequate air flow and to give the plants room to mature.
4. Control Temperature
Seeds planted in a site that is too cold may adversely affect the soil. Many fungal diseases that cause damping off thrive in cool, damp soil. If your location for seed starting is not warm enough, consider using a seedling heat mat.
The best temperature for starting seeds is 77°F (25°C), which is warmer than the typical home interior. The temperature should never fall below 40°F (4.5°C). Cooler temperatures actually encourage the bloom of fungal spores and diminish seed germination.
If you don’t have a seed mat, place flats or containers on top of the refrigerator or other warm location, but avoid blowing heat vents, which will just dry the soil.
5. Handle Seeds Correctly
If you are a seed saver, good for you. However, if storing seeds with too much moisture, they can develop fungal disease. When these diseased seeds are planted, the fungus will bloom. If purchasing seeds, make sure you buy from a reputable retailer.
It's also to plant seeds at the correct depth – seeds planted too deeply are subject to disease. How deep to plant seeds depends on the variety, but if unsure, opt for three times the height of the seed.
Want to know more about starting seeds? Sign up for our FREE seed-starting workshop with master gardener Geoffrey Johnson. Our fun, easy-to-follow workshop can be completed in less than 30 minutes.
Bonnie Grant is a professional landscaper with a Certification in Urban Gardening. She has been gardening and writing for 15 years. A former professional chef, she has a passion for edible landscaping.
- Heather RhoadesFounder of Gardening Know How