Seed Starting In Coir: Using Coconut Coir Pellets For Germination


Sign up for the Gardening Know How newsletter today and receive a free copy of our e-book "How to Grow Delicious Tomatoes".
You are now subscribed
Your newsletter sign-up was successful
Starting your own plants from seed is a great way to save money when gardening. Yet dragging bags of starting soil into the house is messy. Filling seed trays is time-consuming and the sterilization needed to prevent disease is a lot of work. If only there were an easier way...
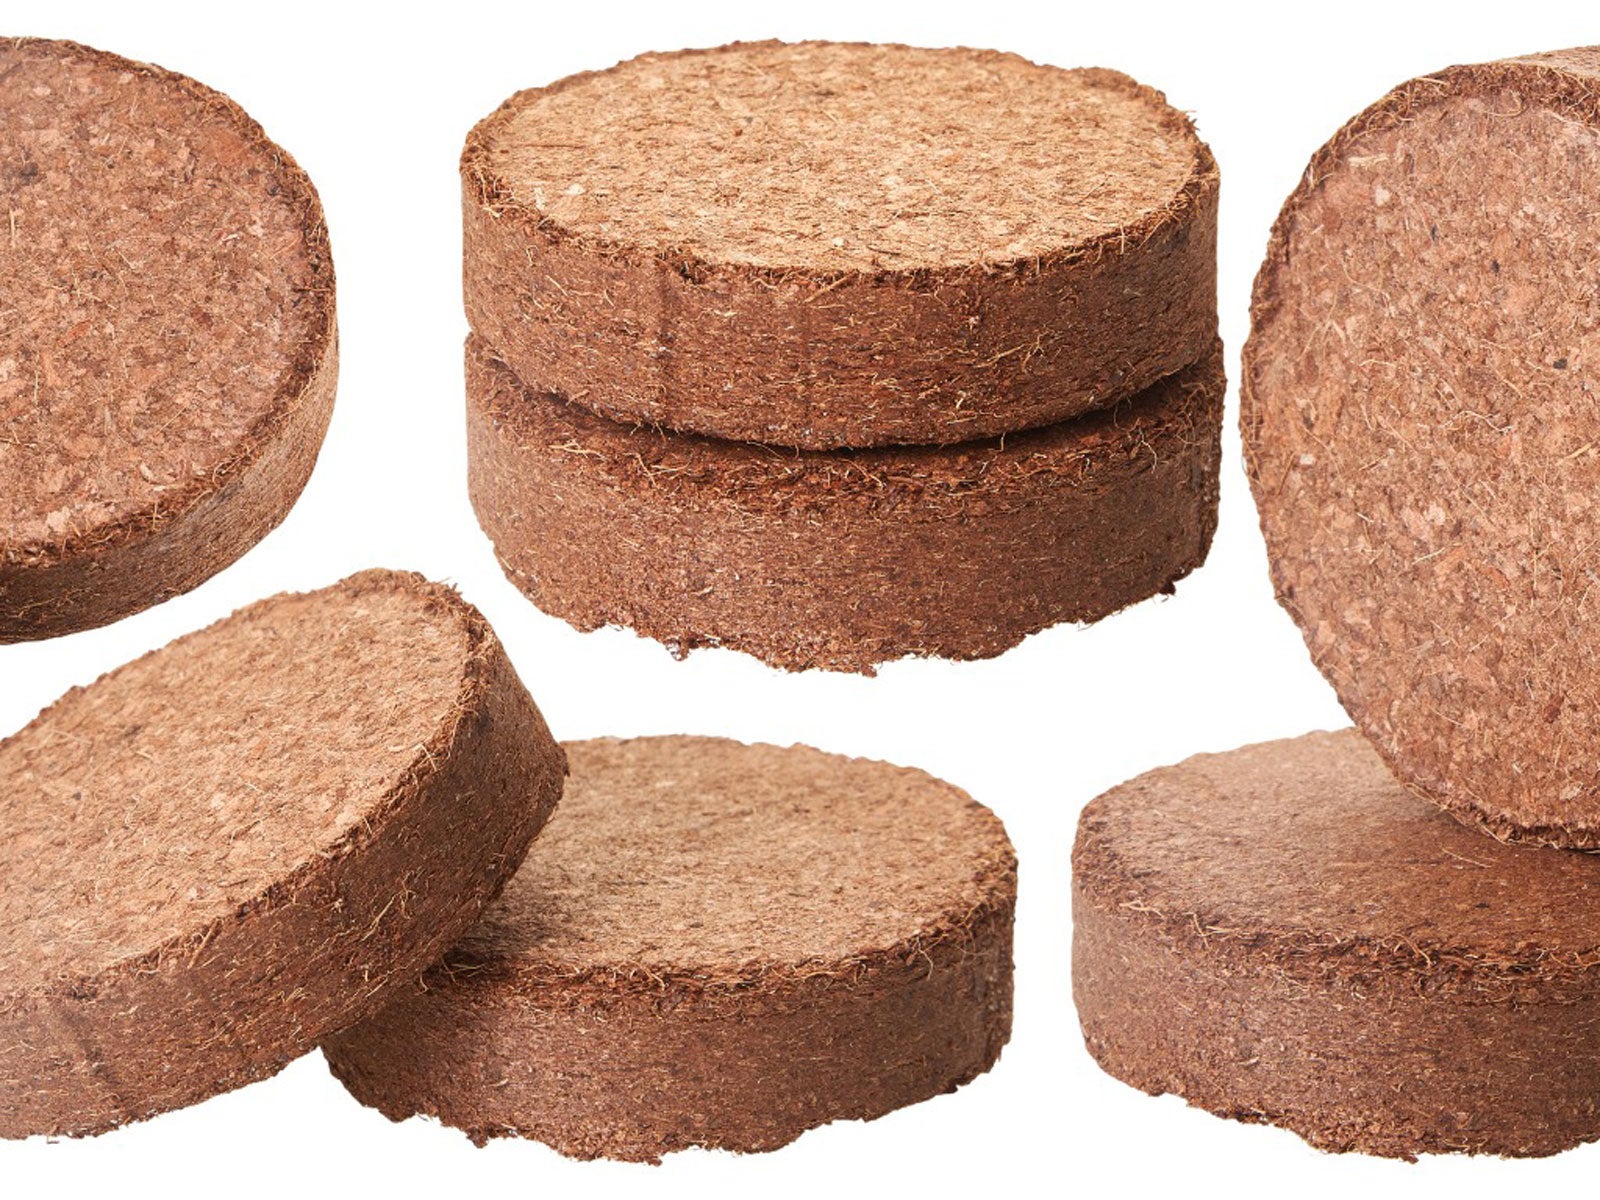
Coir Discs for Seed Planting
If you enjoy raising your plants from seed but hate the hassle, you might want to try coir pellets. For germination of seeds, pellets are an easy, fast, and clean method. When compared to peat pellets, coir discs for seed planting are an eco-friendly option.
Although peat is a natural material, it's not considered a sustainable product. Peat is the decaying remnants of sphagnum moss. It takes hundreds of years to form peat bogs and considerably less time to deplete them.
On the other hand, coir pellets are made from the husk of coconuts. Once considered an agricultural waste, this coconut fiber is soaked and treated to remove excess minerals. It's then formed into flat, round discs and sold as a seed starting product by various manufacturers.
Benefits of Seed Starting in Coir
In addition to being less messy, coir discs virtually eliminate the problem of damping off. This fungal infection can be transmitted through the soil and unsanitary starting trays. It most often attacks newly sprouted seedlings, causing the stems to weaken and the plants to die. Wet conditions and cool temperatures contribute to the problem.
Coir pellets for seed planting are fungus-free. Coir readily absorbs and holds water, yet doesn't become supersaturated and soggy. The material remains loose for improved root formation and the netting surrounding the ground coconut hulls retains the shape of the pellet.
How to Use a Coconut Pellet Seed Starting System
- Expand the pellets – When using coir pellets for germination of seedlings, the dry flat disc must be soaked in water. Place the pellets in a waterproof tray. Make sure the small, imprinted hole is facing up. Pour warm water over the discs and wait for them to expand.
- Sow the seed – Once the pellets are fully expanded, place 2 seeds in every pellet. The planting depth can be controlled by pinching or compacting the pellet. Be sure to label the tray for identification of seedlings. Use a clear, plastic lid or plastic wrap to retain moisture.
- Provide light – Place the trays under grow lights or near a sunny window. Keep the pellets evenly moist while the seeds germinate. Adding a little water to the bottom of the tray once a day is usually sufficient.
- Germination – Once the seeds have germinated and the cotyledons have opened, it's best to remove the plastic cover. Continue to water once daily to keep the pellets evenly moist.
- Provide nutrients – By the time the seedlings have their second or third set of true leaves, the roots are usually penetrating the netting. For tall, healthy transplants, it's best to either fertilize at this time or plant the seedlings, pellet and all, in a small pot.
- Transplant seedlings – When the seedlings are ready for transplant, harden off the plants. Coir pellets can be directly planted into the garden.
Sign up for the Gardening Know How newsletter today and receive a free copy of our e-book "How to Grow Delicious Tomatoes".

Laura Miller has been gardening all her life. Holding a degree in Biology, Nutrition, and Agriculture, Laura's area of expertise is vegetables, herbs, and all things edible. She lives in Ohio.