This Viral European Gardening Trend Will Fill Your Garden and Raised Beds With Free Soil – Perfect for Spring Planting!
Turn fall yard waste into free soil for spring beds with a hügelkultur garden bed. A little bit of prep work today builds healthy gardens that will thrive!

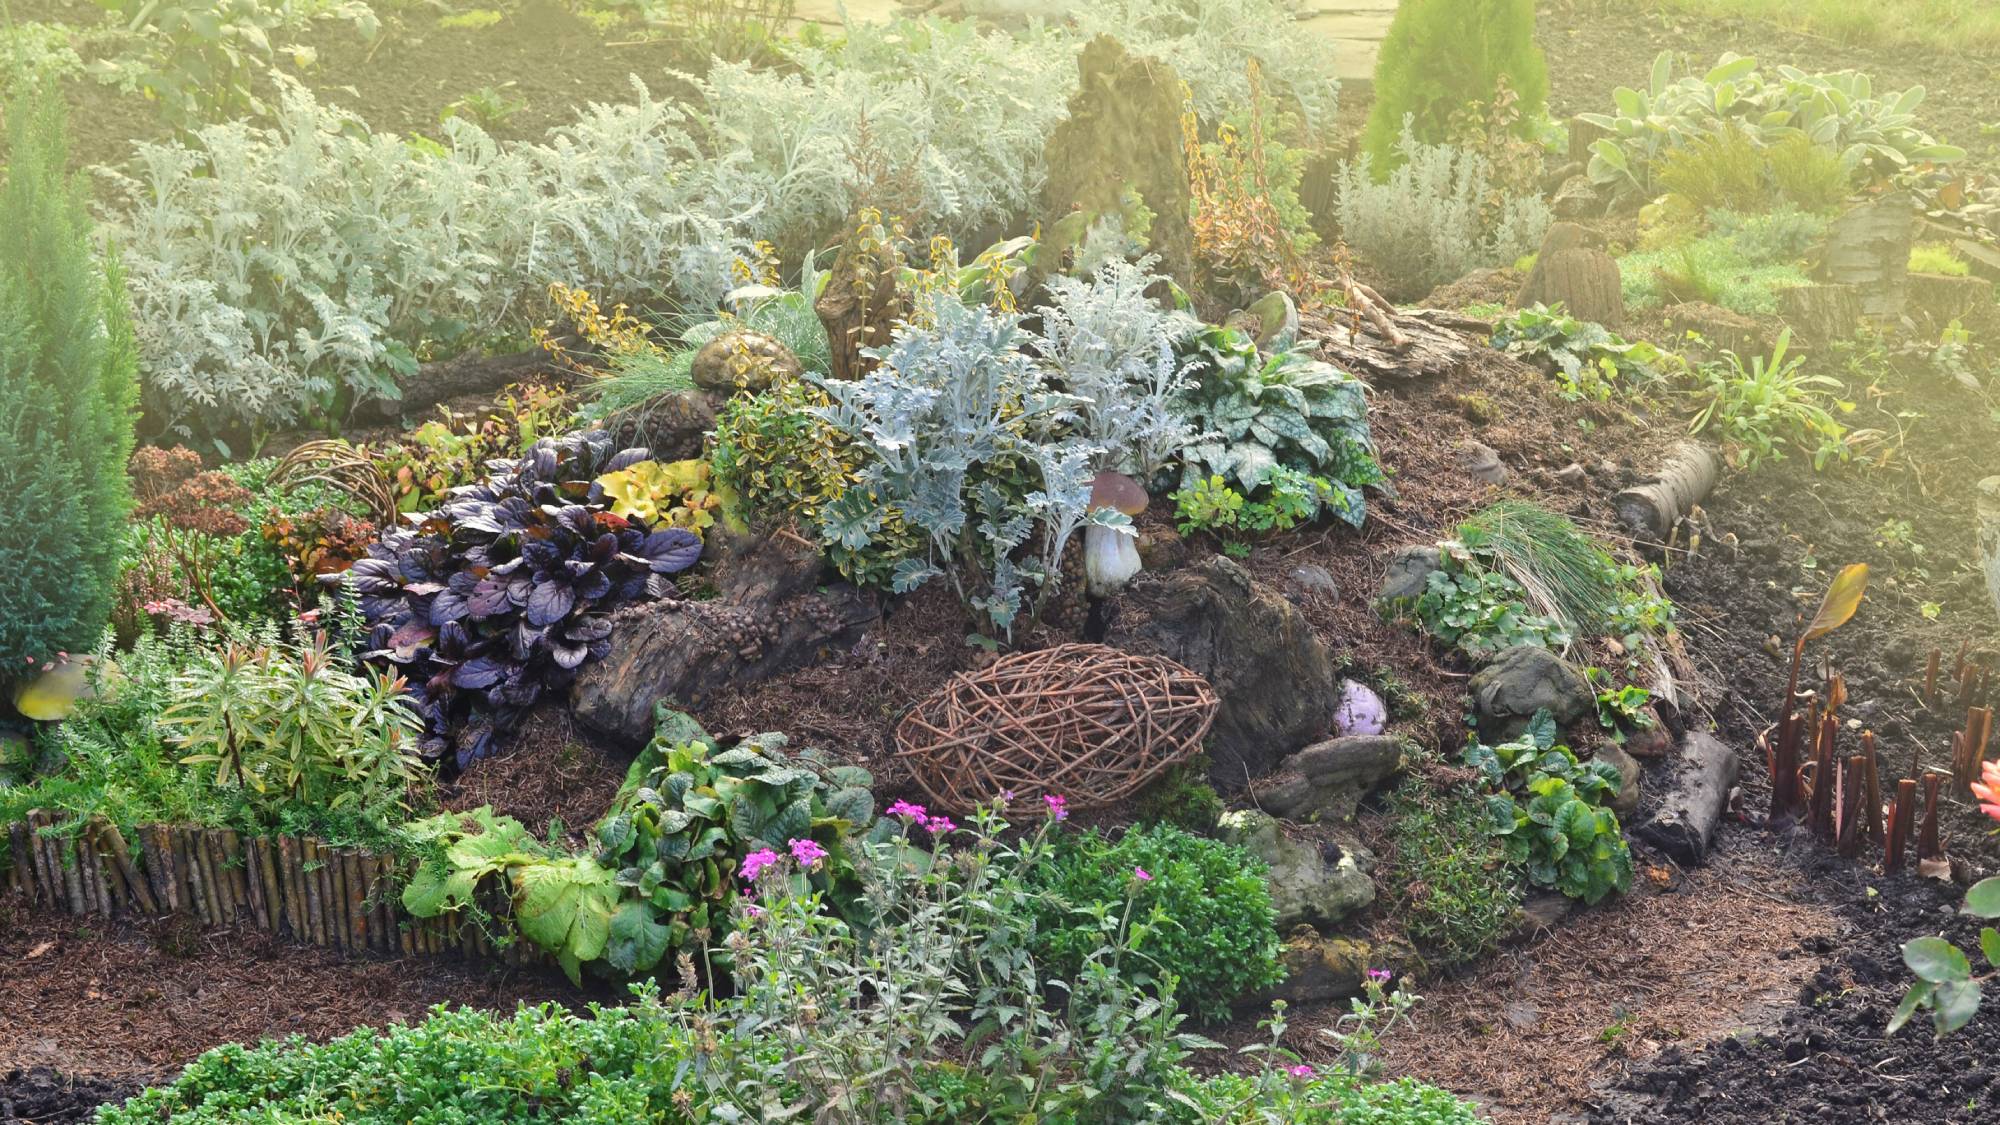
Fall is perfect the perfect time to start hügelkultur in your yard. Grab branches, old leaves, and kitchen scraps to build mounds that break down into nice, fertile dirt. It does take a little work, but you save money on soil later. Start small if space is tight. You can do this directly in a raised bed or dig a hole to create a hügelkultur mound.
To start using the hügelkultur system, layer big stuff at the bottom and fine material on top. Then, water it in, and let winter do the rest. The pile soaks up rain and decomposes steadily. Hügelkultur works because wood breaks down slowly, feeding plants for years and the other compost material you add gives an immediate boost to microbes in the soil.
Creating a simple hügelkultur bed now means no hauling bags of dirt in spring. Just a bit of stacking today fills raised garden beds with rich soil come springtime.
Gather Natural Materials
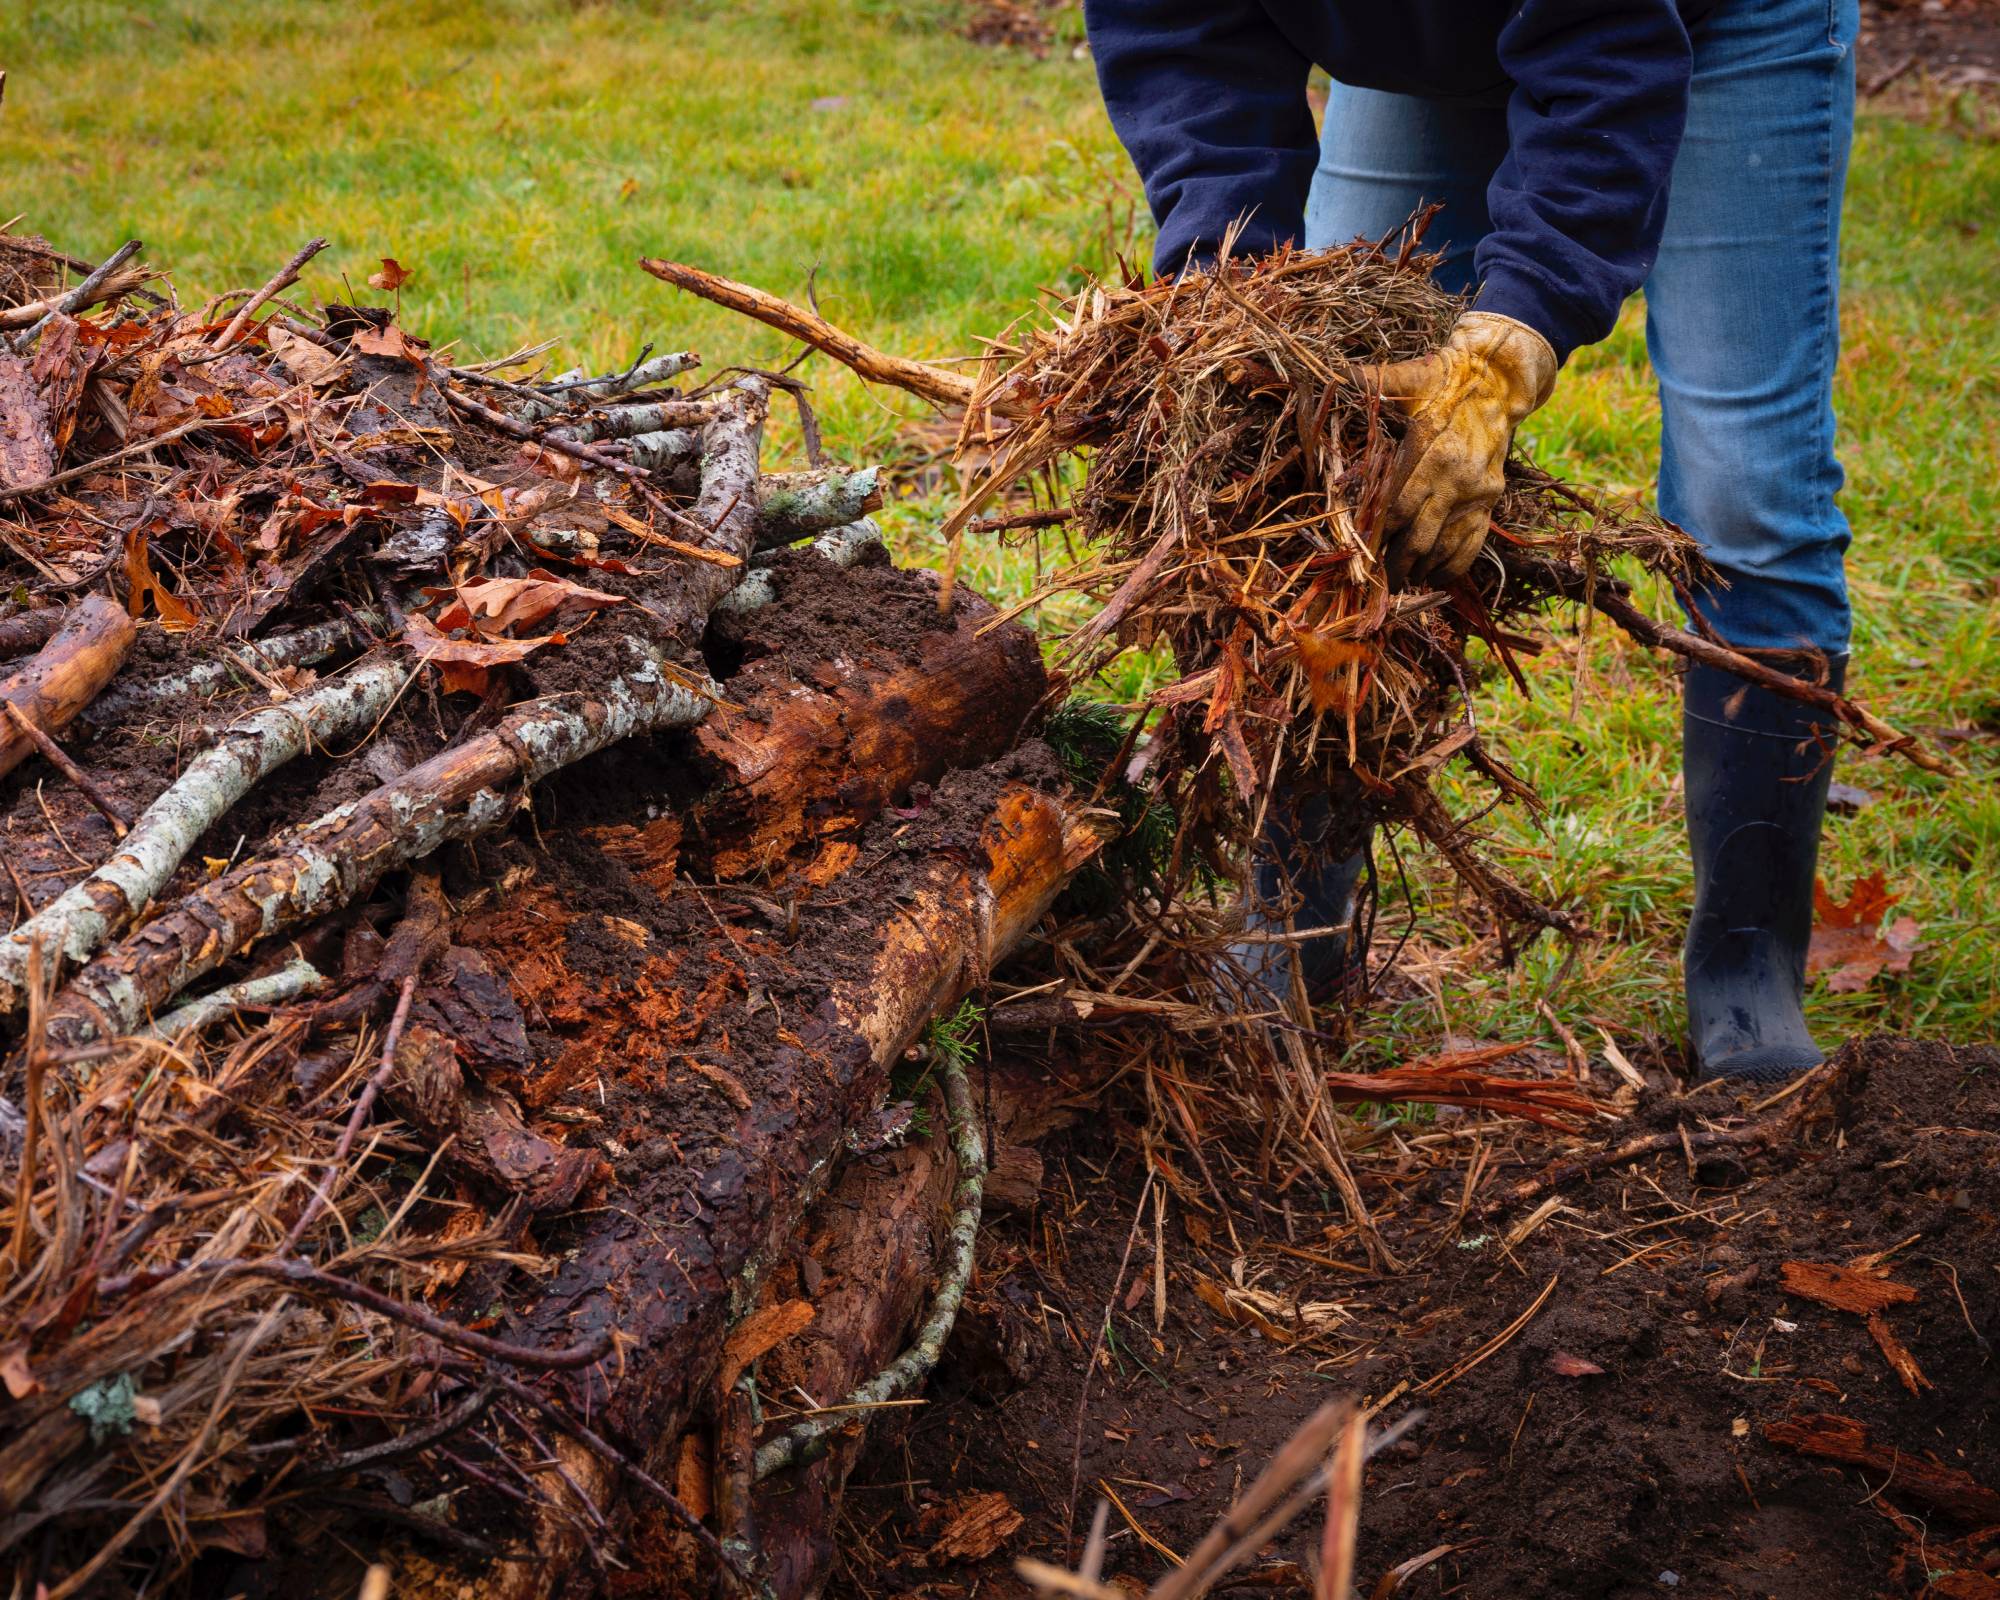
Hügelkultur mimics the forest floor with layers of rotting wood and plants that decompose into soil. It cuts watering and supercharges your soil without store-bought amendments. Wood acts like a sponge, pulling in rain and holding it for roots. As it breaks down, it releases nutrients so plants stay strong all season. You end up with deep, living soil that gets better over time.
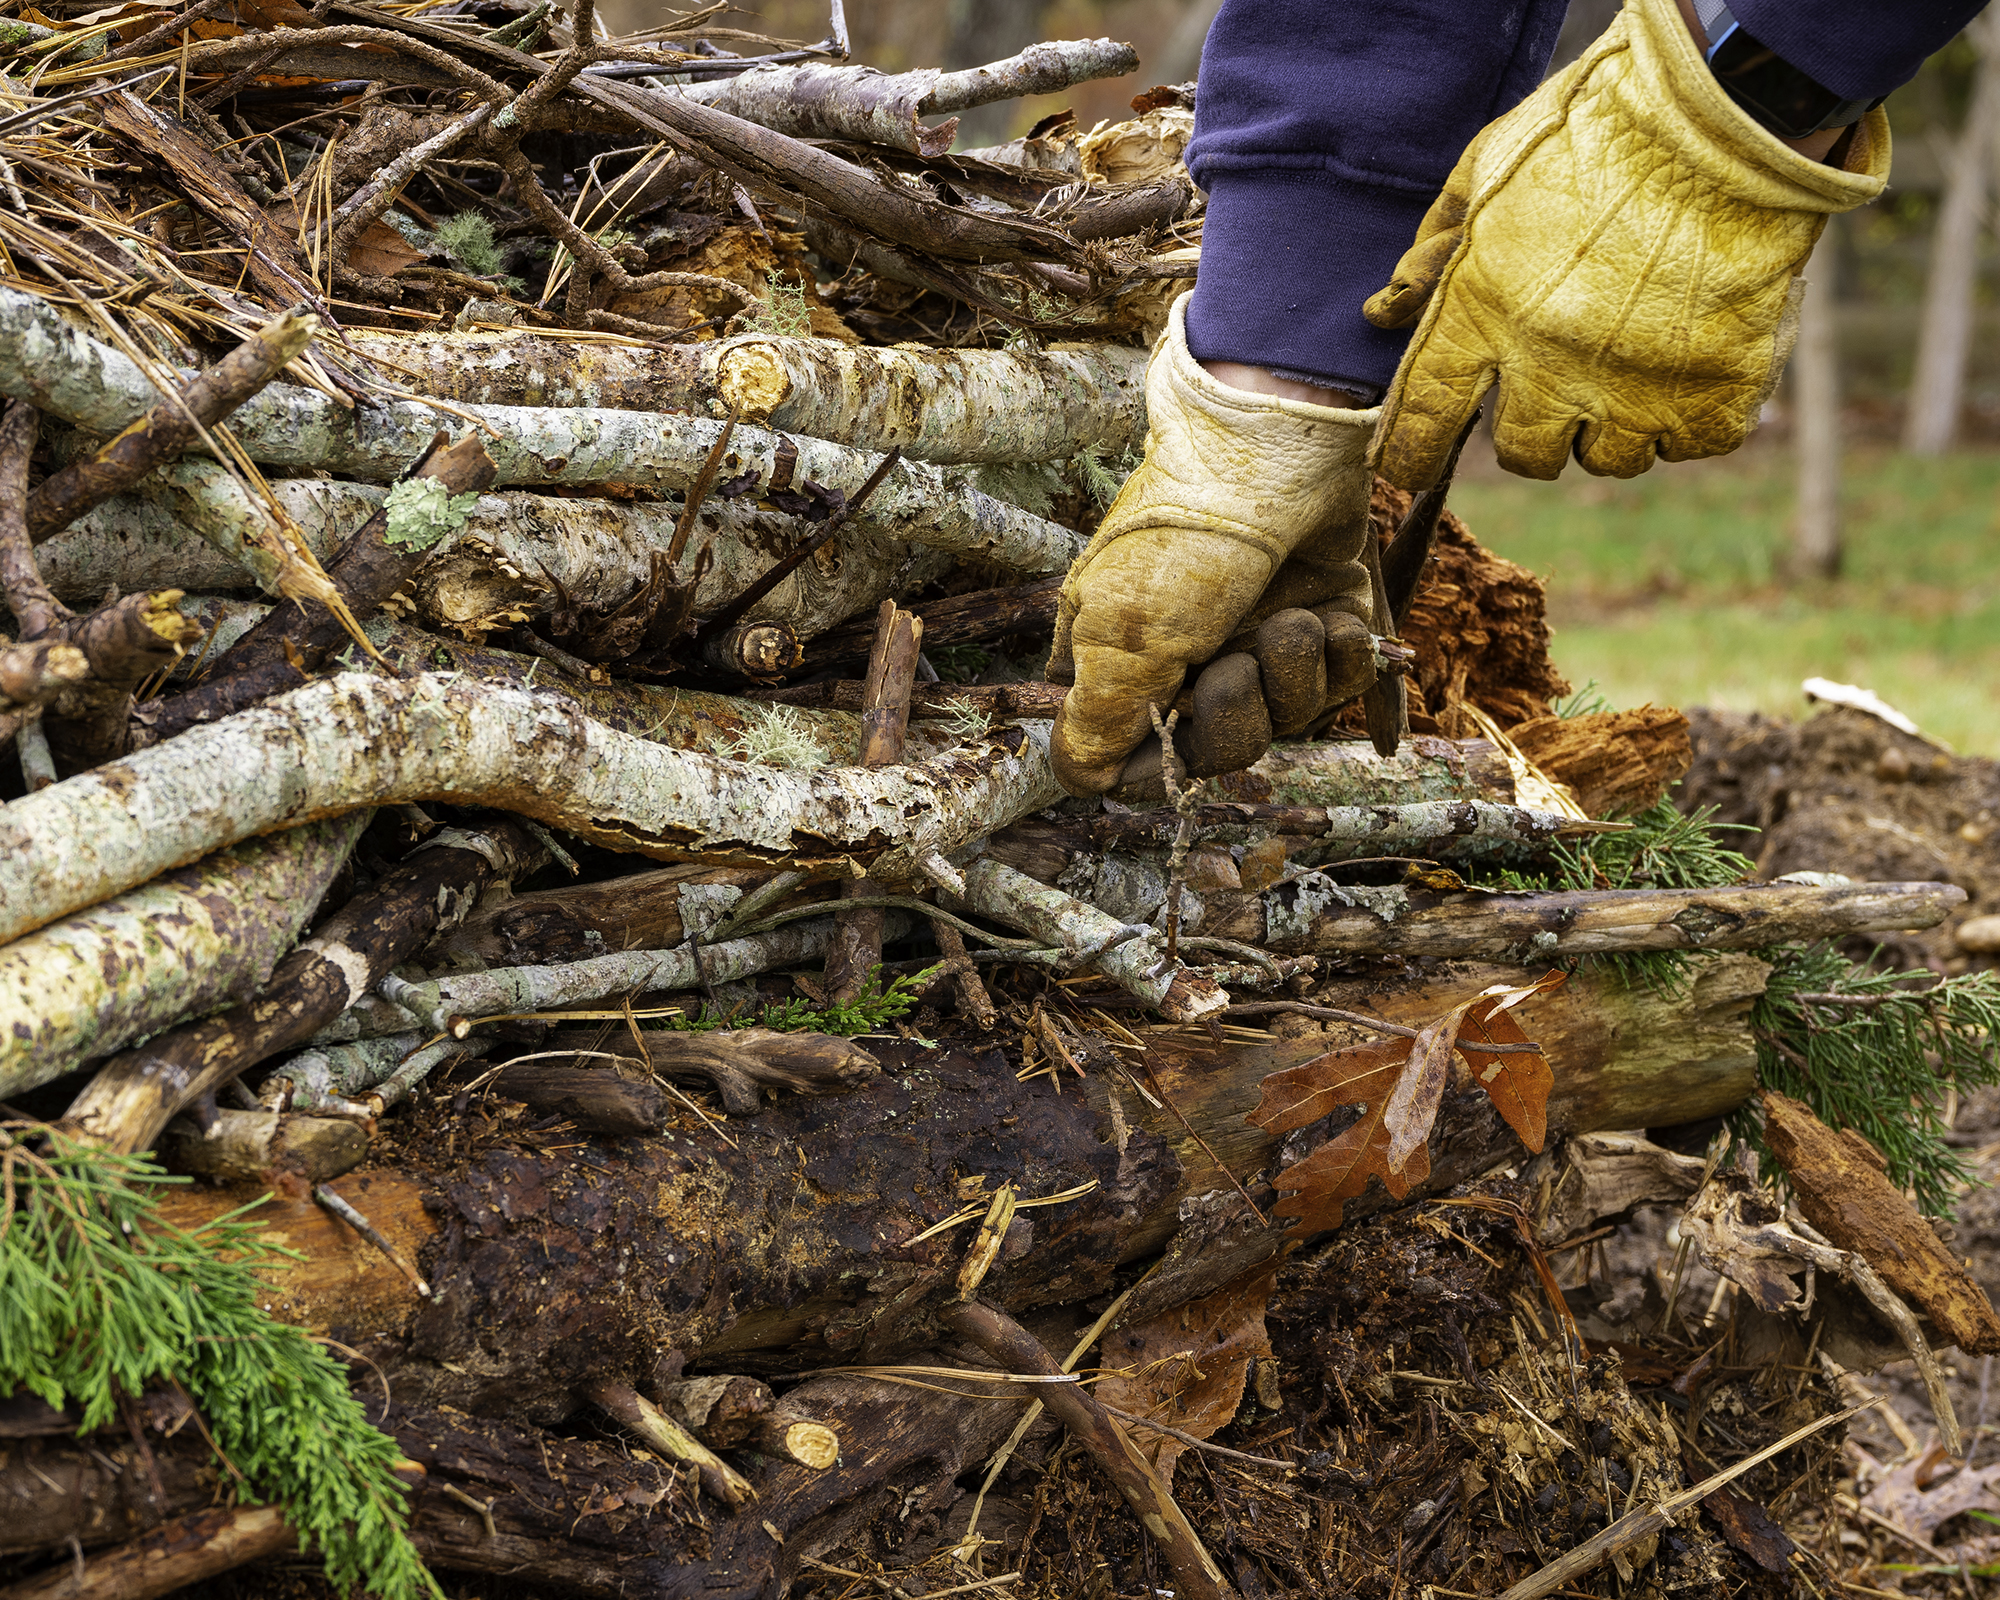
To start a hügelkultur bed, hunt down any branches, logs, or sticks lying around the yard—thin twigs, fat logs, whatever is there. Rake up leaves, scoop the grass clippings, toss in straw if you’ve got some. Flatten cardboard, grab old newspaper, or throw in a ratty cotton shirt for carbon. Kitchen scraps are good: coffee grounds, eggshells, veggie scraps. Just no meat, dairy, or oils. Yank weeds before they seed and chuck them on. Even that tired potting soil from old containers gives the hügelkultur pile some heft.
Build Your Hügelkultur Bed in Fall
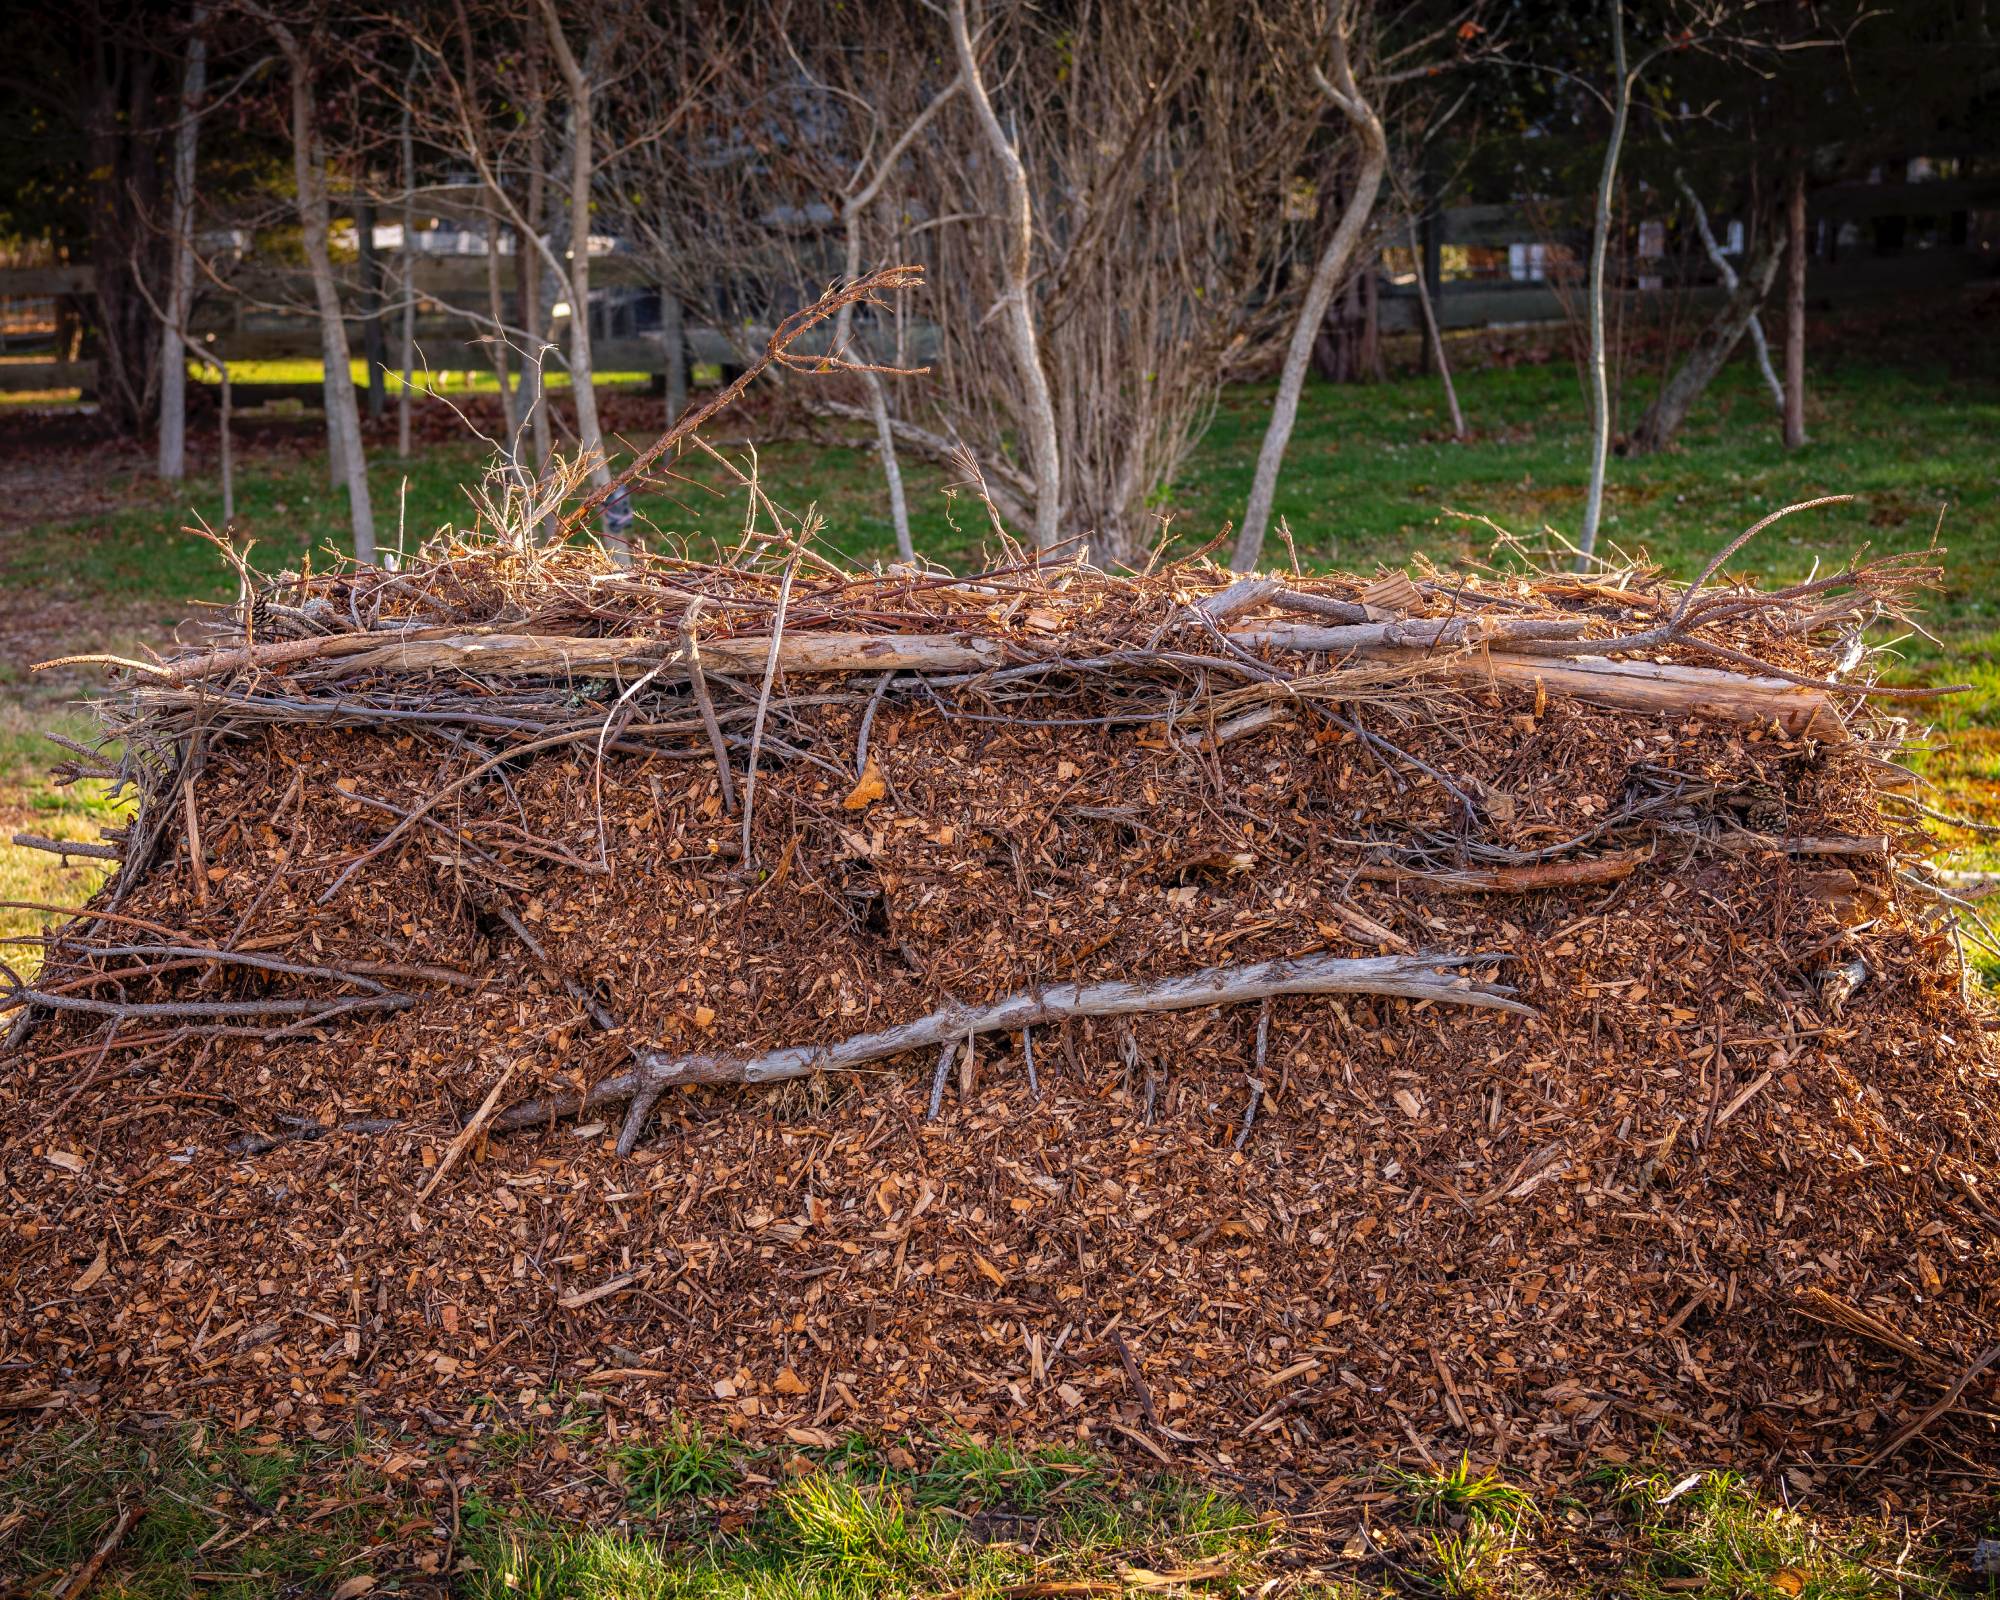
Cooler months give wood time to soak up rain and start rotting. By spring, your hügelkultur bed settles into a firm mound ready for seeds or transplants. Wet wood rots faster, and cold keeps pests low. The pile will shrink over winter, so you avoid sinking beds in summer. You also use fall cleanup waste instead of bagging it for the curb.
Pick a good sunny spot—at least six hours of light—and mark a long oval that’s about 3 feet high and 6 feet wide (1 m high and 2 m wide). Start small if you’re new to this; a 4 x 8 foot (1.2 m x 2.4 m) bed works perfectly. Dig a shallow trench for the base logs to sit in. You can also construct your hügelkultur mound in a raised bed garden.
Sign up for the Gardening Know How newsletter today and receive a free copy of our e-book "How to Grow Delicious Tomatoes".
Start with big logs at the bottom of your mound and stack them tight to form a base. Add smaller branches next, filling gaps. Toss on cardboard or newspaper to block weeds. Pile leaves, clippings, and scraps in thick layers. Top with compost or garden soil, about 2-4 inches (5–10 cm) deep. Water each layer heavily to settle it and initiate decomposition.
You can add kitchen scraps and soil as you go and be sure to cover your new hügelkultur bed with a final layer of leaves or straw to hold moisture.
Add Kitchen and Garden Scraps All Winter
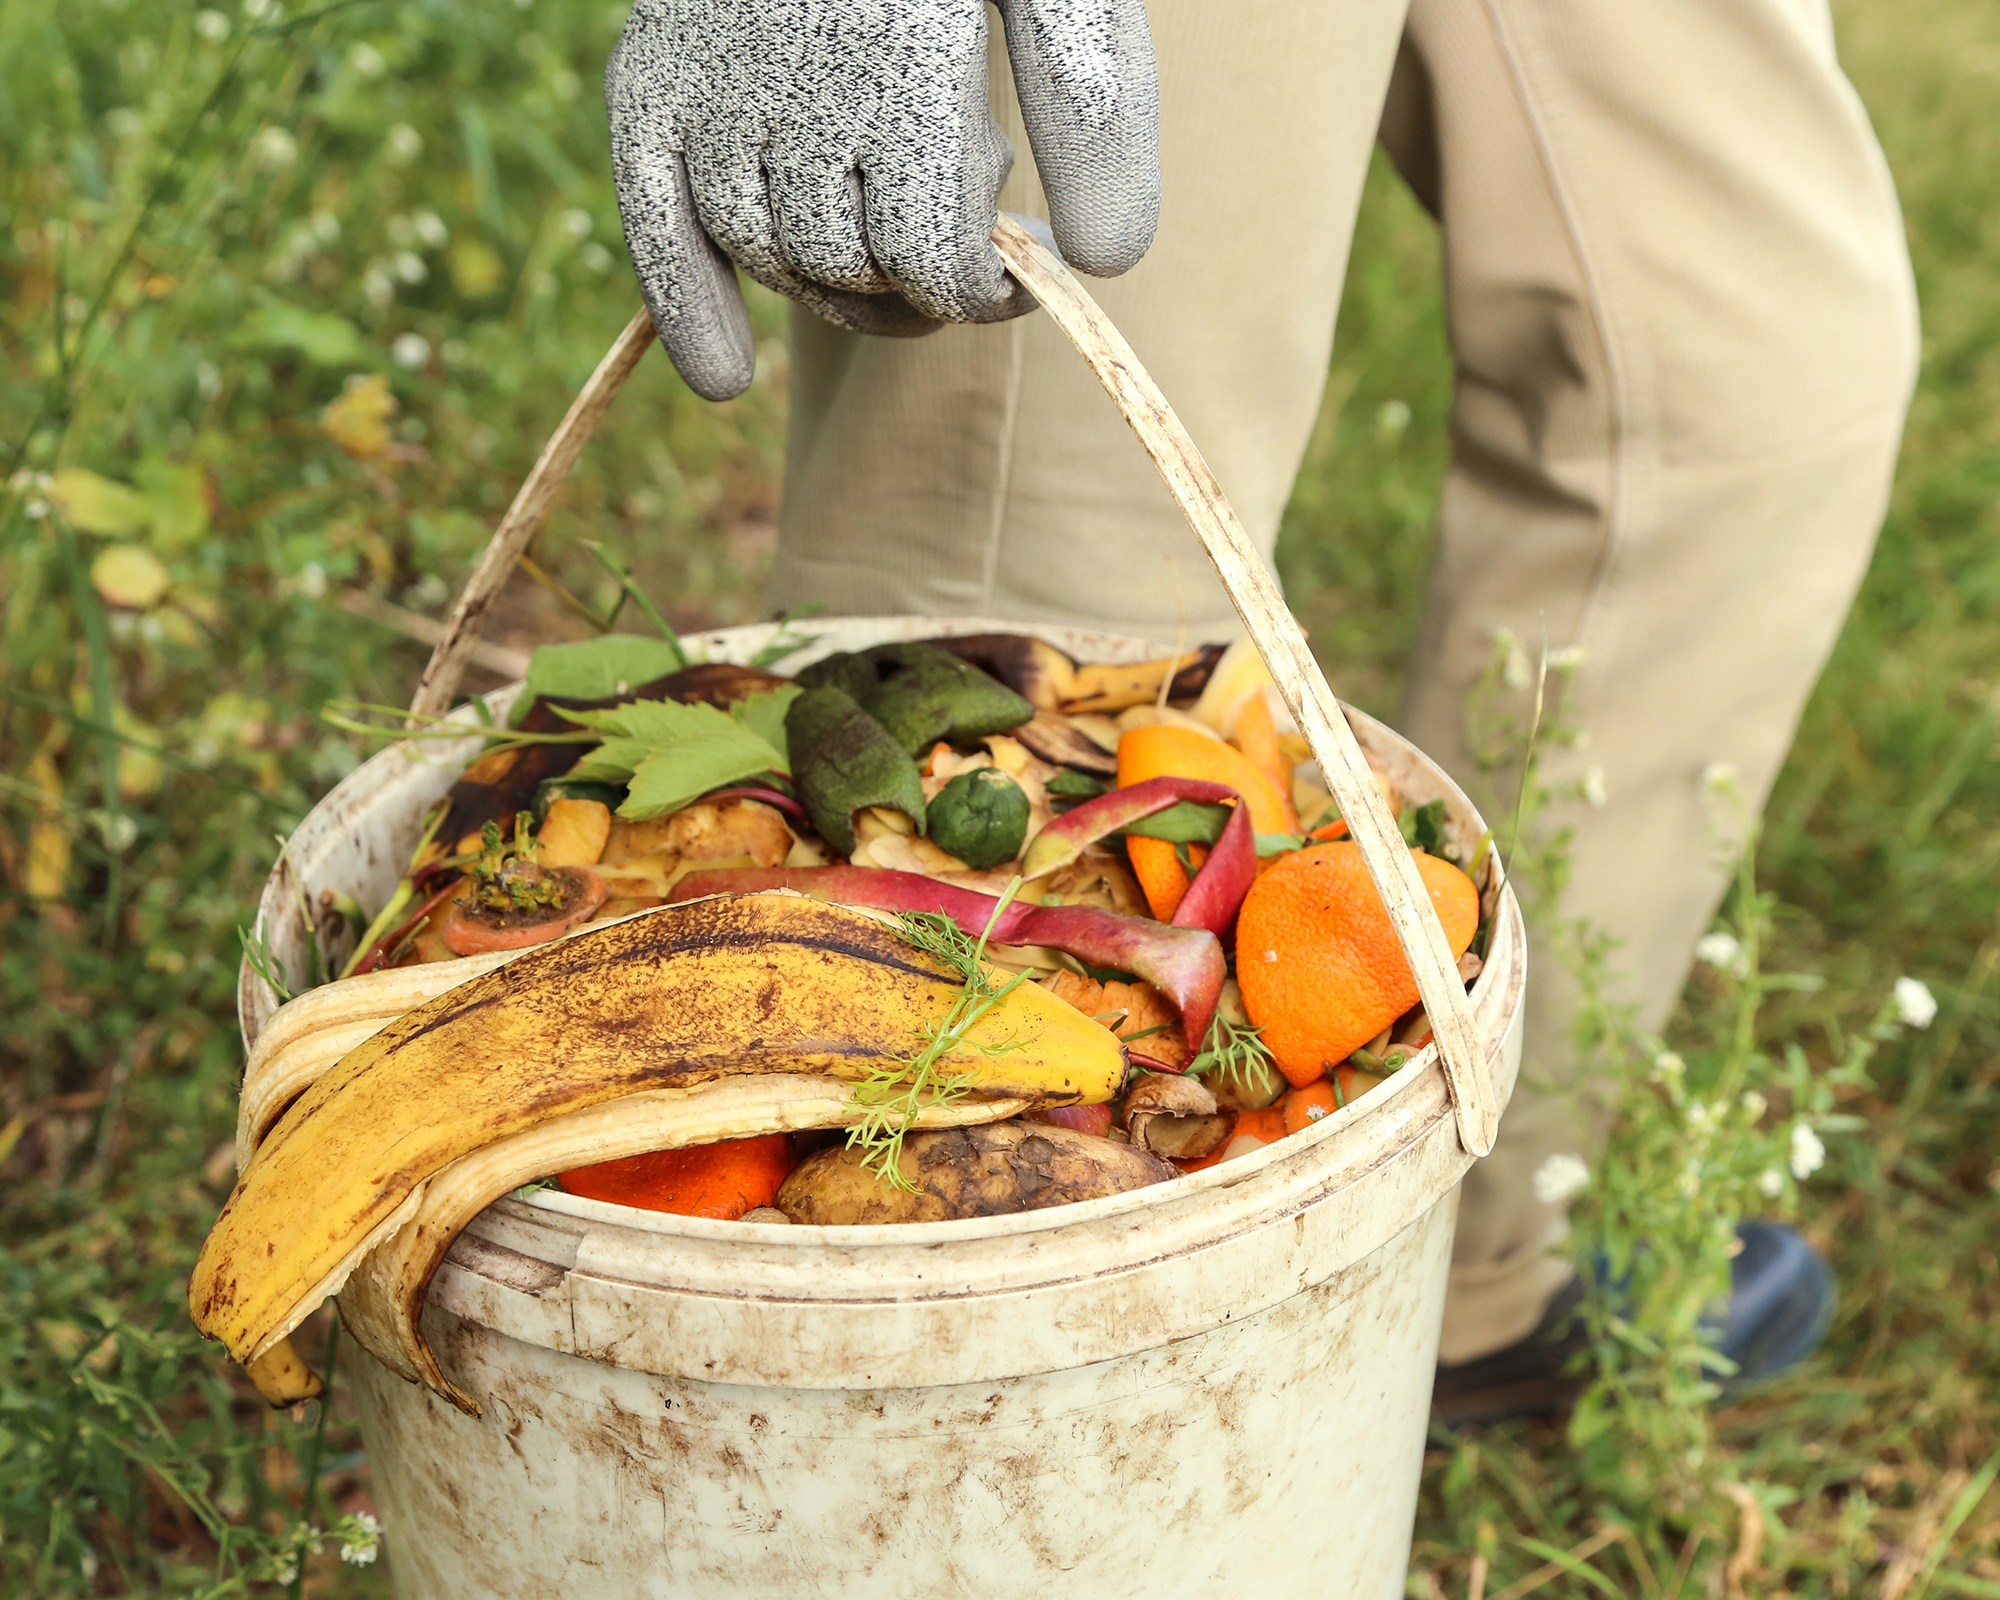
Adding scraps through the winter keeps your hügelkultur bed cooking all season. Like with regular composting, greens and browns balance each other, pumping nutrients into the mound for spring plants. It turns kitchen waste into fertilizer and keeps the pile active. Microbes and worms move in, breaking down wood faster. You are building healthy soil without buying anything!
Toss in some fruit and vegetable peels, eggshells, and your used coffee grounds daily. Mix that with dry leaves, shredded paper, cardboard tubes, or straw. Avoid thick citrus peels or pine needles in large amounts as they take a long time to break down.
It’s best to bury the scraps a few inches under the top layer so you can hide smells and speed up breakdown. All you have to do is dig a small hole, drop in some greens, cover with some browns, then top with some soil. Make sure that you alternate green scraps with brown material for even rot. A good rule is one part fresh to two parts dry. Add a bit each week and water after adding scraps to keep it damp, but not soggy.
By spring, your yard waste and kitchen scraps will turn to dark, crumbly soil. You will have beautiful, rich soil ready for planting all of your vegetables, herbs, or flowers.
Hügelkultur Essentials
- Looking to build a new raised bed? You can easily make a raised garden bed for cheap out of scrap wood, cinderblocks, or rocks you may have on your property. Or you can purchase a gorgeous metal garden bed kit from Vego Garden.
- Trim branches a twigs from trees and bushes to add to your raised bed with the compact Fiskars folding handsaw from Amazon.
- Make quick work of even large logs with this Greenworks cordless chainsaw from Amazon. The Greenworks brand is a staff favorite here at Gardening Know How!
- Collect kitchen scraps in this stainless steel compost pail from Home Depot that will contain smells until you are ready to add the scraps to your hügelkultur bed. It is also easy to clean!
- Dig into your hügelkultur mound to add kitchen scraps through the winter with the Fiskars ergonomic garden trowel from Amazon.
Tyler’s passion began with indoor gardening and deepened as he studied plant-fungi interactions in controlled settings. With a microbiology background focused on fungi, he’s spent over a decade solving tough and intricate gardening problems. After spinal injuries and brain surgery, Tyler’s approach to gardening changed. It became less about the hobby and more about recovery and adapting to physical limits. His growing success shows that disability doesn’t have to stop you from your goals.