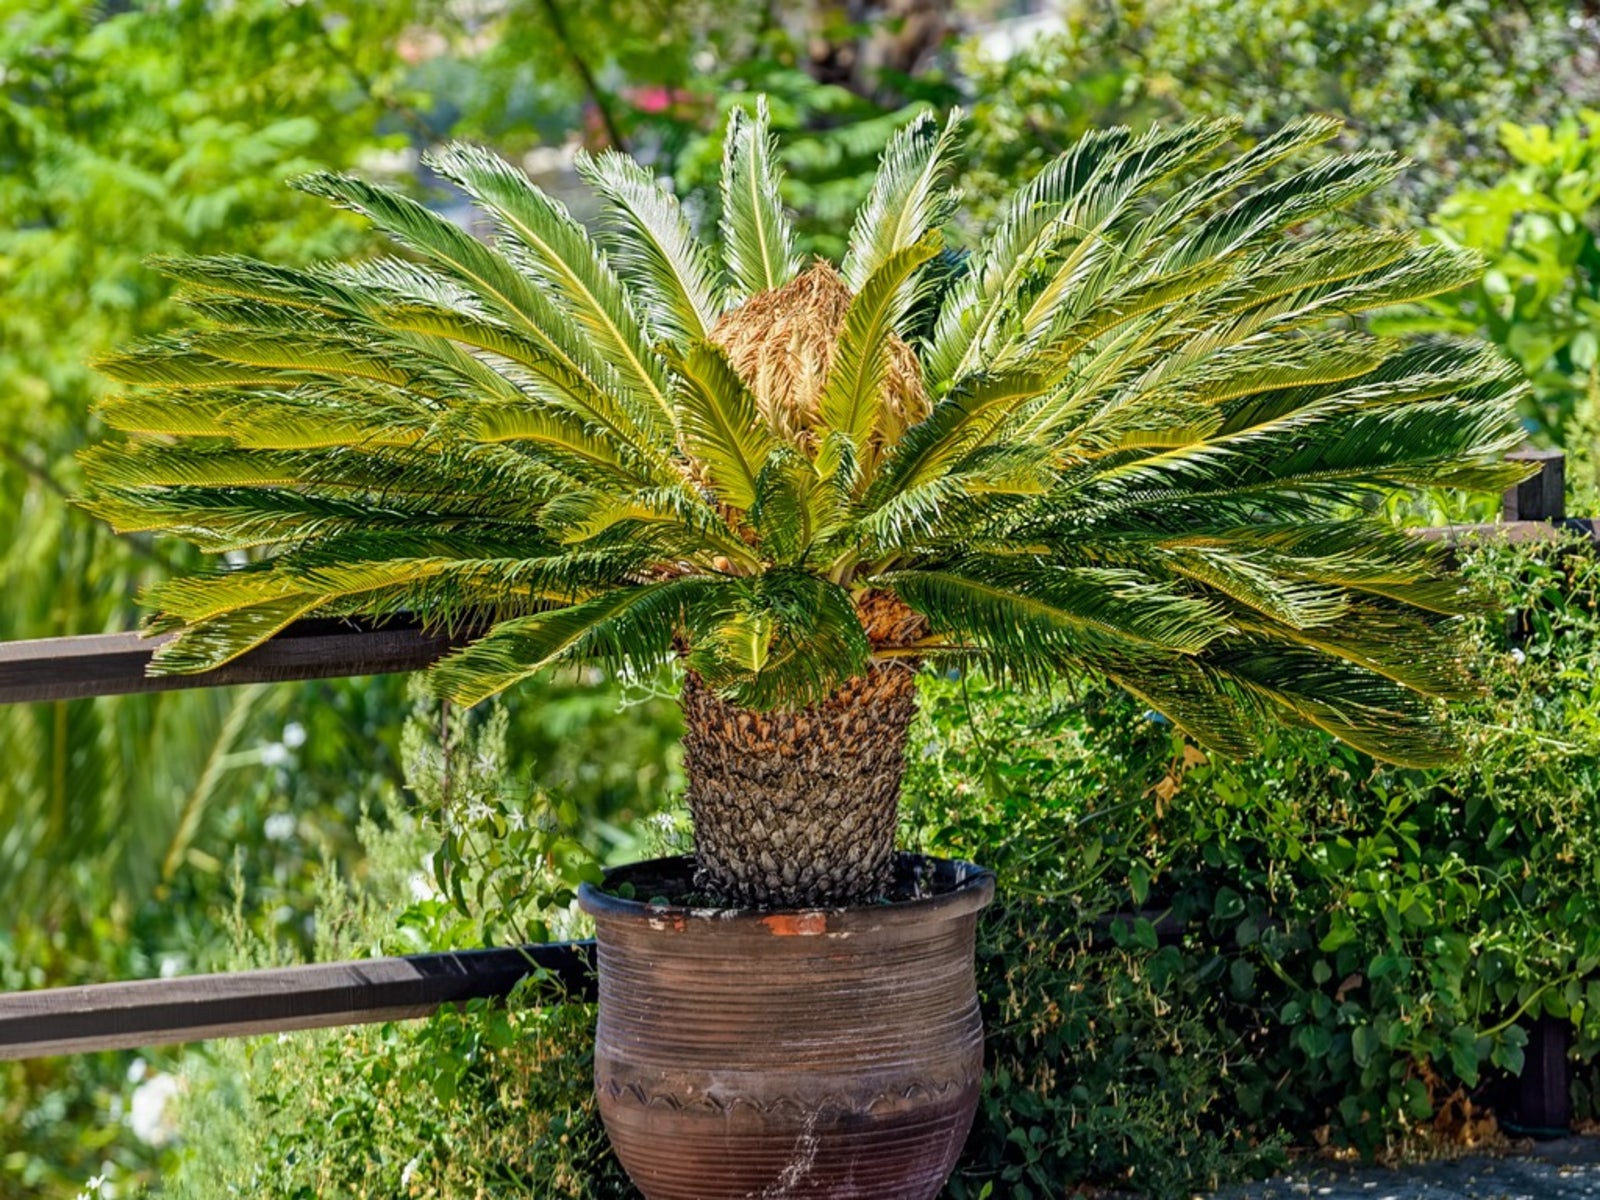
Repotting Sago Palm Trees: How And When To Repot A Sago Palm


Sturdy, long-lived, and low maintenance, sago palms are excellent houseplants. They are relatively slow growing and may only need repotting every one or two years. When the time comes, however, it’s important to move your sago palm to a new container to ensure its healthy growth. Keep reading to learn how to repot a sago palm plant.
When to Repot a Sago Palm
How do you know when to repot a sago palm? Often, the plant itself will tell you. Sago palms’ roots are surprisingly large for the size of their foliage. Even if your palm looks modest above ground, you may notice roots escaping through drainage holes, water taking a long time to drain, or even the sides of your container bulging out. This means it’s time to repot! In warm areas, you can do this any time during the growing season. In areas with short summers, late winter or early spring is optimal. If your palm is really bursting out of its container, however, repotting it right away is more important than waiting for the right time of year.
Repotting Sago Palm Trees
When choosing a new container for sago palm transplanting, go for depth rather than width so your roots have more space to grow down. Look for a container that’s 3 inches (8 cm.) wider and/or deeper than your current one. An ideal sago palm potting mix drains very quickly. Mix your regular potting soil with plenty of grit such as pumice, sand, or peat moss. Once your potting mix is prepared, it’s time to transplant. Due to their large, tight, root balls and sturdy trunks, repotting sago palm trees is easy. Turn your current container on its side and grip the trunk firmly in one hand. With the other hand, pull on the container. It should come away easily, but if it doesn’t, try squeezing and shaking it gently. Be careful not to bend the trunk of the palm though, as this can break the heart of the palm in the center of the trunk. Once the plant is free, hold it in the new container and pile sago palm potting mix under and around it so that the soil reaches the same level on the plant as before. Water liberally, then place it in a sunny spot.
Sign up for the Gardening Know How newsletter today and receive a free copy of our e-book "How to Grow Delicious Tomatoes".

The only child of a horticulturist and an English teacher, Liz Baessler was destined to become a gardening editor. She has been with Gardening Know how since 2015, and a Senior Editor since 2020. She holds a BA in English from Brandeis University and an MA in English from the University of Geneva, Switzerland. After years of gardening in containers and community garden plots, she finally has a backyard of her own, which she is systematically filling with vegetables and flowers.