How to Plant a Bulb Trifle for Some Rachel Green-Inspired Magic Come Spring
All together now, Friends fans? You’re not supposed to put beef in the trifle!

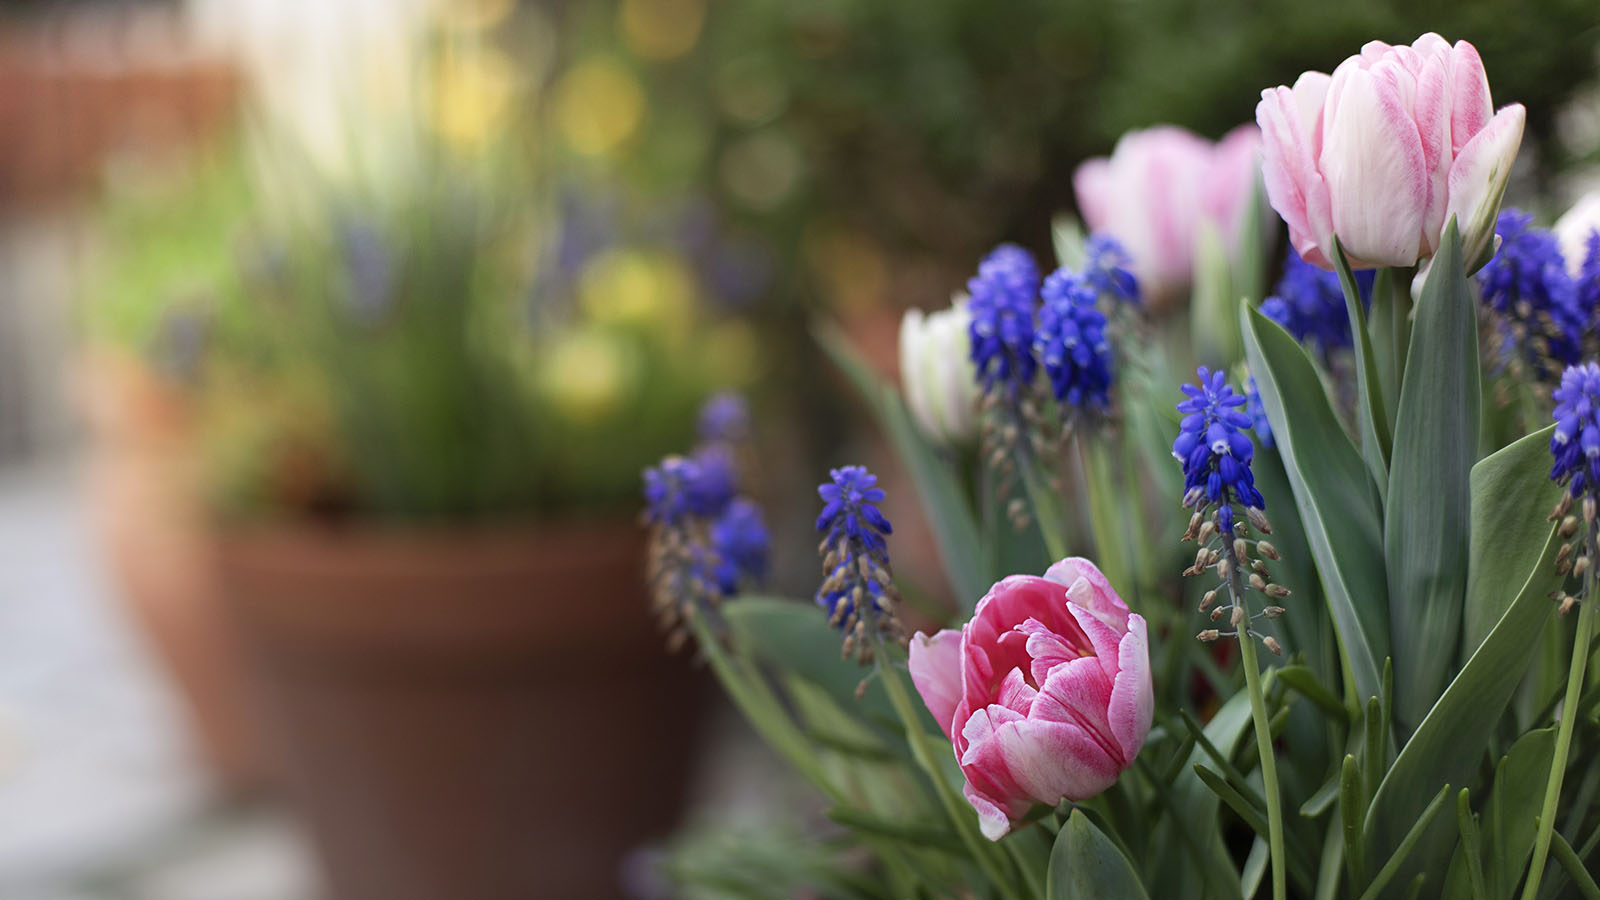
If you’re dreaming of a spring garden that bursts with color, look no further than the bulb trifle – a fresh twist on the classic bulb lasagna. Much like the dessert that inspired its name, this planting technique is all about layering bulbs in containers so they bloom in succession, giving you continuous blooms throughout the season.
Why call it a trifle instead of a lasagna? Because it’s lighter, brighter, and more springlike, plus it gives us the chance to channel our inner Rachel Green. Her infamous trifle from Friends has launched thousands of memes over the years thanks to its unexpected layer of ‘beef sauteed with peas and onions’, but worry not; ours is a meat-free gardening method.
Just as Rachel quite literally whipped up her concoction of bananas, jam, ladyfingers, and beef in the fall (Oh, remember that Thanksgiving when Rachel screwed up the trifle?), then, now is the time to set to work on your own fuss-free bulb trifle. Just be sure to read the steps before you get started, to avoid any awkward mishaps…
What You Will Need for a Bulb Trifle
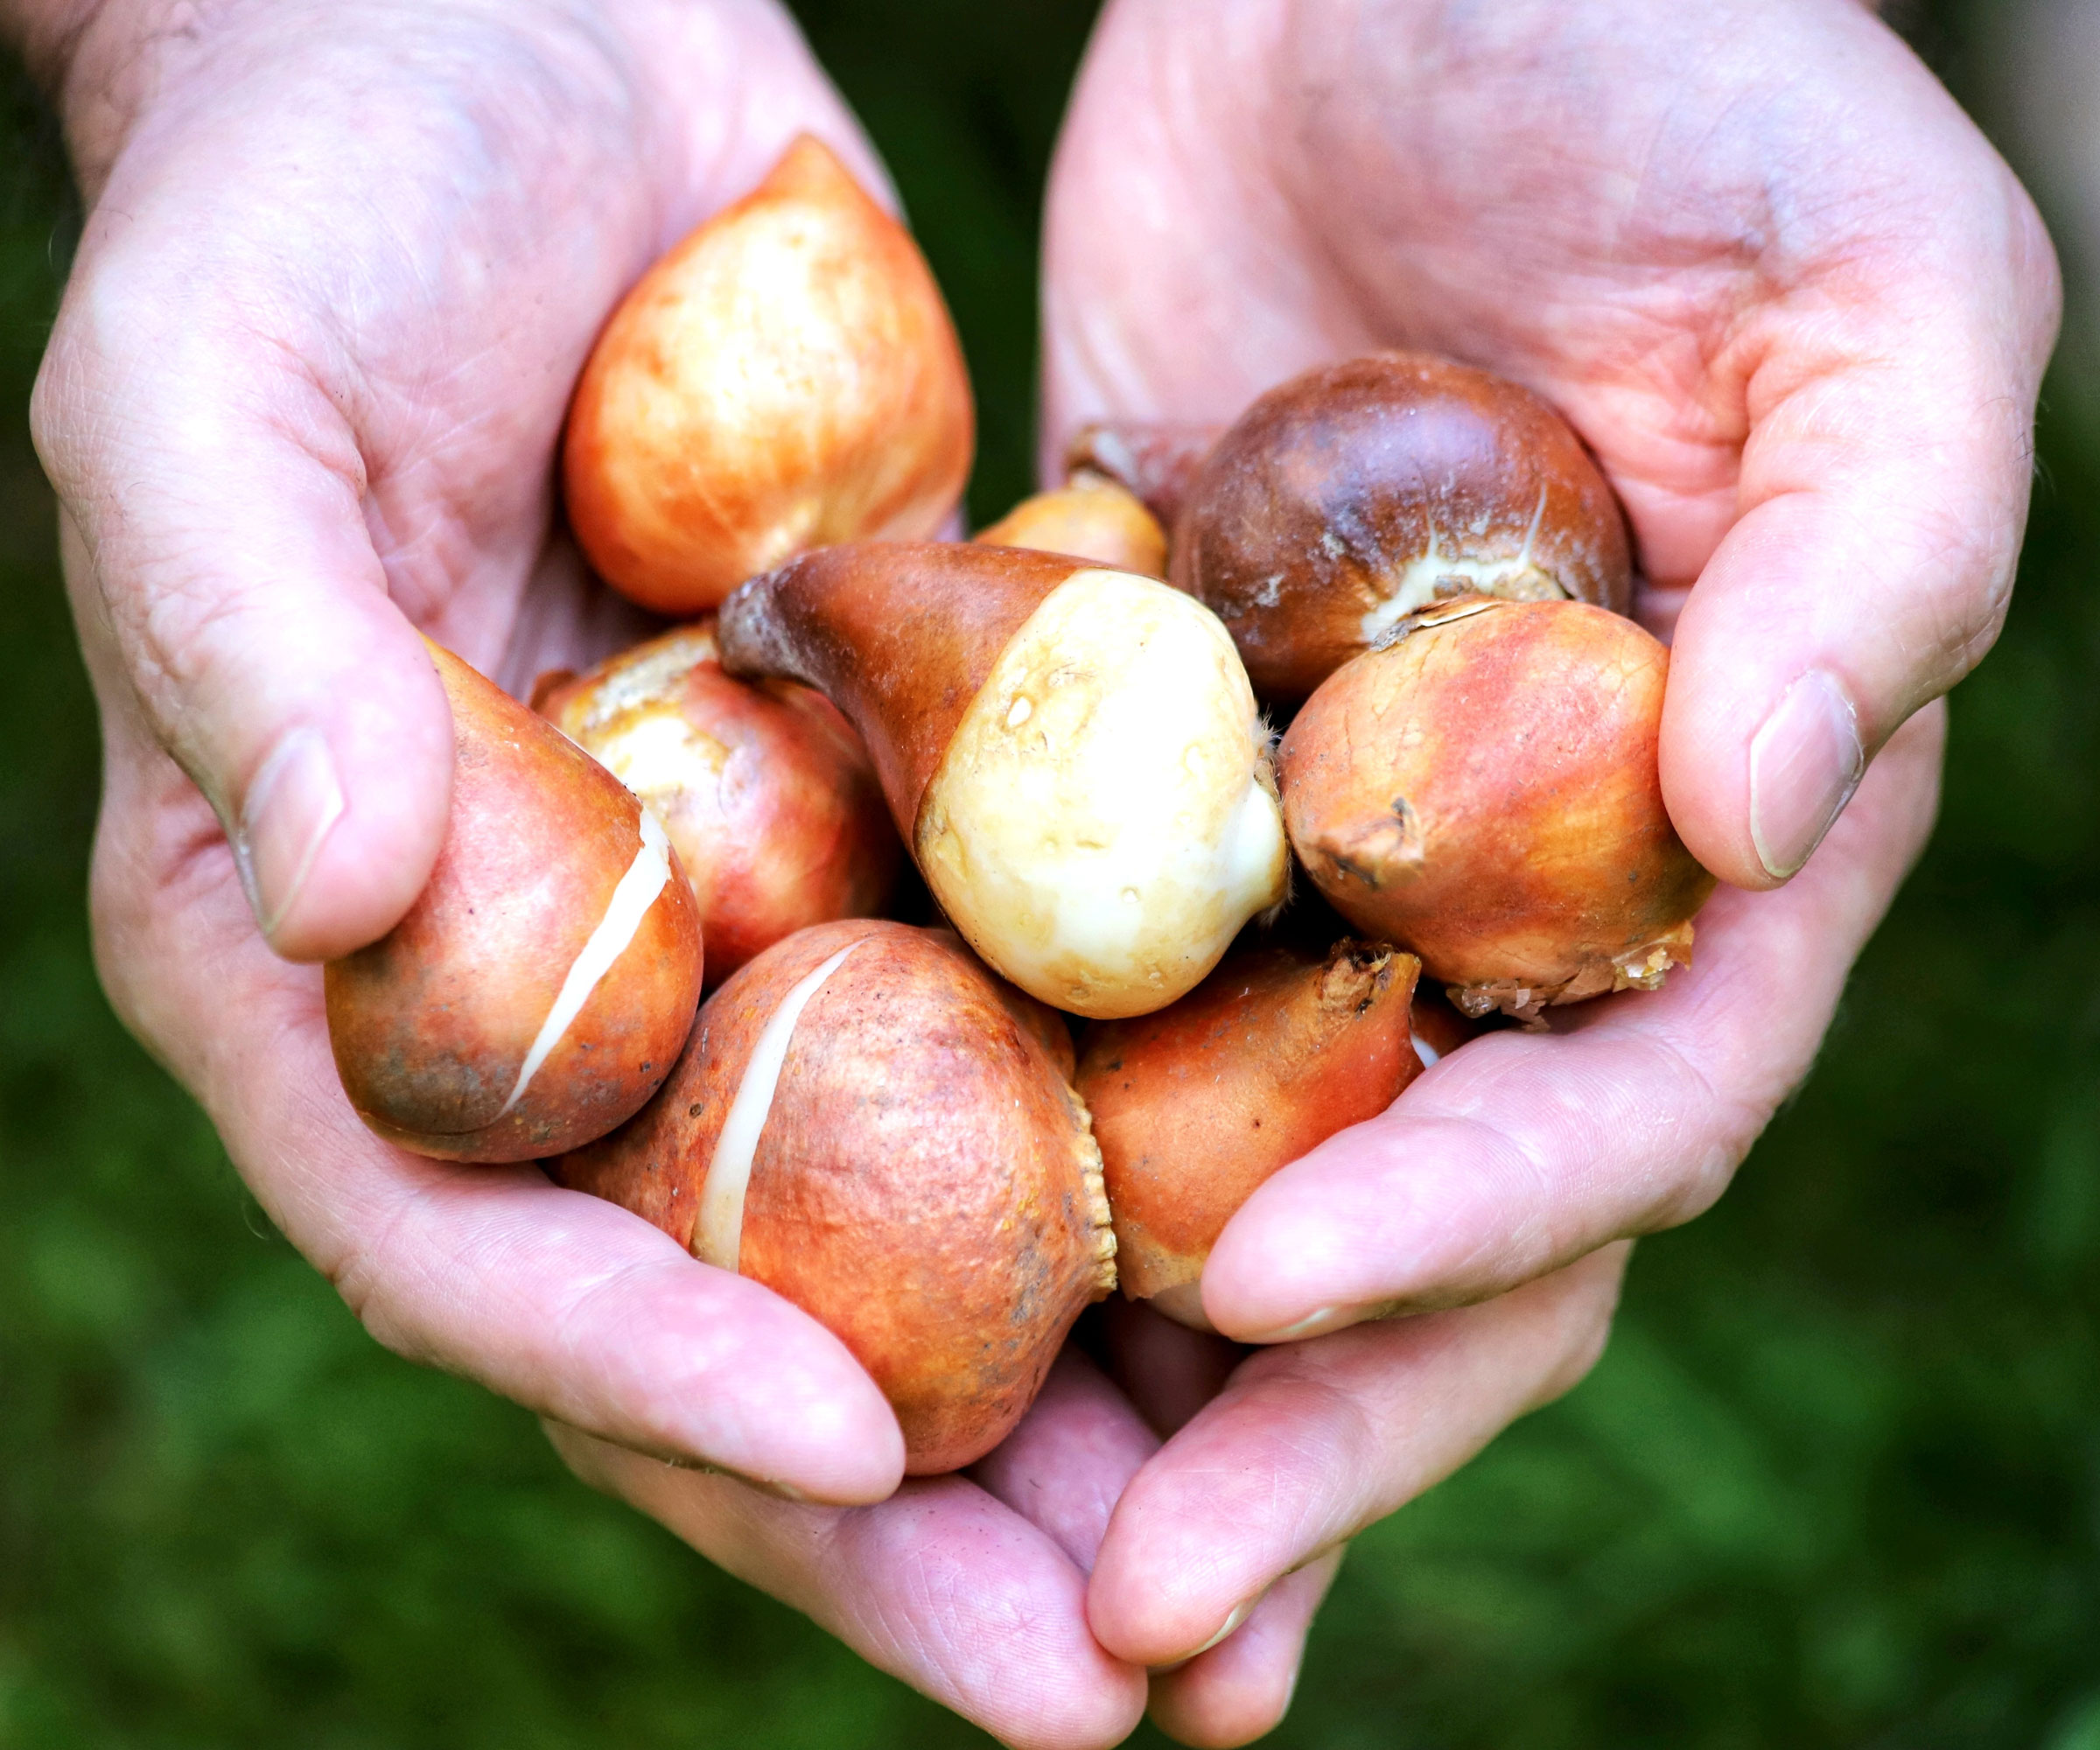
A bulb trifle takes a little planning. After all, the bulbs you choose will largely depend on your USDA Hardiness Zones, since bloom timing and winter survival vary across the country.
As a general rule of thumb, though, you will need:
- A selection of bulbs; typically, people mix up snowdrops, tulips, daffodils, hyacinths, crocuses, alliums, dwarf irises, and grape hyacinths for this particular concoction. You can shop around or get a bulb mix of a good selection of colorful blooms that provide visual interest from March til June
- A bag of multipurpose, peat-free compost (something like R&M Organics Premium Organic Compost from Amazon should work across USDA Zones 3-8)
- A large plant pot or container with holes in the bottom, although a garden border will work just as well in a pinch. Personally, we think it's a good excuse to treat ourselves to this Classic Home & Garden Whiskey Barrel Planter from Amazon!
- Old, broken pots or stones for drainage
- Bulb fertilizer, such as Espoma Organic Bulb-Tone from Amazon, to ensure maximum flowers.
Step-by-Step Instructions
Once you have everything you need to hand, it’s easy enough to make your own bulb trifle that keeps on serving up spring flowers from the first thaw to late spring…
1. Choose Your Container
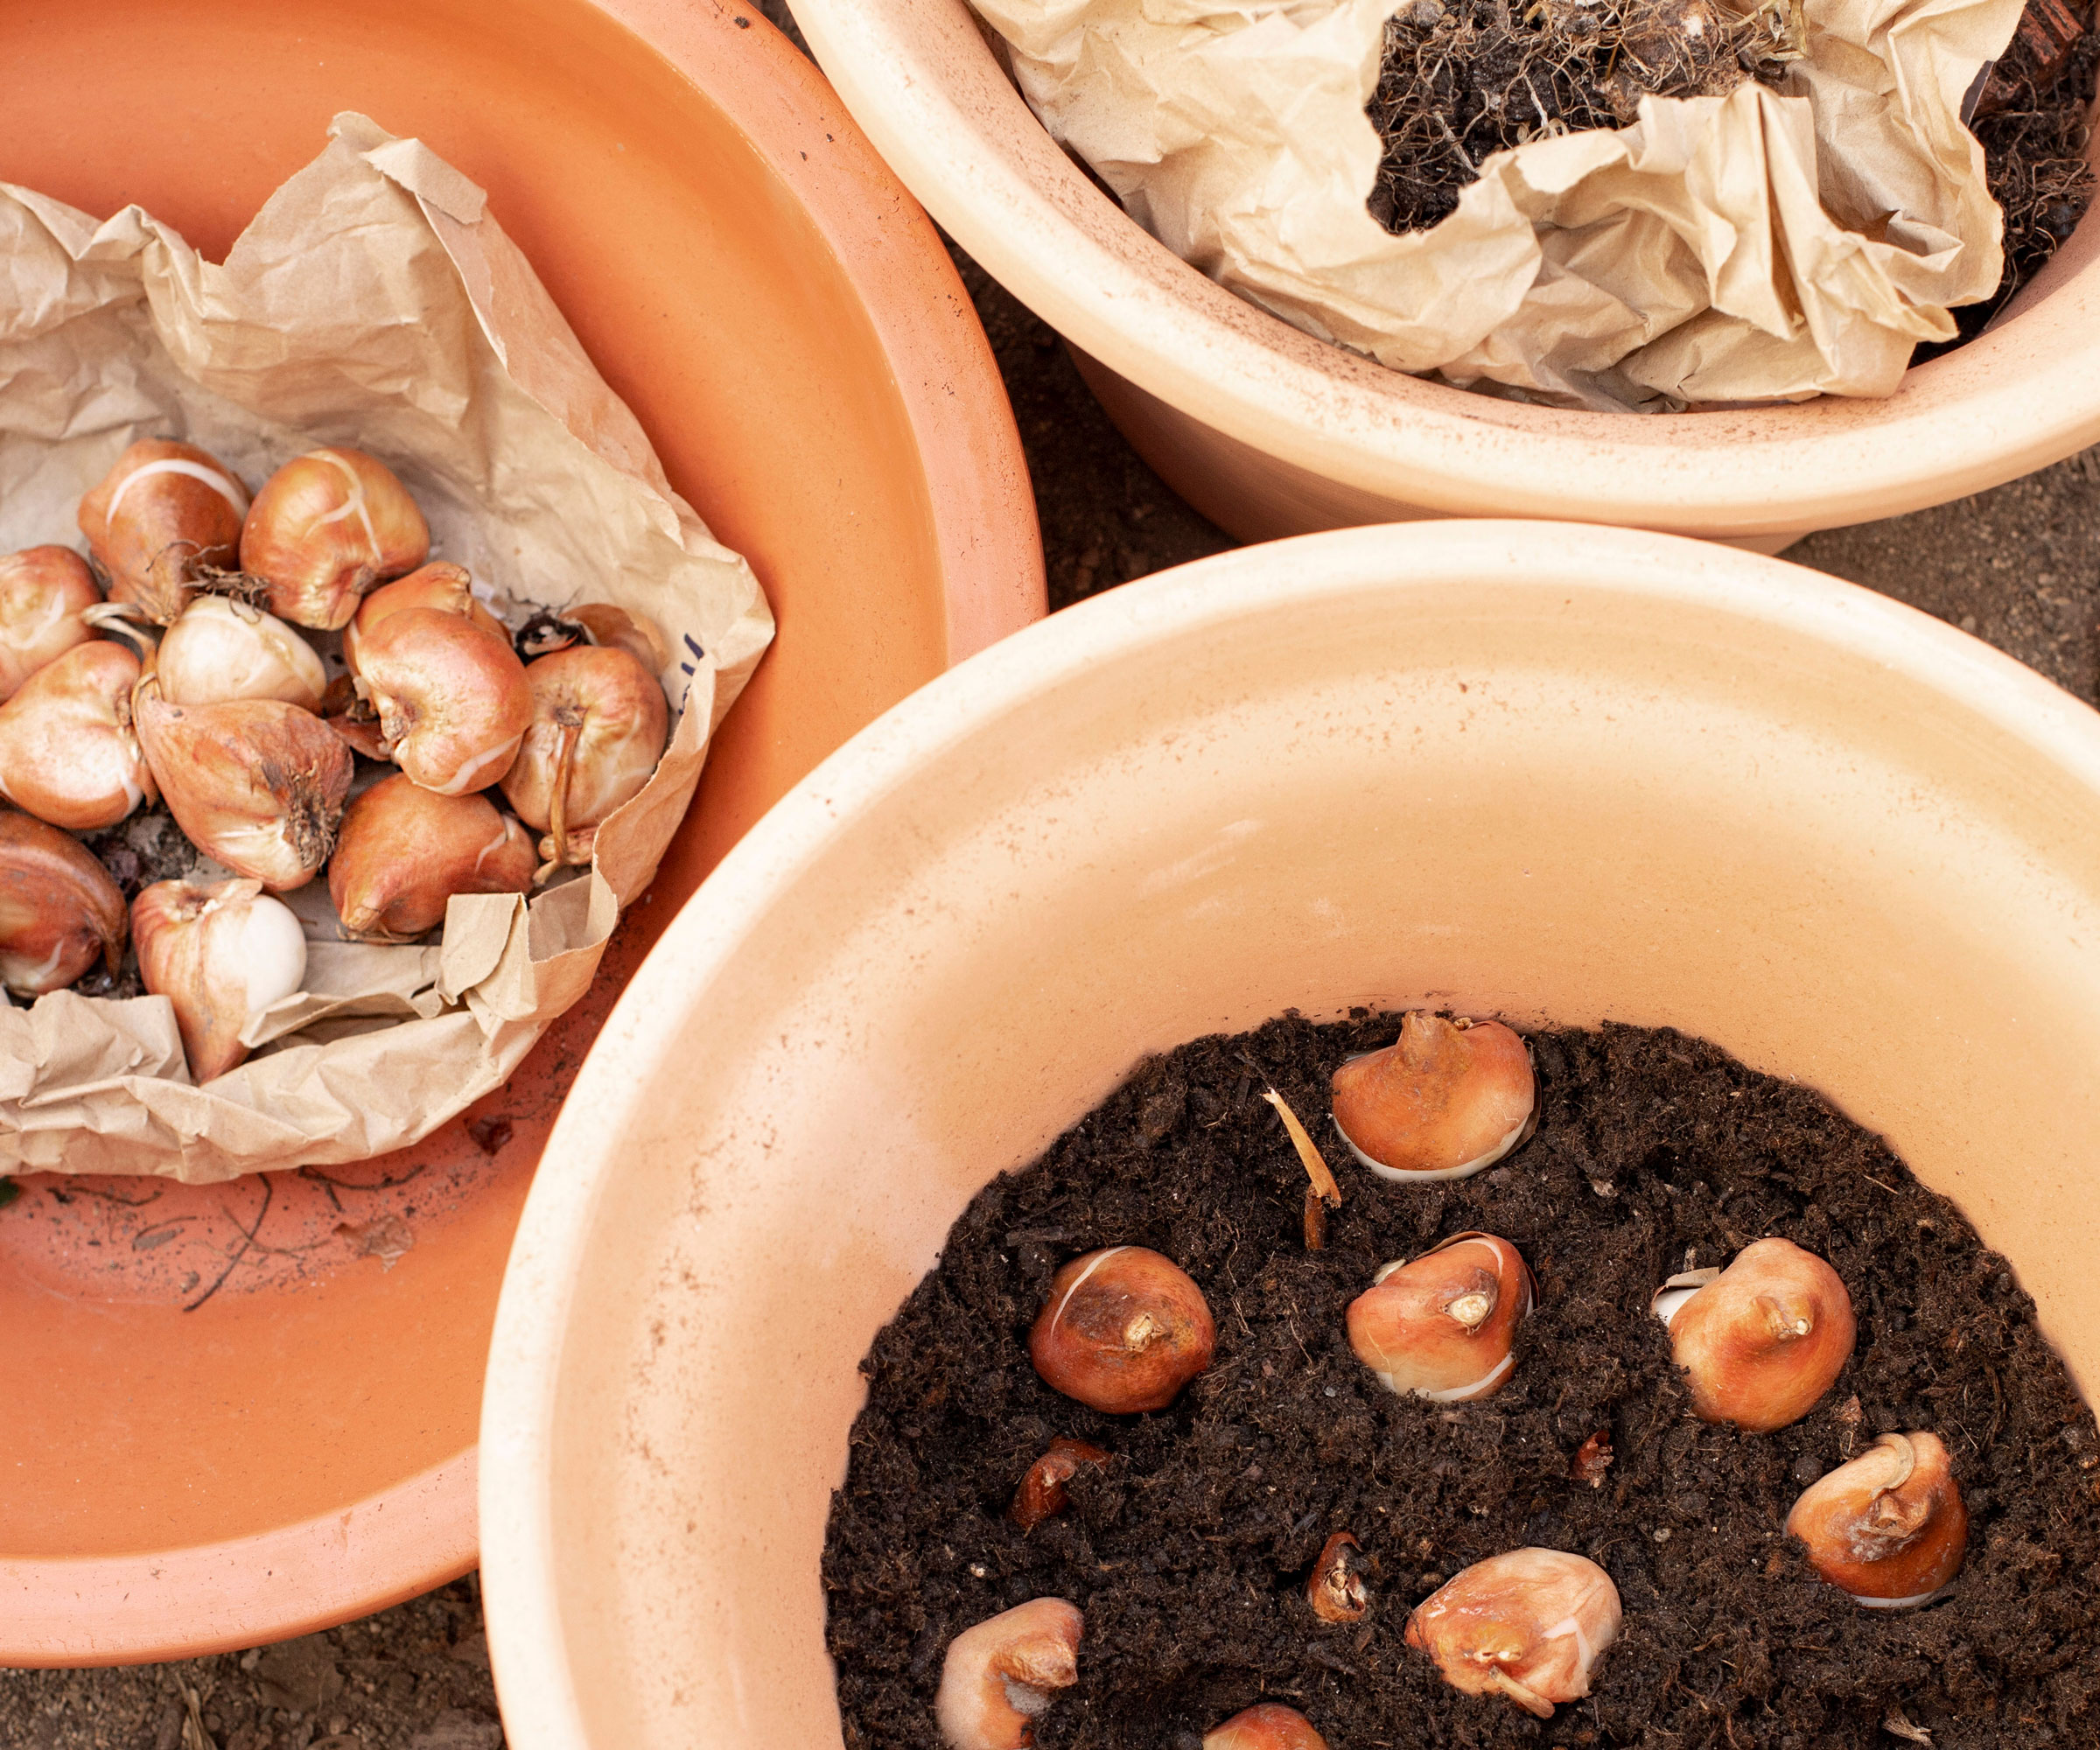
Much like Joey with his Thanksgiving pants, bulbs need room to breathe. If you’re going to make a bulb trifle, then, be sure to use a pot that’s at least 12-14 inches deep – and, while this is a popular container garden method, you could also opt for a roomier bed, too.
Sign up for the Gardening Know How newsletter today and receive a free copy of our e-book "How to Grow Delicious Tomatoes".
2. Add Drainage
A bulb trifle hates a soggy bottom, so add gravel or broken pottery to pots to keep them dry.
Otherwise, borders will need to be prepped by adding plenty of coarse organic matter like compost or well-rotted manure into the soil – or you could even create a raised bed for the occasion (and should, if your yard is made up of clay soil).
3. Start Layering
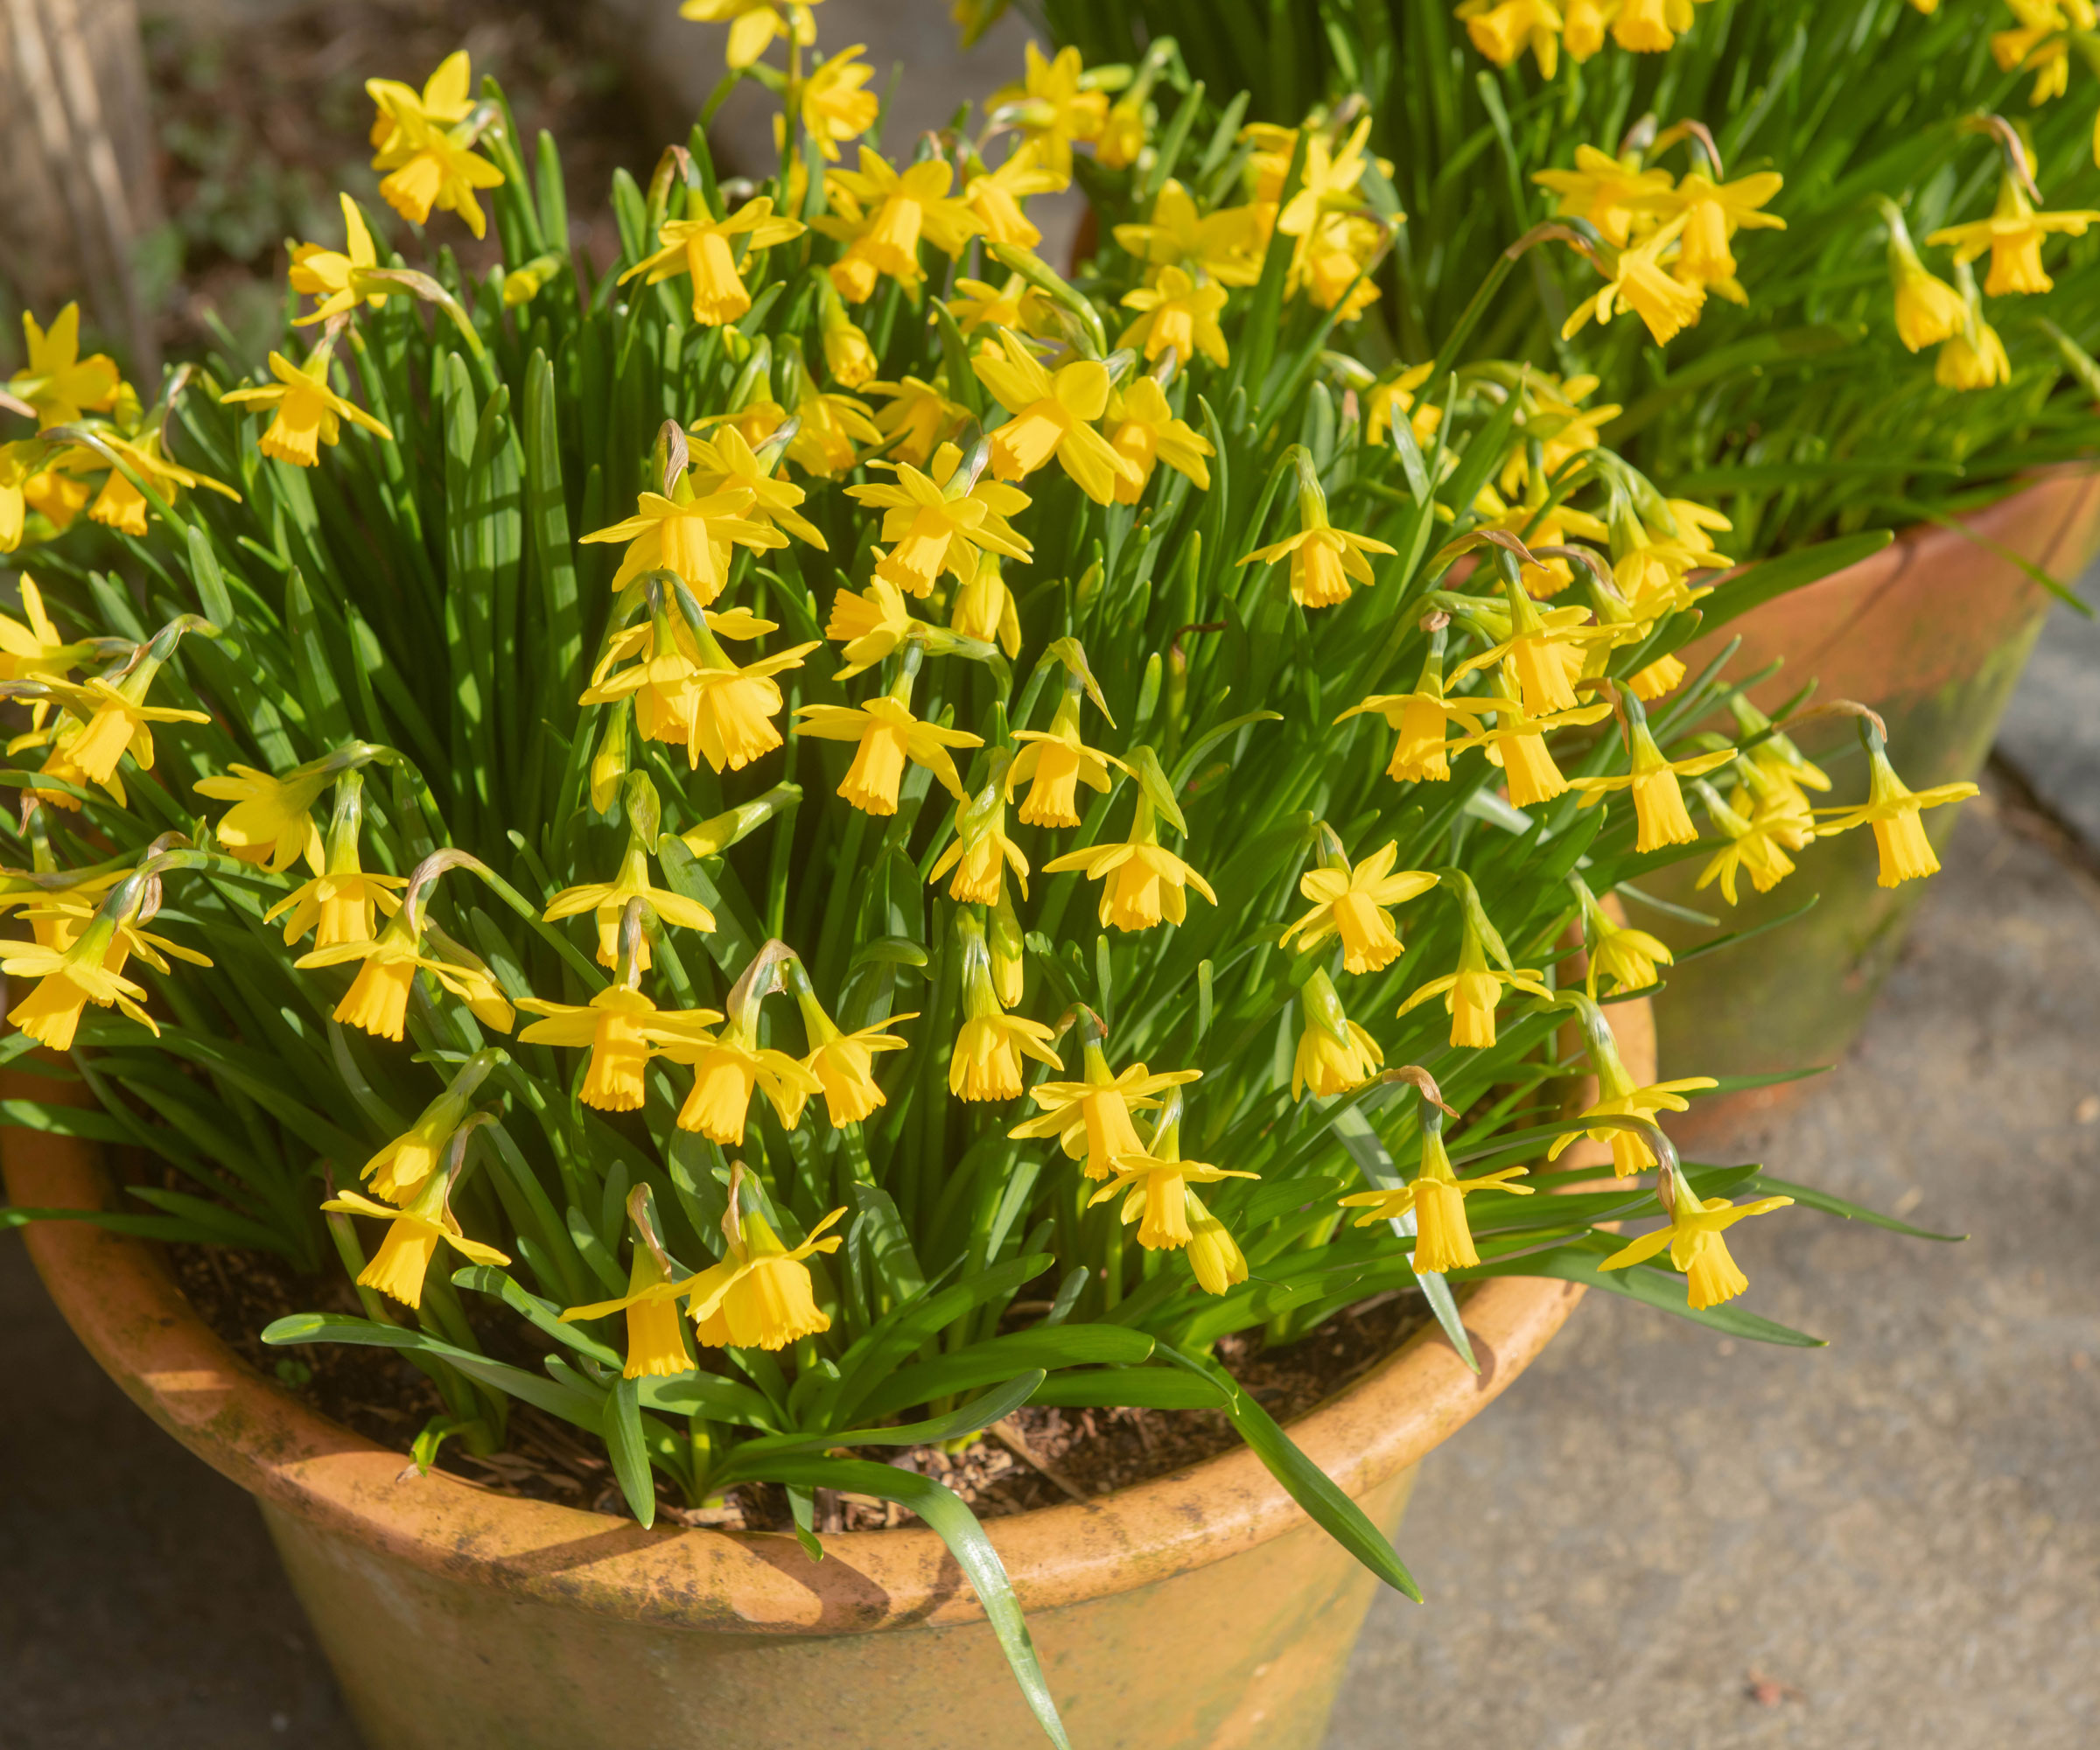
You’ll want to place the largest and latest flowering of your bulbs at the bottom of your pot or border; think daffodils and tulips. Aim to get them 6-8 inches deep and keep the pointy ends up, so they know which way to grow, and cover with compost.
4. The Middle
Here’s where you skip the beef; the middle of your bulb trifle should instead be dedicated to your midseason bloomers. Usually, alliums and tulips tend to lurk in the middle of your springtime concoction, sitting at around 4-6 inches deep. Tuck them in with a layer of compost.
5. The Top Layer
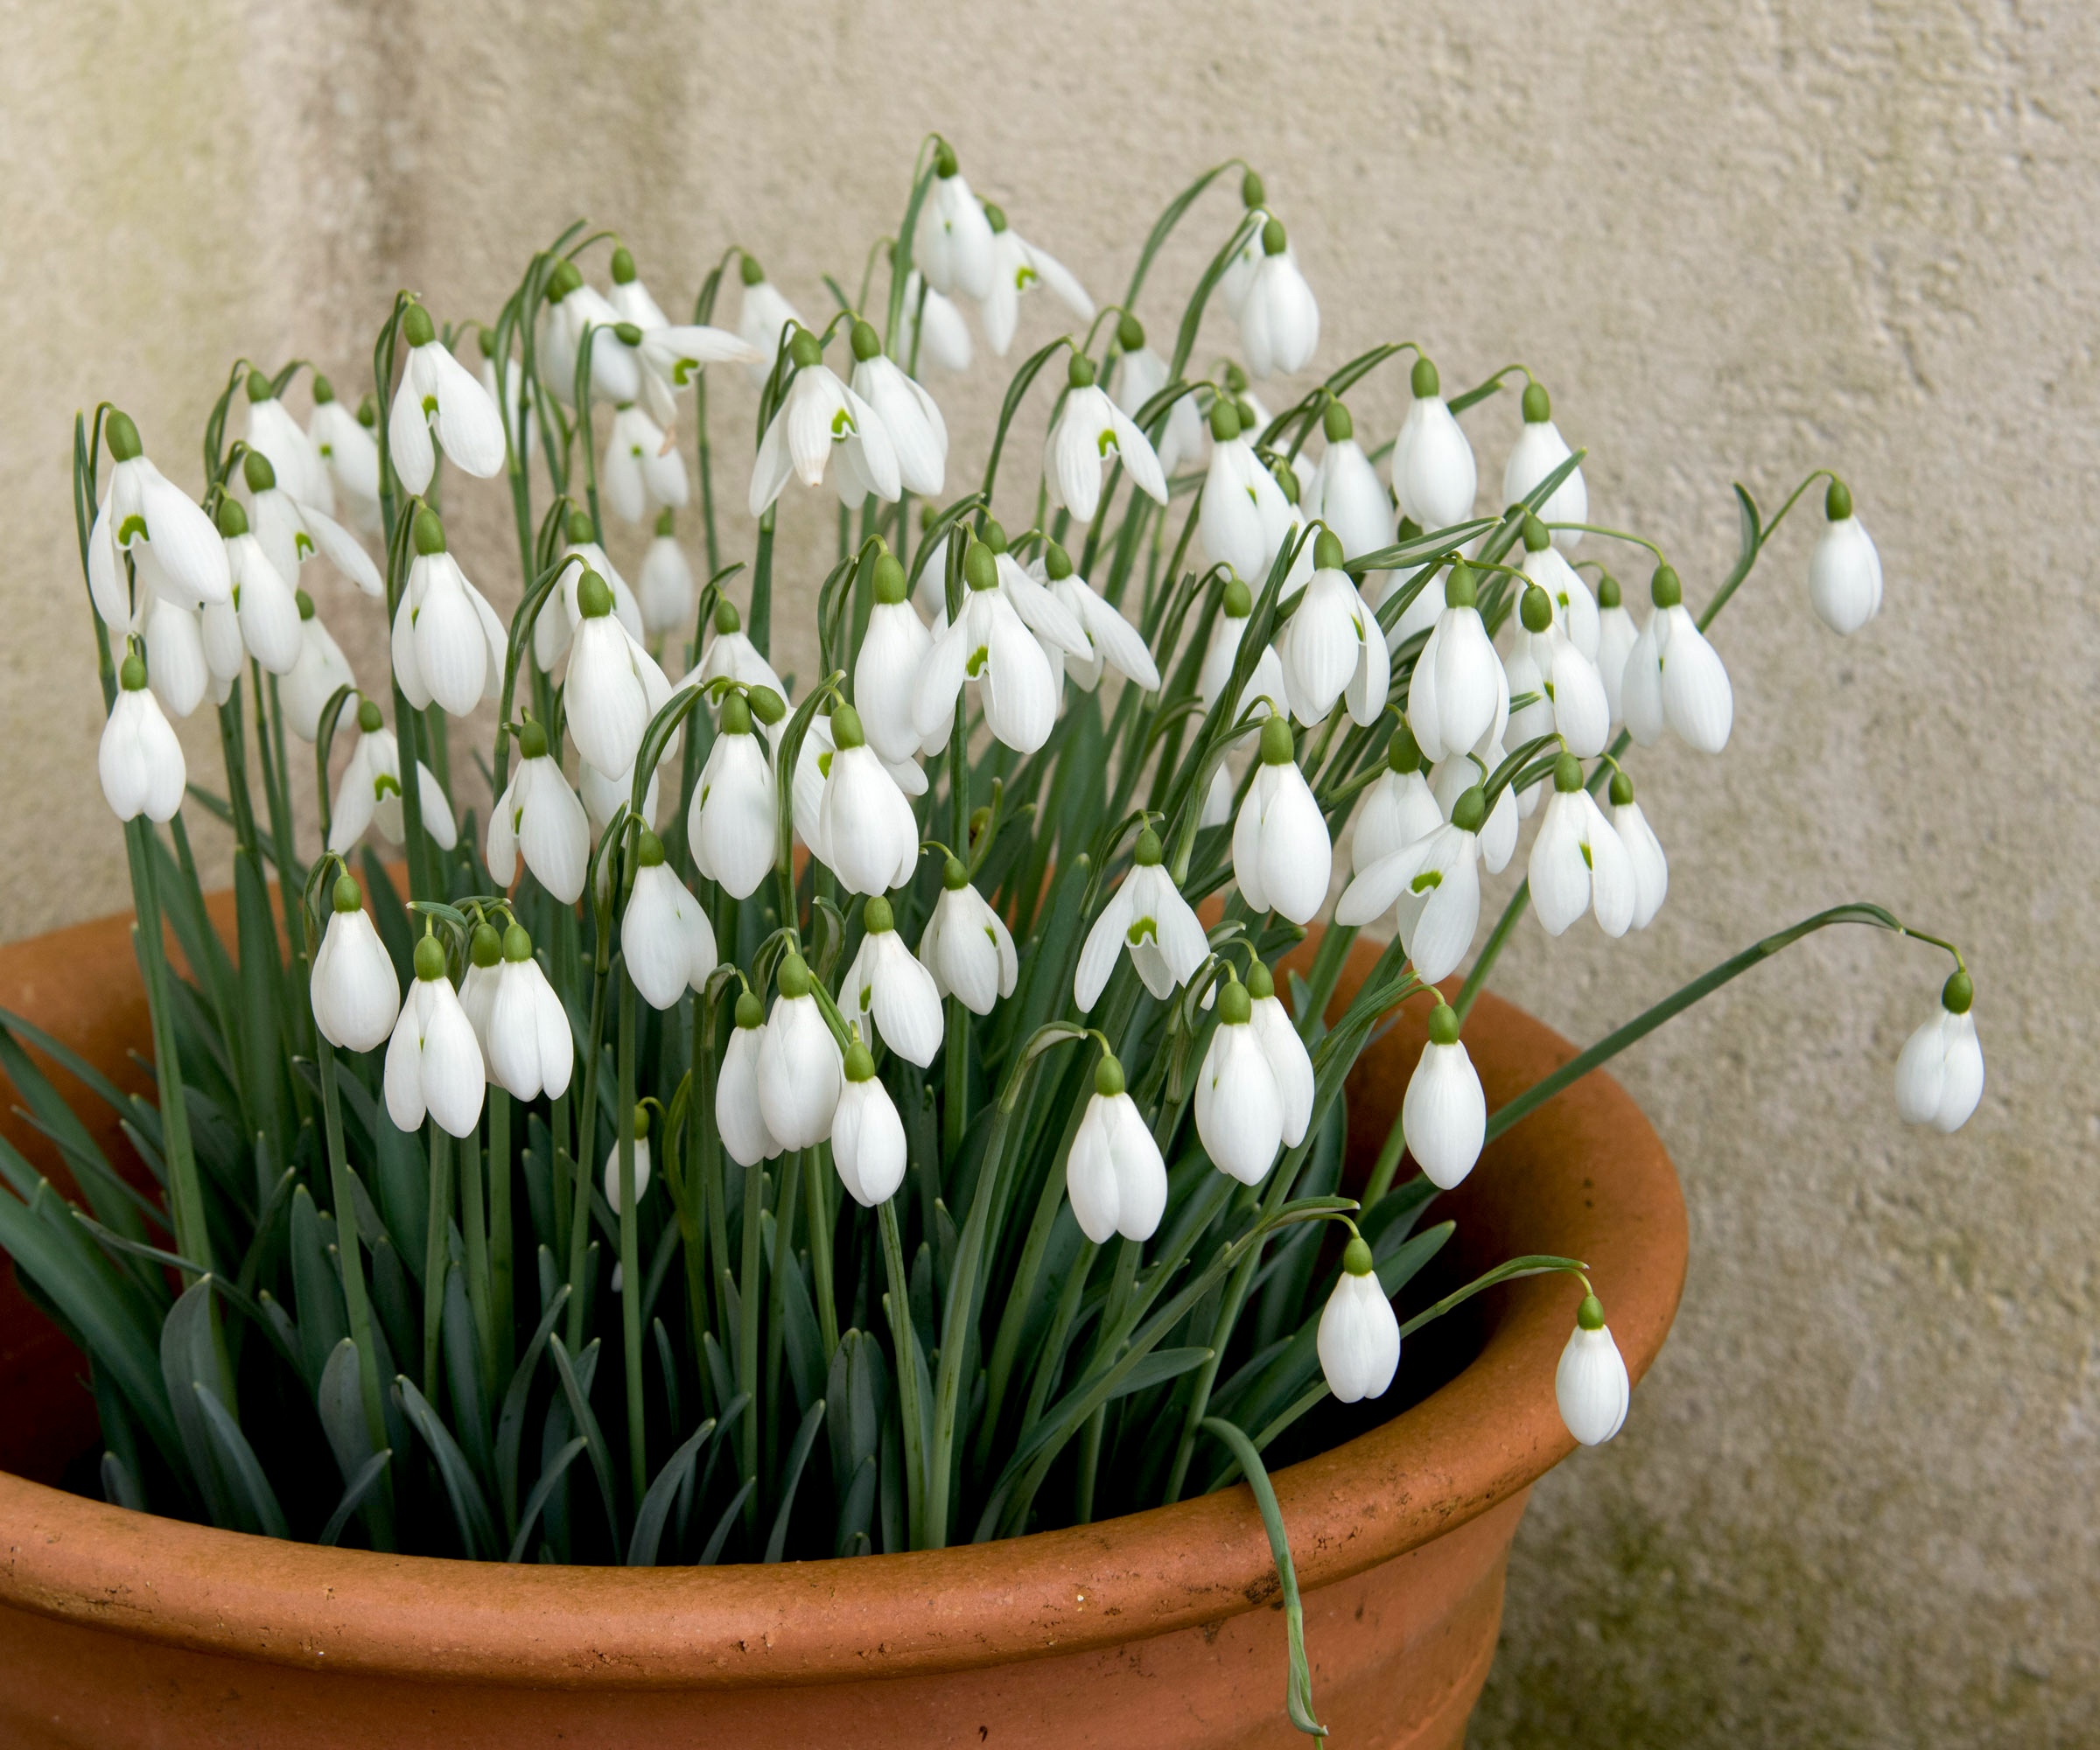
Your earliest bloomers should sit on top of your bulb lasagne, which means that the ‘whipped cream’ of this planting method is your crocuses, grape hyacinths, snowdrops, glory of the snow, and dwarf irises.
6. Cover and Water
Once all of the layers have been completed in your bulb trifle, take care to backfill it with soil and water it well. Then, mark your pot so you don’t disturb it later (and take care to protect it from hungry critters who might fancy digging around for a snack).
All that’s left to do with your bulb trifle? Sit back and channel some serious Monica-level patience; you’ll be rewarded when all of those gorgeous flowers emerge in waves after the worst of the bleak midwinter has been and gone.

Kayleigh is an enthusiastic (sometimes too enthusiastic!) gardener and has worked in media for over a decade. She previously served as digital editor at Stylist magazine, and has written extensively for Ideal Home, Woman & Home, Homes & Gardens, and a handful of other titles. Kayleigh is passionate about wildlife-friendly gardening, and recently cancelled her weekend plans to build a mini pond when her toddler found a frog living in their water barrel. As such, her garden – designed around the stunning magnolia tree at its centre – is filled to the brim with pollinator-friendly blooms, homemade bird feeders, and old logs for insects to nest in.