How to Store Elephant Ear Bulbs to Grow Again Next Year: A Step-by-Step Guide
Interested in learning how to store elephant ear bulbs over winter? Just follow these simple steps to save tubers for years of lush, tropical foliage.

Heather Rhoades
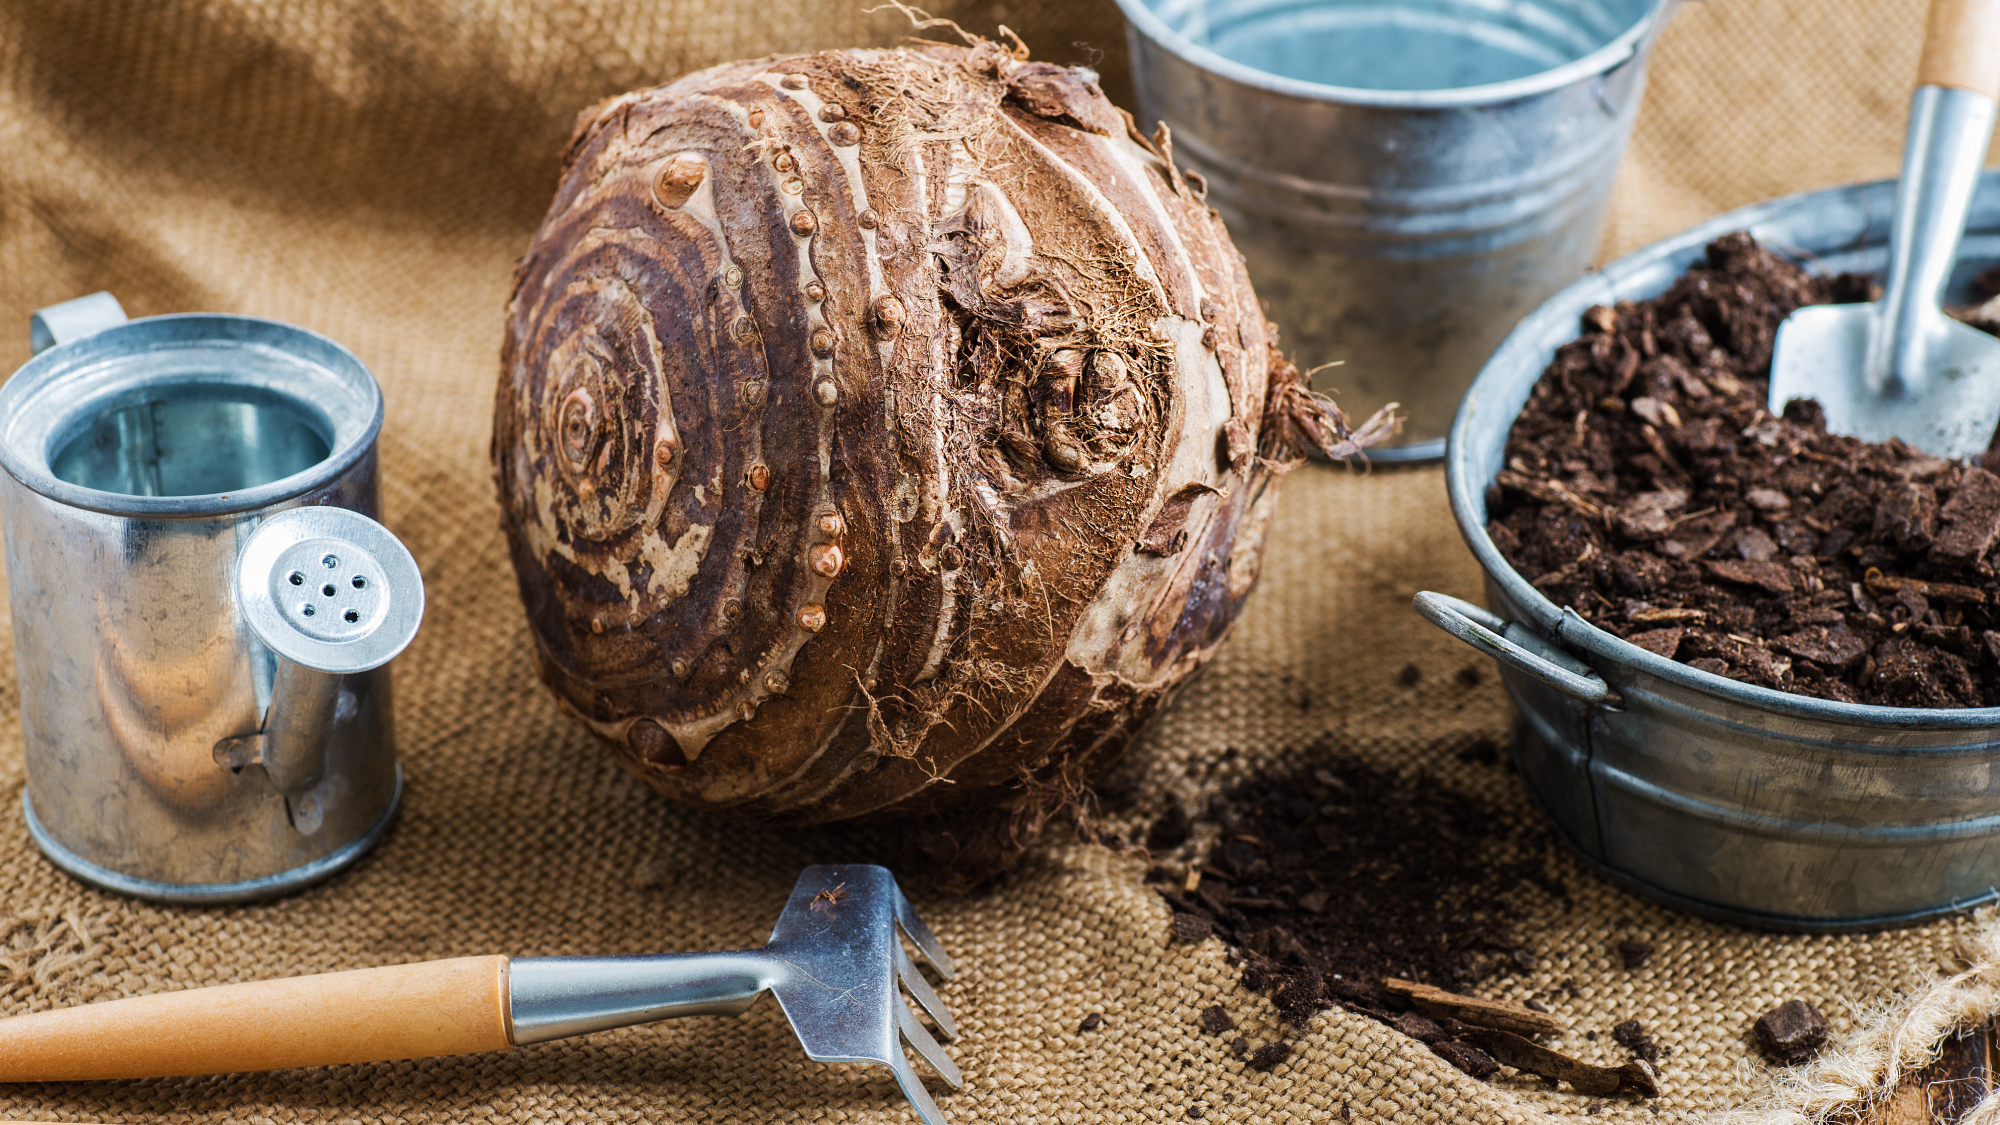
Tropical bulbs such as elephant ears (Alocasia and Colocasia spp.) are lovely additions to the landscape, but as summer wanes and a chill begins to permeate the air, it’s time to think about how to store elephant ear bulbs and winter care.
You can save money simply by storing elephant ear bulbs or plants for the winter. But unless you live in USDA growing zones 8-11, you will need to take some extra elephant ear care steps to help plants survive the winter.
So, how do you store elephant ears bulbs and keep them alive for next year’s garden? It’s easy, as long as you follow a few basic rules. I’ll walk you through step-by-step how to overwinter elephant ears and provide some basic elephant ears winter care tips to help you grow more of these gorgeous plants next summer.
How to Overwinter Elephant Ears
There are many tropical plants you can grow indoors over the winter, but most of us don’t have the space for these large plants that can reach up to 10 feet (3 m) wide and across.
So unless you live in a warmer USDA growing zone, you will need to dig up elephant ear tubers, trim them back, then cure and store them over the winter. Here's how to do it.
1. Dig Up Tubers
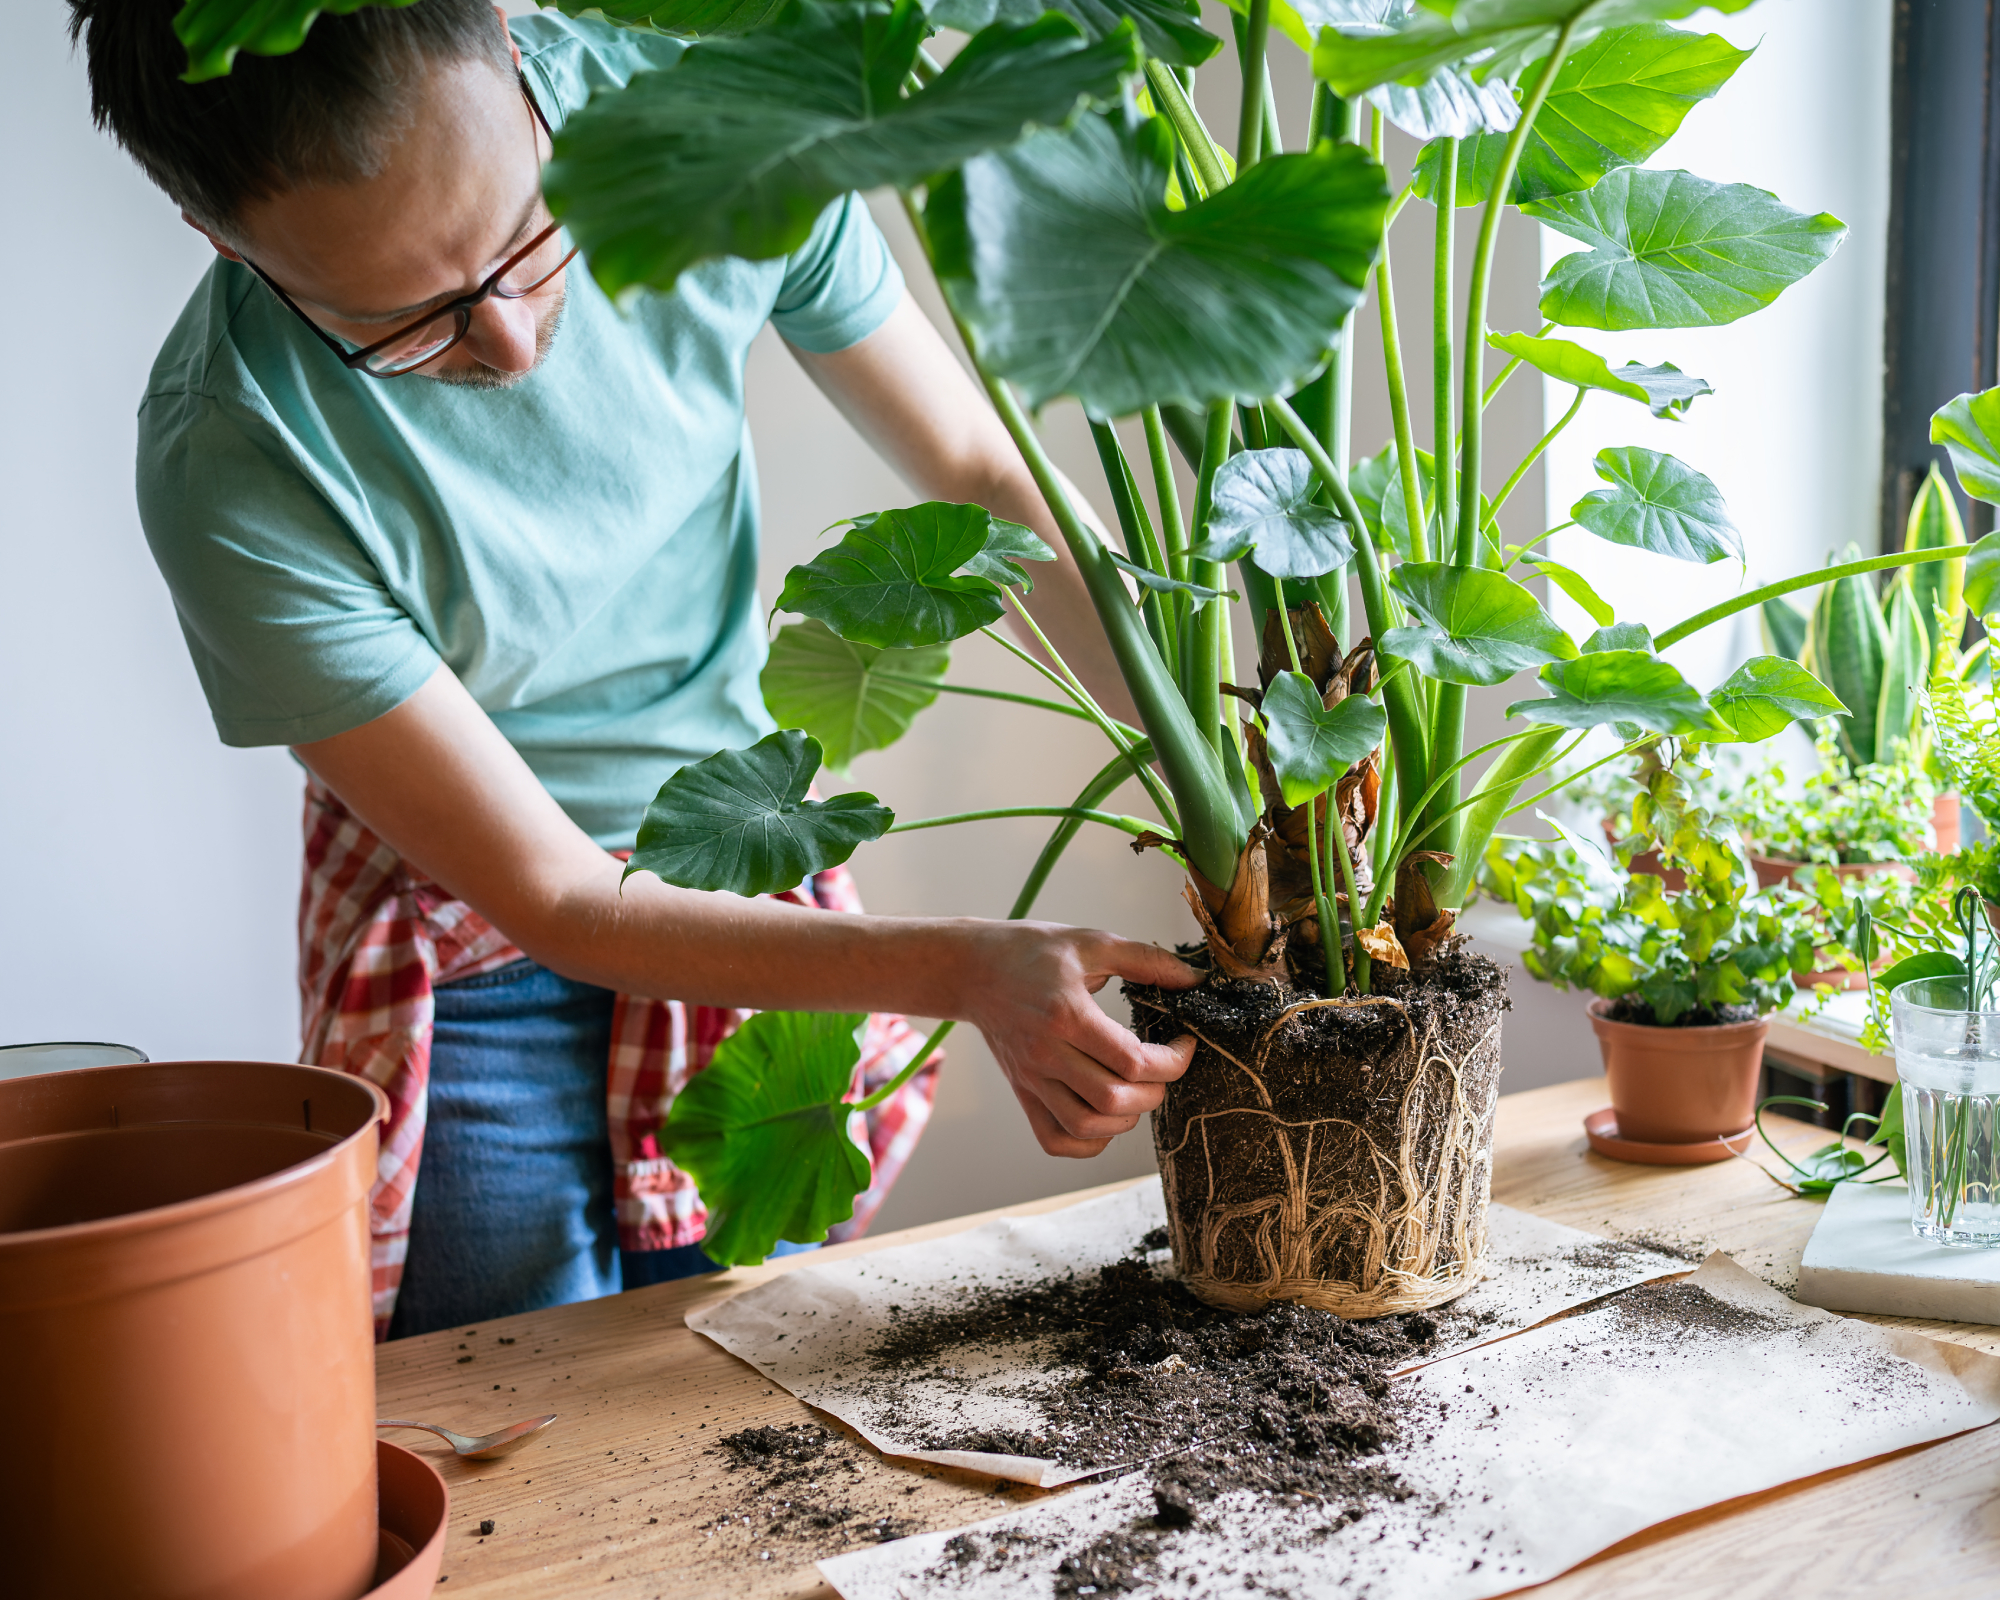
The first step for storing elephant ear tubers is to dig them out of the soil. It is very important to the success of saving elephant ears for the winter that you dig the elephant ear tubers out of the ground undamaged.
Any damage to the elephant ear tuber may result in rotting over the winter. In order to keep the tuber undamaged, it is a good idea to start digging about a foot (31 cm) away from the base of the plant and gently lift the plant and tuber.
Sign up for the Gardening Know How newsletter today and receive a free copy of our e-book "How to Grow Delicious Tomatoes".
However, if you want to propagate your plants and grow more of them next year, now is a good time to divide elephant ears. Use a sharp, clean knife, like this expert-approved hori hori knife from A.M. Leonard, to cut pups off of the main tuber.
Wait to dig up elephant ear tubers until the first frost when the foliage begins to die back. Lift the tubers from the soil gently with a garden fork, taking care not to pierce them.
2. Clean Tubers
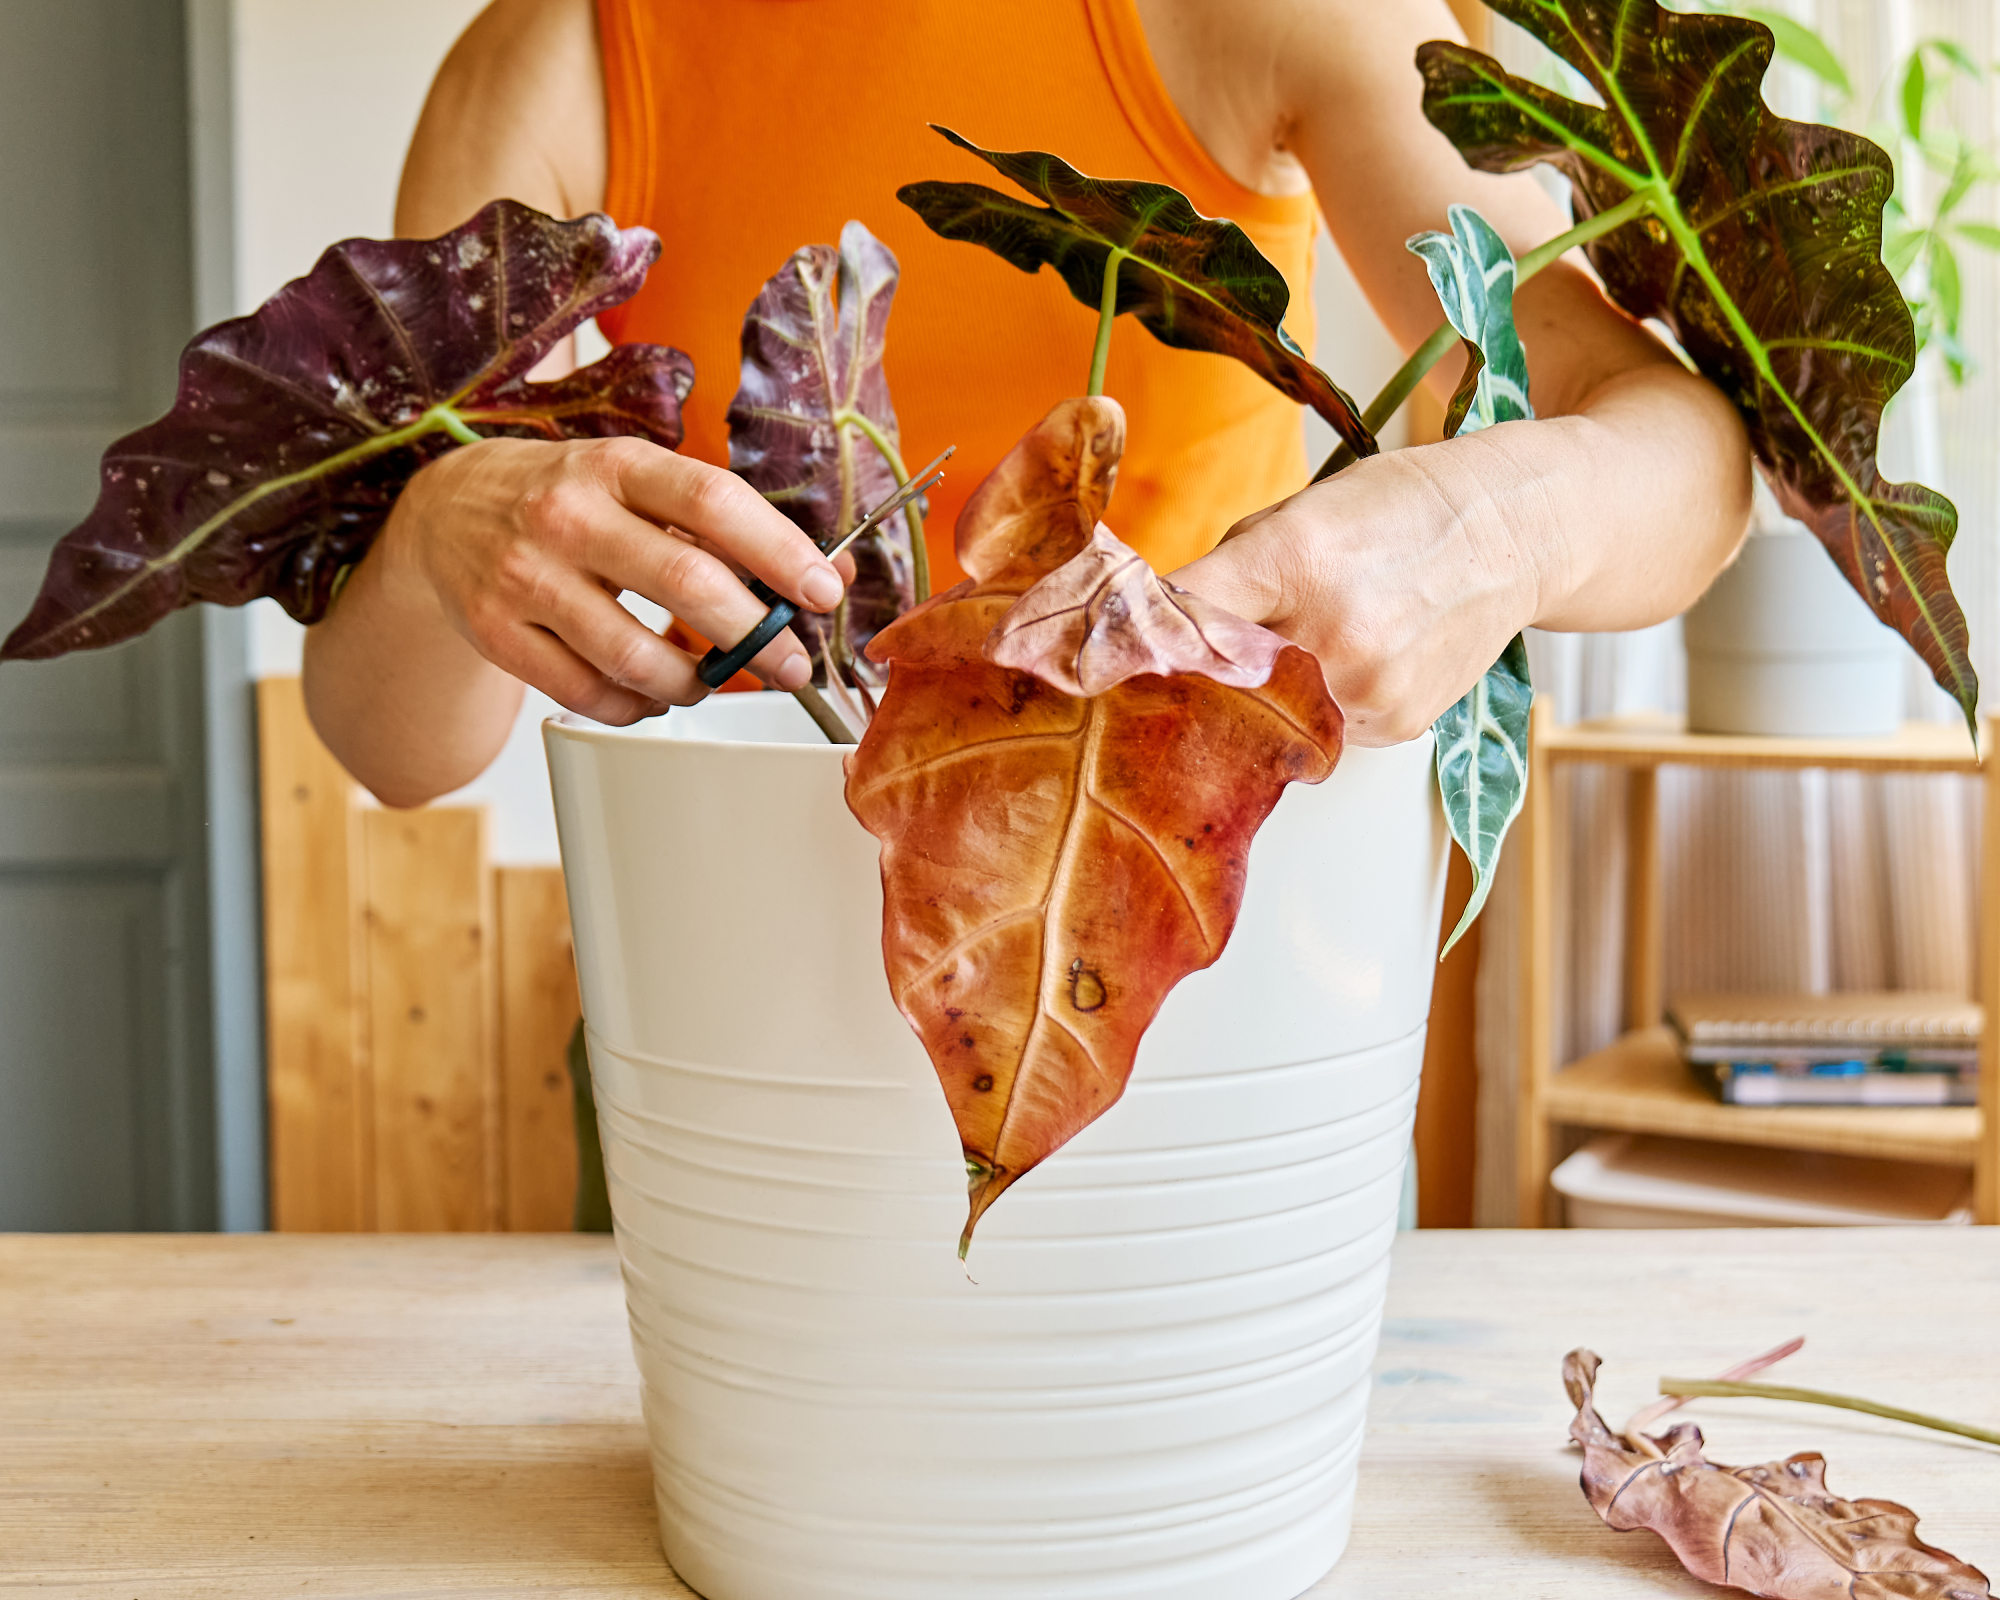
The next step for overwintering elephant ears is to clean the tubers. Once you dig up your summer bulbs, trim the leaves down to an inch (2.5 cm) or so above the tuber to remove any remaining foliage.
Then brush any excess soil off of the tubers. Getting them wet can cause rotting, but if they are caked in soil you can gently rinse them—but do not scrub the tubers as this can damage them. It is okay if some dirt remains on the tubers.
3. Cure Tubers
After you clean the elephant ear tubers, you must dry or cure them. Choose an area out of direct sun, that is dry, and well-ventilated with a temperature of 60-70° F (16-21° C).
Place tubers on a screen, cardboard, or newspaper in a single layer. Don’t let them overlap. Allow them to cure for a week to ten days. Turn the tubers every day or so to ensure even drying.
How to Store Elephant Ear Bulbs
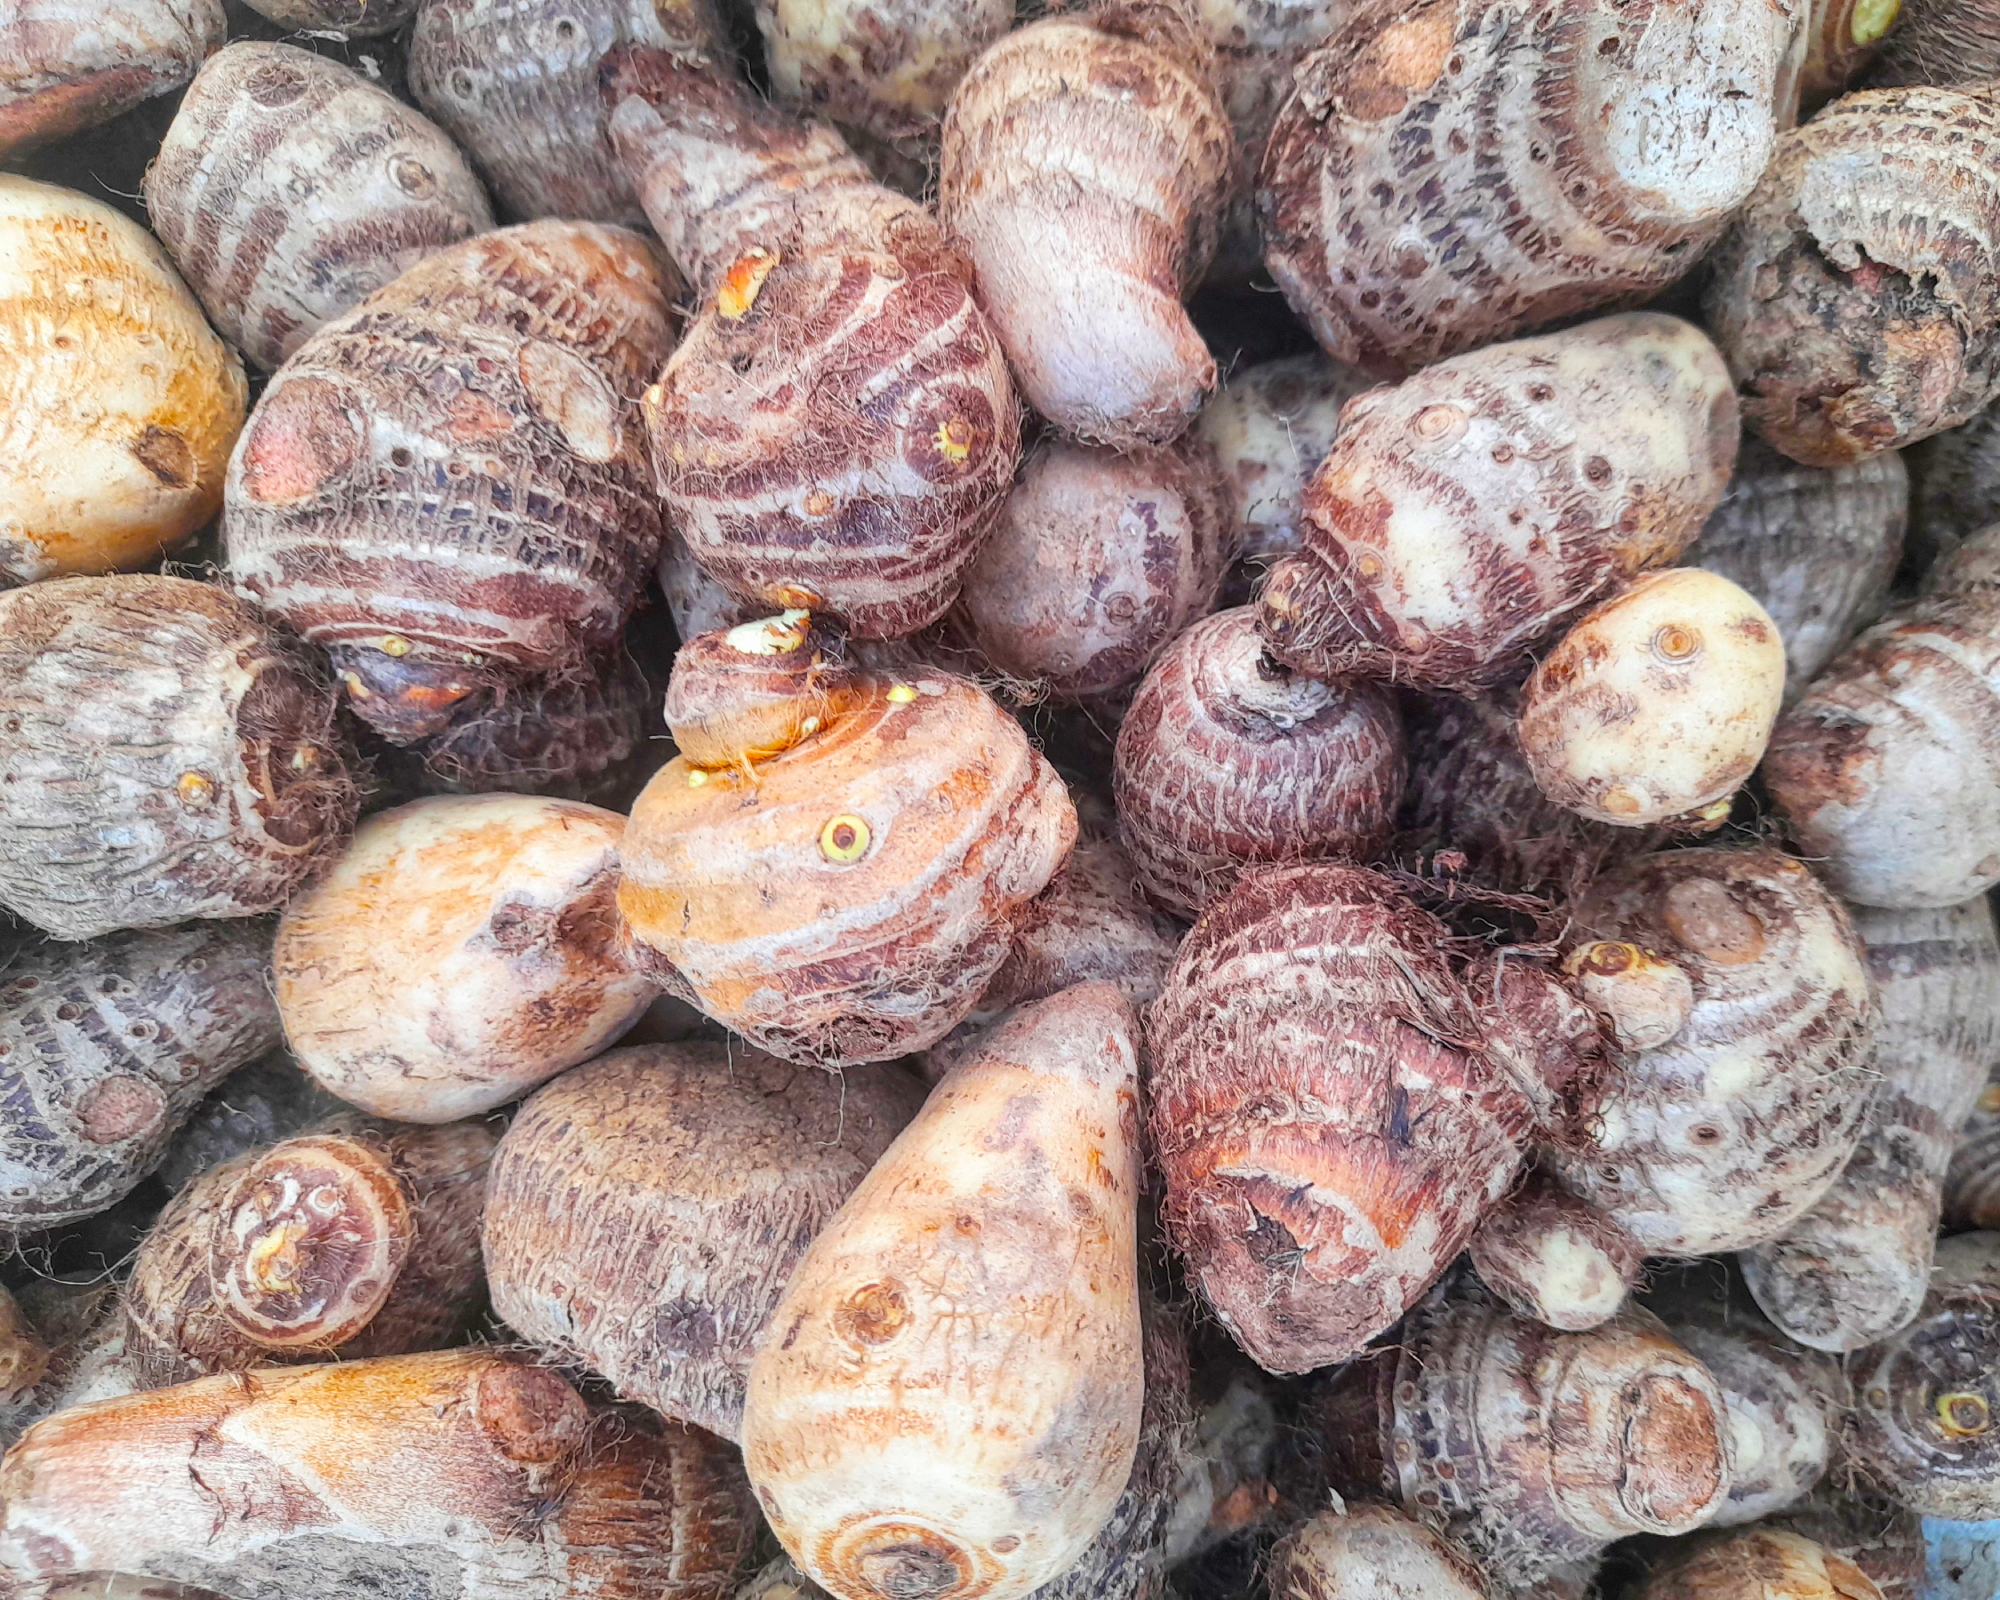
Once the bulbs are cured, you are ready to store them for the winter. Before storing the tubers, check them over for any damage or rot.
If you find pests, treat the bulbs with an insecticide, like this organic concentrate for houseplants from Amazon. If you find rot, discard the diseased elephant ear tuber so the rot does not spread to other plants.
While overwintering elephant ears, check on them every few weeks to make sure that there are no more pests or rot.
1. Choose a Container
Look for a container that is sturdy enough to hold the weight of the tubers yet allows for some air flow such as a strong cardboard box or sturdy paper bag, like these ones from Amazon. Be sure to label your storage container if storing other similar bulbs or tubers nearby so you don't confuse them.
2. Cover Tubers
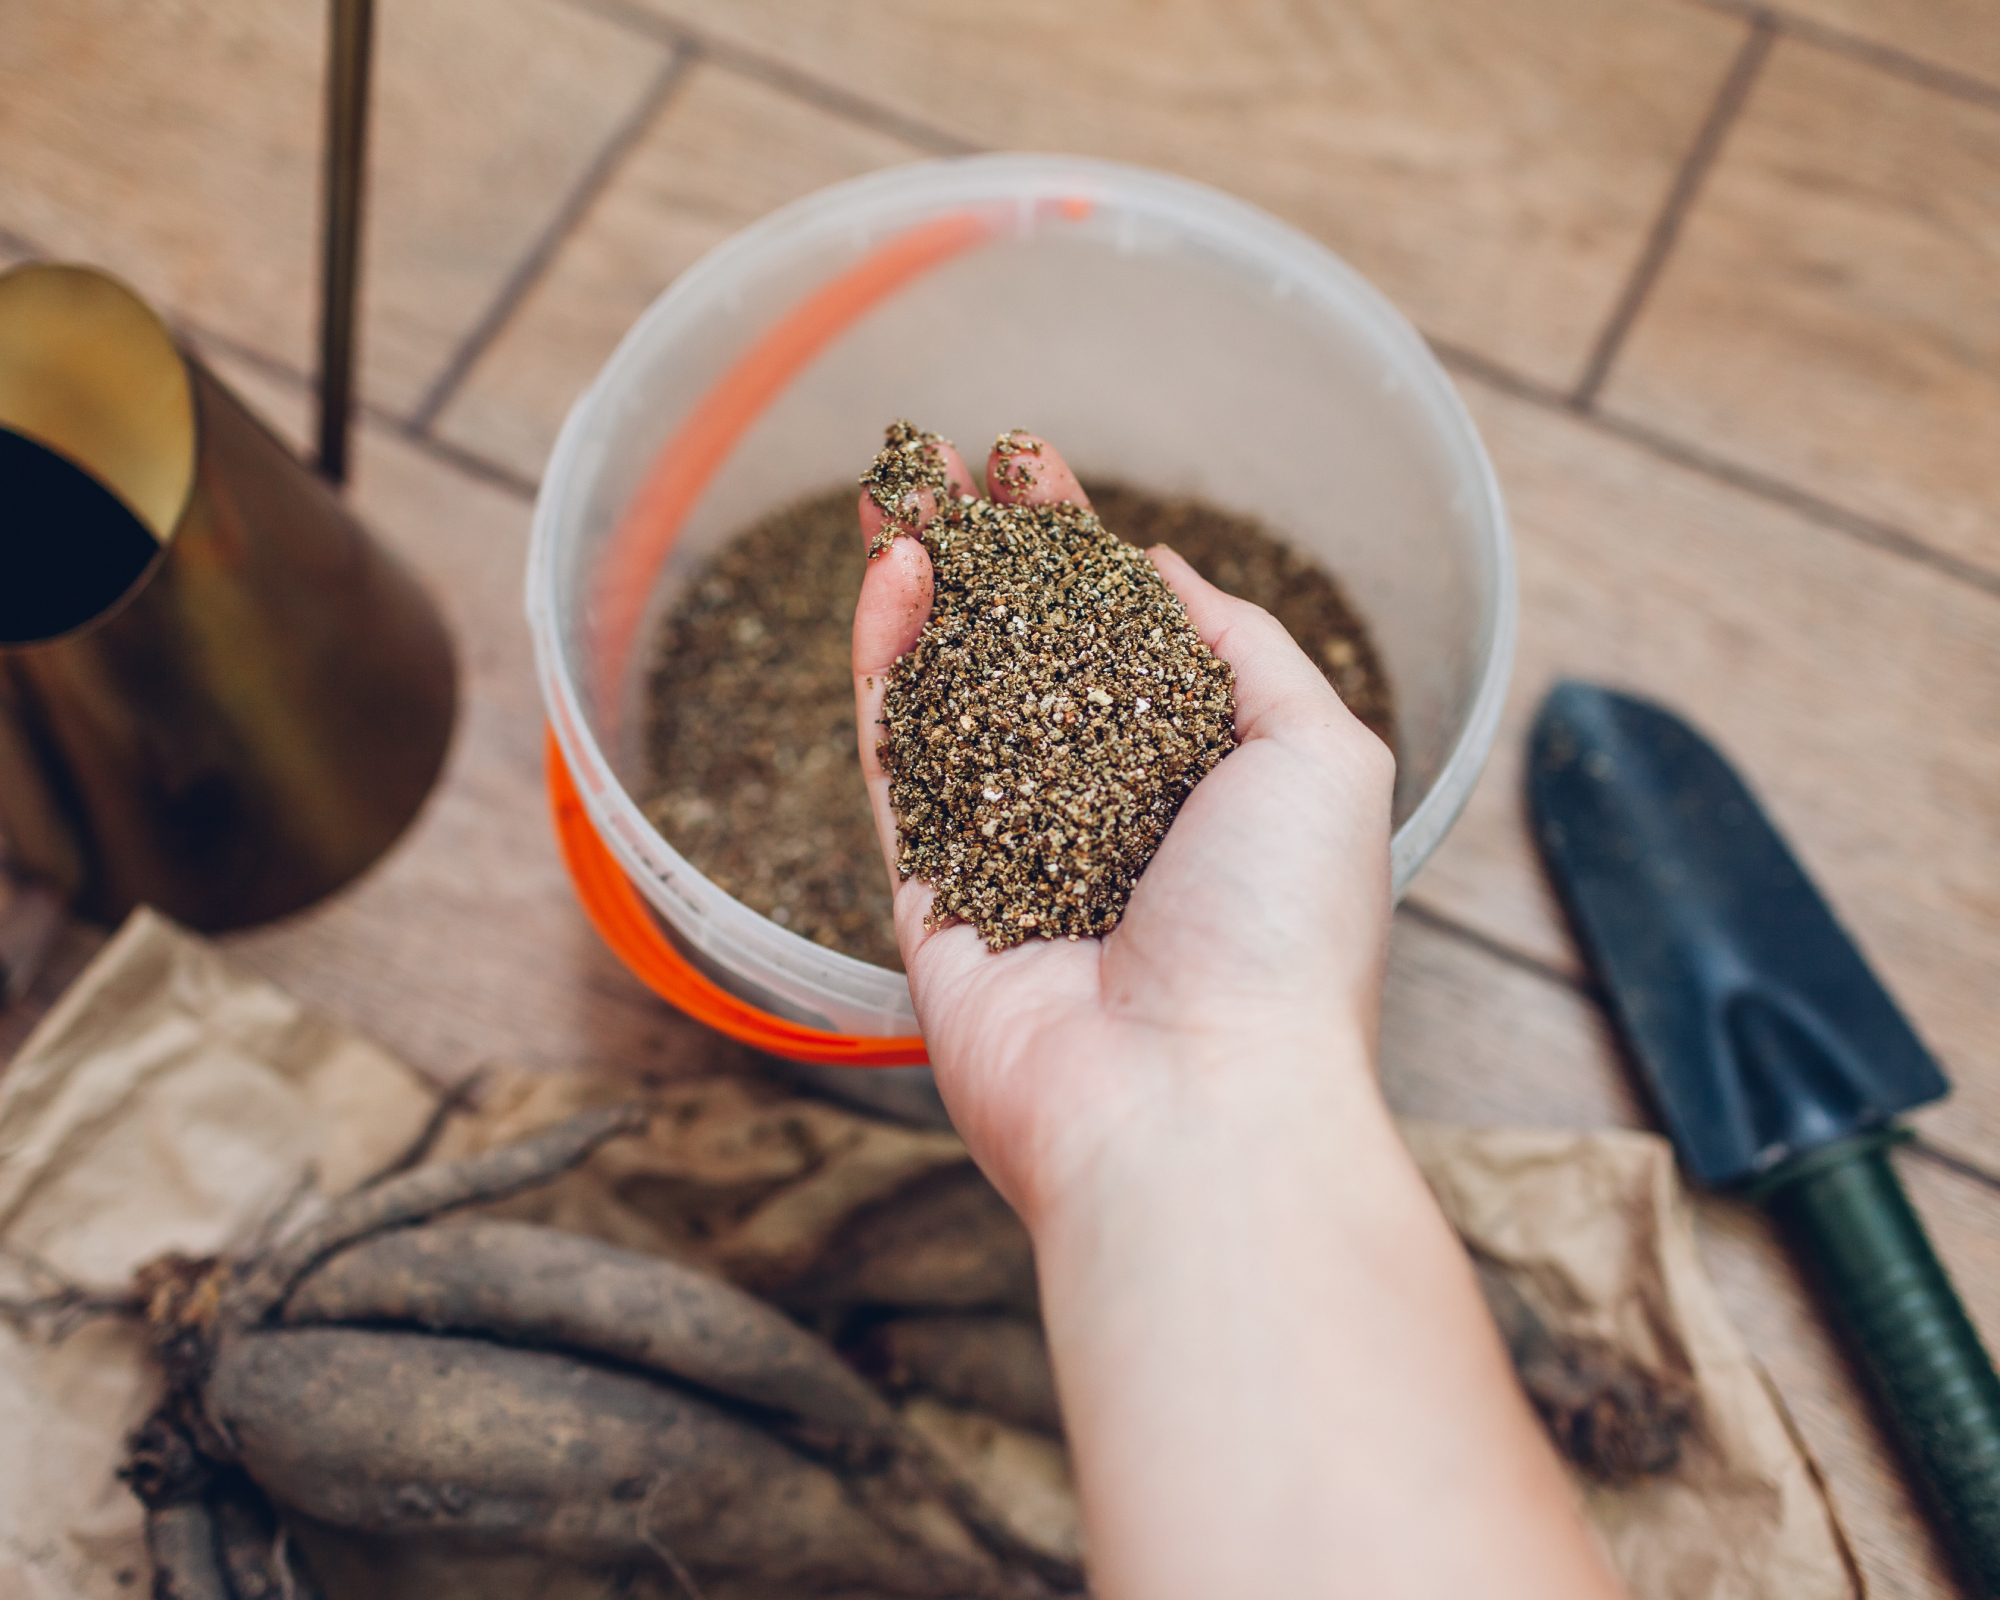
Line the box or bag with sphagnum peat moss, sawdust, vermiculite, coco coir, dry potting soil, shredded paper, or wood shavings. Sphagnum moss has the added benefit of being acidic, which helps prevent decay. But there are ecological issues with peat moss, so selecting one of the other options is a more sustainable choice. Vermiculite is a good alternative to peat moss and you can get a bag of vermiculite for under $10 on Amazon.
Nestle the tubers in your chosen packing material. This will not only cushion the tubers, but also keep them from touching each other. That means if one decays it won’t affect the other tubers.
3. Store in a Cool, Dry Location
Elephant ear tubers need to be stored in a cool, dry location with a temperature of about 60° F (16° C). Over the winter, check tubers occasionally. They should be on the dry side, but not desiccated or shriveled.
If they seem too dry, mist them lightly with water. But too much water can cause rot, so use sparingly. Check for any tubers that may be rotting and discard them.
How to Revive Elephant Ear Tubers
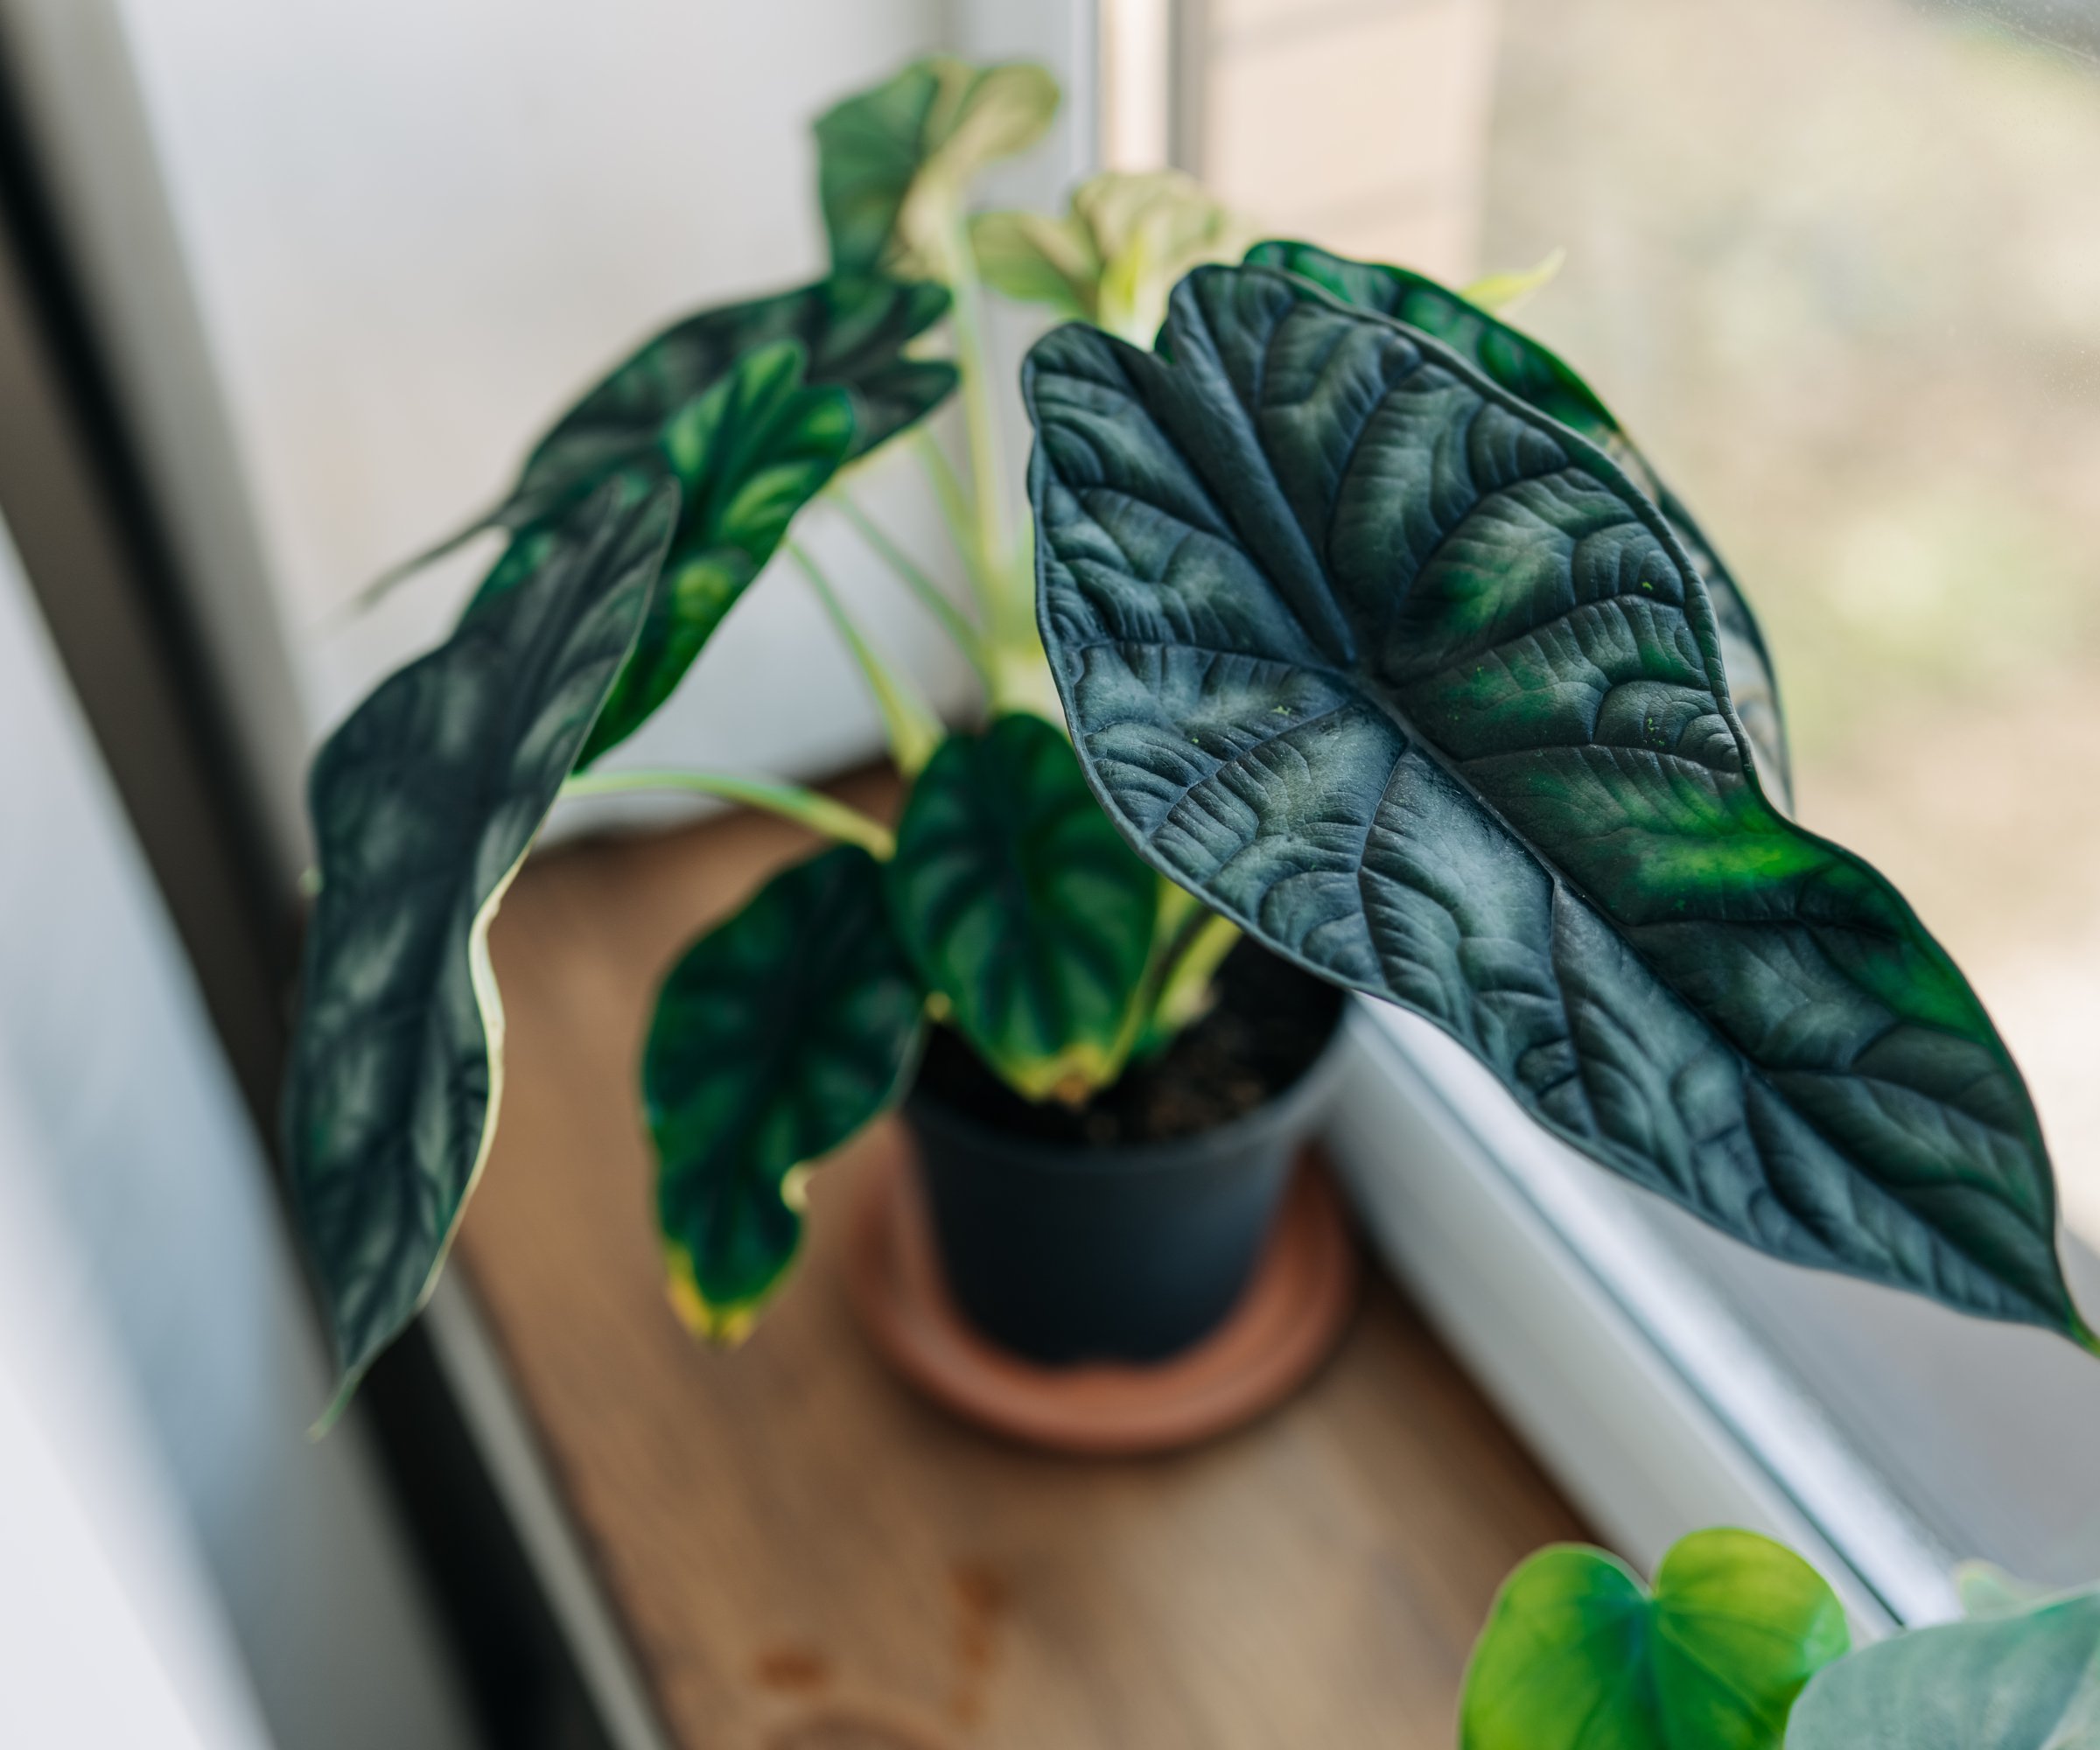
In late February, it’s time to wake up your elephant ear tubers. Place one tuber per container filled with soilless potting mix. Place the container in a warm, bright area and keep the potting soil moist.
Plant the potted elephant ear tubers outside in mid-May to early June. Or plant bulbs directly outside as soon as the soil warms in mid-May to June.
Overwintering Elephant Ears as Houseplants
In addition to putting tubers into dormancy, you can also grow elephant ears indoors as houseplants for the winter. Your elephant ear houseplant will need lots of light and consistently moist soil.
Also, make sure that your plant gets plenty of humidity. You can either use a mister, like this inexpensive option from Fiskars, or a humidifier, like this bestseller from Amazon, to raise the humidity level in your house.
In the spring, after your last frost date, you can put your elephant ear plants back outside and enjoy their lush, tropical foliage for another summer.

Amy Grant has been gardening for 30 years and writing for 15. A professional chef and caterer, Amy's area of expertise is culinary gardening.
- Heather RhoadesFounder of Gardening Know How